In this lesson, you will learn how to read digital data (1/0 which represents high/low voltage) from a Pico digital pin and output 0/1 data (low voltage/high voltage signals) to Pico digital pins. This type of programming is also called digital I/O (input/output) programming.
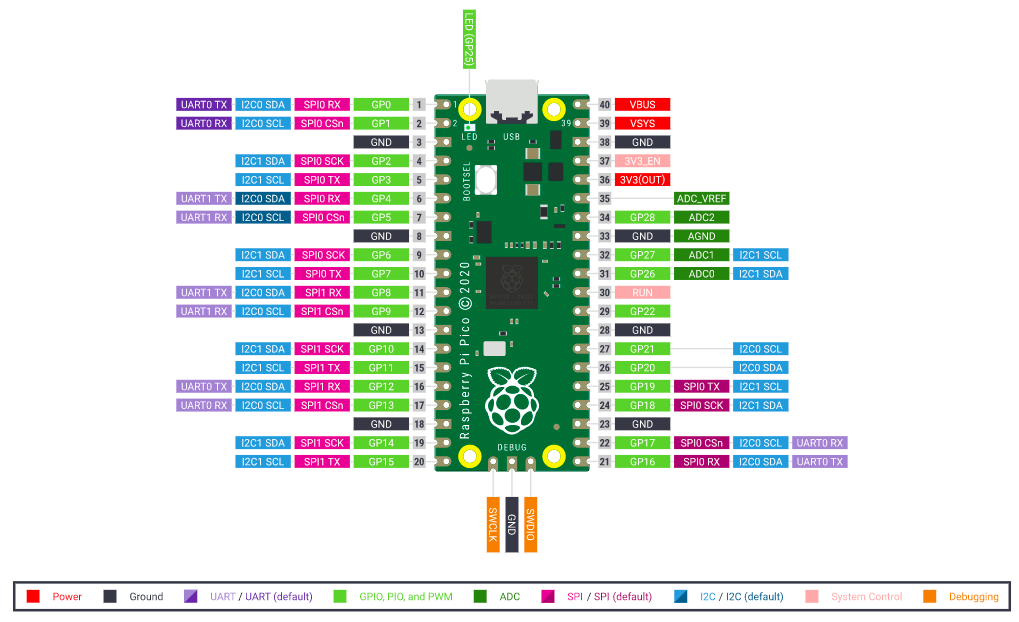
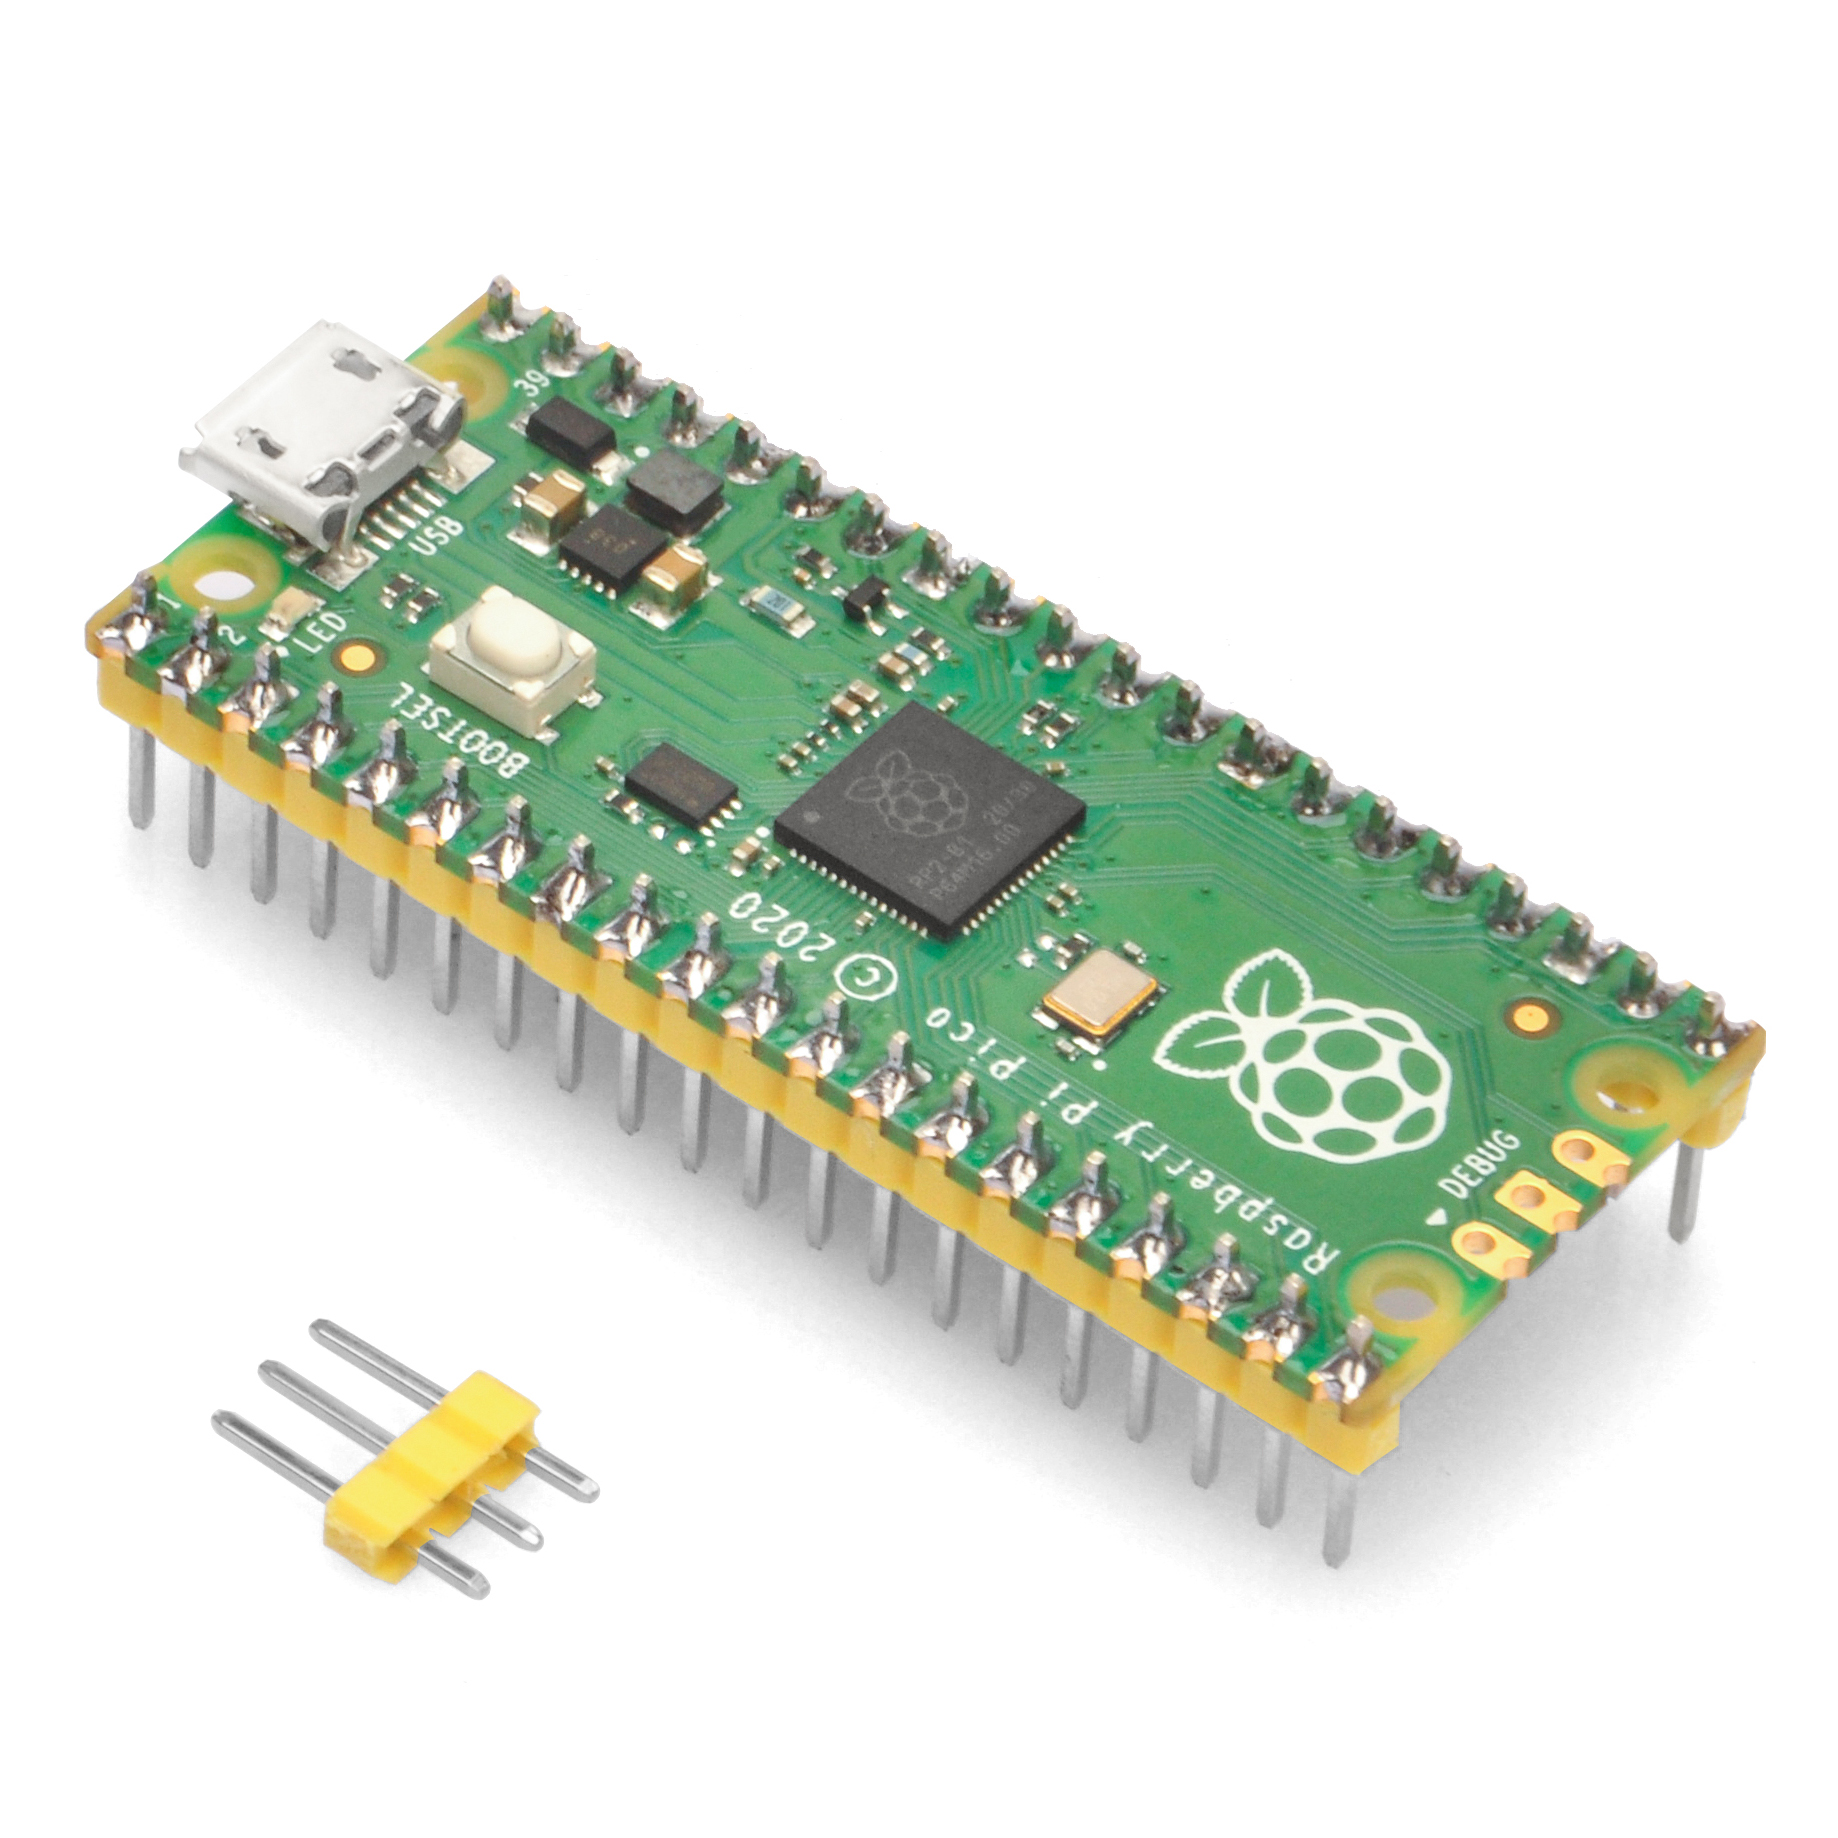
In order to program digital I/O, firstly we need to know the Pico pin layout.
From above picture, you can see most of the Pico pins have a light green label which is the GPIO number. i.e. Physical pin number 20, green label is GP15. This means Physical Pin 20’s GPIO number is 15. This is very important in python programming. We will use this GPIO number to write/read data from that pin.
Raspberry Pi Pico board and microUSB cable
A computer to run Thonny Python IDE
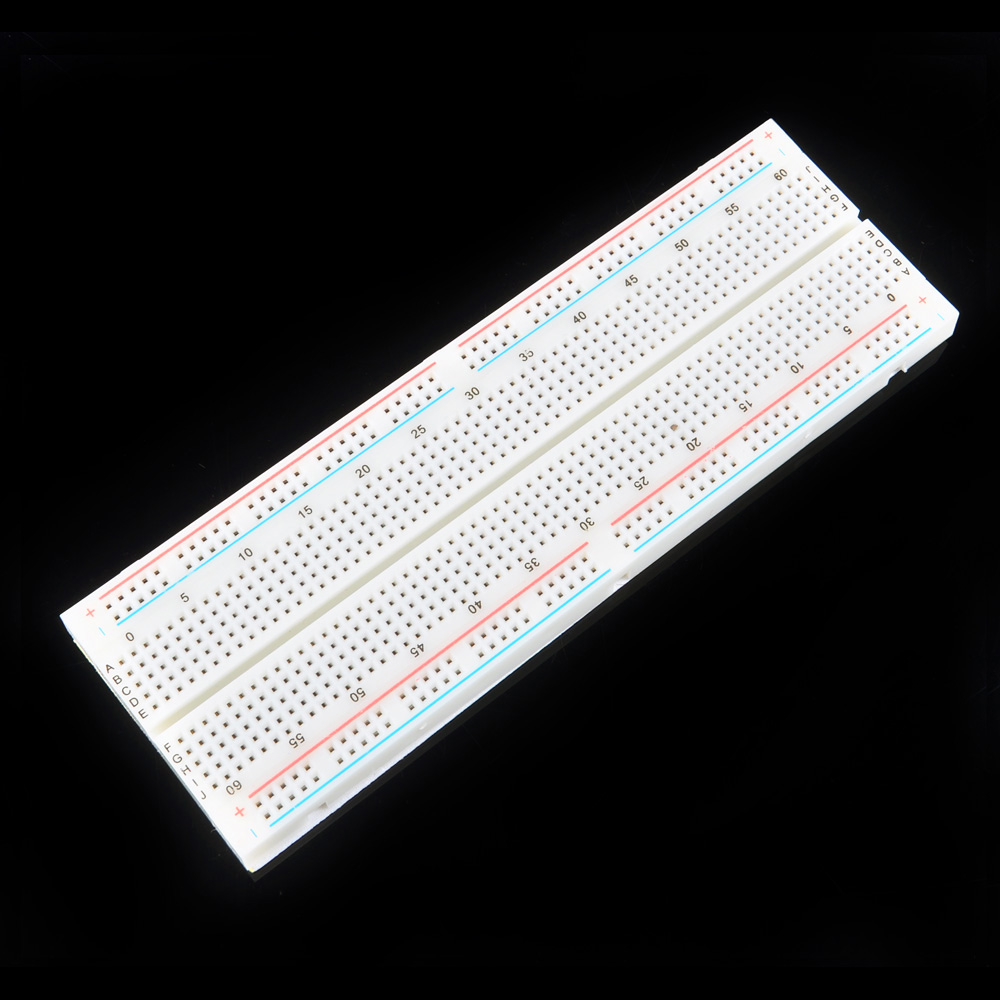
A breadboard
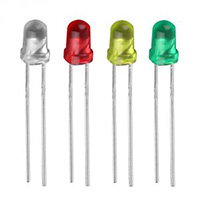
LED x 1 pc
220 ohm resistor
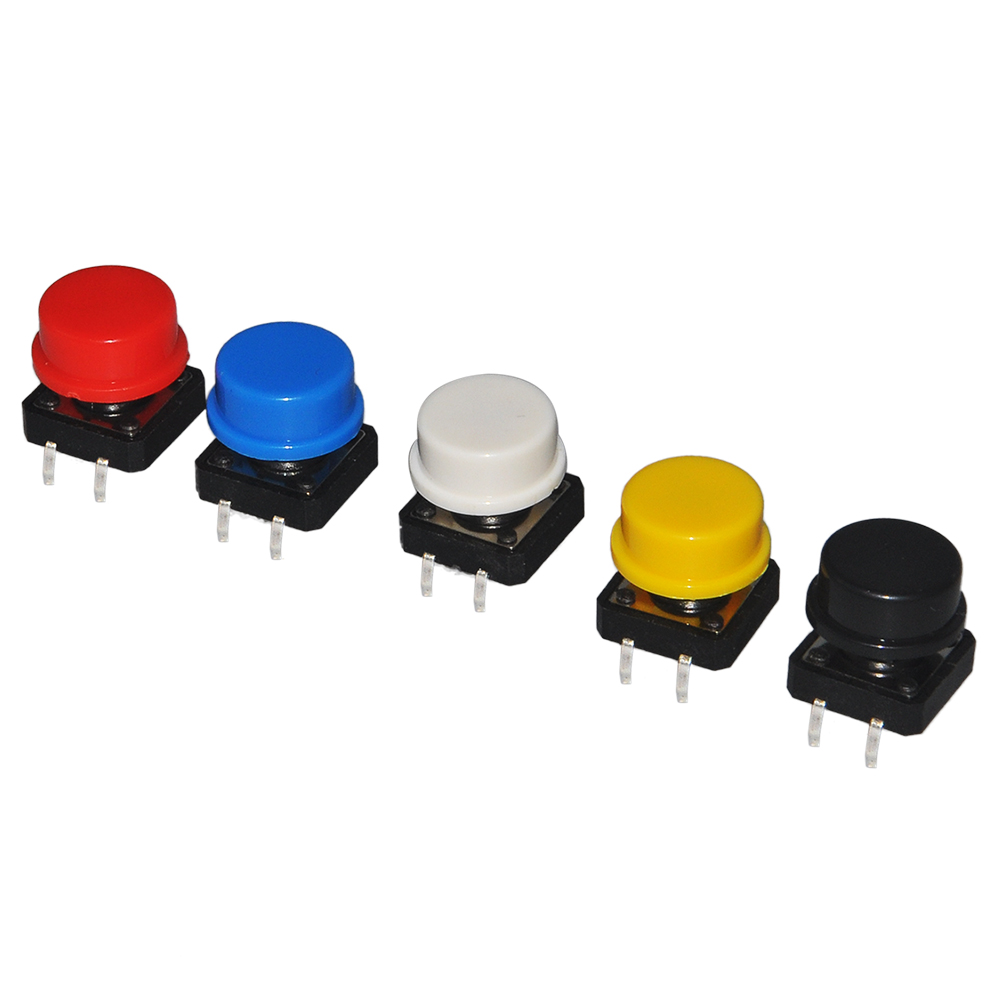
Push button x 1 pc
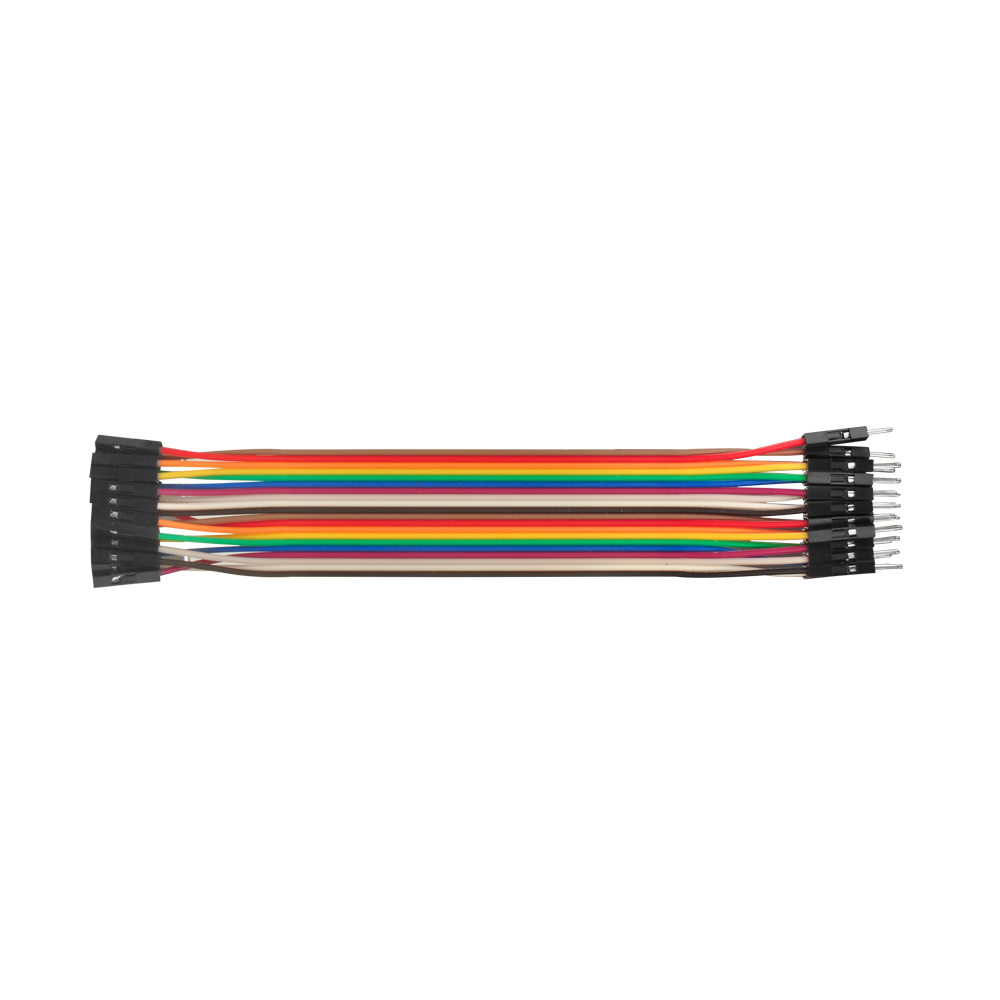
Some jumper wires
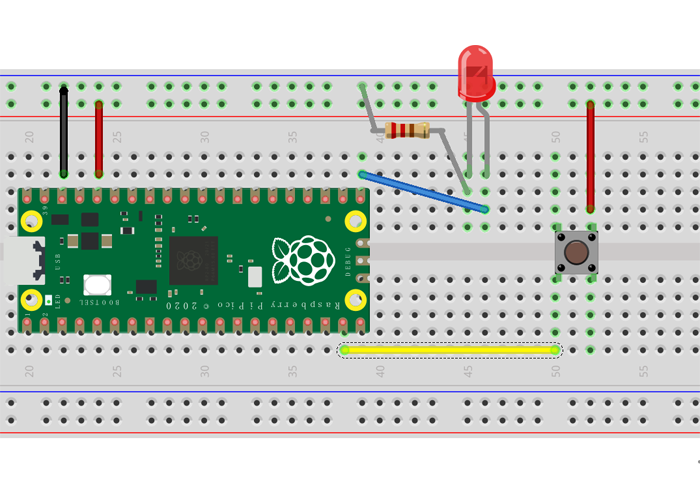
In above circuit graph, you can see that:
LED negative pin connected to GND through 220 ohm resistor
LED Positive pin connected to GP16
Push button pin 1 connected to 3.3V
Push button pin 2 connected to GP14
You can use Thonny to open pico-lesson2.py and load it to Pico later.
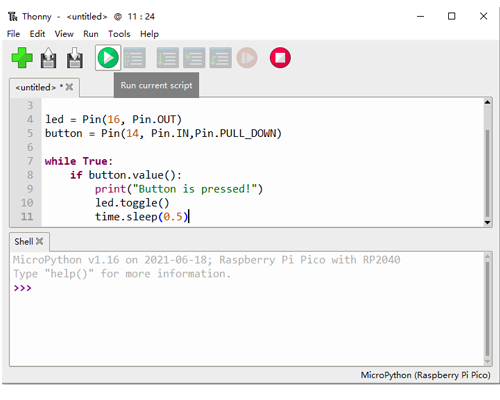
Here is the full code with comments:
from machine import Pin
import time

led = Pin(16, Pin.OUT) #set GP16 as OUTPUT pin
button = Pin(14, Pin.IN,Pin.PULL_DOWN) #set GP14 as OUTPUT pin

while True:
    if button.value():
        print("Button is pressed!")
        led.toggle()
        time.sleep(0.5)
Step 1: Connect the Pico board to one of the USB ports on your PC.
Step 2: If you haven’t installed Thonny software or don’t know how to use the Thonny IDE, please refer to Lesson 1.
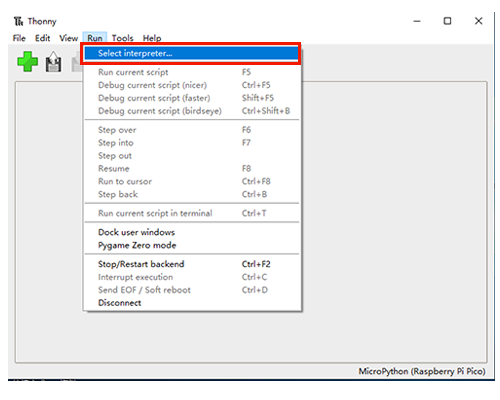
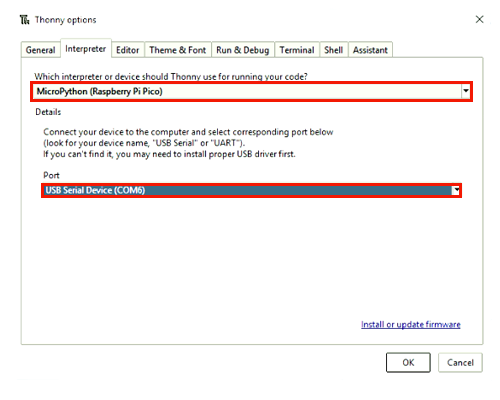
Step 3: Open the Thonny Python IDE and click ‘Run’ to select ‘MicroPython for Raspberry Pi Pico’ as the interpreter.:
Also, please select the COM port to which your Pico board is connected.
After that, click ‘OK’ to save the settings.
Step 4: Copy the Python code to the Thonny window as follows:
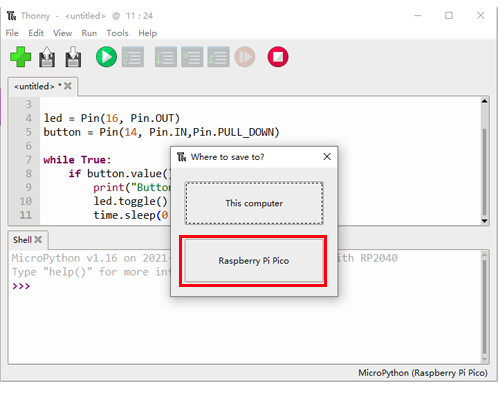
Step 5: Click the little ‘play’ button (►) and the save page will pop up as shown in the following photo.
Select ‘Raspberry Pi Pico’ as the destination.
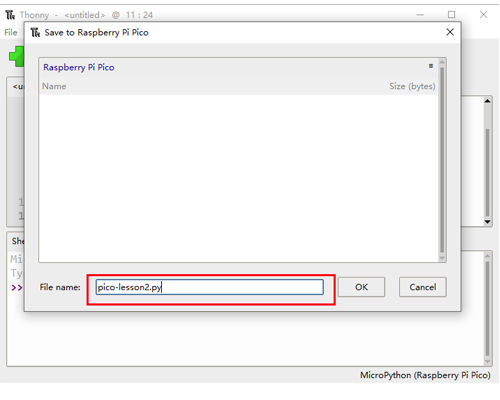
Step 6: Name the file as ‘pico-lesson2.py’ and then click ‘OK’
Step 7: Click the little ‘play’ button (►) again to run the Python code.
Now you can try to press the Push Button in the breadboard. You will see the LED status will toggle whenever you press the button.
Also, in the Thonny Shell window, you will see ‘Button is pressed!’ when you press the button.
After the operation is complete, press Ctrl+C to end the command