In this lesson, we will show you how to send temperature information from Pico to an I2C LCD screen.
I2C is a very popular protocol which can exchange data between a computer (Master) and its external devices (Slave). A typical I2C slave device must have a data pin (SDA) and a clock pin (SCL) which must be connected to the SDA and SCL pins of the Raspberry Pi Pico. One Pico SDA and SCL pin pair (BUS) can actually connect to multiple slave devices. Each slave device has a unique address ID by which Pico can find it in the program.
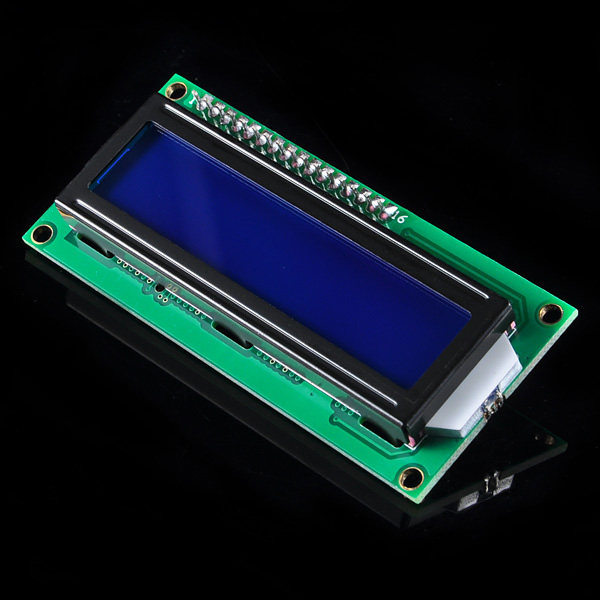
In this project, we will use an I2C LCD display as the slave device. We will use the Pico board’s internal temperature sensor to get the temperature and display the data on the I2C LCD display.
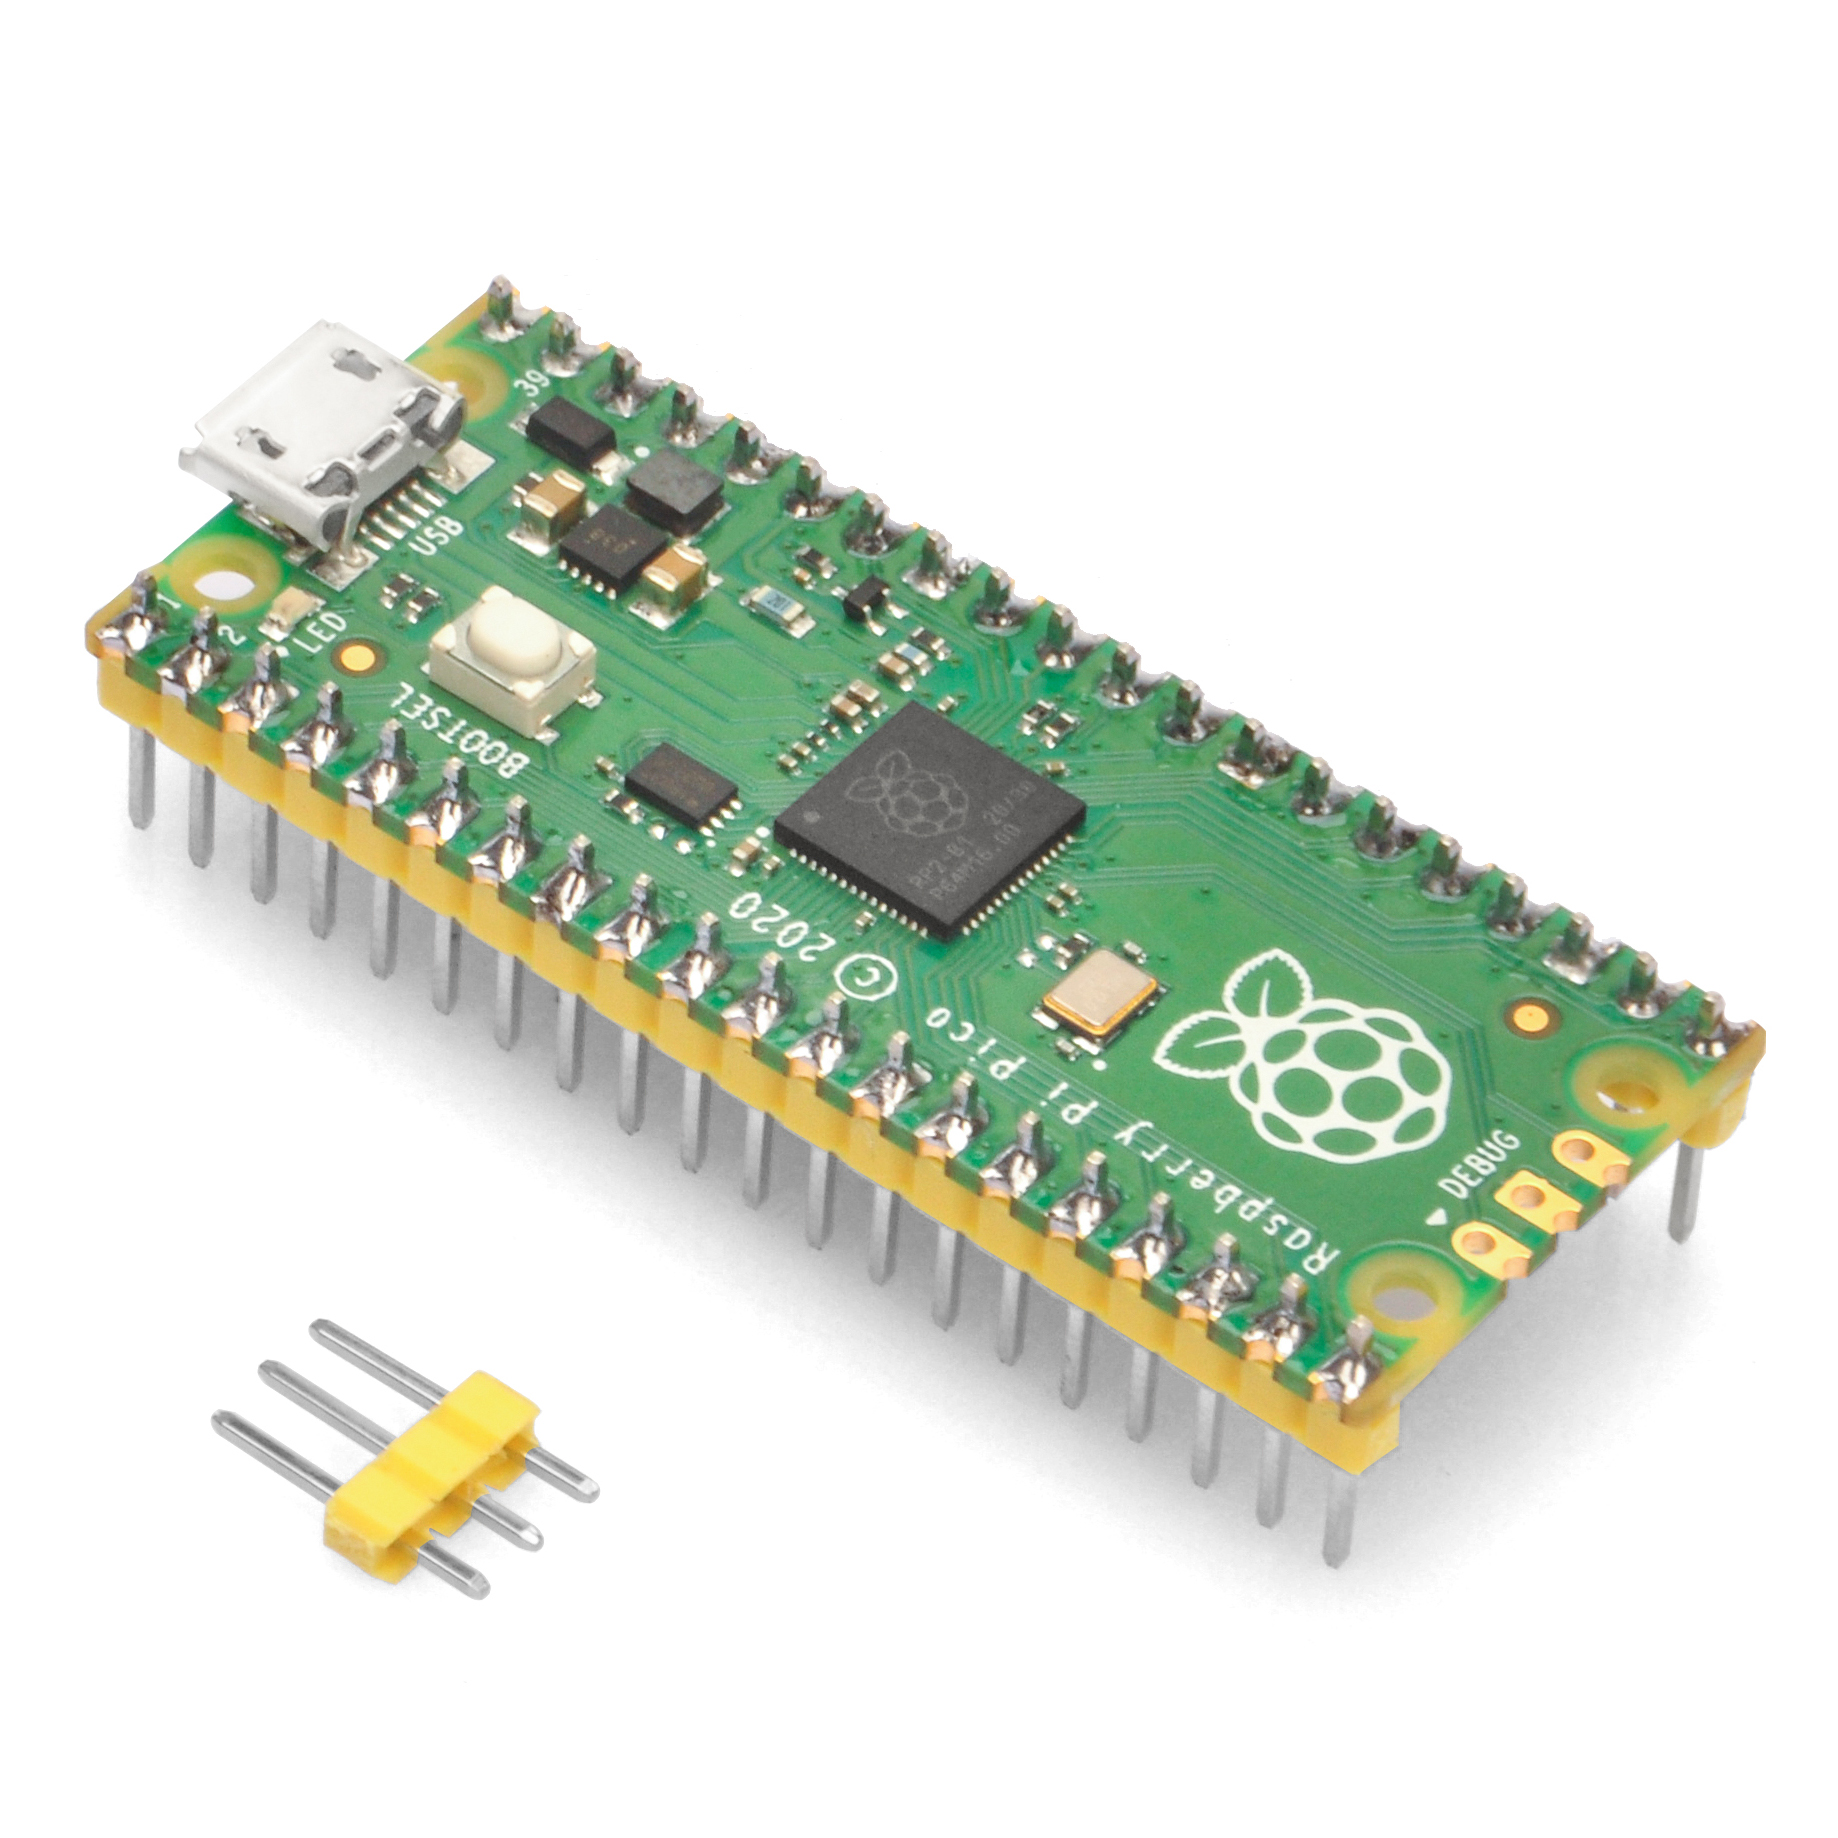
Raspberry Pi Pico board and microUSB cable
A computer to run Thonny Python IDE
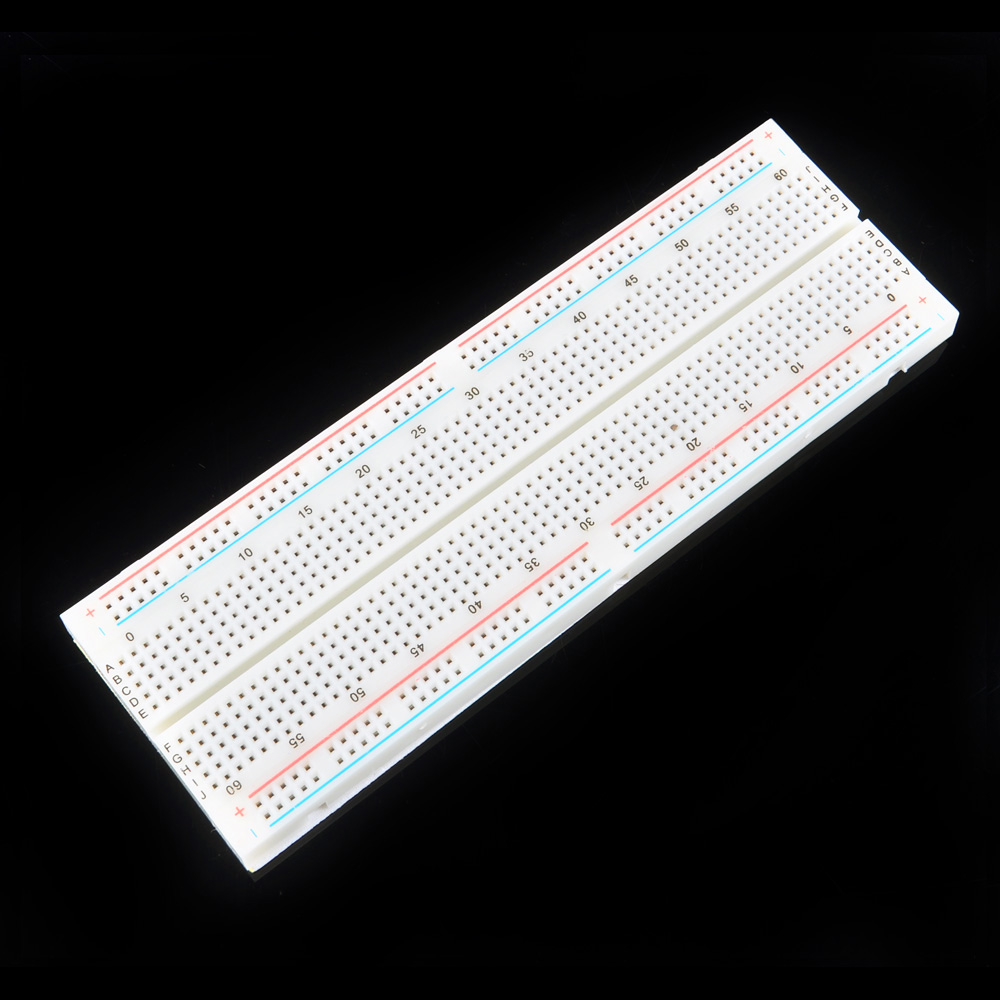
A breadboard
I2C 1602 LCD display
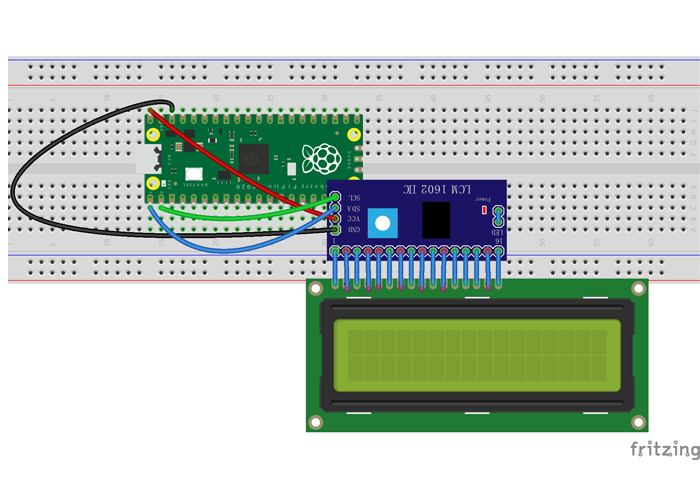
In above circuit graph, you can see that:
LCD VCC pin connected to Pico Vbus pin(5V)
LCD GND pin connected to Pico GND
LCD SDA pin connected to Pico SDA pin(GP0)
LCD SCL pin connected to Pico SCL pin(GP1)
lcd_api and pico_i2c_lcd library
In this lesson, we will use two Python libraries, lcd_api and pico_i2c_lcd, to access the LCD.
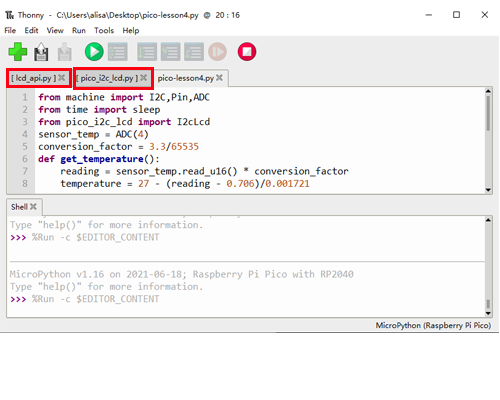
After unzipping the file, you will see two files: lcd_api.py and pico_i2c_lcd.py. Use Thonny to open each file and save them to the Pico root directory.
Later, you can use Thonny to open pico-lesson4.py and load it to the Pico.
Here is the full code with comments:
from machine import I2C,Pin,ADC #import libraries to handle Pins, I2C and ADC
from time import sleep
from pico_i2c_lcd import I2cLcd #import library to handle I2C LCD
sensor_temp = ADC(4)            #Internal Temperature sensor is connected to ADC 4
conversion_factor = 3.3/65535
def get_temperature():          #get temperature value from ADC 4 internal sensor
    reading = sensor_temp.read_u16() * conversion_factor
    temperature = 27 - (reading - 0.706)/0.001721
    return temperature

i2c = I2C(0, sda=Pin(0), scl=Pin(1), freq=400000) #initialize I2C port
I2C_ADDR = i2c.scan()[0].          #get I2C address
lcd = I2cLcd(i2c, I2C_ADDR, 2, 16) #initialize I2C display as 2x16
degree = bytearray([0x1c,0x14,0x1c,0x00,0x00,0x00,0x00,0x00]) #define a customized LCD icon for º (degree sign)
lcd.custom_char(0, degree)         #degree sign 'º' will be used as chr(0) in program
while True:
    lcd.putstr("Temperature:\n"+str(get_temperature())+" C"+chr(0)) #display temperature to LCD
    sleep(4)
    lcd.clear()
Step 1: Connect the Pico board to one of the USB ports on your PC. Step 2: If you haven’t installed Thonny software or don’t know how to use the Thonny IDE, please read lesson 1.
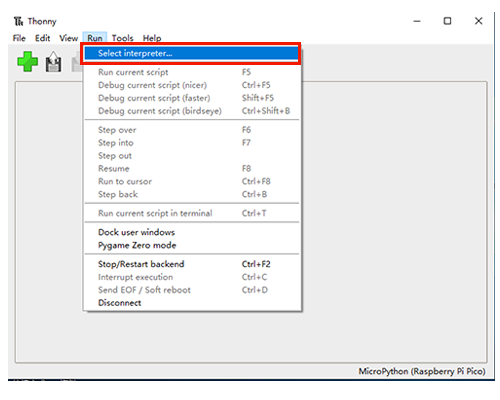
Step 3: Now open the Thonny Python IDE and select MicroPython for Raspberry Pi Pico as the interpreter by clicking on ‘Run’ and then selecting it.
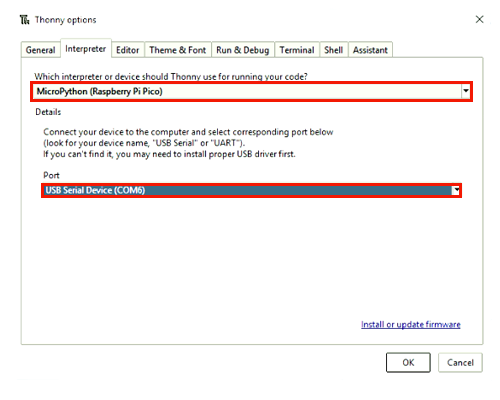
Also, please select the COM port to which your Pico board is connected.
After that, click OK to save the settings.
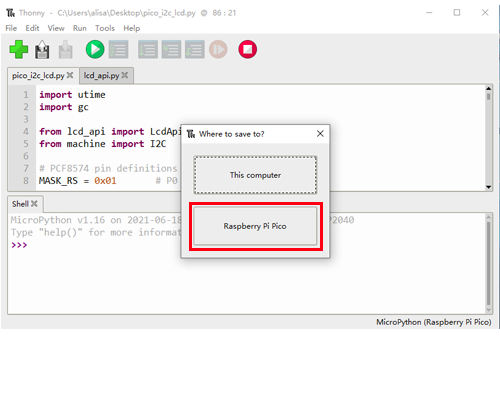
Step 4: Unzip the file pico_i2c_lcd.zip. You will see two files: lcd_api.py and pico_i2c_lcd.py.
as following;
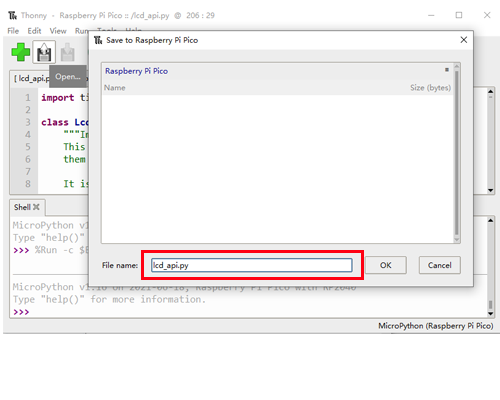
Use Thonny to open each file as follows and then save them to the Pico root directory.
Then, click OK.
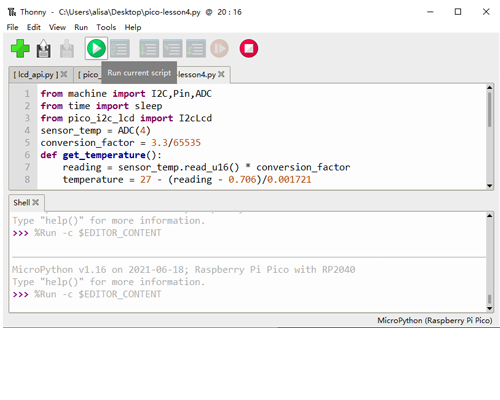
Step 5: Open lesson4.py and click the little ► button to save the file to the computer and run the Python code.
Now you can see the LCD display the temperature as follows:
Temperature: 25.01234 °C
After the operation is complete, press Ctrl+C to end the command.
I can’t get to write in the LCD. My code is the same as the one in this page (lesson4 for raspberry pi pico in micropython), but nothing happens. I use some fuctions to interact with de LCD like backlight_on() or backlight_off() and it works, but when I use putstr() it doesn’t work.
Then make sure there is no error message when you run the Python code. If you have any error message, please show us the error message. Or you can send the screenshot of error message to [email protected]


I can’t get to write in the LCD. My code is the same as the one in this page (lesson4 for raspberry pi pico in micropython), but nothing happens. I use some fuctions to interact with de LCD like backlight_on() or backlight_off() and it works, but when I use putstr() it doesn’t work.
¿Can you help me please?
firstly, please make sure you have properly adjust the brightness through the little screw in the back of LCD,
check this picture
https://osoyoo.com/wp-content/uploads/2017/05/LACC200602-6.jpg
Then make sure there is no error message when you run the Python code. If you have any error message, please show us the error message. Or you can send the screenshot of error message to [email protected]
It was about the brightness, excuse my clumsiness.
Thanks!