In Pico Graphic programming tutorial lesson 1, we learned how to set up Pico to work with Google Chrome Browser and use PlayPiper.com Website to create a simple blink program. You will learn some basic programming blocks from the Chip and Loops categories, including START, Repeat Forever, and Turn Pin On/Off.
In this lesson, we will create a slightly more complicated program and use a push button to turn an external LED on and off. We will also learn a new programming block from the Logic category.
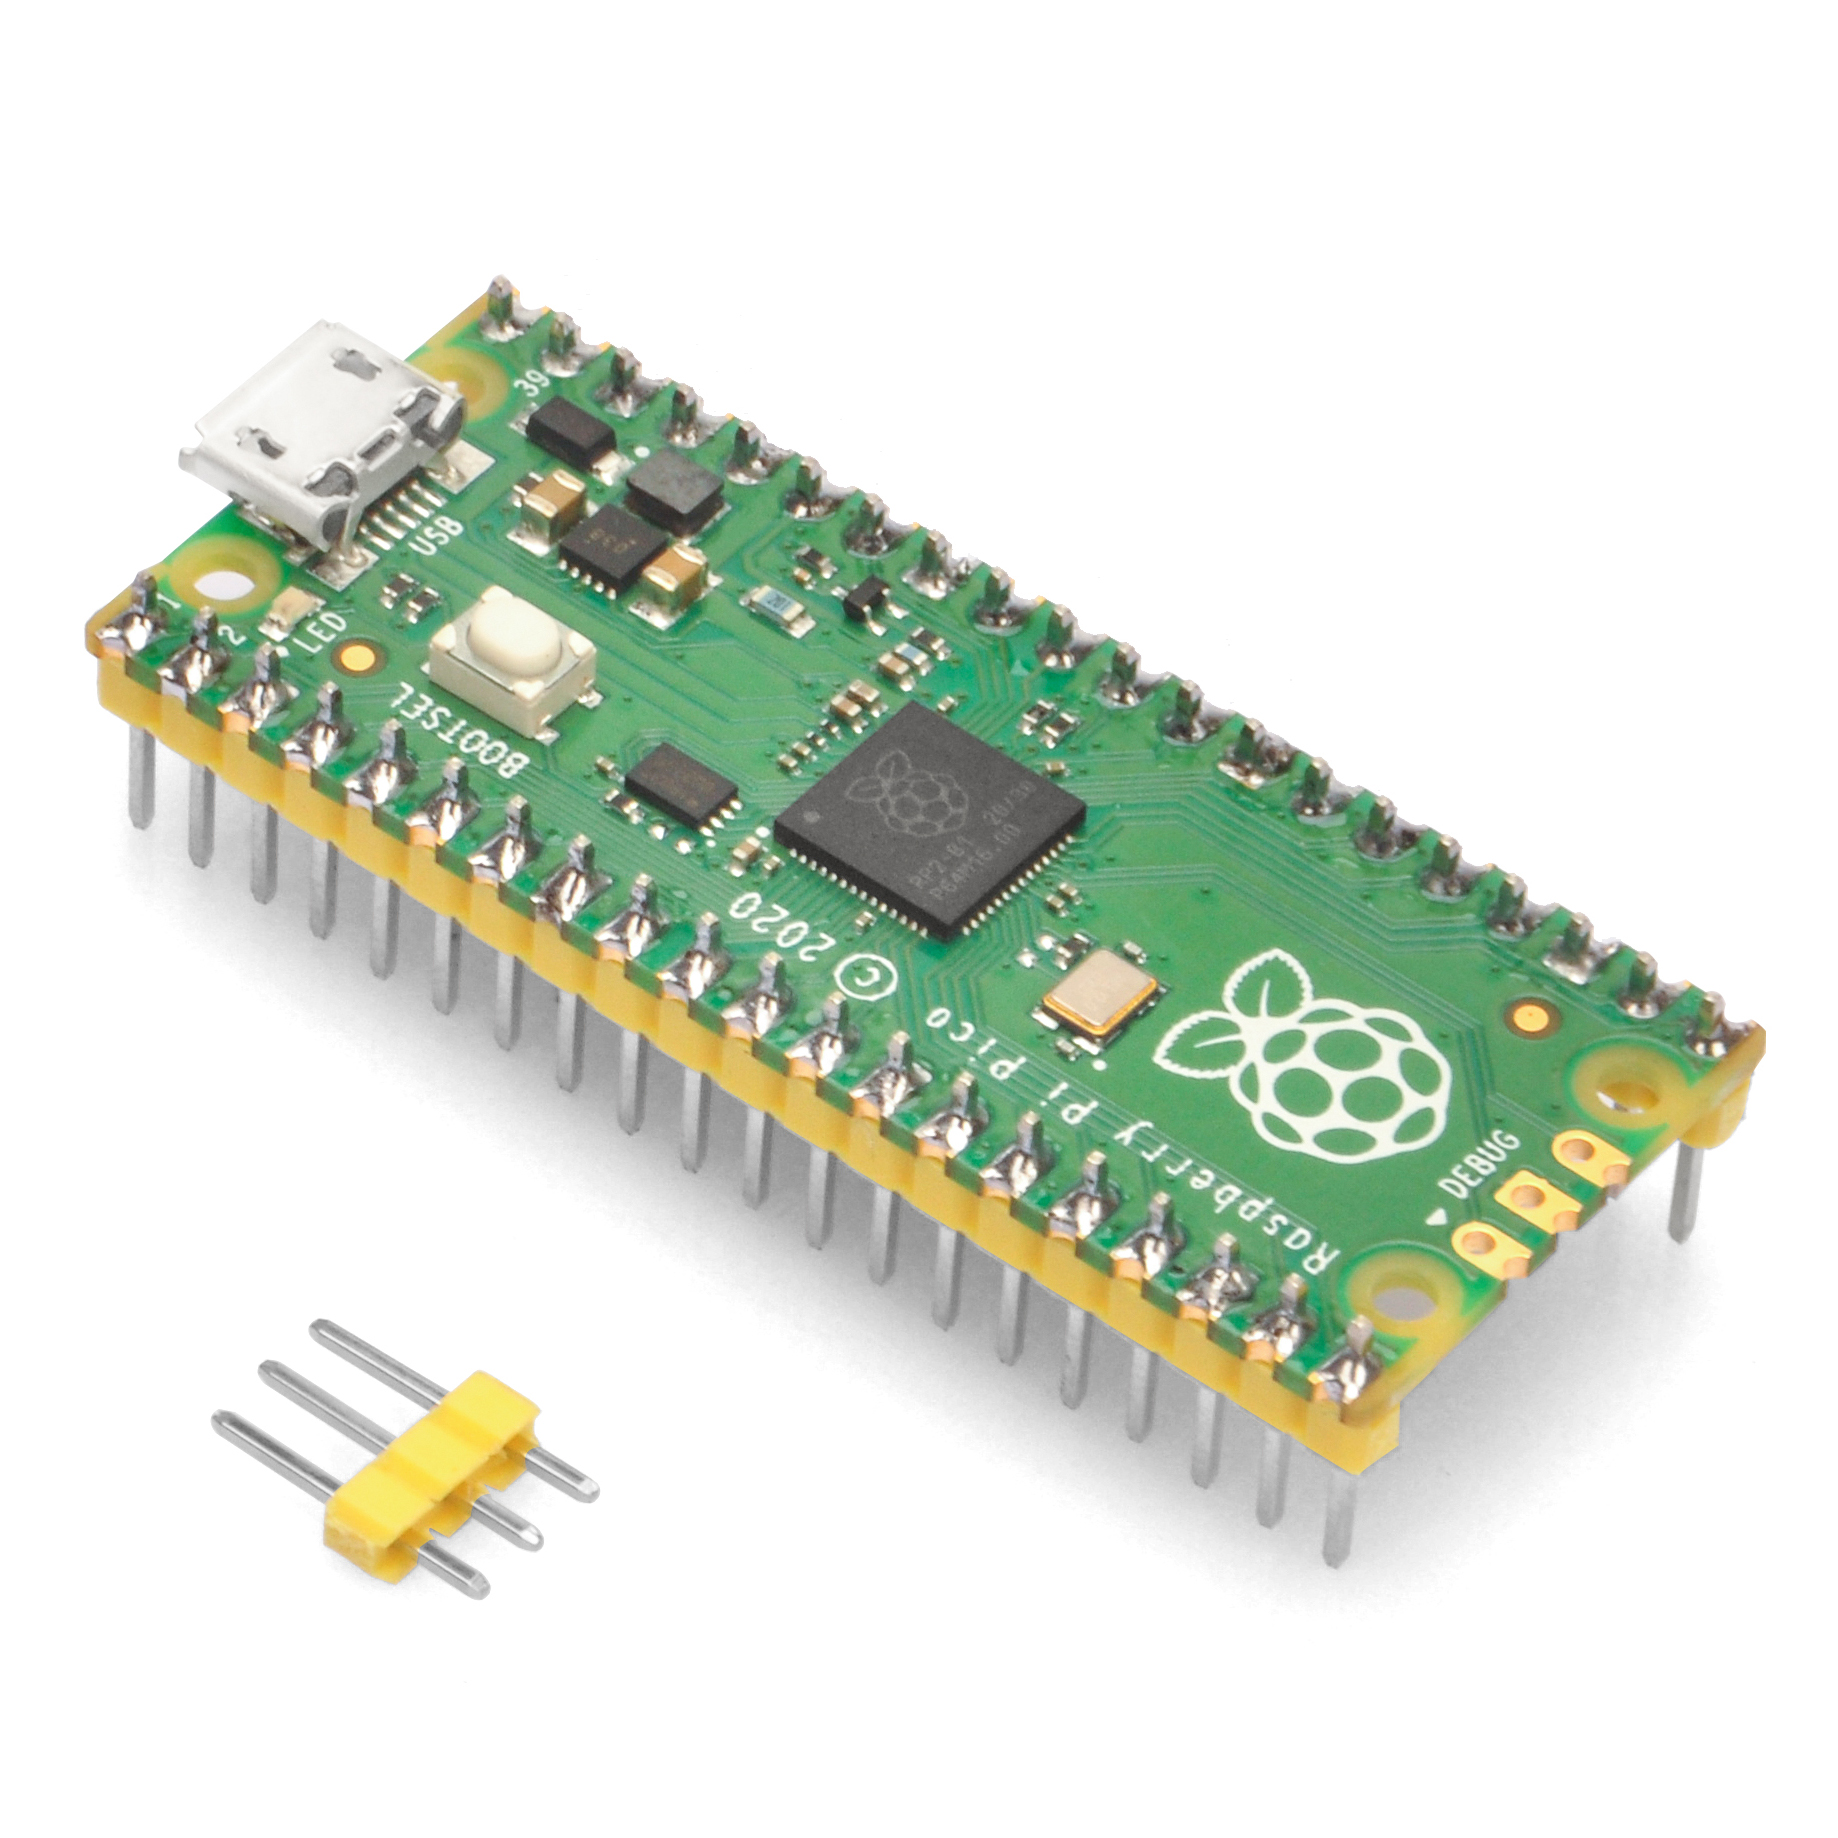
Raspberry Pi Pico board and microUSB cable
A computer to run Thonny Python IDE
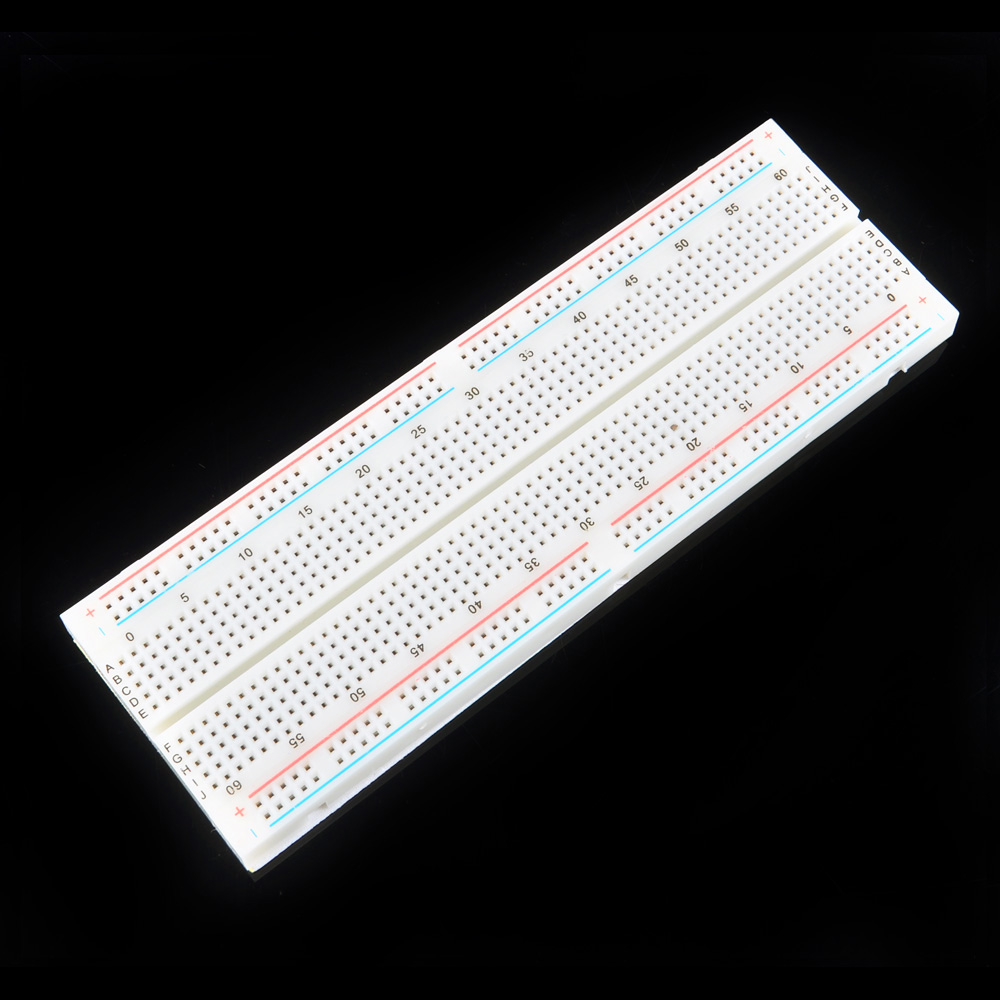
A breadboard
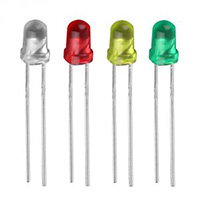
LED x 1 pc
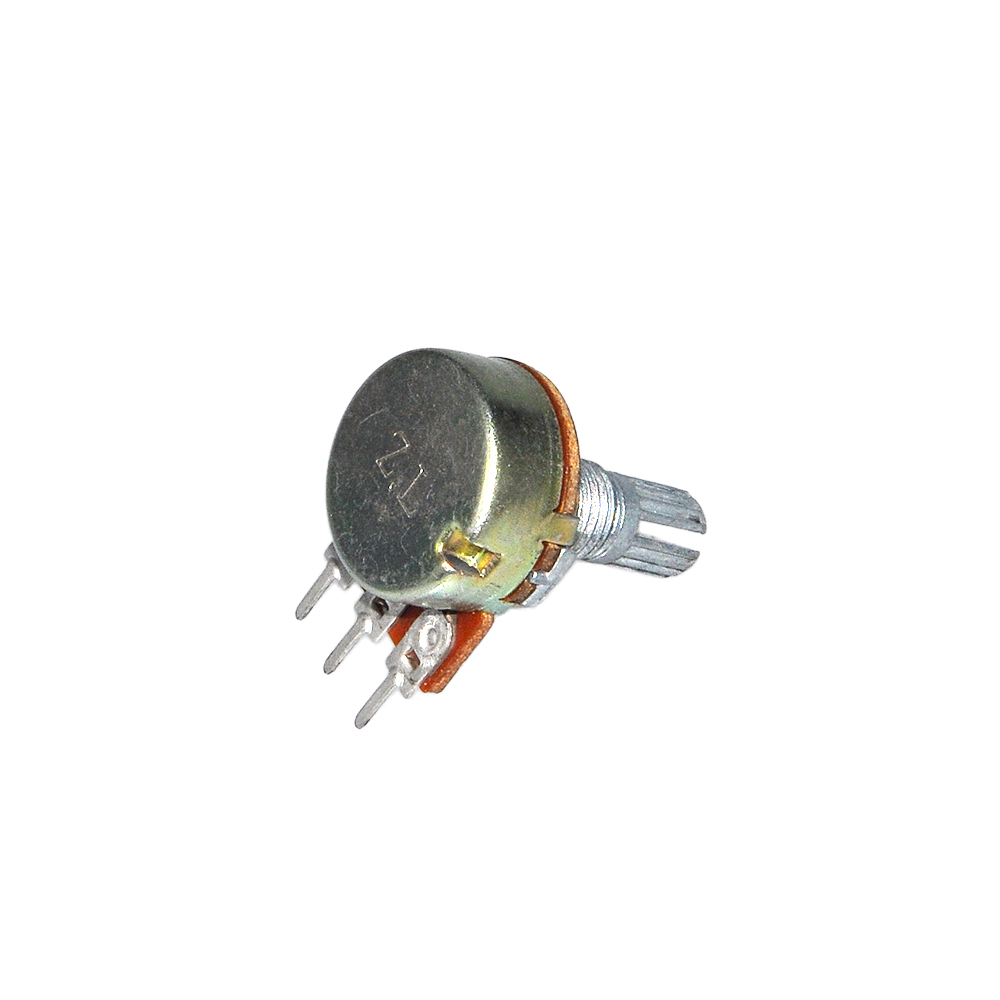
220 ohm resistor
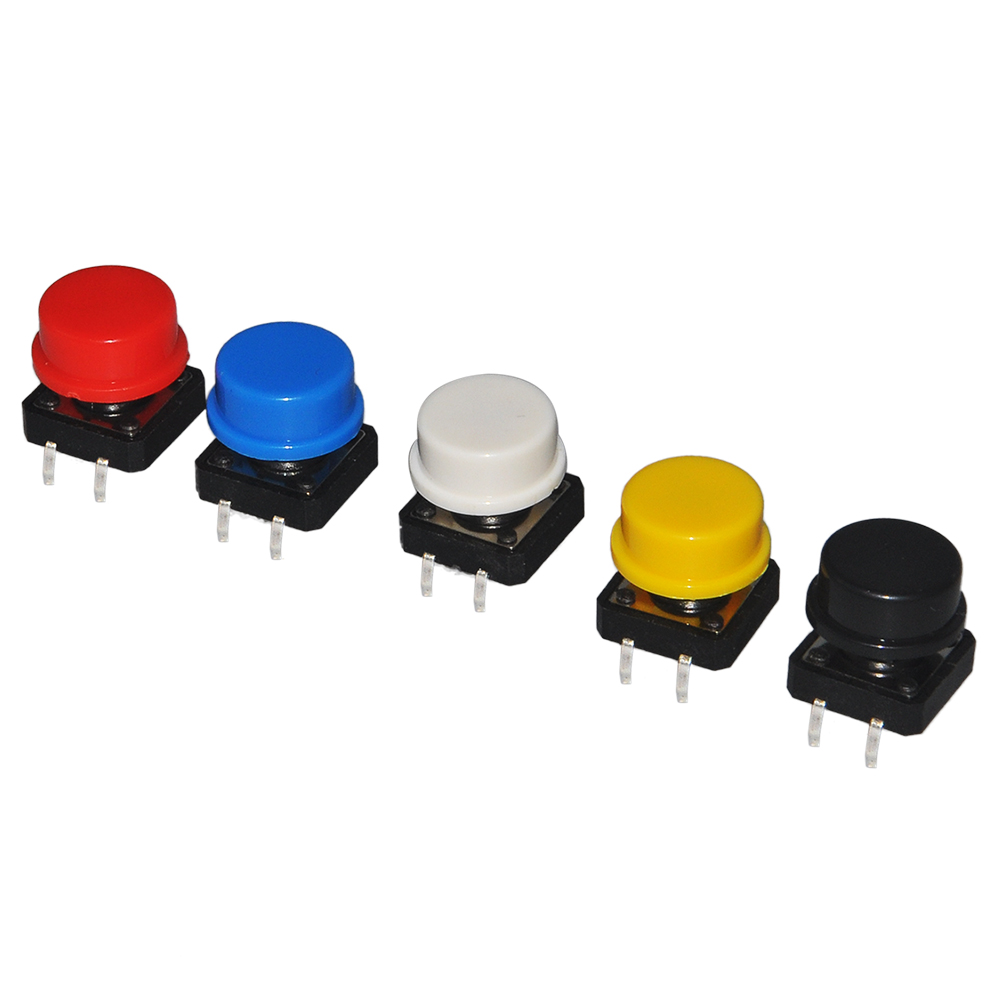
Push button x 1 pc
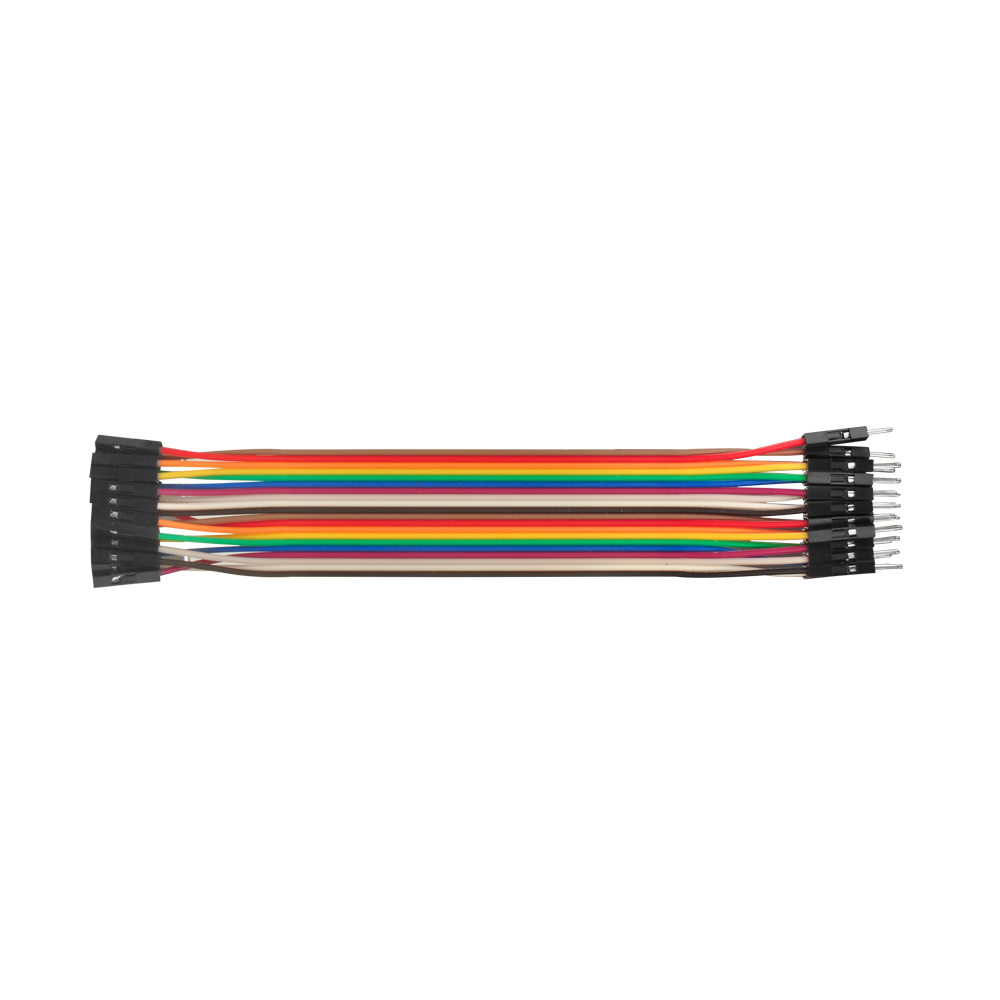
Some jumper wires
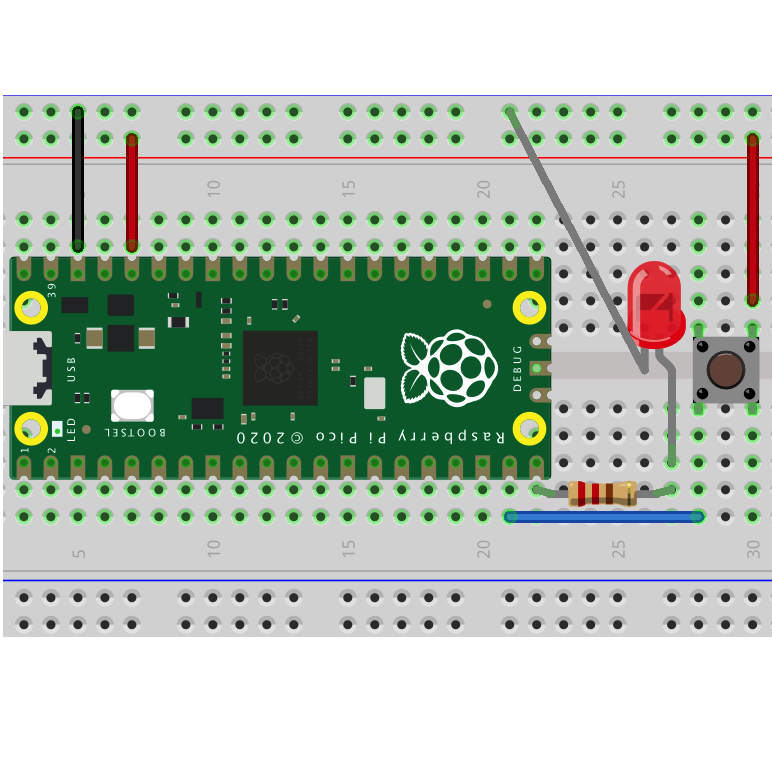
In above circuit graph, you can see that:
LED negative pin connected to GND
LED Positive pin connected to GP15 through 220 ohm resistor
Push button pin 1 connected to 3.3V
Push button pin 2 connected to GP14
After you assembly above circuit, we can start a new project in playpiper.com .
Step 1: Create a New Project and Connect the Pico to Serial Port
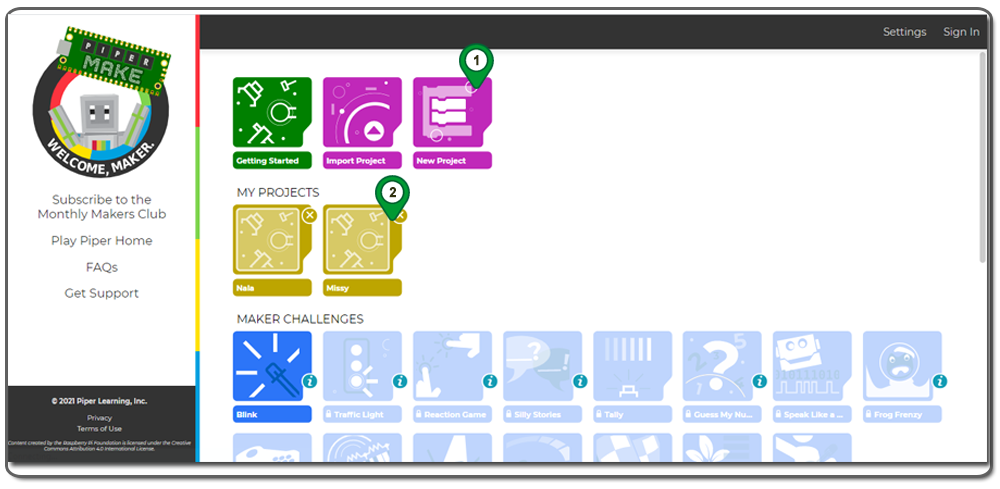
1)Click the New Project icon, and a new project icon with a fancy name will pop up.
2)Click the new icon in My Projects
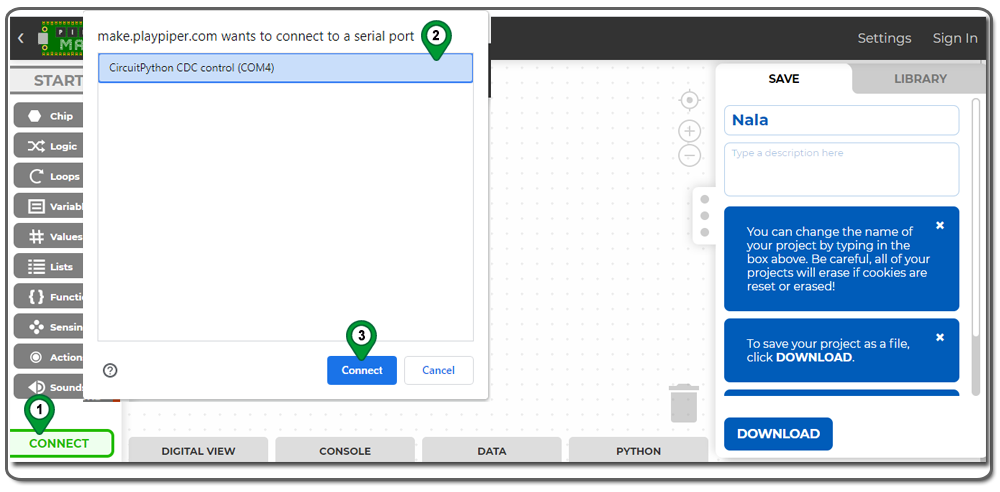
3)Now you will enter a new graphic programming page. Please click the CONNECT Button at the bottom of the page and connect your Pico board to your project. Then your browser will pop up a Serial Port option menu. Please select Pico from the menu and click the Connect button.
If you cannot see Pico in the Serial Port menu, it means your Pico is not set up properly. You need to go back to Lesson 1, Step 1, and set up Pico again.
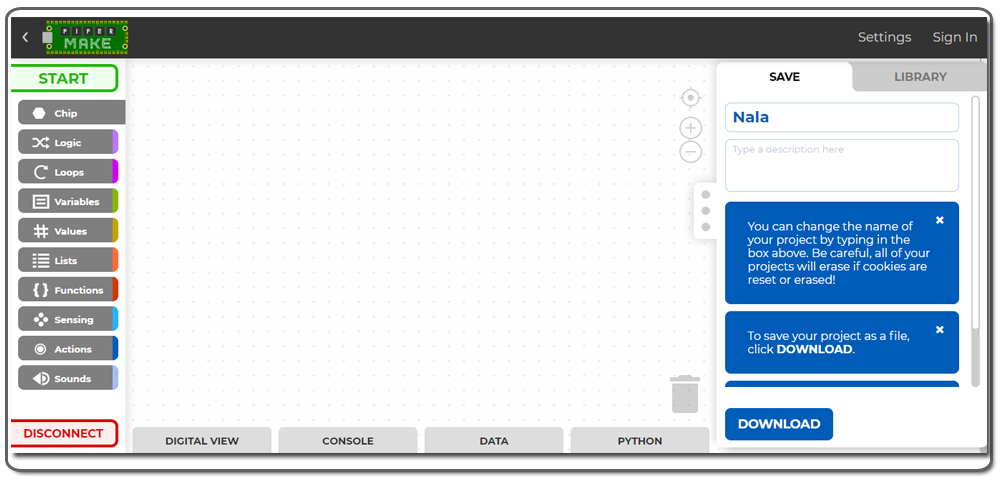
After you connect Pico to the Serial Port, your GUI Connect button will switch to the Disconnect button, as follows:
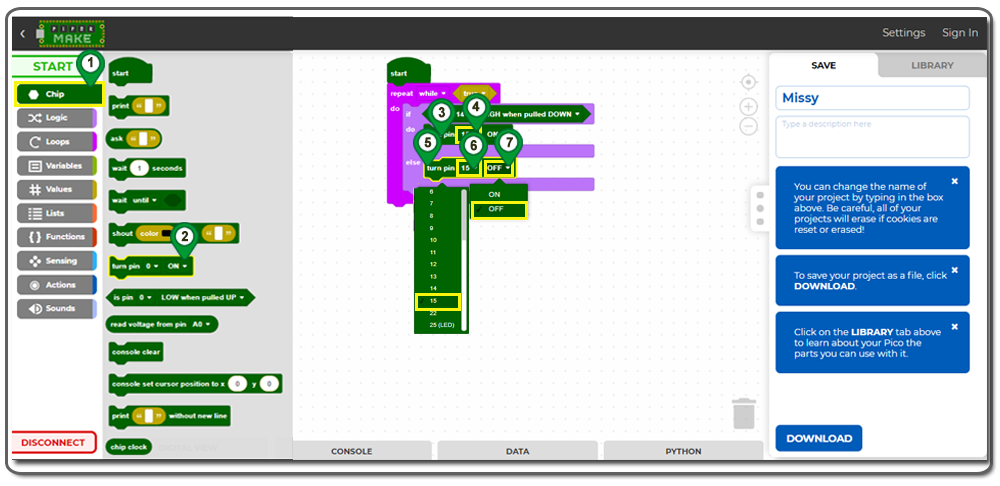
Step 2: Build Graphic Coding Chips
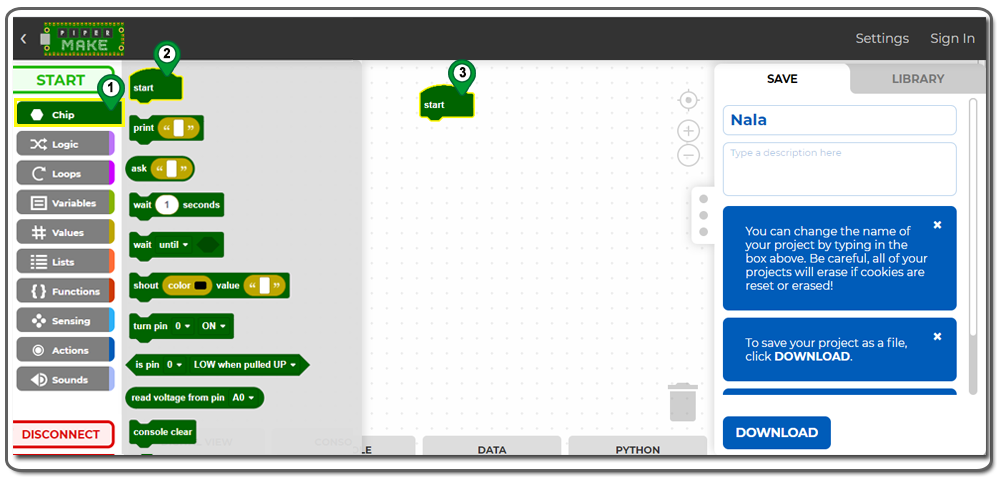
1)Click Chip -> Start, then move the Start chip to the coding area as shown below:
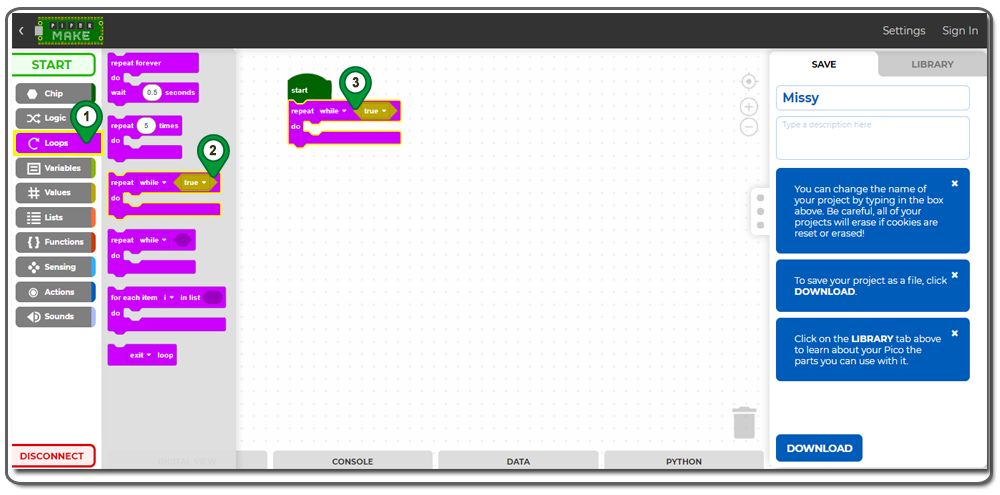
2)Click Loops -> Repeat While True, and move this block just below the Start block as shown below:
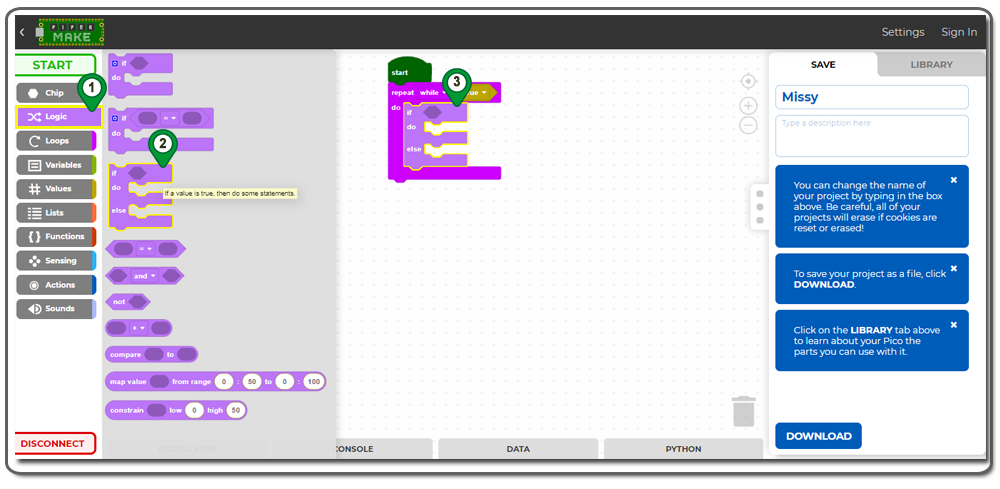
3)Click Logic -> If Do Else, and move it inside the Repeat While True block, as shown below:
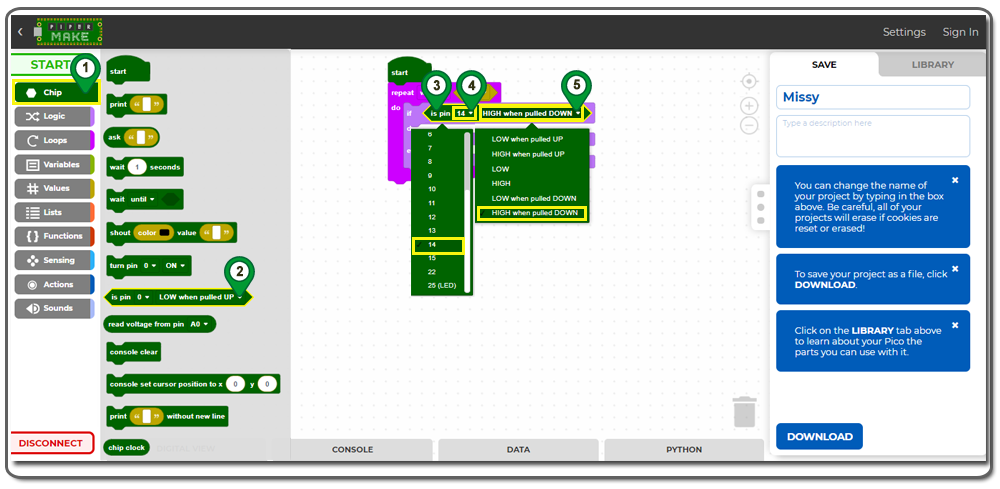
4)Click Chip -> Is Pin condition block, and move it inside the If Do Else block’s condition area. Then, change Pin 0 to Pin 14 and change “LOW when pulled UP” to “HIGH when pulled DOWN,” as shown below:
Explanation: This “Pin 14 HIGH when pulled DOWN” block has two functionalities:
When the push button has no signal coming to Pin 14 (floating), Pico will automatically set the input value to LOW.
When the push button is pressed and connected to Pin 14 at 3.3V, the input will be HIGH and enable the action in the Do area.
5)In the Chip category, add two more Turn Pin blocks to the GUI and move them to the Do area and Else area. Change the pin number from 0 to 15, and change the Else area ON status to OFF status, as shown below.
Now we have finished building the graphic program for this lesson. Simply click Start button to run the program.
Test the program
Now push the button in your bread board, the LED will turn on, when you release the button, the LED will turn off.