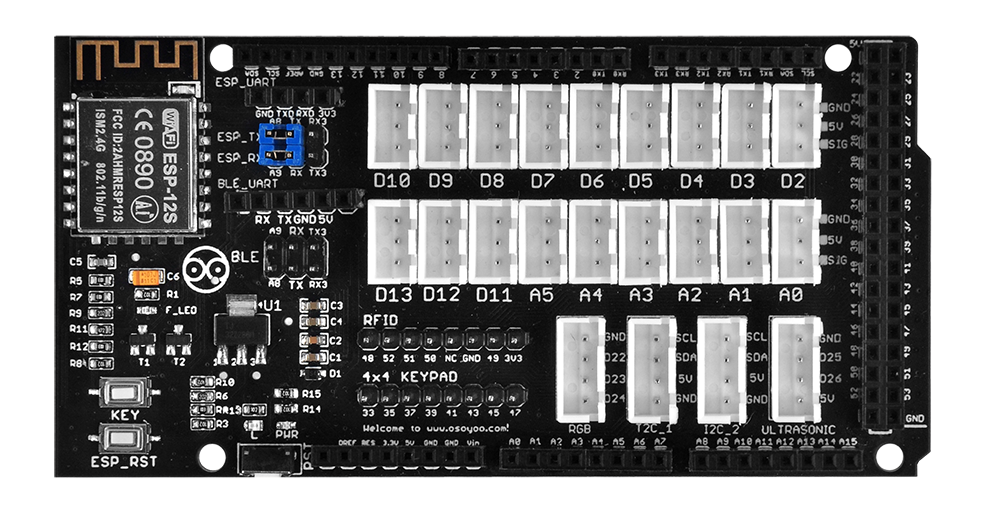
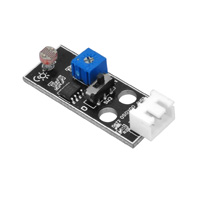
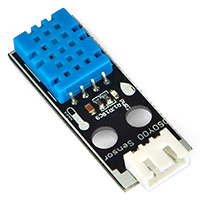
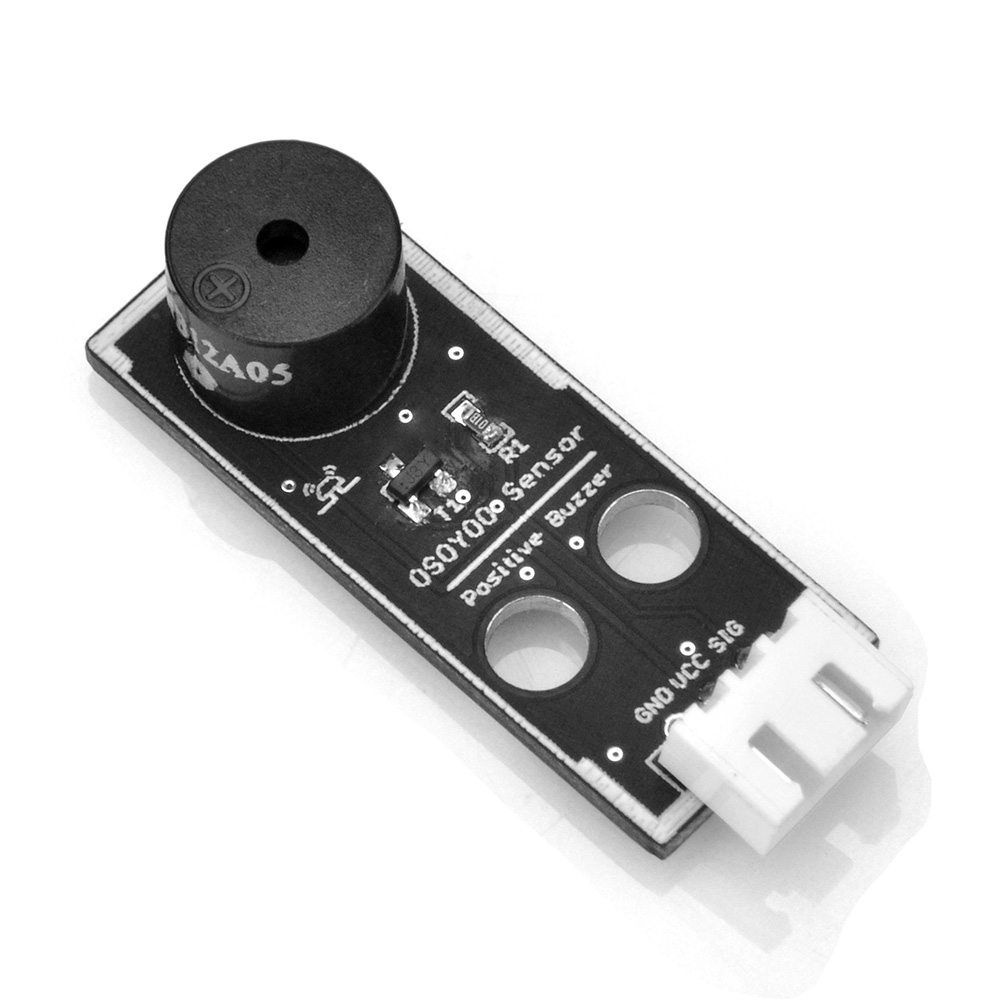
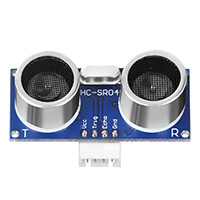
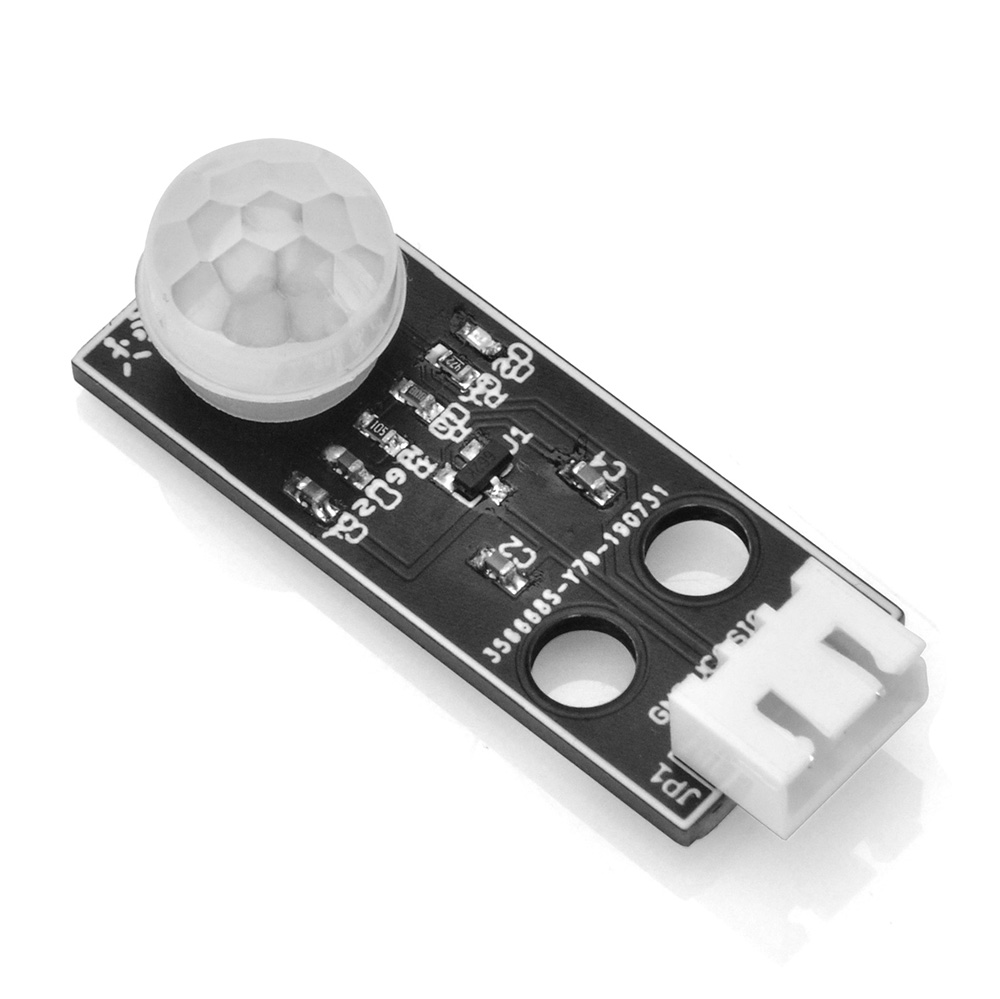
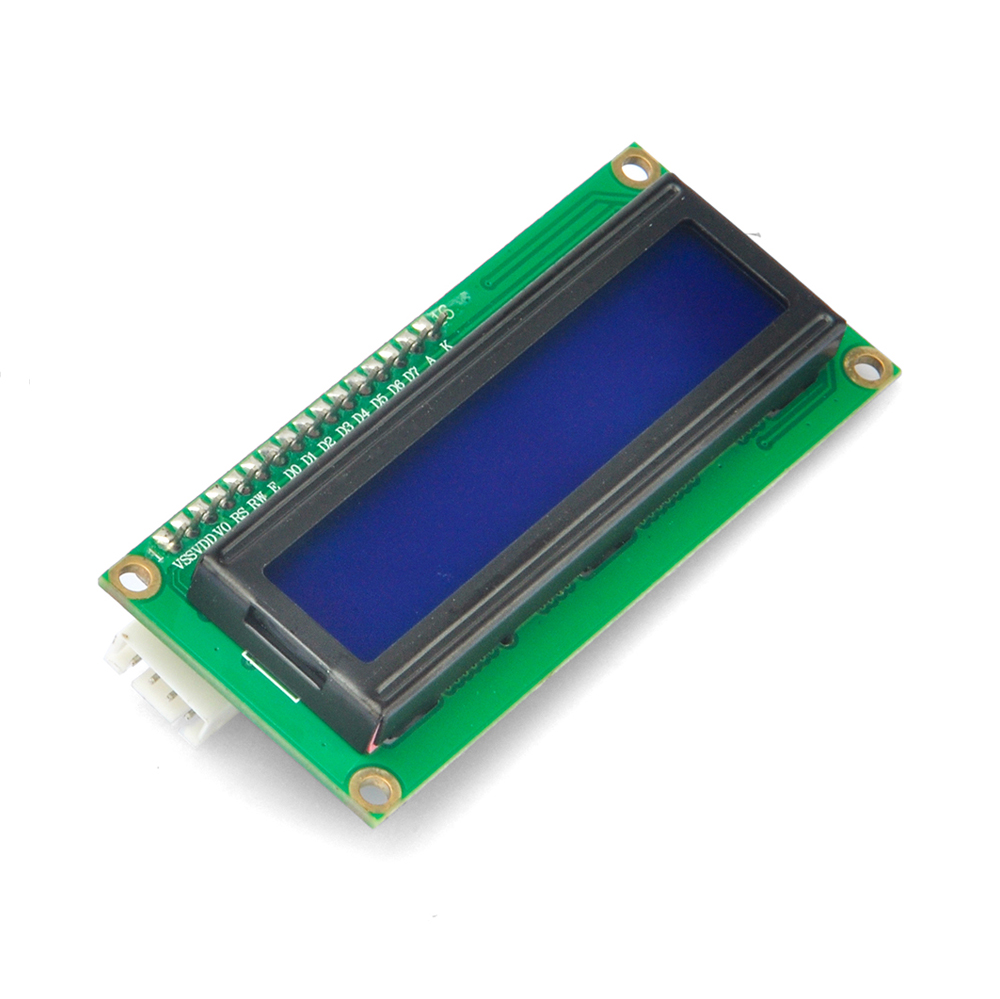
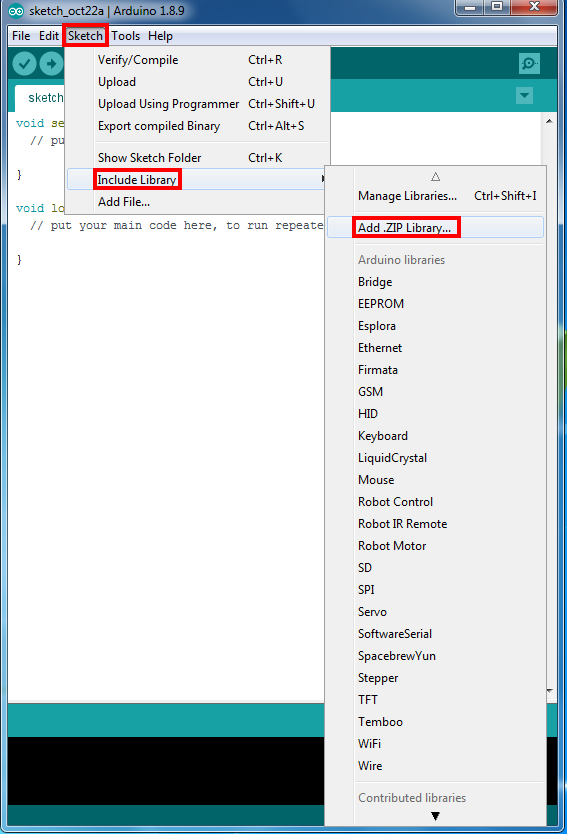
In Arduino IDE, click Sketch → Include Library → Add .ZIP Library and load each of the ZIP files above.Download and Edit the Lesson 2-3 Arduino Code
Step 1) After installing the libraries above, download the code from the link below and unzip it: https://osoyoo.com/driver/smart-home-v2-udp/lesson3/smart-home-lesson3.zip
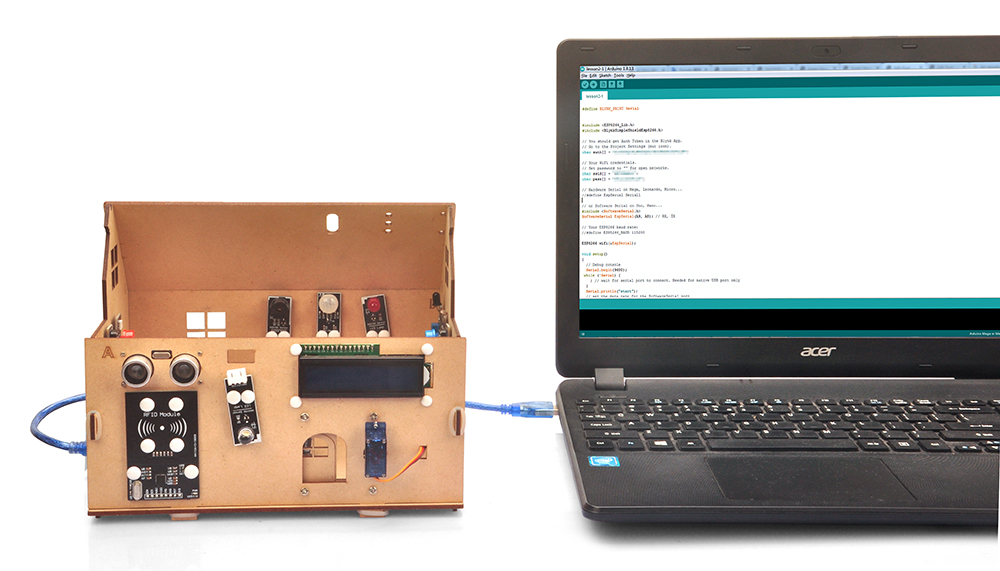
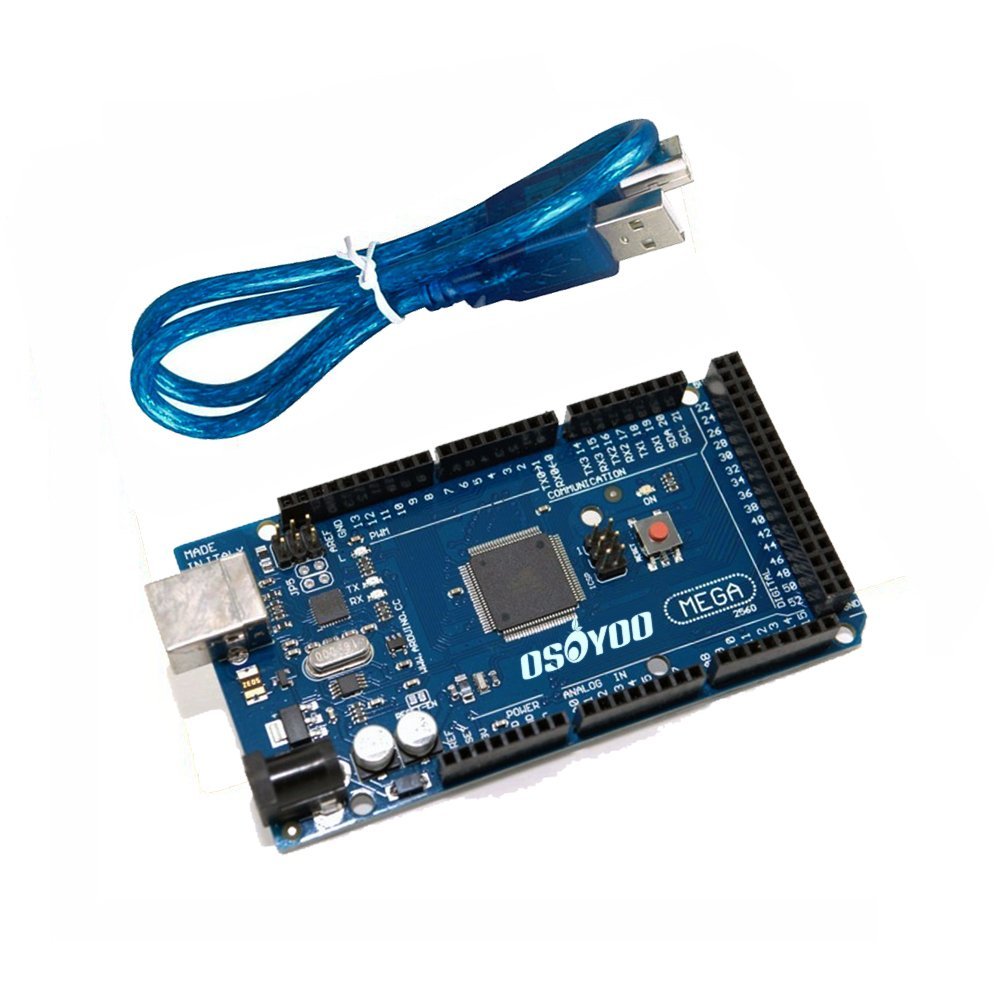
Step 2) Connect the OSOYOO MEGA2560 Board to your PC with a USB cable.
Notice: Turn off the battery or unplug the power adapter before uploading sketch code to Arduino.
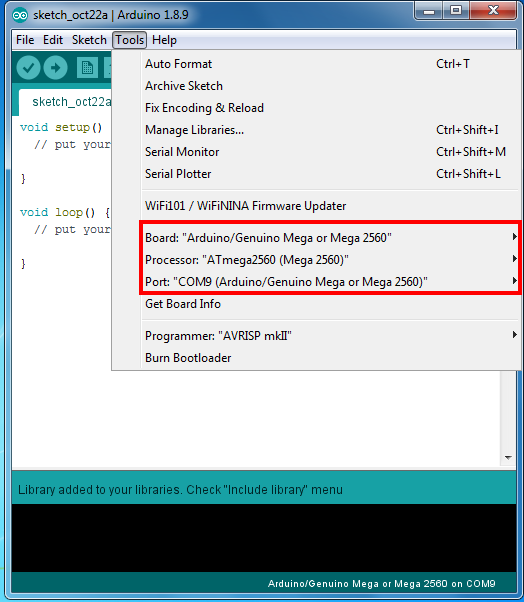
Step 3) Open Arduino IDE and choose the correct board type and port for your project.
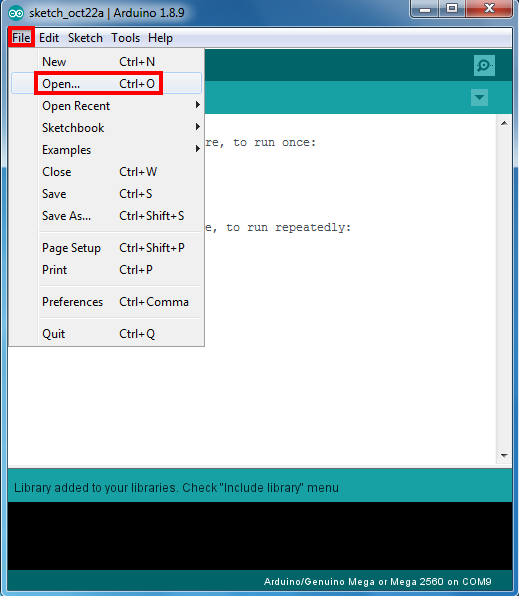
Step 4) In Arduino IDE, click File → Open, select the code file in the unzipped folder, and upload the sketch to your Arduino.
In the sketch file, replace *** with your Wi-Fi SSID and password:
char ssid[] = "***";//replace this line with your wifi ssid
char pass[] = "***"; //replace this line with your wifi password

Upload the sketch to the board. Wait until you see:
Done uploading
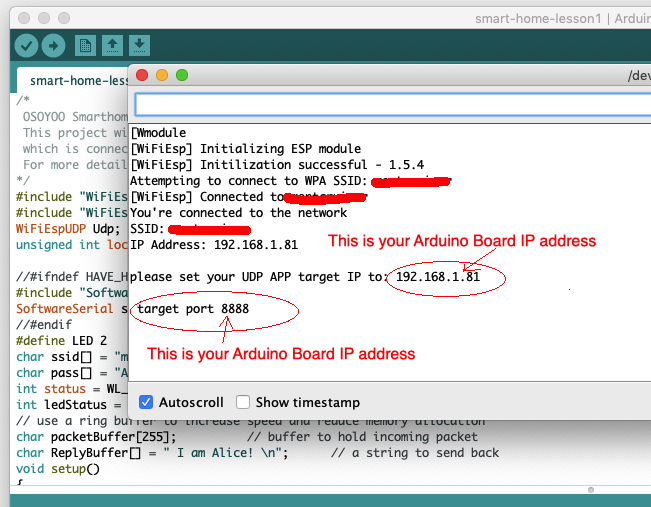
Open the Serial Monitor and you will see the Arduino’s IP address:
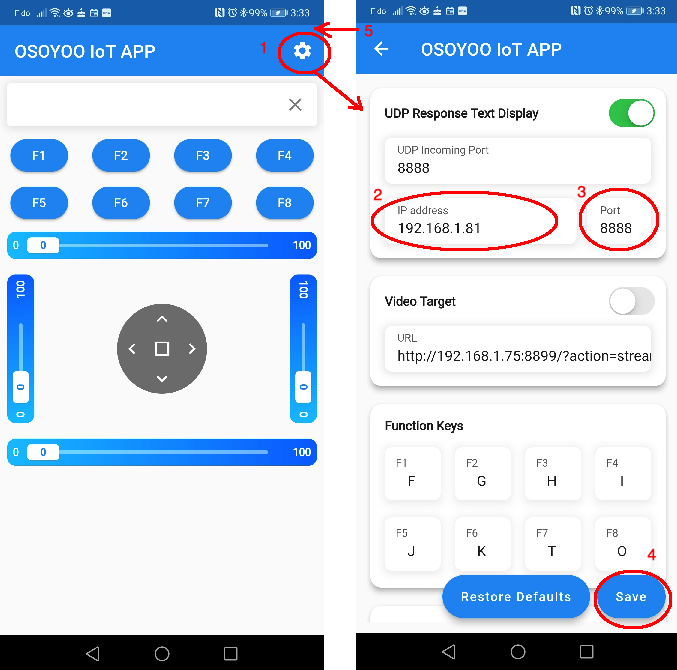
In the example above, 192.168.1.81 is the Arduino’s IP address. You will need to enter this IP address in the App in the next step.
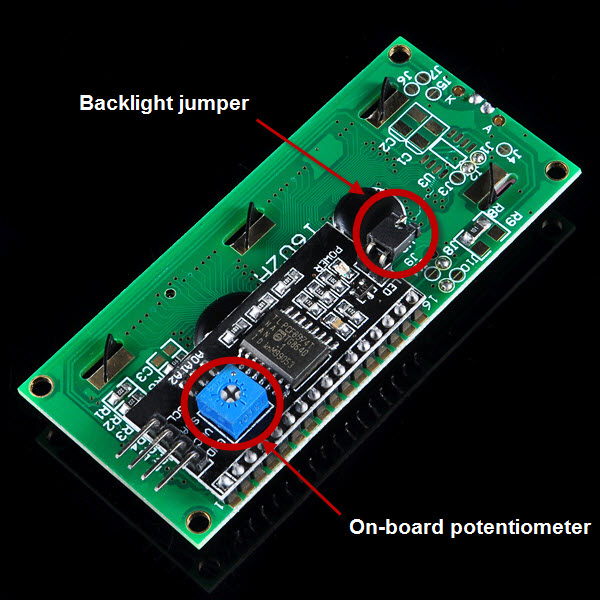
The LCD board has a jumper. If you remove this jumper, the backlight will always be off. You can also adjust the LCD contrast using the on-board potentiometer.
Step 2) Make sure your phone is on the same local network as the Arduino. Open the App, tap Settings, and enter the Arduino IP address from the Serial Monitor and set the Port to 8888:
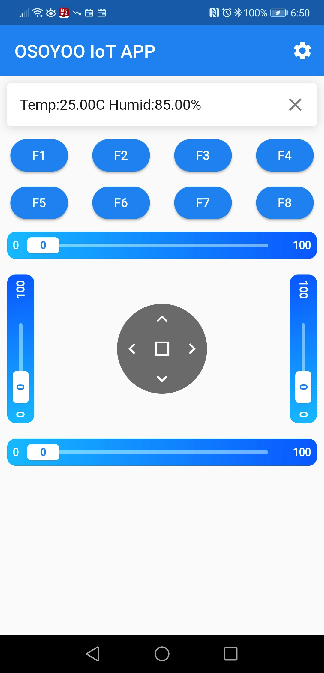
The LCD screen will now show the current temperature and humidity. The App will also display these values in the text fields as shown below. If the data does not appear, press the F1 key and try again.
Code Explanation:
Line 40 defines the phone App’s IP address:
IPAddress phoneIP=IPAddress(192,168,1,255);
Since we don’t know the phone’s LAN IP in advance, we use the broadcast address 192.168.1.255. This causes the Arduino to send messages to all devices on the local network (192.168.1.xxx).
Once you tap any key in the App, the Arduino detects your phone’s actual IP address and uses it instead of the broadcast address. From that point on, the Arduino sends messages only to your phone’s App instead of broadcasting to every device on the LAN.


















 Download and Edit the Lesson 2-3 Arduino Code