← Back to Product Introduction

| Buy from OSOYOO |
Buy from US |
Buy from UK |
Buy from DE |
Buy from IT |
Buy from FR |
Buy from ES |
Buy from JP |
 |
 |
 |
 |
 |
 |
 |
 |
1.Supported Hardware & OS
| Item |
Details |
| Display Panels |
OSOYOO 7″ DSI Touchscreen (#2025001200) |
| Supported Boards |
Raspberry Pi 3 / 4 / 5, CM3 / CM4 / CM5 |
| Operating System |
Raspberry Pi OS Bookworm / Trixie (Kernel 6.12+) |
Note: Make sure your hardware is connected correctly before proceeding. Refer to the Hardware Connection section in the product introduction if needed.
2.Direct Installation via Git (Recommended)
2.1 Installation Raspberry OS with Raspberry Pi imager
(skip this step if your SD card has pre-installed Rasbian OS Image).
Note: here we take Raspberry Pi imager 2.0.11.1 as example to install OS, and other version may have some differences. (Device: Raspberry Pi 5)
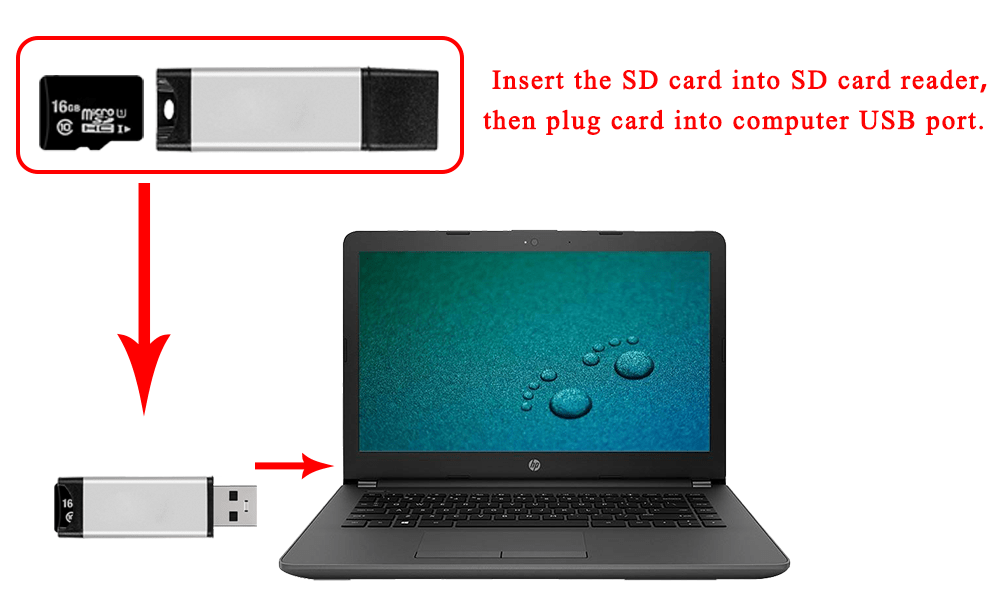
Step 1: Prepare a newly formatted micro SD memory card(TF card) with USB micro SD card reader, recommend sizes are 16G, 32G.
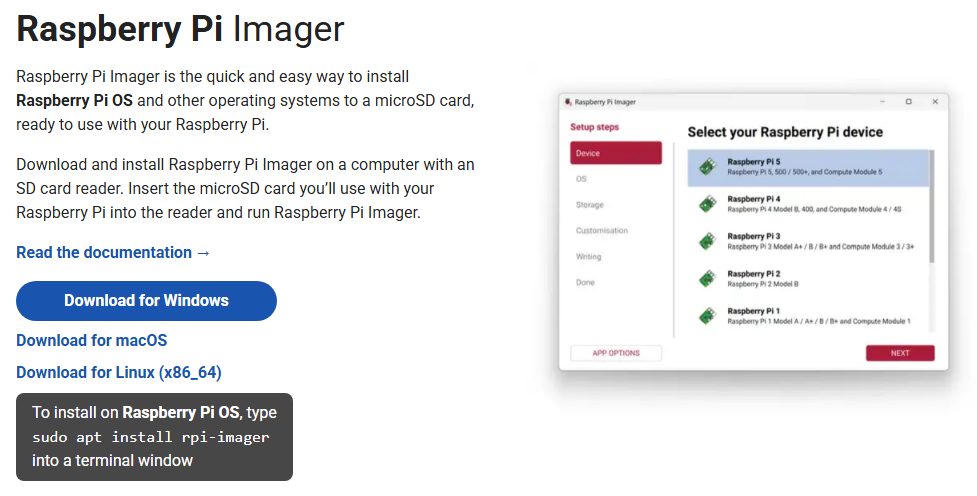
Step 2: Download the Raspberry Pi Imager from Raspberry Pi official website: https://www.raspberrypi.com/software/.
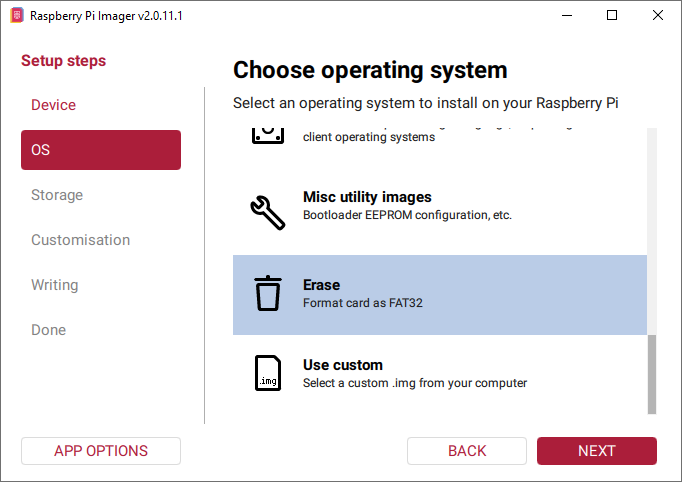
Step 3: Format your micro SD card: Run Raspberry Pi Imager and select “Erase” in Operating System field, and “your micro SD card” in Storage field.
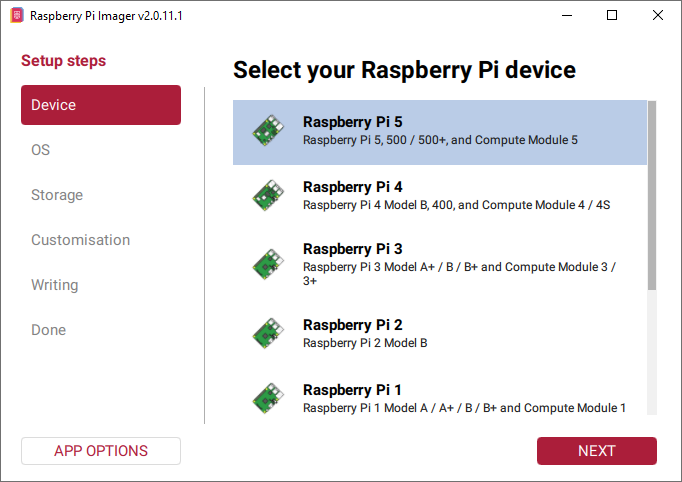
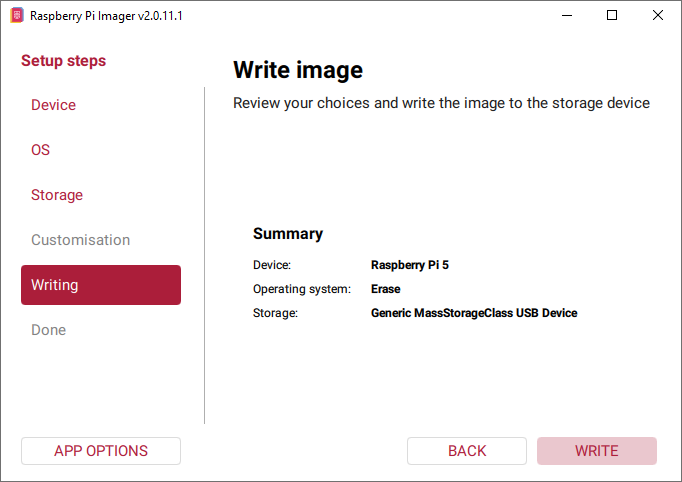
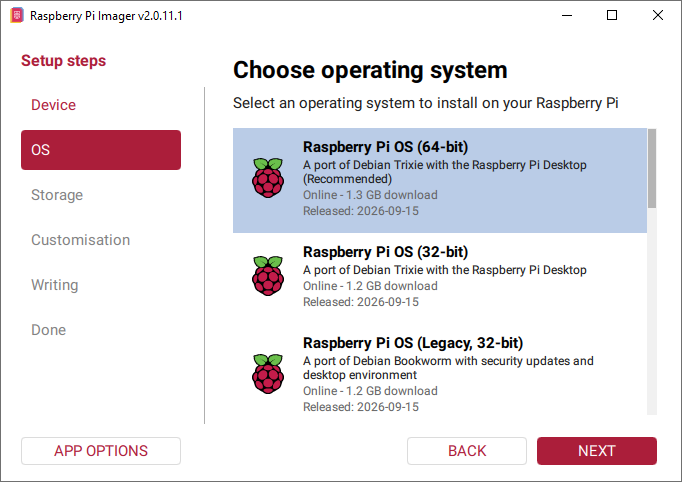
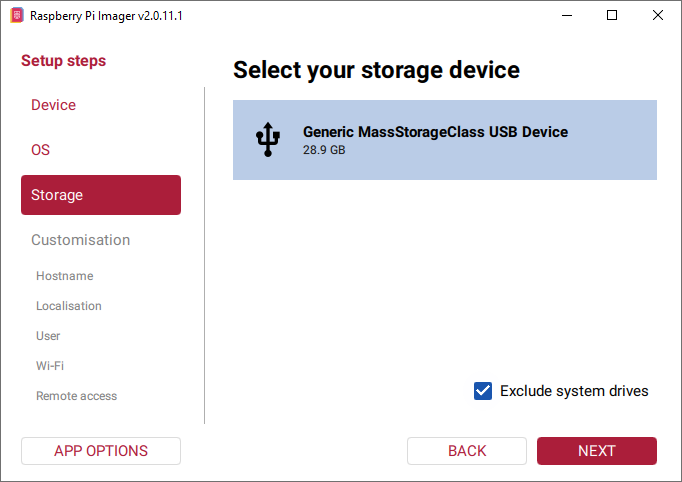
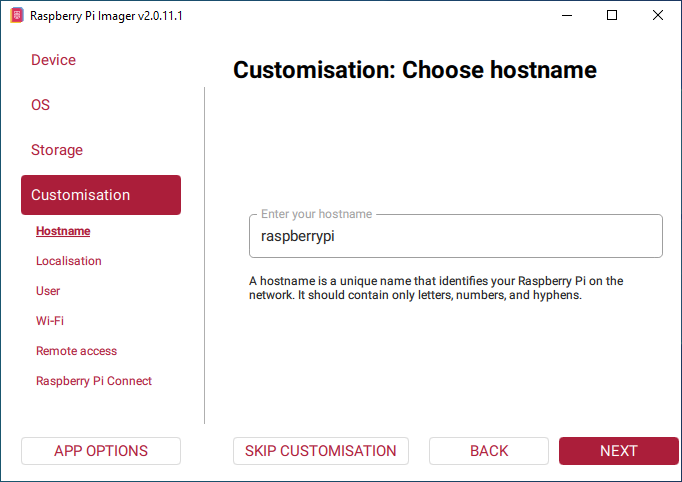
Step 4: Run Raspberry Pi Imager, select your Raspberry pi 5 in device, then select “Raspberry Pi OS(64-bit)” in Operating System field , then select “your SD card” in Storage field. (If you have burnt Raspberry Pi OS in your SD card, please skip step 2).
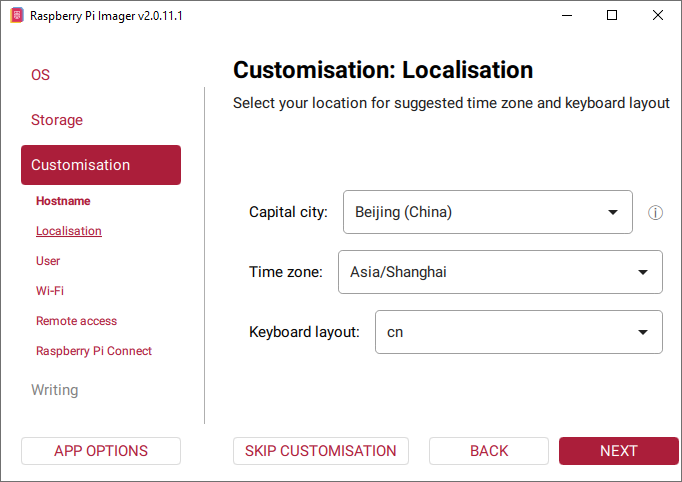
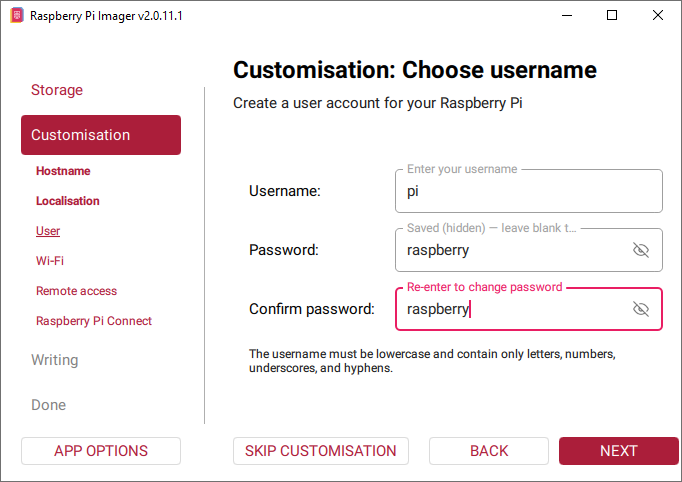
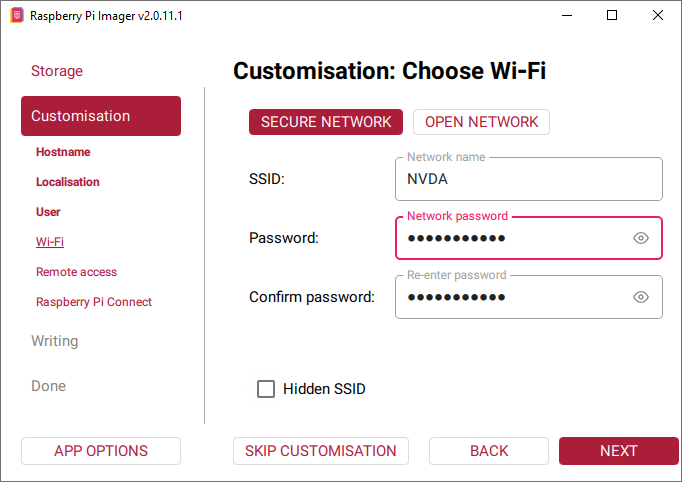
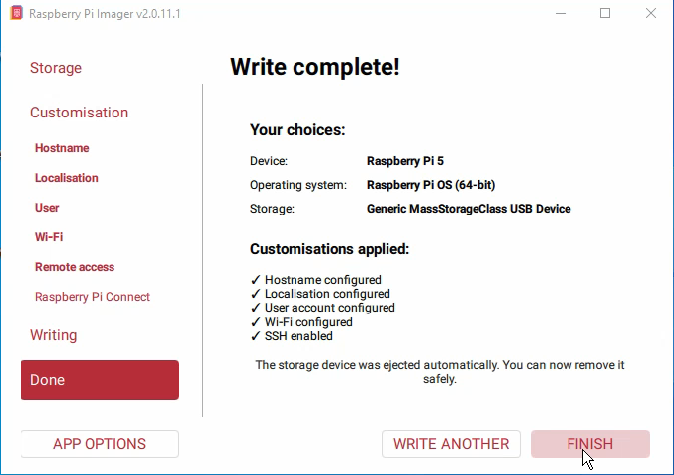
2.2 Use ssh tool to control Raspberry Pi remotely
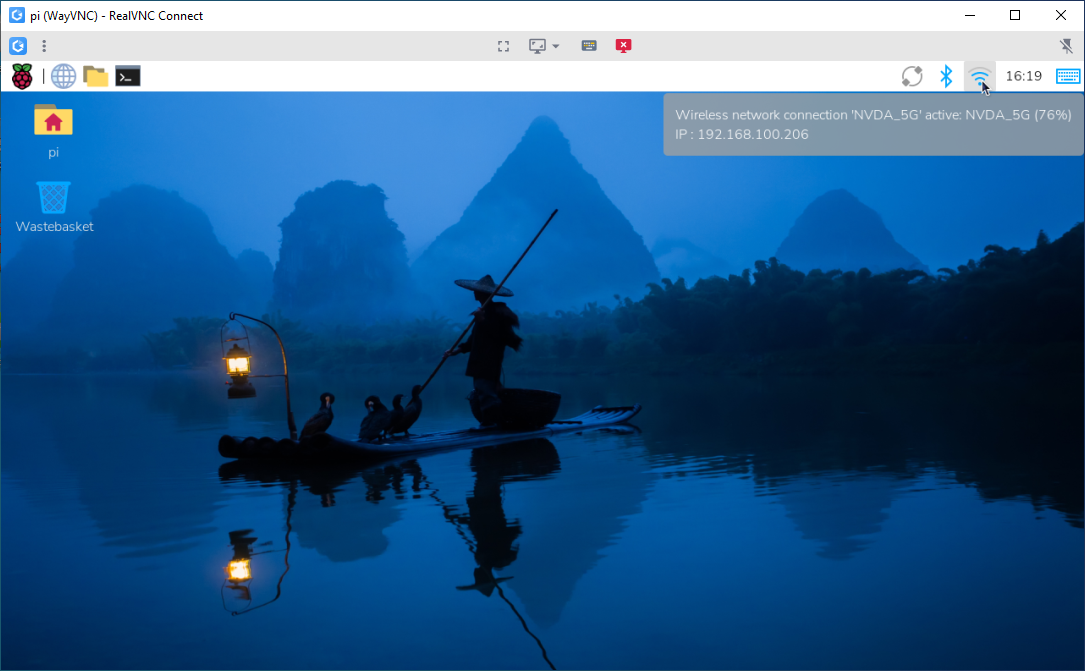
Step1. Find out the IP address of the RPi
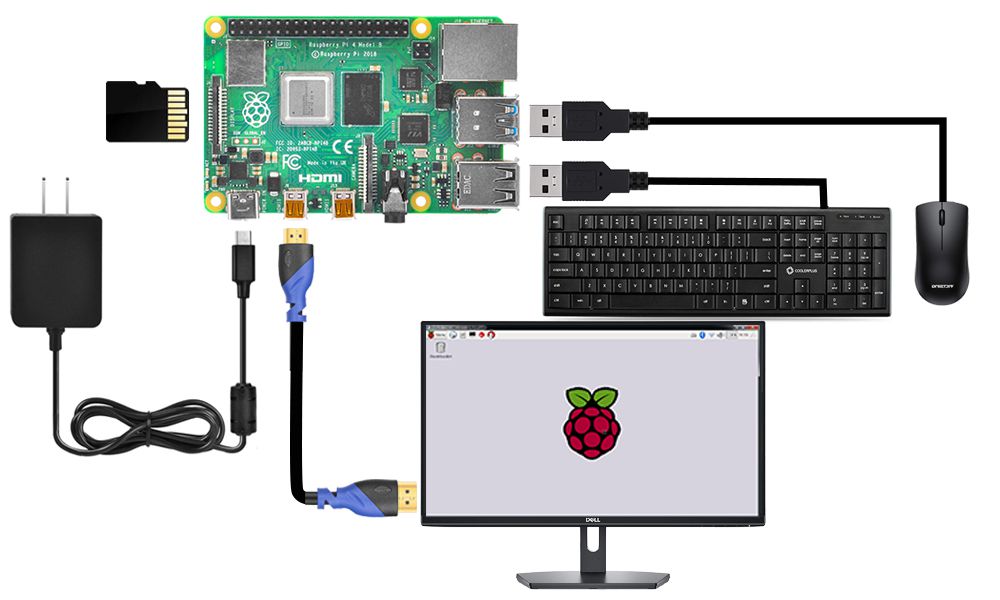
Step1: Connect Raspberry Pi to your HDMI monitor or TV. Put a keyboard and mouse into Raspberry Pi USB ports. Insert SD card which has installed OS into the slot on your Raspberry Pi (if you have intalled your raspberry pi robot car, please connect this Raspberry Pi with screen and know the IP address).
Step2: If you move over the Lan icon, and get the notice as following:
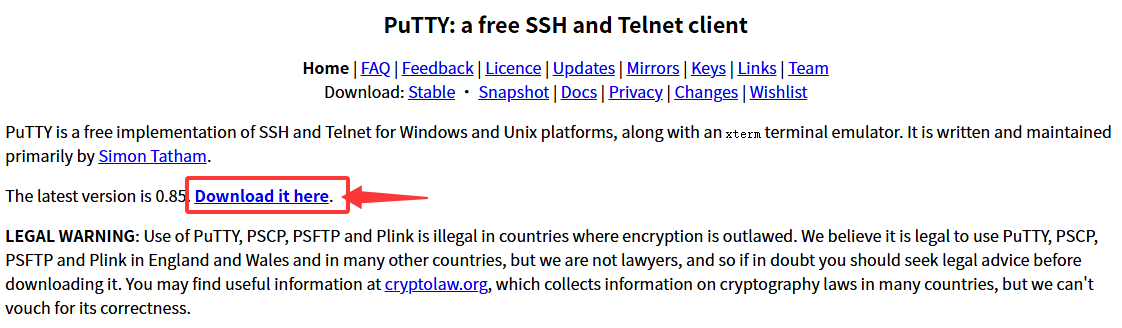
Step3: Download PuTTY from: https://www.chiark.greenend.org.uk/~sgtatham/putty/ and install this exe. in your Windows PC
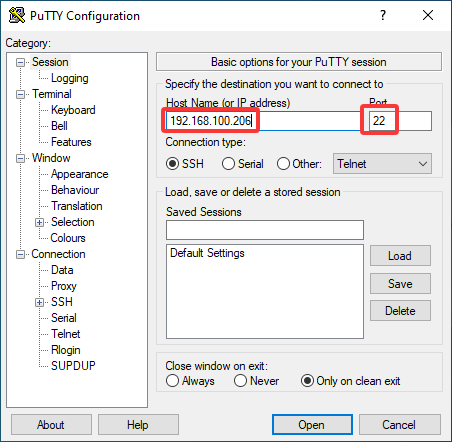
Step 4.Open PuTTY and click Session on the left tree-alike structure (generally it’s collapsed upon PuTTY startup):
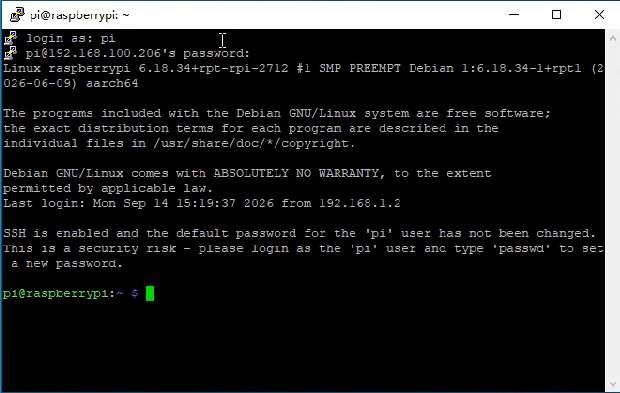
Step 5. Note that when you first log in to the Raspberry Pi with the IP address, you’ll be prompted with a security reminder. Just click Yes. When the PuTTY window prompts login as: type in the user name: pi, and password: raspberry (the default one, if you haven’t changed it).
Note: when you’re typing the password in, the window shows nothing just null, but you’re in fact is typing things in. So just focus on typing it right and press Enter. After you log in the RPi successfully, the window will display as follows:
Step 6.Run the following commands on your Raspberry Pi:
# Clone the repository
git clone https://github.com/osoyoo/osoyoo-dsi-panel.git
cd osoyoo-dsi-panel

# Run direct installation script
./install-direct.sh display7inch

The 7-inch display is now powered on and functioning properly.
3. 1 Backlight Brightness Control
GUI Method
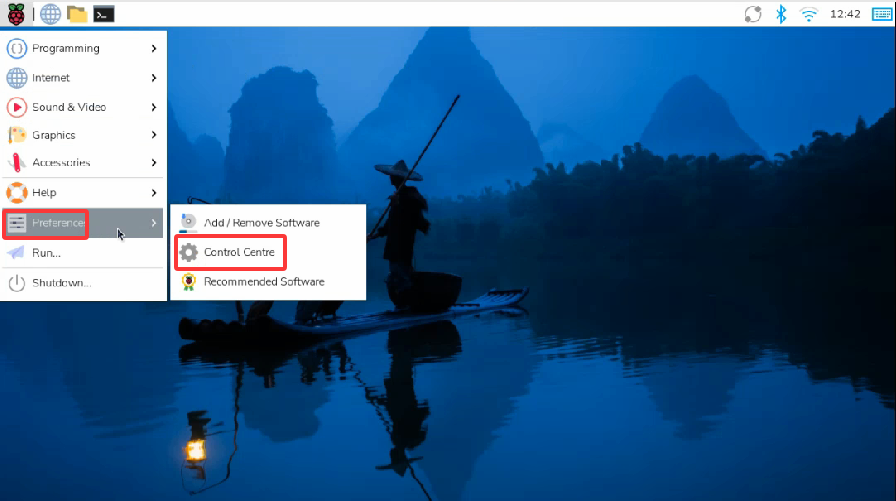
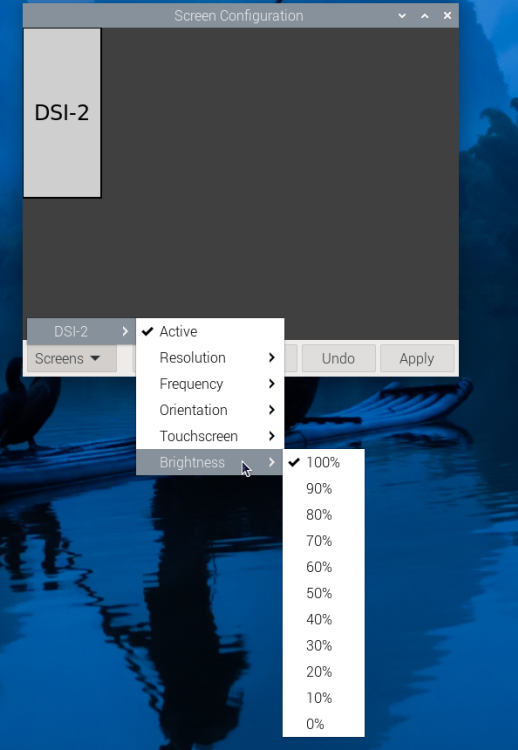
- 1. Open the Screen Configuration application from the desktop menu.
- 2. Click Screen → DSI-2 (or DSI-1 depending on your setup) → Brightness.
- 3. Adjust the slider and click Apply.
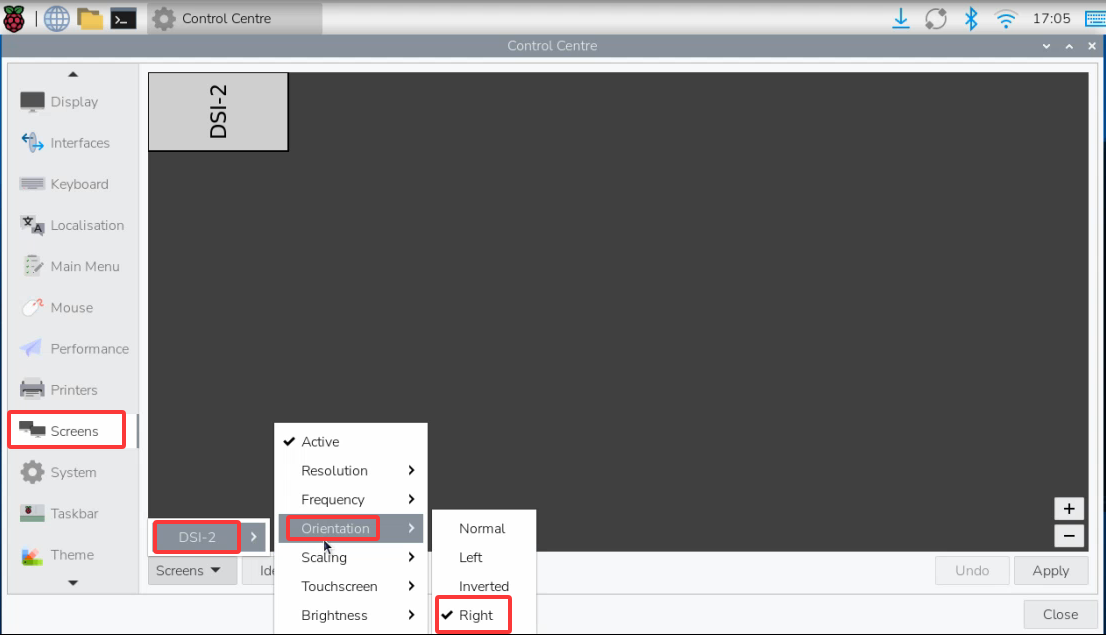
3.2 Touchscreen Rotation (Bookworm & Trixie)
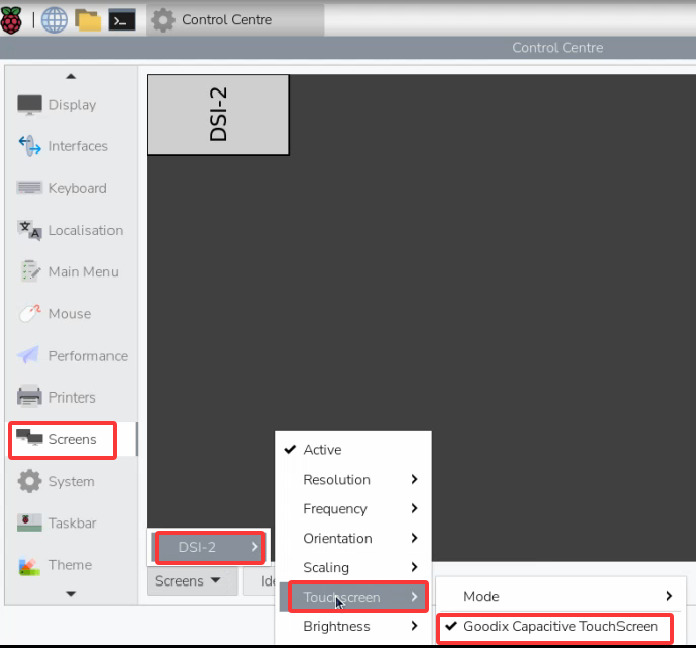
Note: This screen supports both portrait and landscape modes. If you want to change the orientation, bind the touch panel first—otherwise the touch input may become misaligned after rotation.
← Back to Product Introduction



