Dans cette leçon, vous apprendrez comment lire des données numériques (1/0 qui représentent les tensions haute/basse) à partir d’une broche numérique Pico et comment émettre des données 0/1 (signaux de tension basse/haute) vers des broches numériques Pico. Ce type de programmation est également appelé programmation d’E/S numériques.
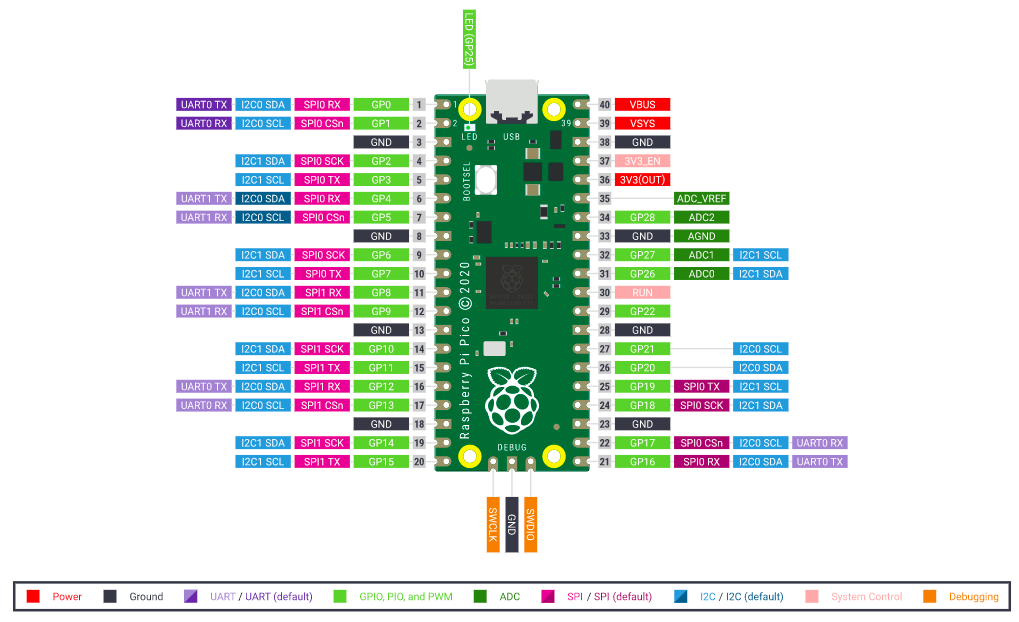
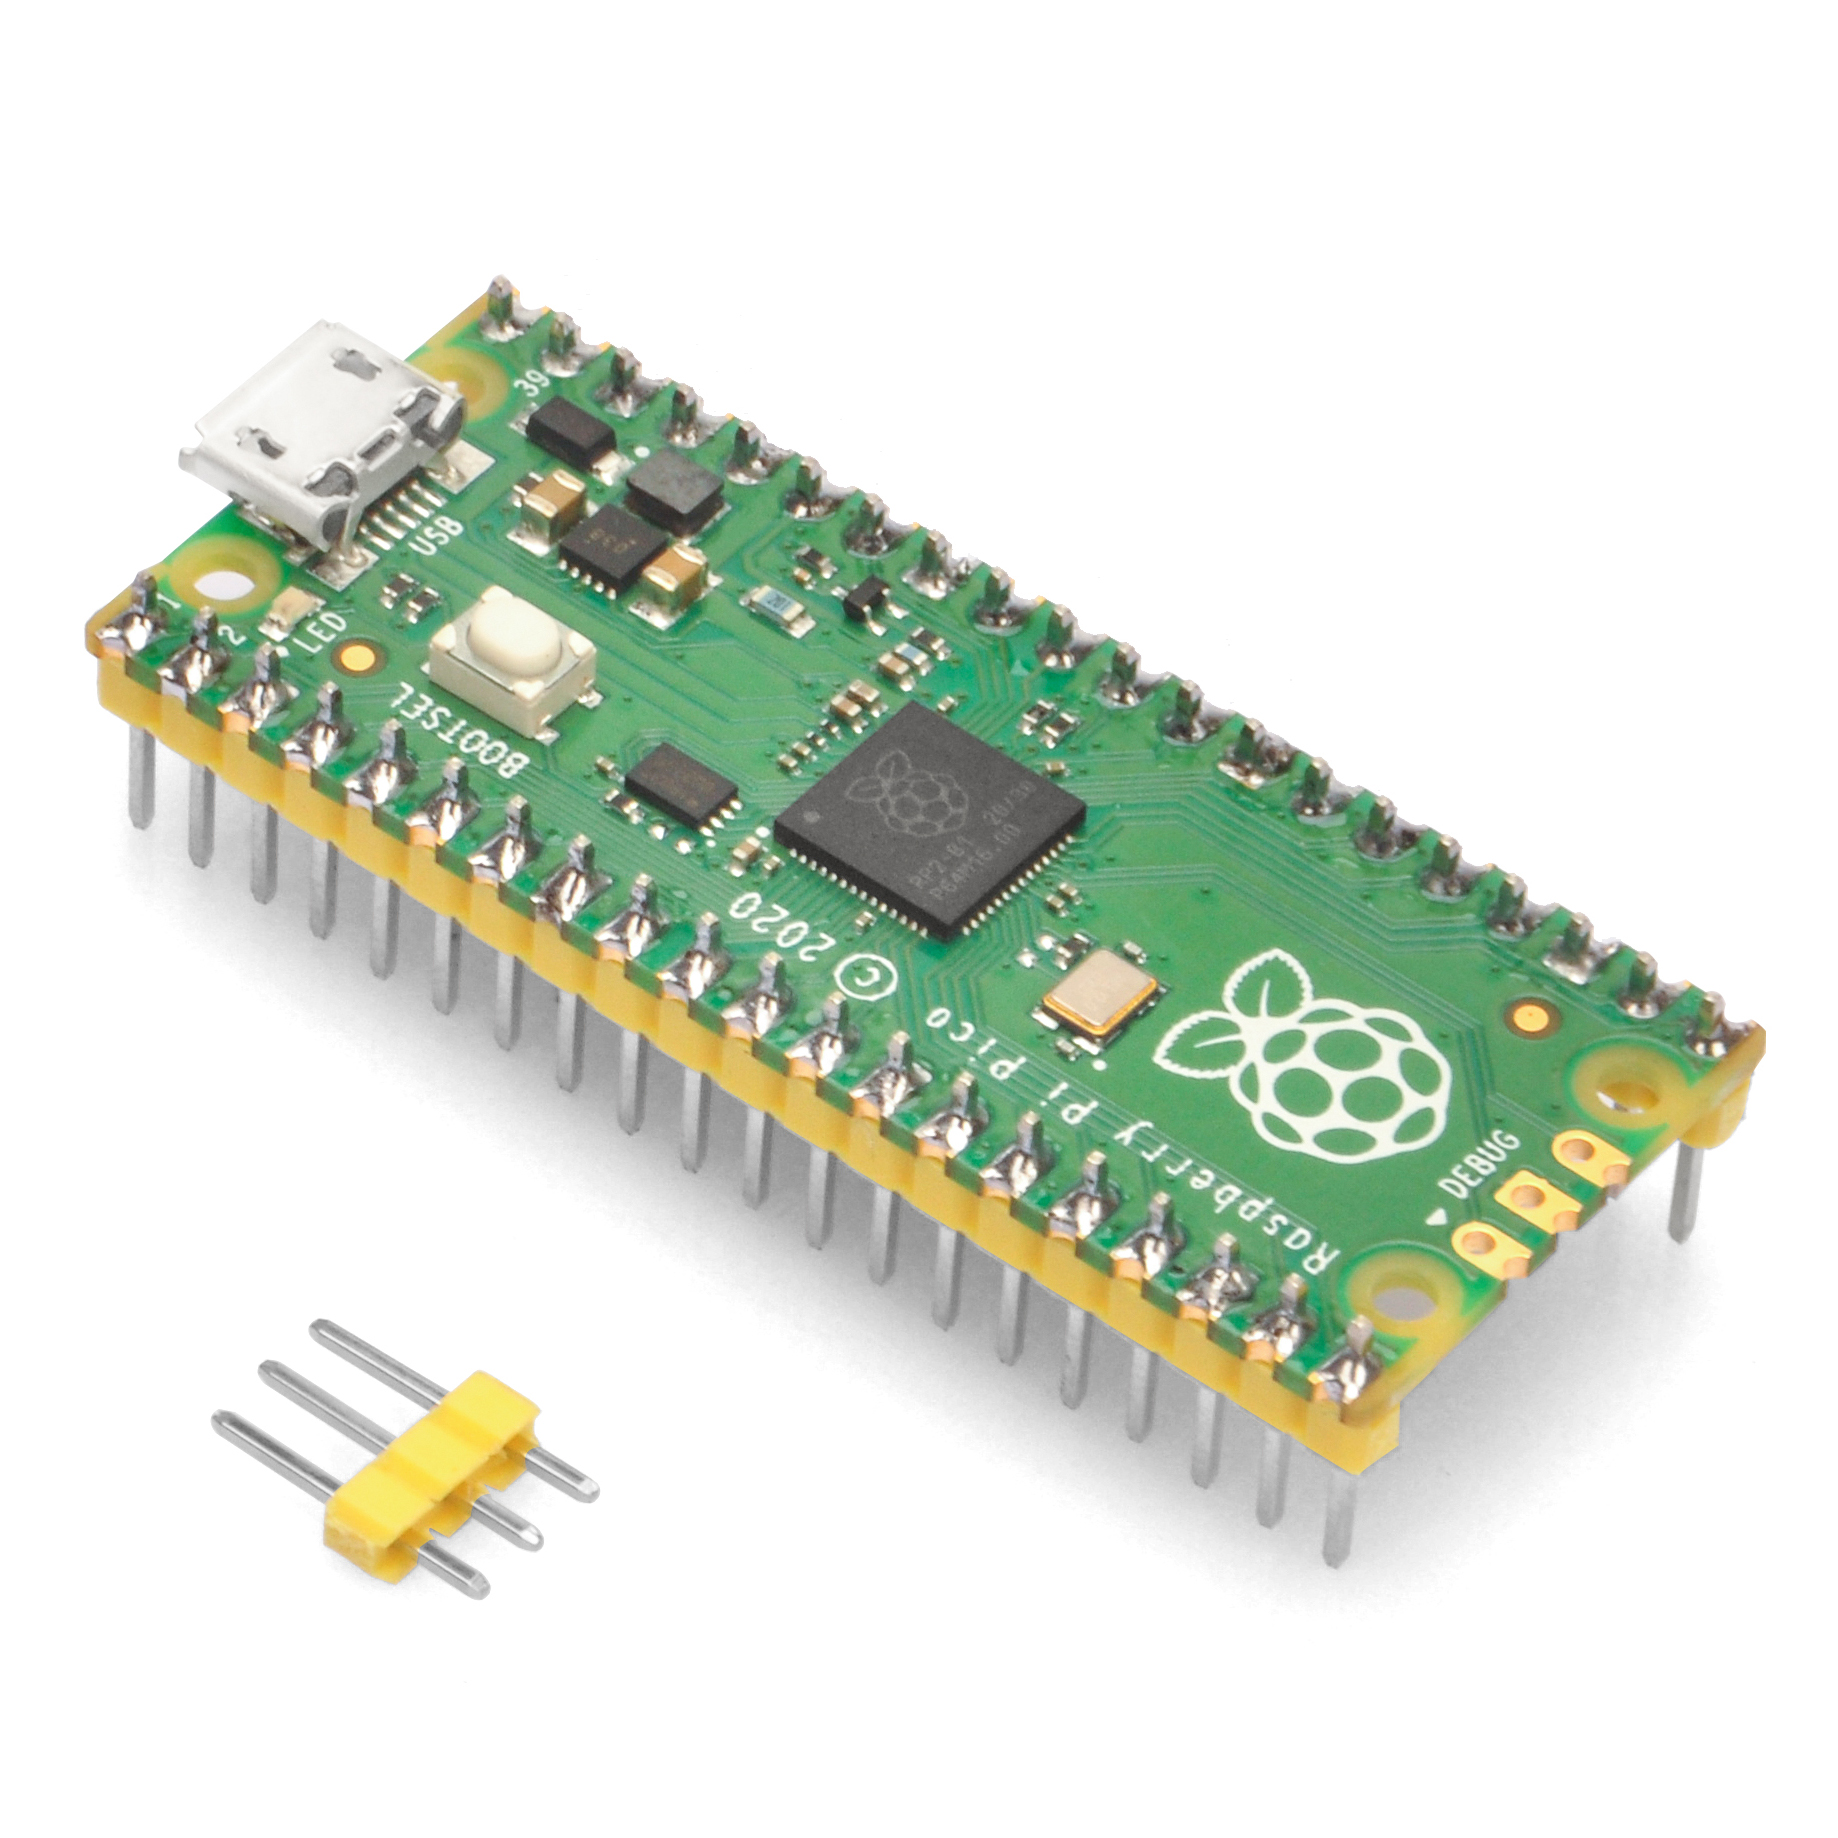
Pour programmer les E/S numériques, nous avons d’abord besoin de connaître la disposition des broches du Pico.
Sur la photo ci-dessus, vous pouvez voir que la plupart des broches du Pico ont une étiquette vert clair qui est le numéro GPIO. Par exemple, le numéro de broche physique 20, l’étiquette verte est GP15. Cela signifie que le numéro GPIO de la broche physique 20 est 15. C’est très important en programmation Python. Nous utiliserons ce numéro GPIO pour écrire/lire des données à partir de cette broche.
Carte Raspberry Pi Pico et câble microUSB
Un ordinateur pour exécuter l’environnement de développement Python Thonny
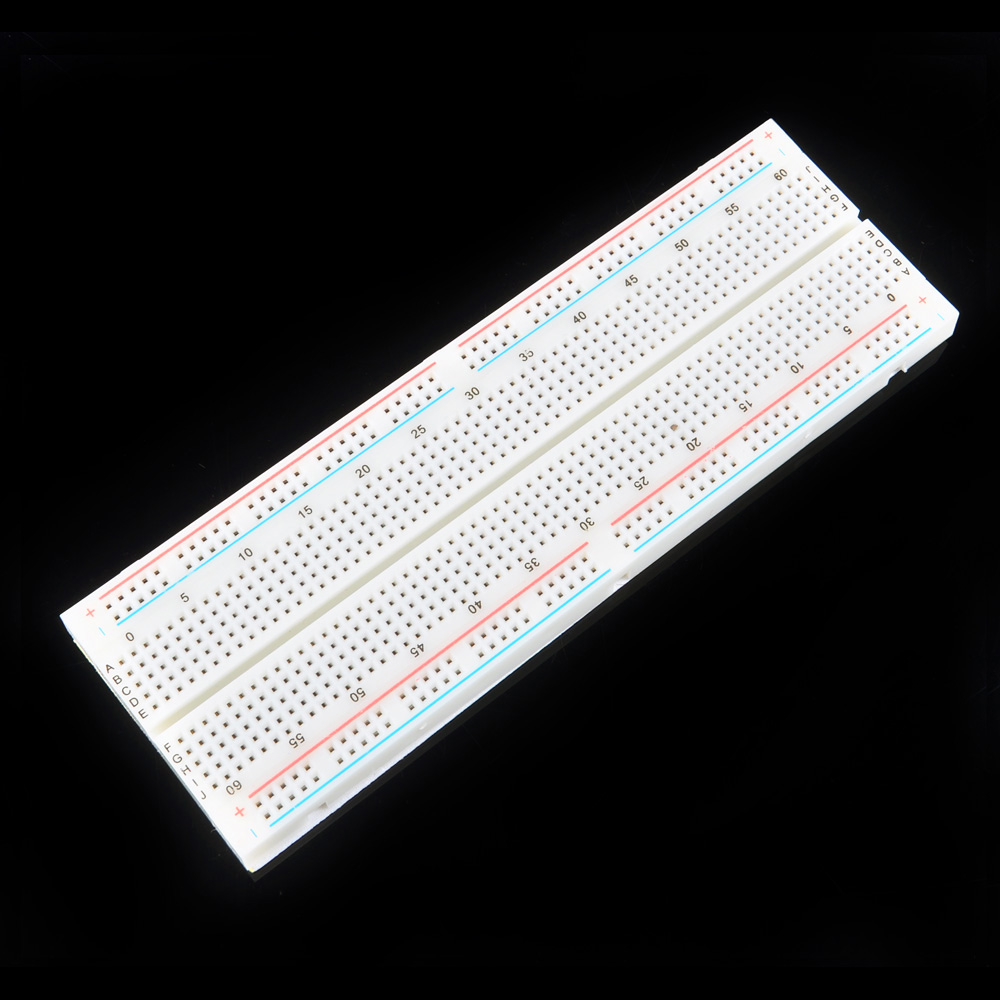
Une plaque d’essai
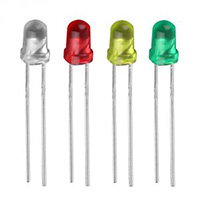
1 LED
1 résistance de 220 ohms
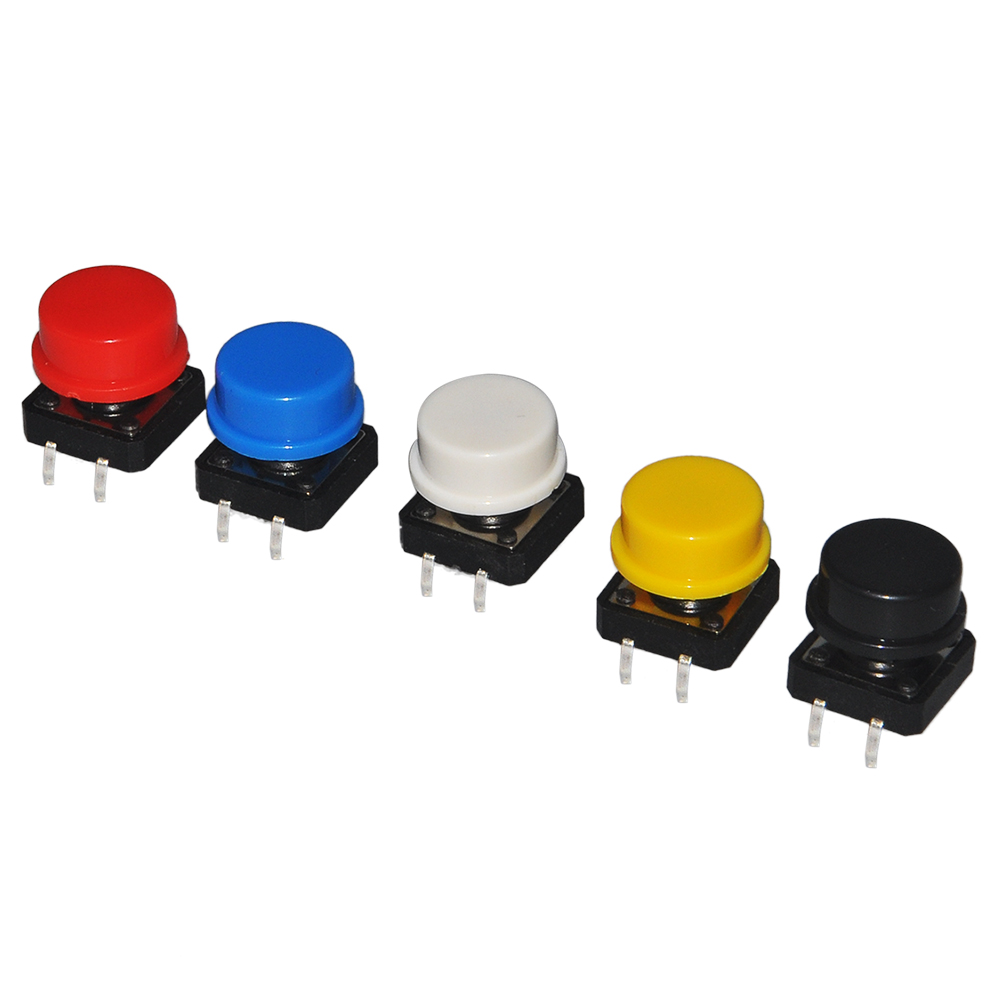
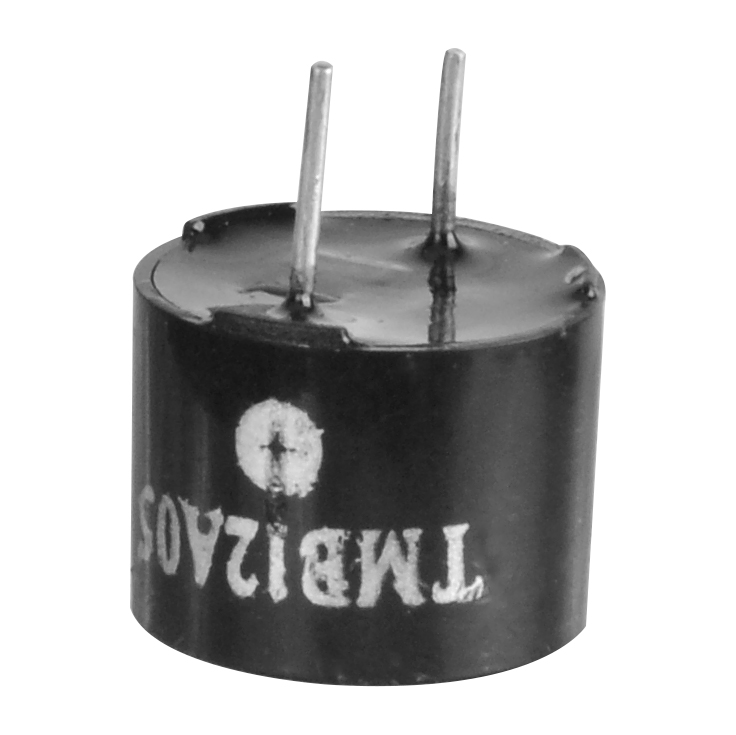
1 bouton-poussoir
Des fils de cavalier
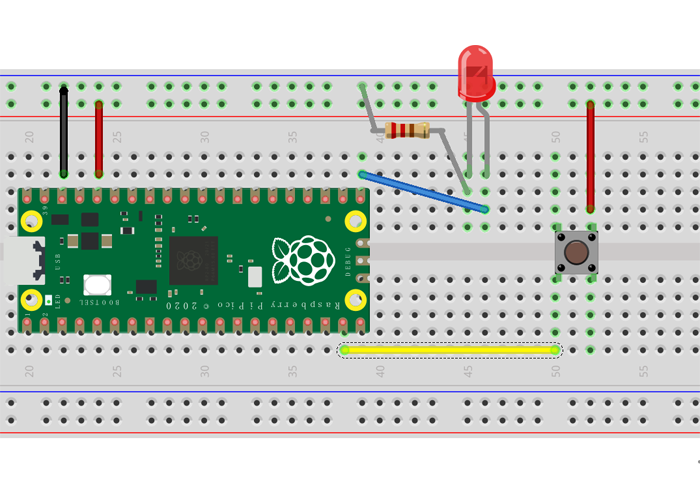
Sur le schéma ci-dessus, vous pouvez voir que :
La broche négative de la LED est connectée à GND via une résistance de 220 ohms
La broche positive de la LED est connectée à GP16
La broche 1 du bouton-poussoir est connectée à 3,3V
La broche 2 du bouton-poussoir est connectée à GP14
Vous pouvez utiliser Thonny pour ouvrir pico-lesson2.py et le charger sur le Pico plus tard.
Voici le code complet avec des commentaires:
from machine import Pin
import time

led = Pin(16, Pin.OUT) #set GP16 as OUTPUT pin
button = Pin(14, Pin.IN,Pin.PULL_DOWN) #set GP14 as OUTPUT pin

while True:
    if button.value():
        print("Button is pressed!")
        led.toggle()
        time.sleep(0.5)
Étape 1 : Connectez la carte Pico à l’un des ports USB de votre PC
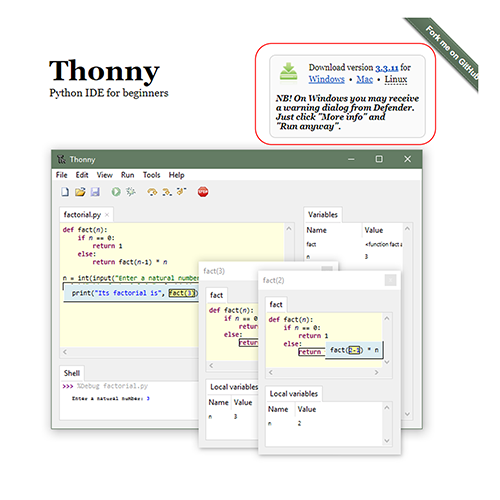
Étape 2 : Si vous n’avez pas installé le logiciel Thonny ou si vous ne savez pas comment utiliser l’IDE Thonny, veuillez vous référer à la leçon 1.
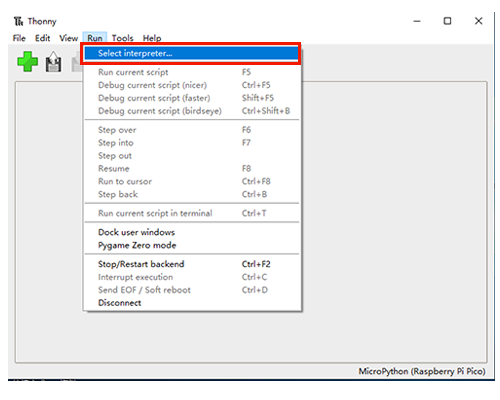
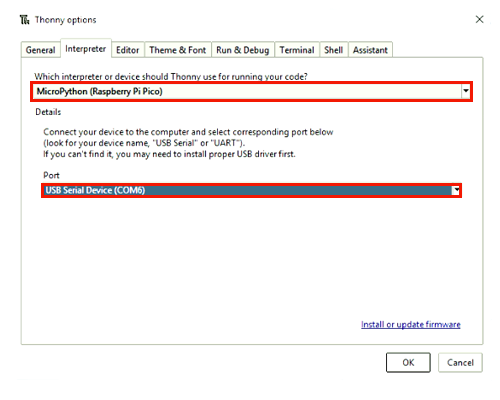
Étape 3 : Ouvrez l’IDE Python Thonny et cliquez sur ‘Run’ pour sélectionner ‘MicroPython pour Raspberry Pi Pico’ comme interpréteur:
Veuillez également sélectionner le port COM auquel votre carte Pico est connectée.
Ensuite, cliquez sur ‘OK’ pour enregistrer les paramètres.
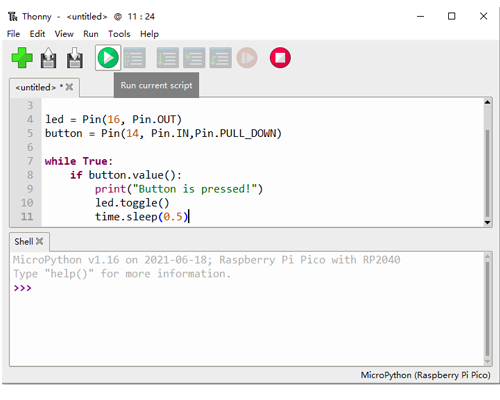
Étape 4 : Copiez le code Python dans la fenêtre Thonny comme suit.
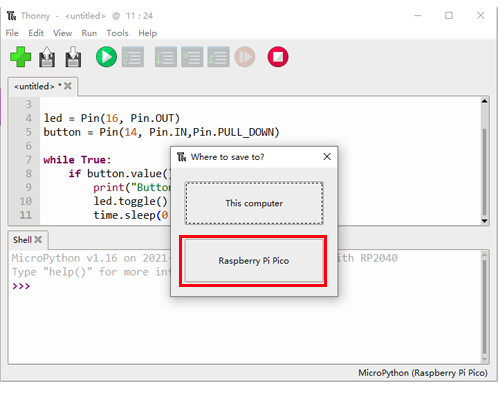
Étape 5 : Cliquez sur le petit bouton ‘play’ (►) et la page de sauvegarde apparaîtra comme indiqué dans la photo suivante.
Sélectionnez ‘Raspberry Pi Pico’ comme destination.
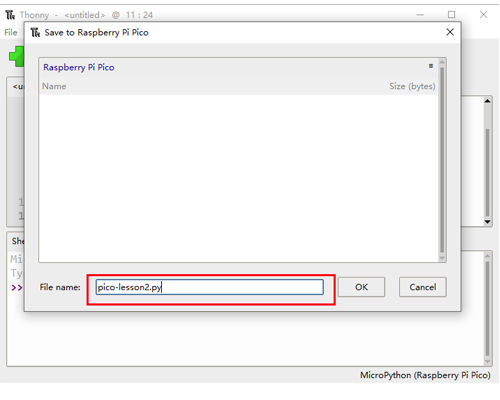
Étape 6 : Nommez le fichier ‘pico-lesson2.py’, puis cliquez sur ‘OK’.
Étape 7 : Cliquez à nouveau sur le petit bouton ‘play’ (►) pour exécuter le code Python.
Maintenant, vous pouvez essayer d’appuyer sur le bouton-poussoir sur la breadboard. Vous verrez que l’état de la LED changera chaque fois que vous appuyez sur le bouton.
En outre, dans la fenêtre Thonny Shell, vous verrez ‘Button is pressed!’ lorsque vous appuyez sur le bouton.
Après la fin de l’opération, appuyez sur Ctrl+C pour mettre fin à la commande.