- OSOYOO ESP8266 Wifi Module
- OSOYOO W5100 Ethernet IoT learning Kit
- OSOYOO Wifi IoT Learning Kit
- Smart House V2.0 Blynk Control
- Blynk IoT Learning Kit
- LoRa Related
- NodeMCU IoT Kit
- Smart Home Iot Kit
- Smart Home V2.0 UDP APP control
- Project for Raspberry Pi
- FlexiRover Robot Car for Raspberry Pi/Arduino
- IOT kit for raspberry Pi
- Mecanum Wheel Car
- OSOYOO basic kit for Raspberry pi zero
- OSOYOO Robot Car V1 for Raspberry Pi
- OSOYOO Robot Car V2 for Raspberry Pi
- OSOYOO Starter Kit V1 for Raspberry Pi
- OSOYOO Starter Kit V2 for Raspberry Pi
- Screen for Raspberry Pi
- Tank Car for Raspberry Pi
- OSOYOO V4.0 Robot Car for Raspberry Pi
- LilyPad Sewing electronic Kit
- NodeMCU Garden Watering Kit
- OSOYOO 3D Printer Kit
- OSOYOO Advanced Hardware Programming Learning Kit
- OSOYOO Basic Programming Learning Kit
- OSOYOO Cayenne IOT Learning Kit
- OSOYOO Graphical Programming Kit
- Osoyoo Hardware Programming Starter Kit
- OSOYOO IoT Smarthome Kit V0.1
- OSOYOO PNP Programming Learning Kit
- OSOYOO RFID Programming Learning Kit
- Osoyoo Sensor Modules Kit
- OSOYOO Smart Home IoT Kit
- OSOYOO Ultimate Hardware Programming kit
- OSOYOO v3 advanced learning kits
- 16+1 Sensor kit
- Smart Car Kit
- Balance car kit
- Blue Mecanum Wheel Robotic for Arduino Mega2560
- Blue Mecanum Wheel Robotic for Raspberry Pi
- M1.0 Mecanum Wheel Metal Chassis Robotic
- M2.0 Mecanum Wheel Metal Chassis Robotic
- Mars Explorer Mecanum Wheel Robot Kit
- Tank Car Kit V1.0
- Tank Car Kit V2.0
- 2WD Robot Car Starter Kit
- Espro All_In_One Robot Drive board
- Model-3 V2.0 Robot Car
- OSOYOO Model-3 Robot Learning Kit
- OSOYOO Model-T Robot Car
- OSOYOO Robot Car Starter Kit Tutorial
- OSOYOO Servo Steering Car V3.0 for Arduino MEGA2560
- P3 Servo Steering Robot Car
- SG90 Servo Steering Robot Car
- V2.0 Robot Car kit
- V2.1 Robot car kit
- Sewing eletronic widgets
- Breadboard
- Buzzer
- LED
- Resistor
- Screen
- Sensors
- Temperature sensor
- USB cable
- Wires
- IO-breakout-board-for-ardino-UNO
- IO-breakout-board-for-arduino-nano
- IO-breakout-board-for-arduino-pro-micro
- IO-breakout-board-for-esp32&esp8266
- IO-breakout-board-for-raspberry-pico
- Nano for arduino
- LTG-Nano for Arduino
- Motor driver board
- NodeMCU
- Pro micro for Arduino
- PWM HAT for Rapberry Pi


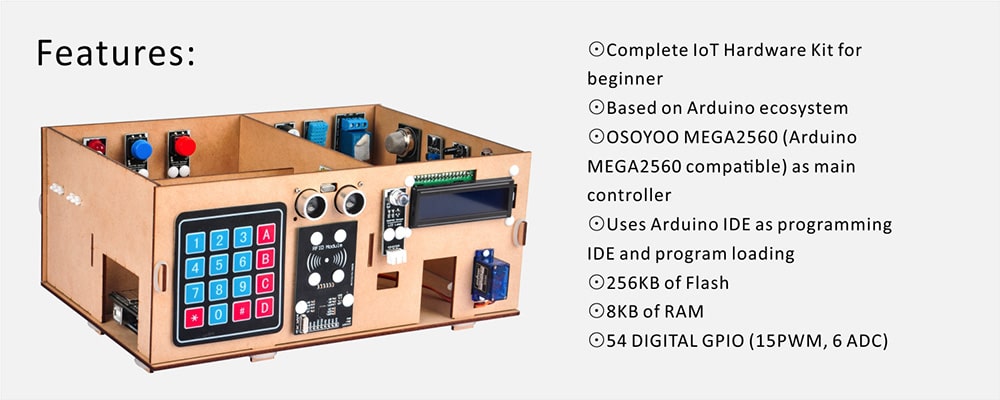
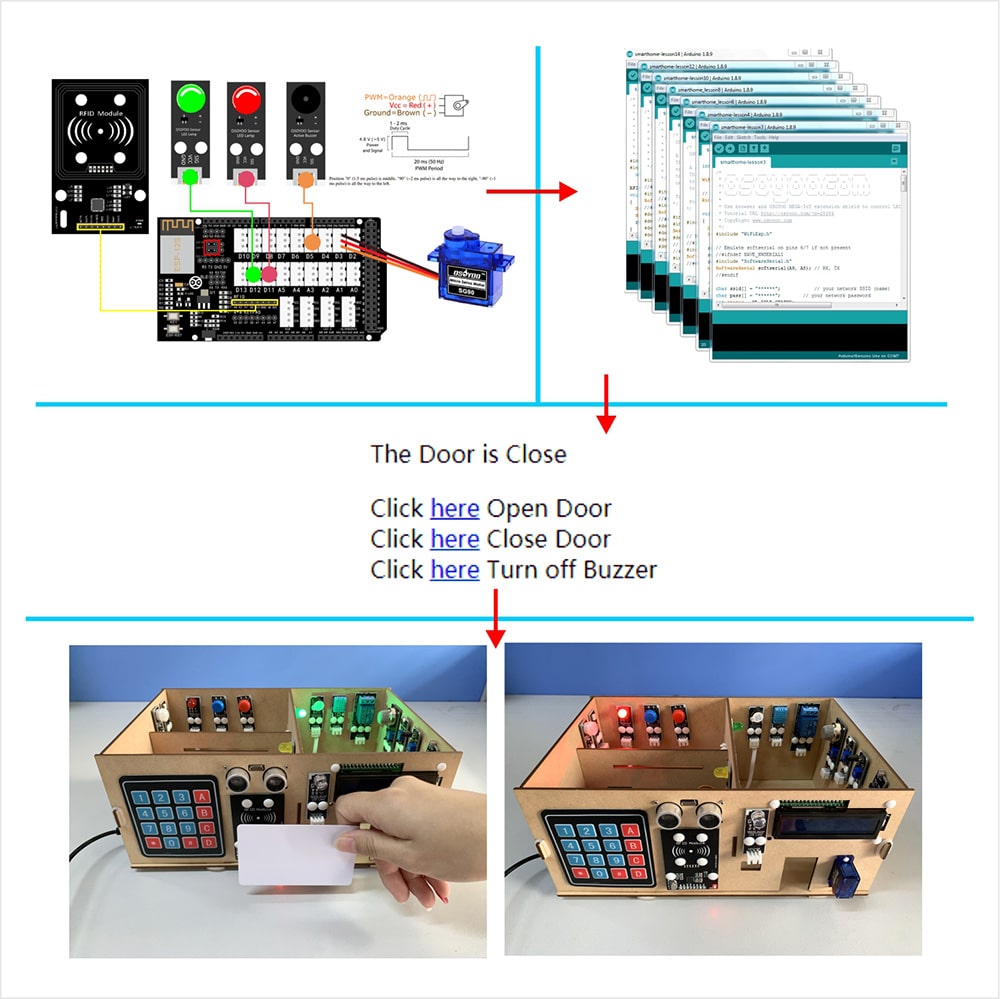


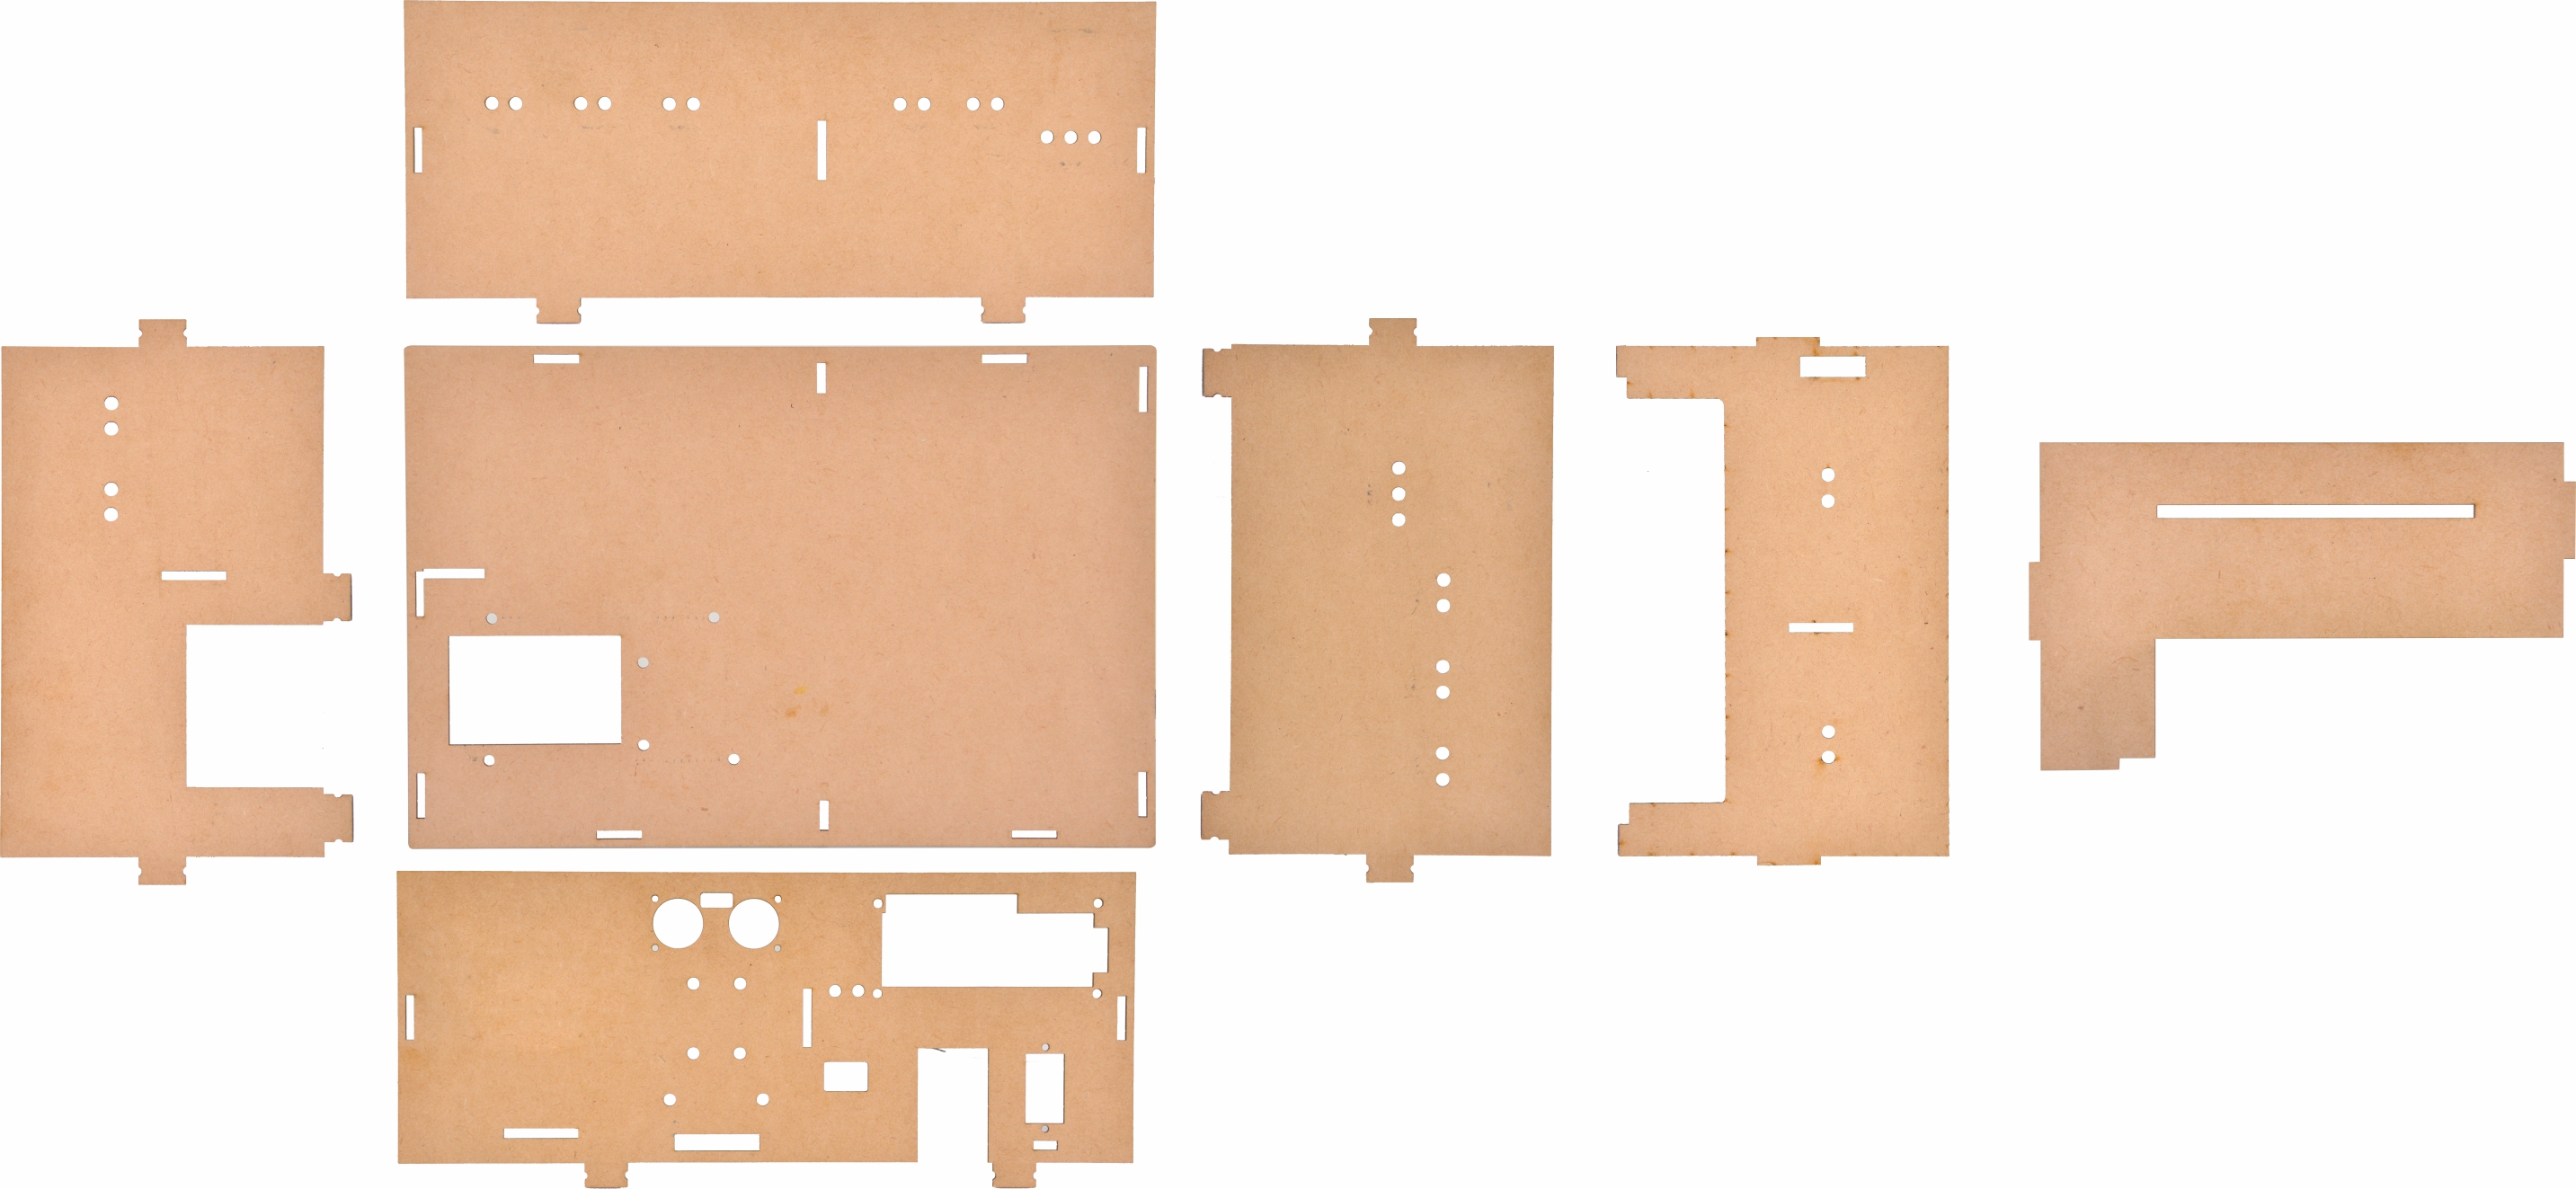
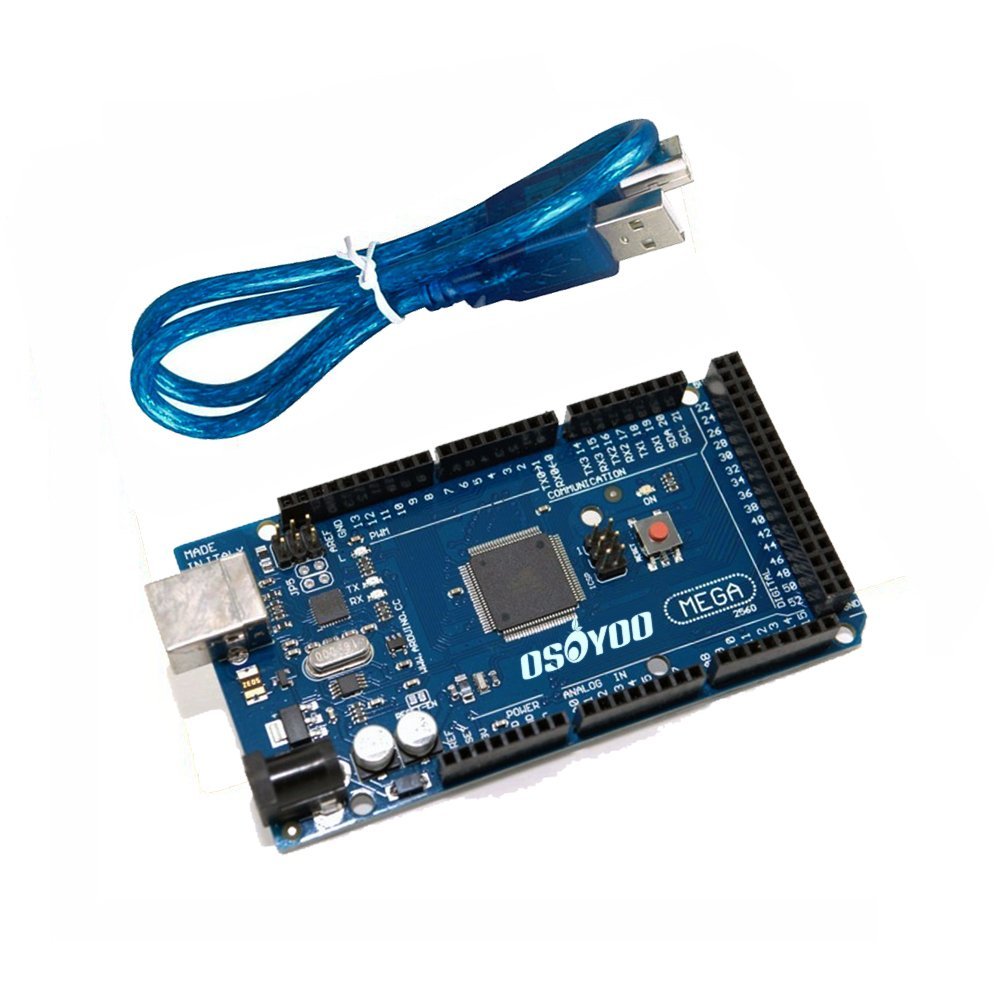





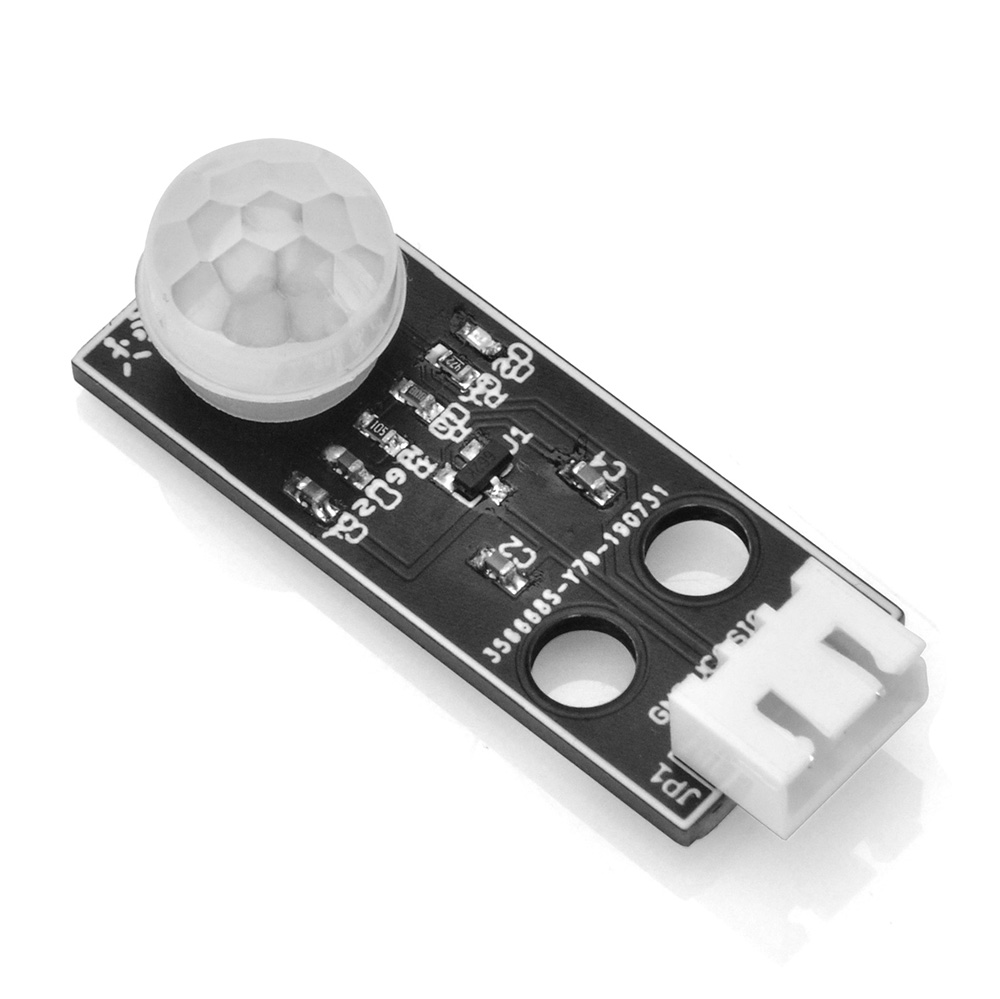


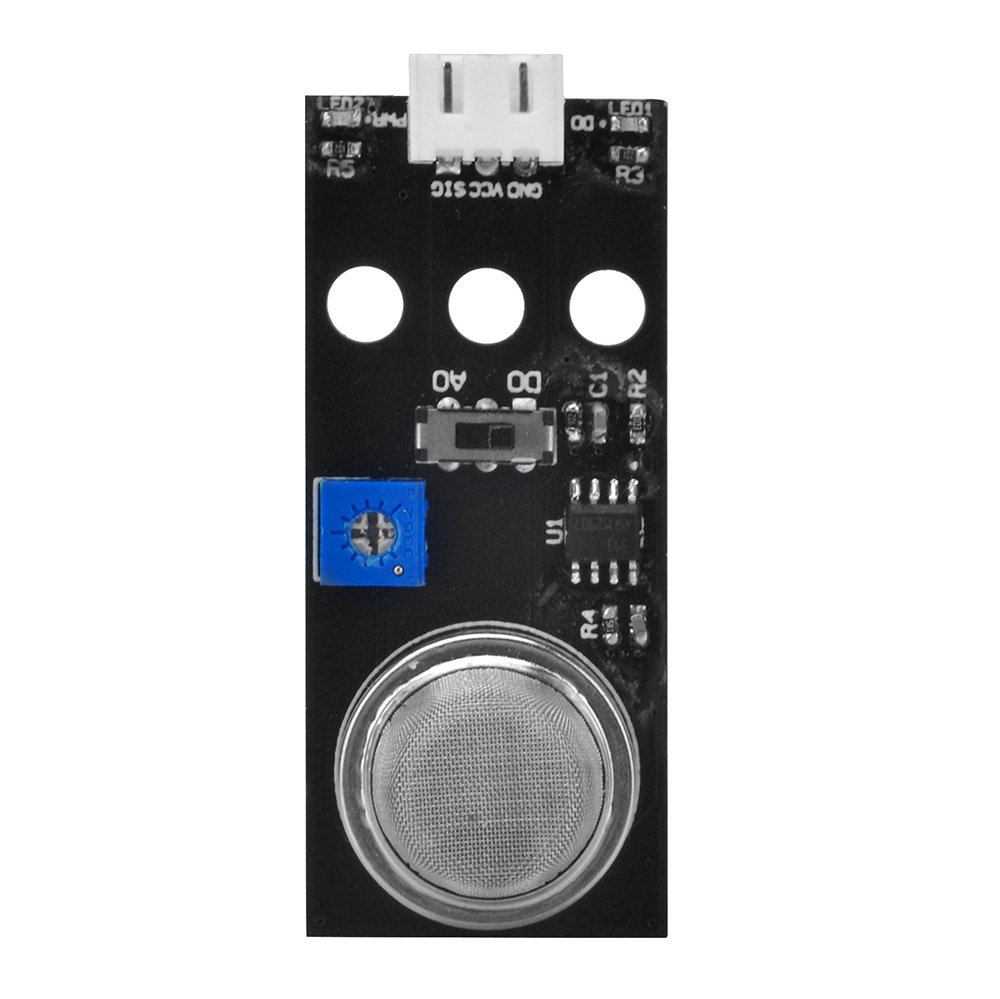
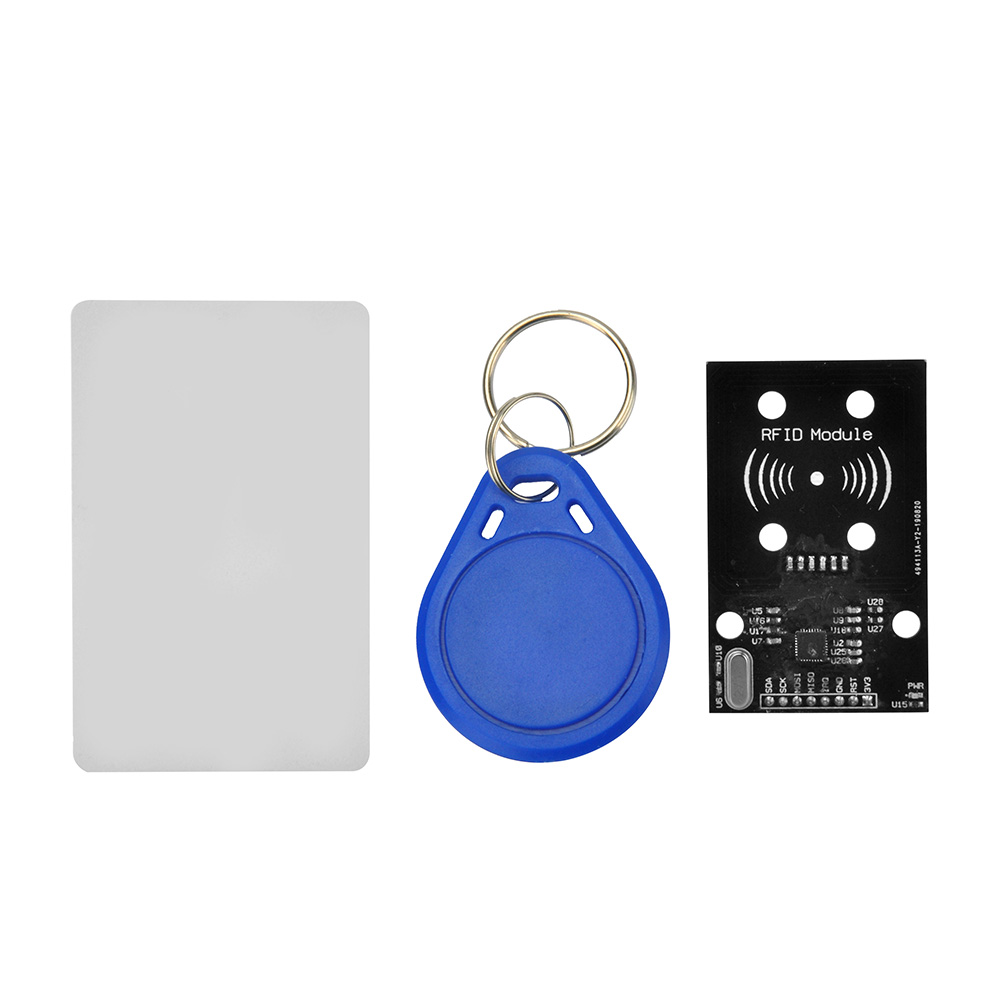


Would like to buy.Please guide me throughout.
Thanks
Kyaw
Hi, you can buy it from this link:
https://www.amazon.com/dp/B07DW3GRHM
how to buy?
Hi, you can buy it from Amazon:
https://www.amazon.com/dp/B07DW3GRHM
If you’re in Europe, you can search B07DW3GRHM
Hi, I recently purchased this and it came with a CD with this webpage printed on it. I don’t have a CD drive so I was hoping to download an instructional pdf from this website but I can’t find it? I also cannot download the pdf from the QR code?
Thank you.
Hi, I’m sorry for your inconvenience, you can download it from this website:
https://drive.google.com/open?id=1OQB3OJCbtCLXeK4x5OT8RwZKzpPwjKyV
Hello !
I bought 2 weeks ago the OSOYOO Yun IoT Smart Home Kit and I still have the same problem whatever I did!
I try to control a LED via Blink by following this tutorial :
https://osoyoo.com/2018/02/05/osoyoo-yun-iot-led-blink/
I’ve got this 2 errors :
1) On blink : “blink not online yet”
2) On the serial monitor : “Impossible to connect” and “Does the sketch use the bridge?”
Any advices to progress about this problem would be helpfull !
Many thanks.
Hi, could you please take a picture to show the products? As this kit has two version, I’d like to know which version of yours is.
Hi,
Of course ! This is the picture mo my kit.
https://zupimages.net/viewer.php?id=20/01/s2ew.jpg
Thank you
It is a network link problem. If there is a problem with the network connection settings? Is the ssid and password correct? Please refer to the following picture.
https://osoyoo.com/picture/Smart_Home_IoT_Learning_Kit_with_MEGA2560/general/ssid-yun.png
Hi,
I suppose it’s not a network link problem because I managed to connecte to the draguino interface as you can see :
https://zupimages.net/viewer.php?id=20/02/42ax.jpg
Do you confirm it’s ok ?
I followed step by step the tutorial you mentionned.
Thank you.
Hi, could you please follow this tutorial to confirm if yun shield is connected to the internet?
https://osoyoo.com/2020/01/07/yun-shield-general-set-up-for-internet-access/
The tutorial: https://osoyoo.com/2018/02/05/osoyoo-yun-iot-led-blink/
Hi,
I finally found the reason it didn’t work..In IDE I used Arduino Yun board card,instead of “Arduino Mega 2560 – Dragino Yun” , and now it works !
Many thanks for your help.
Glad to hear that, if there’s anuything I can help, please feel free to tell me.
How can I buy one more yun iot.extension board and osoyoo mega 2560 board?
Hi, do you mean this extension board:
https://osoyoo.com/wp-content/uploads/2018/03/2018000200-1.png
no, it should be the board for the smart home
I also want to but the mego 2560 too
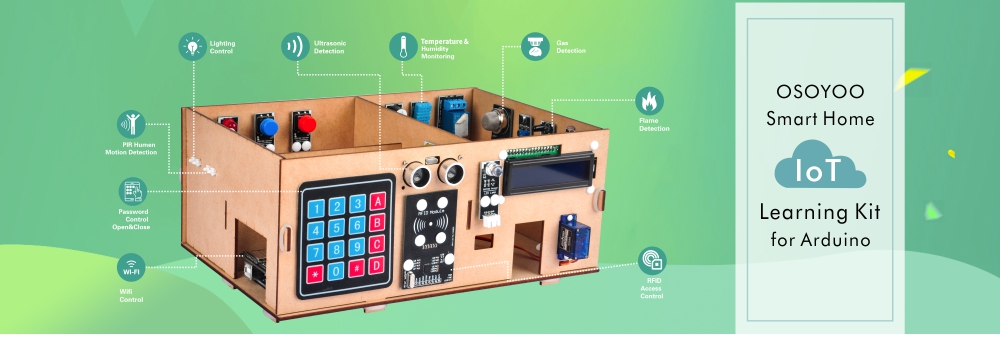
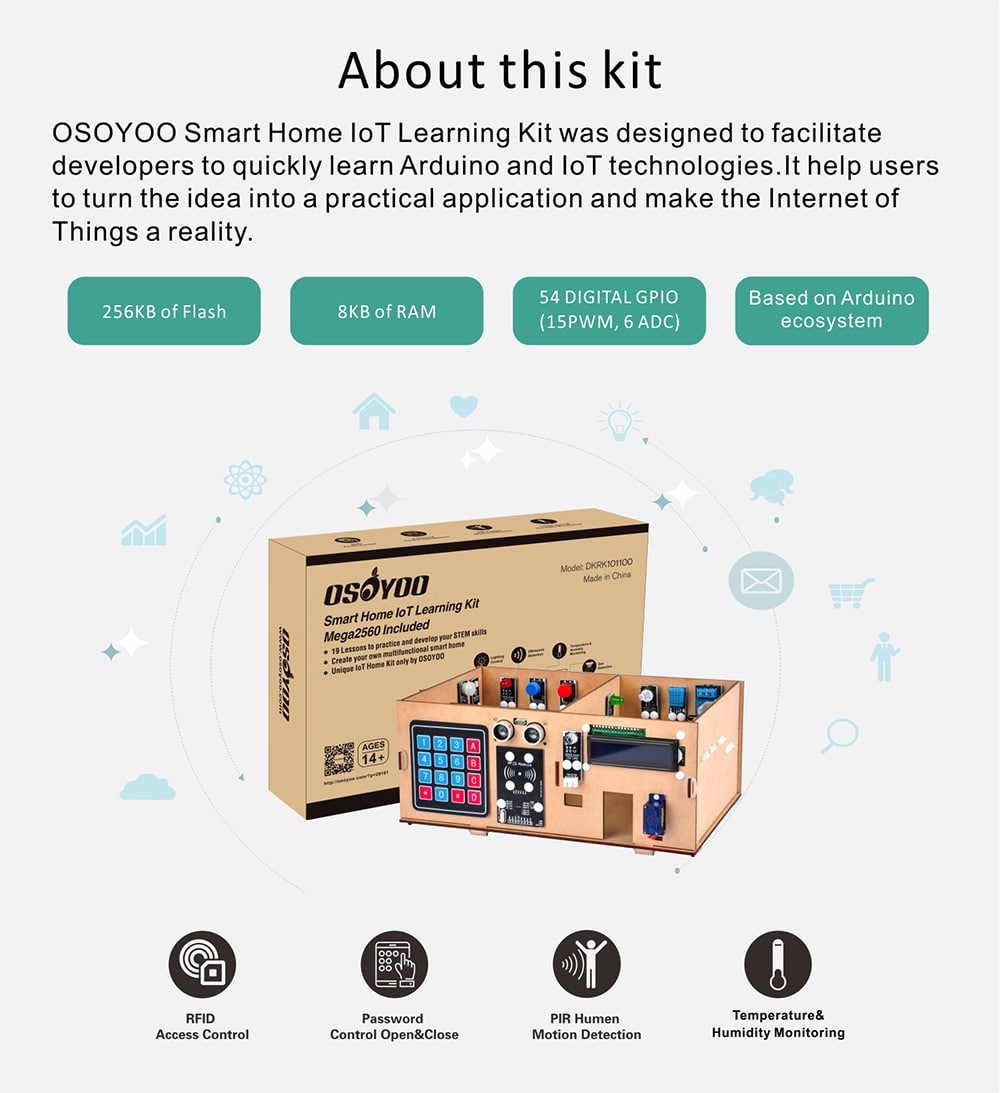
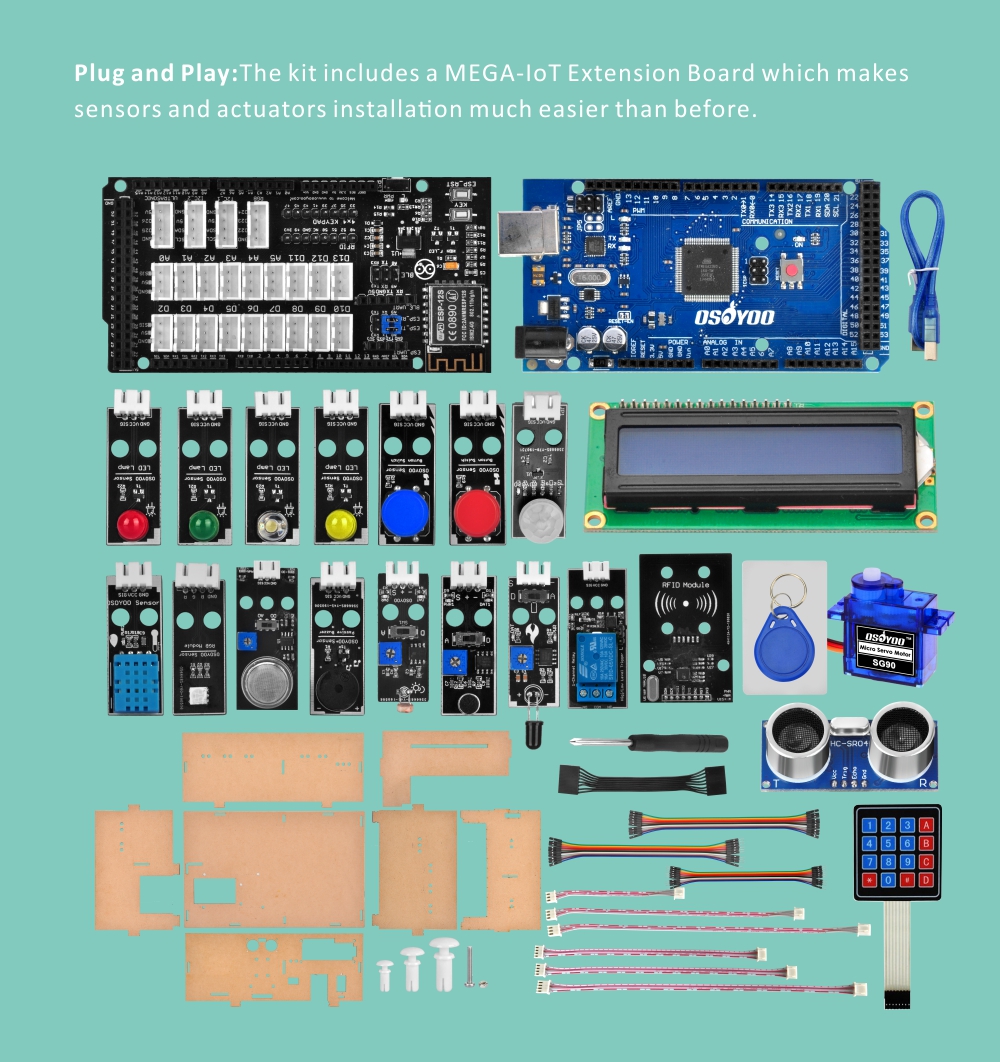
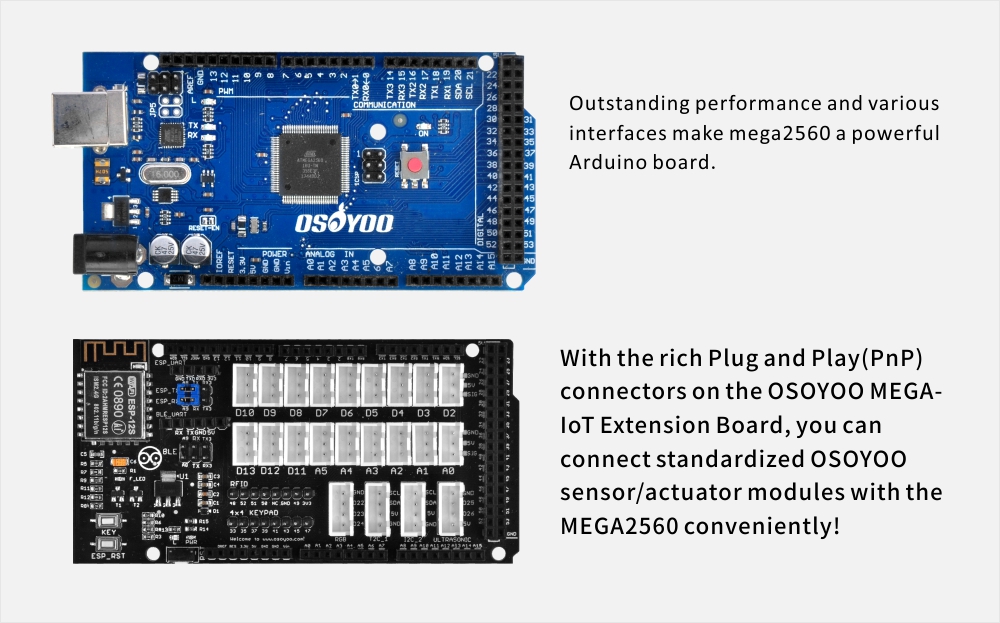
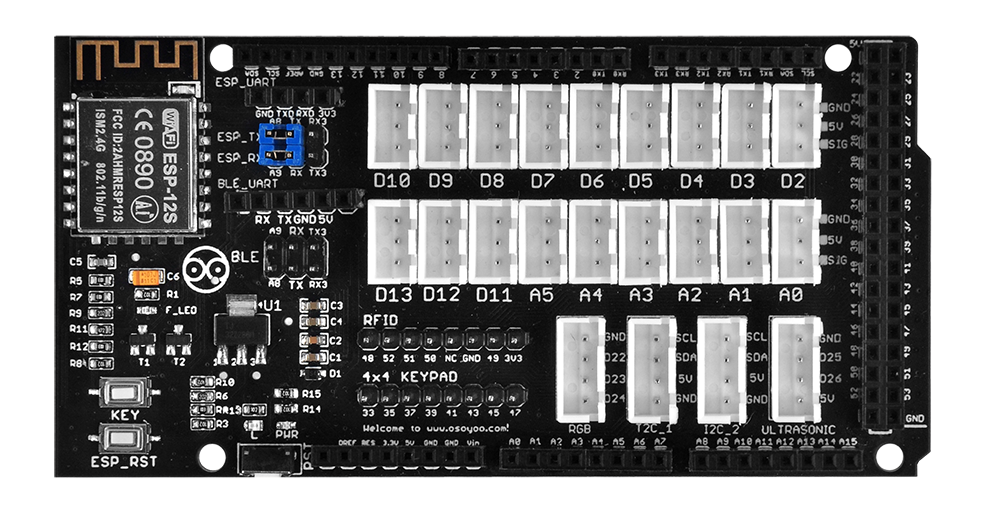
https://osoyoo.com/2019/10/18/osoyoo-smart-home-iot-learning-kit-with-mega2560-introduction/
Hi, you can buy from: https://www.amazon.com/dp/B083K263NB
Would it be possible to buy on aliexpress for the same price as amazon? I’m in Brazil and that would greatly simplify shipping, but the price is more than double.
Hi, I’m sorry that we can’t ship it in current
Hi, you can visit : https://www.aliexpress.com/item/32904777146.html?spm=a2g0s.12269583.0.0.53a65cb3J7tk6t to buy it.
Hi, I would get tutorials of 4*4 Keyboard and smart home system on OSOYOO Smart Home IoT Learning Kit with MEGA2560.
I got the information about yun iot.extension board, but I could find that on this kit….
https://osoyoo.com/2018/03/15/arduino-lesson-osoyoo-iot-yun-smarthome-system/
Best
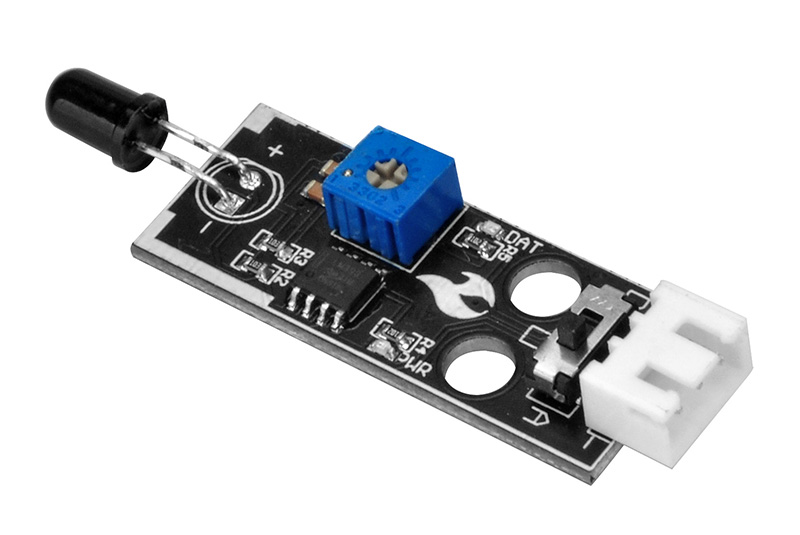
I have completed my evaluation of this kit. I purchased this with the intention of giving it to my nephew to gain experience with the Internet of Things. I am going to request a return to Amazon because I believe it would be frustrating for him because in the first sensor experiment, Lesson 4, I found that the port D13 is faulty and so the LED will not light. The port has power between Vcc and GND, but apparently the SIG is not working. In later lessons, the same LED is hooked up to port D11, and in that case, the LED works as expected. Additionally, port D12 works intermittently. Sometimes, when running the program, and LED connected to port D12 will not light as expected, but then while the program continues to run, it will start working and then stop. I would recommend some consistency in the illustrations for sensor switch positions. For example, Lesson 9 specifies that the gas detector switch be selected to “D” on the left and shows the switch in gray. However, in following lessons, the convention is reversed and the switch on the left appears in black. Also, Lesson 10 gives the hint that the potentiometer may have to be adjusted to get the expected sensor response. This note probably should appear in other lessons using sensors which have potentiometers.
Our purpose of designing this kit is for people to better learn and understand the Internet of Things and sensors. We made the sensor a plug-and-play way to save the user’s hardware connection time. If you encounter problems during the use of our products For questions, you can directly contact our customer service or technical support. But we encourage ourselves to explore and think about more creative and interesting things with our hearts
Hello,
Since today, I’ve got this message when i try to compil on my IDE 1.8.12:
fatal error: pins_arduino.h: No such file or directory
#include “pins_arduino.h”
^~~~~~~~~~~~~~~~
compilation terminated.
exit status 1
Error compiling for board Dragino Yún + Mega 2560.
I tried to update my IDE to 1.8.12, but the problem is still the same…
Many thanks in advance.
Could you give me the code? Or more details about your projects.
Of course, that’s the lesson 9 “Control a LED Blink(Blynk)”
#define BLYNK_PRINT Console
#include
#include
#include
// You should get Auth Token in the Blynk App.
// Go to the Project Settings (nut icon).
char auth[] = “Your Auth Token”;
void setup()
{
Blynk.begin(auth);
// Debug console
Bridge.begin();
Console.begin();
while (!Console);{}
// You can also specify server:
//Blynk.begin(auth, “blynk-cloud.com”, 8442);
//Blynk.begin(auth, IPAddress(192,168,1,100), 8442);
}
void loop()
{
Blynk.run();
// You can inject your own code or combine it with other sketches.
// Check other examples on how to communicate with Blynk. Remember
// to avoid delay() function!
}
Actually, even with only this small part of program I’ve got the same problem…
void setup()
{
}
void loop()
{
The code you used is applicable to the OSOYOO Yun IOT KIT. Now the OSOYOO smart home IOT learning kit uses the mega IOT expansion board based on esp8266. Here, we do not use the code related to Blynk.