In previous lessons, we have learned using Micro Python for programming Raspberry Pi Pico. Python is a powerful, beginner-friendly programming language. However, if you have Arduino programming experience, you might want to use Arduino IDE to program Pico.
Fortunately, Arduino IDE now supports Raspberry Pi Pico. So now you can easily use Arduino libraries to program the Pico board and save yourself a lot of coding and researching time.
In this lesson, we will show you how to use Arduino IDE to program Pico and run the Arduino Blink example program in Pico as a demo.
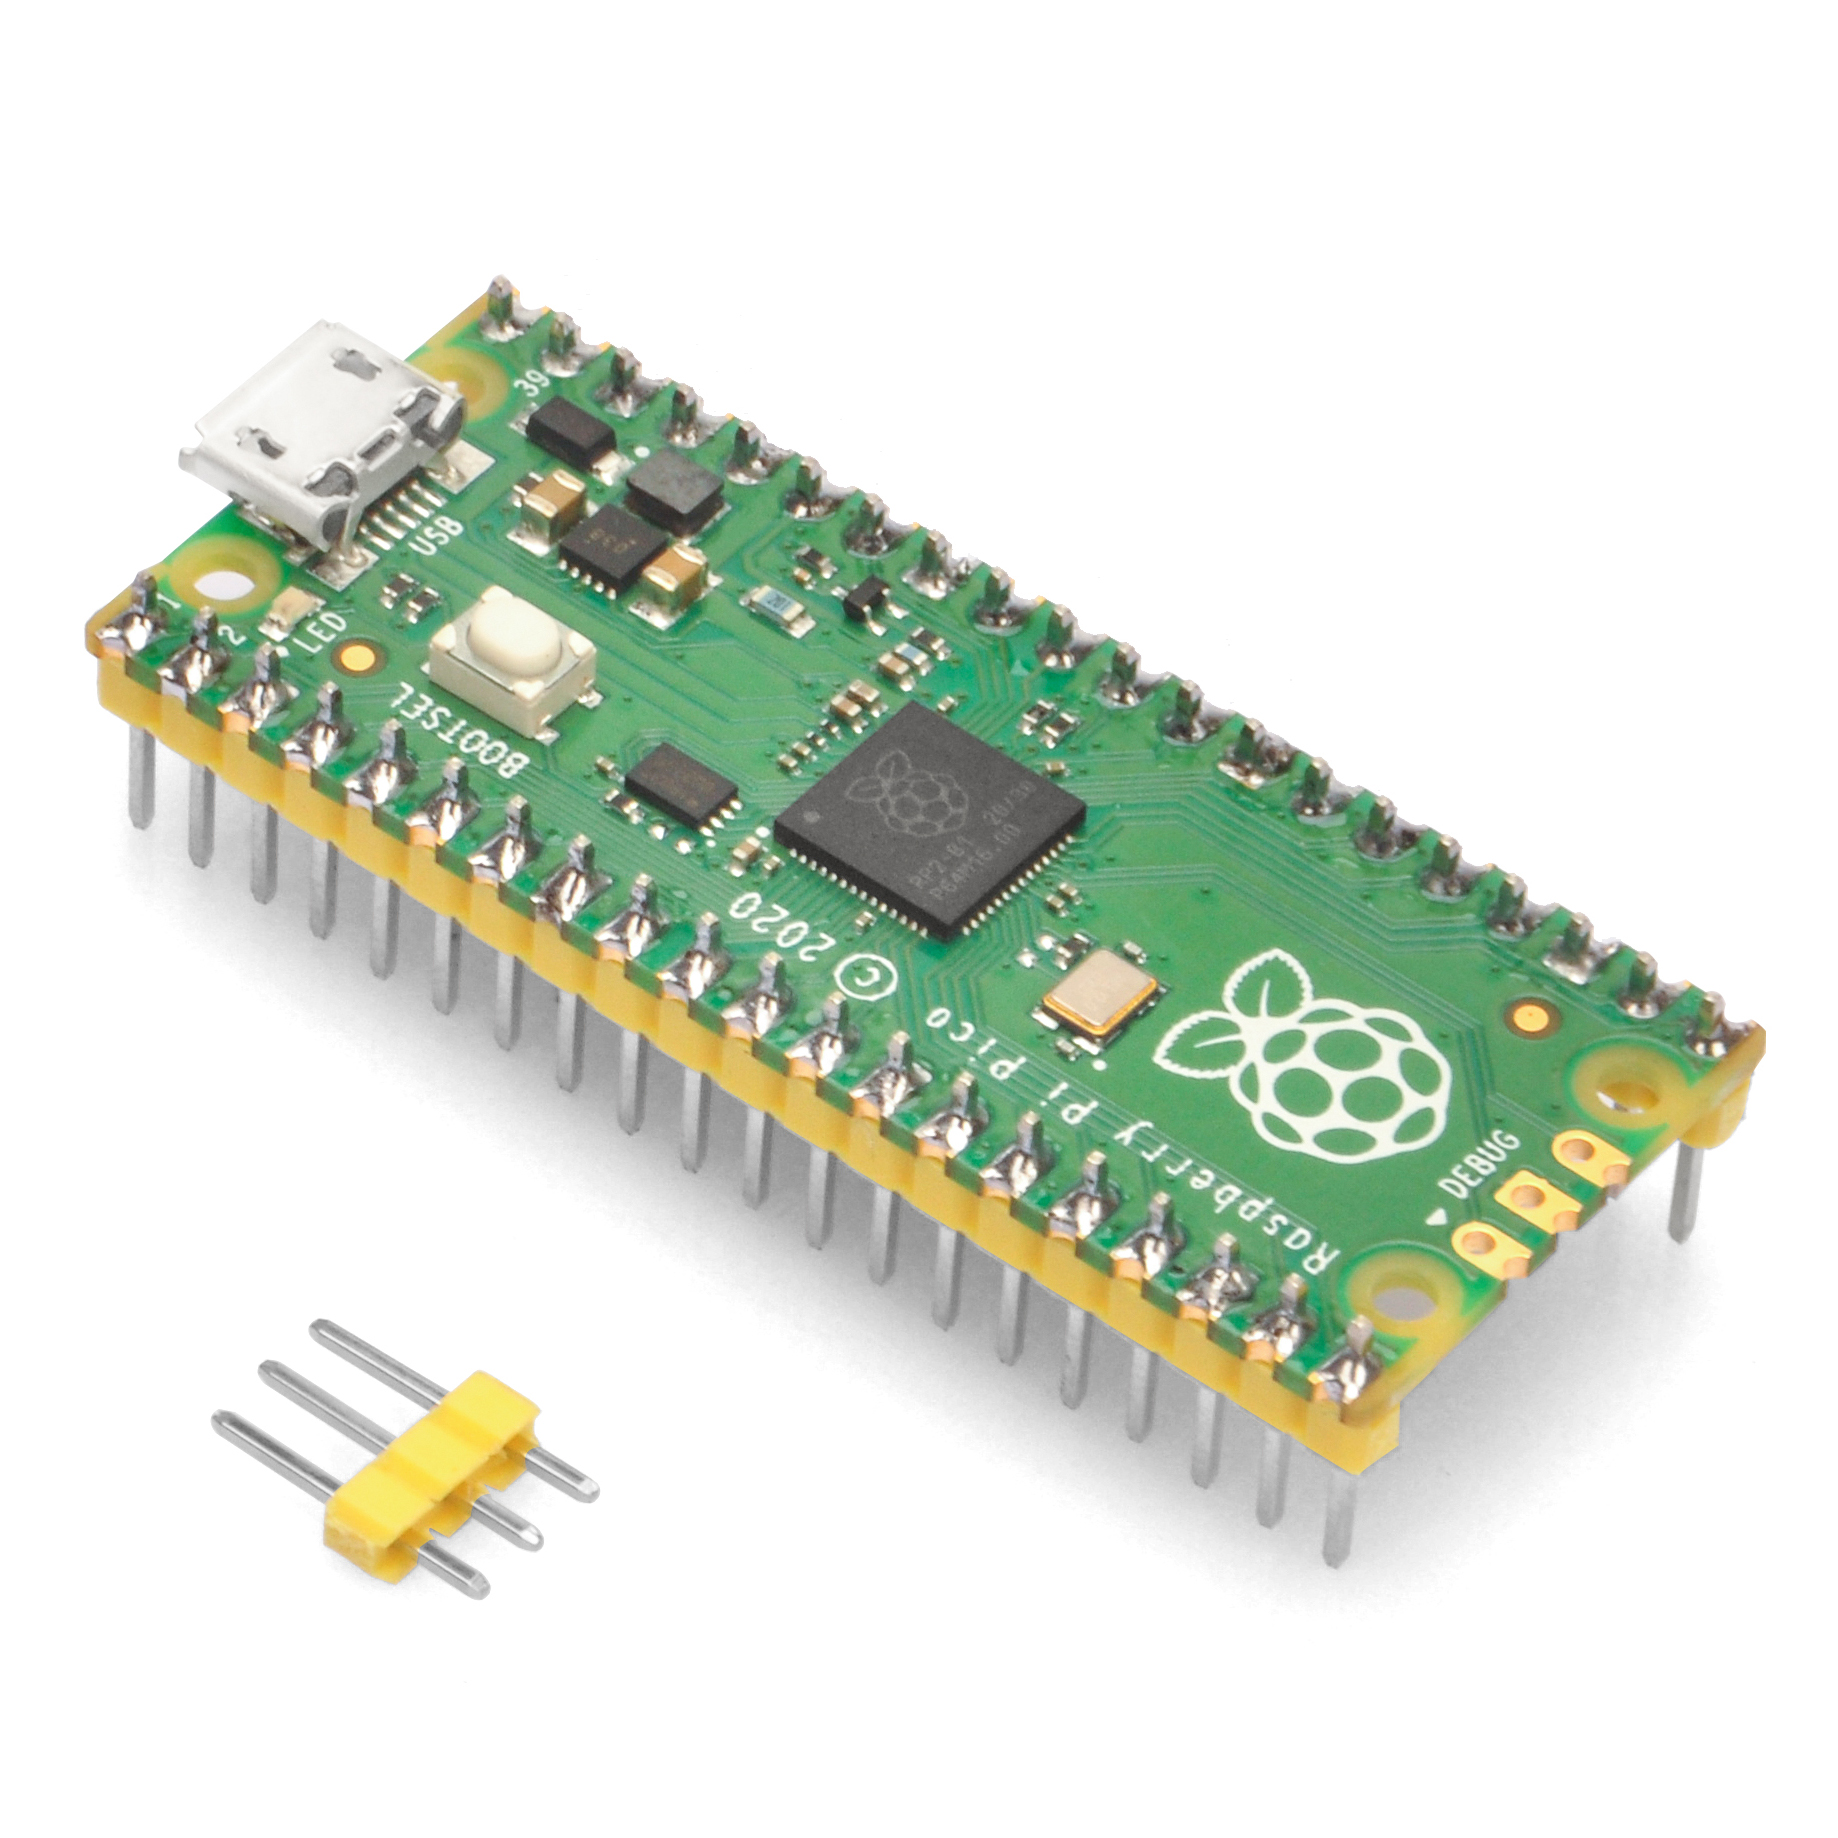
Raspberry Pi Pico board and microUSB cable
A computer to run Arduino IDE
Install Arduino IDE
If you have never installed Arduino IDE, please read this tutorial to install Arduino IDE on your PC.
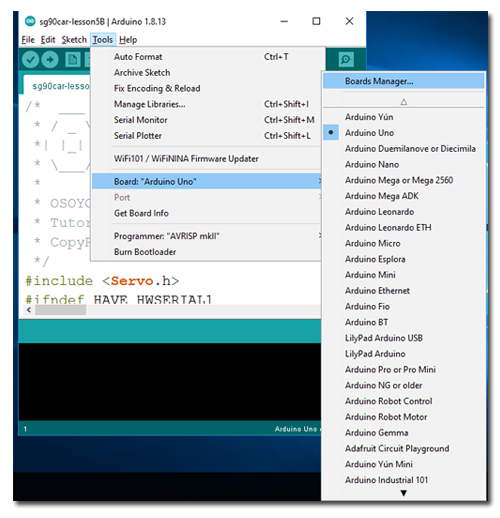
Install Arduino Mbed OS RP2040 Board to support Pico:
Open Arduino IDE ->Tools ->Board Manager

In the search bar, search "pico," and you will see a board named "Arduino Mbed OS RP2040 board.
Click the Install button to install this board into the IDE.

It might take a couple of minutes to install the software into Arduino IDE.
Connect the Pico board to your PC
Step 1: Push and hold the BOOTSEL button on your Pico board and connect the Pico into the USB port of your PC.
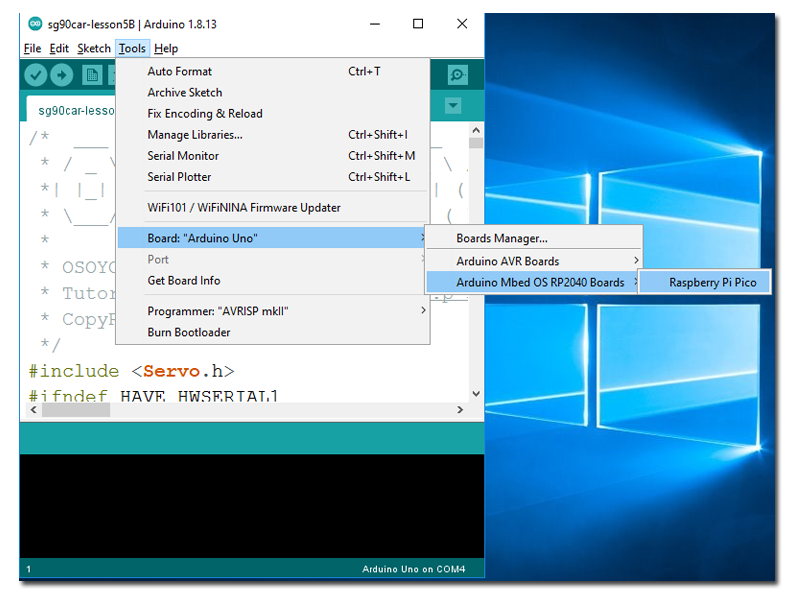
Step 2: In Arduino IDE, select: Tools -> Board -> Arduino Mbed OS RP2040 Boards -> Raspberry Pi Pico.
Unlike real Arduino boards (UNO, Nano, etc.), the Pico board does not need to select ports in the IDE.
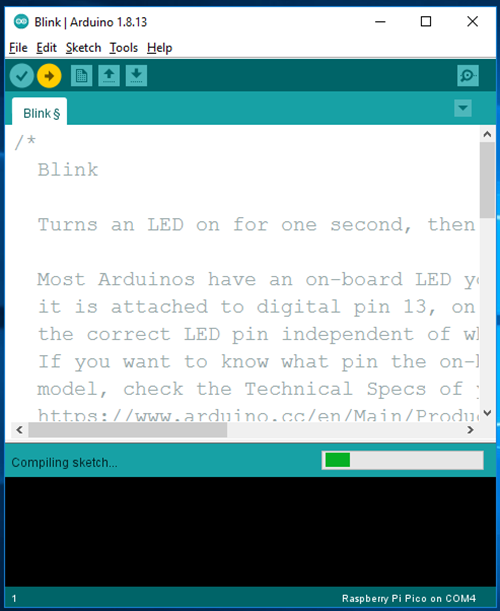
Step 4: Press the Upload button. Now, Arduino IDE will compile the code and upload the sketch onto the Pico board.
If you have any upload errors, it means your Pico is not connected to the PC properly. Please repeat Step 1 again.
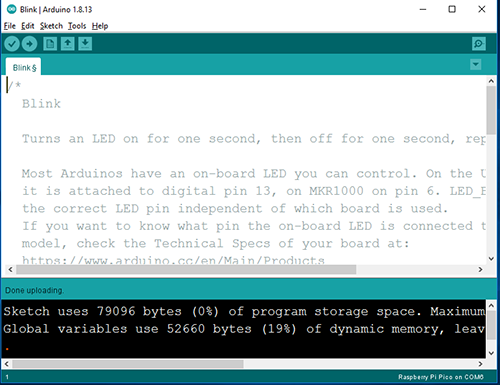
After the IDE shows “Done uploading,” it means the Blink program is running on the Pico board. You will see the LED on the Pico board continuously flashing, as we saw in Lesson 1.


 Install Arduino IDE
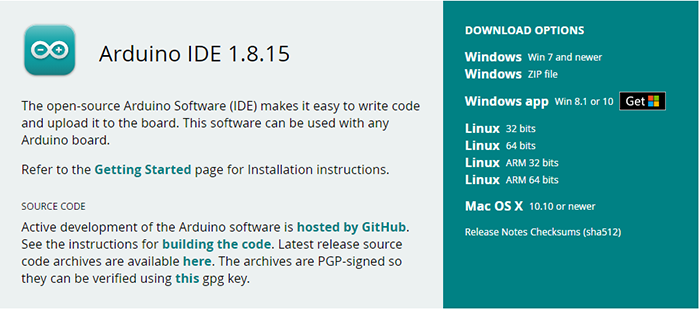
 In the search bar, search "pico," and you will see a board named "Arduino Mbed OS RP2040 board.
Click the Install button to install this board into the IDE.
In the search bar, search "pico," and you will see a board named "Arduino Mbed OS RP2040 board.
Click the Install button to install this board into the IDE.
 It might take a couple of minutes to install the software into Arduino IDE.