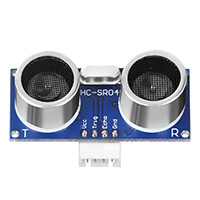
In this lesson, we will demonstrate how to use this kit to remotely collect data from the ultrasonic ranging sensor and display it on the OSOYOO IoT UDP App.


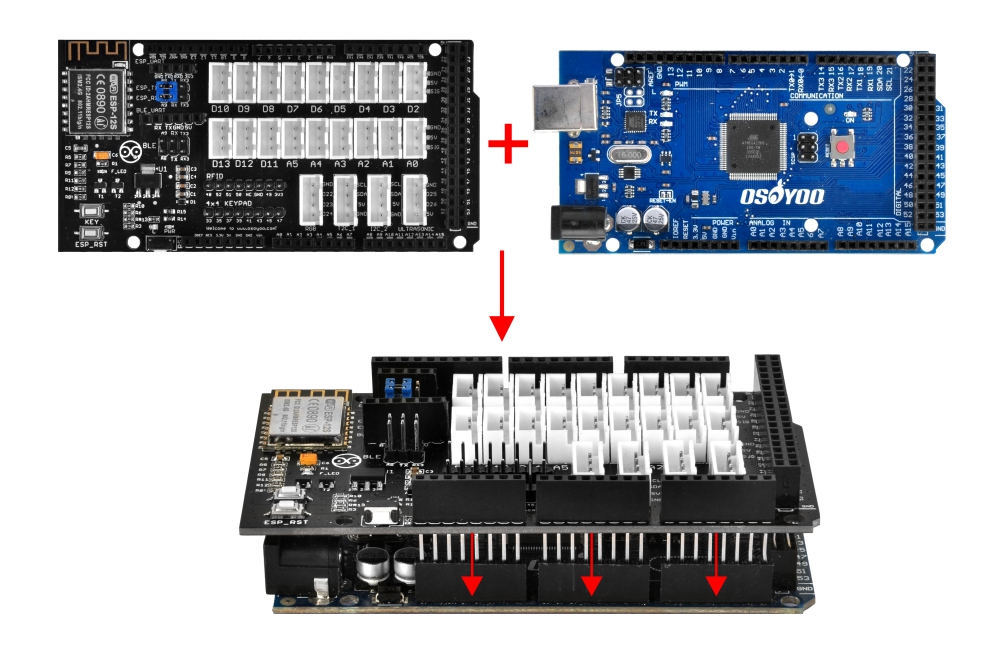
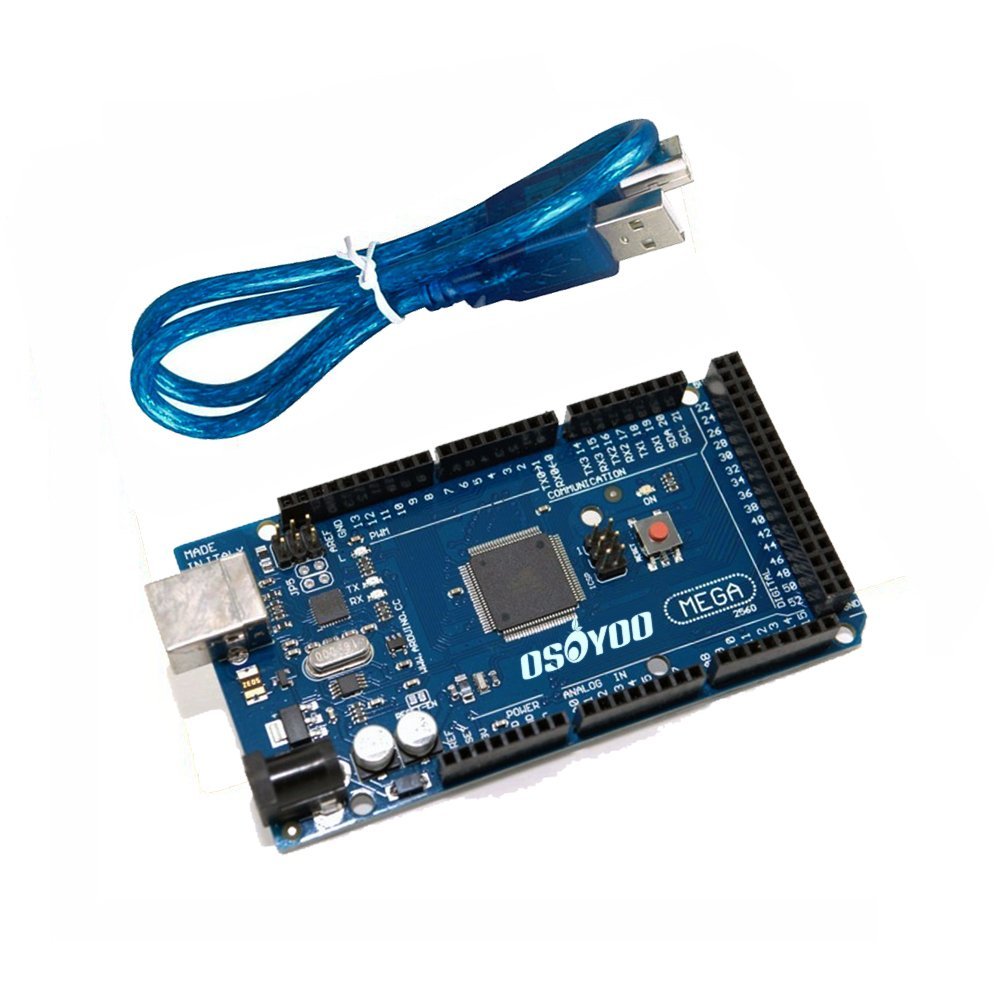
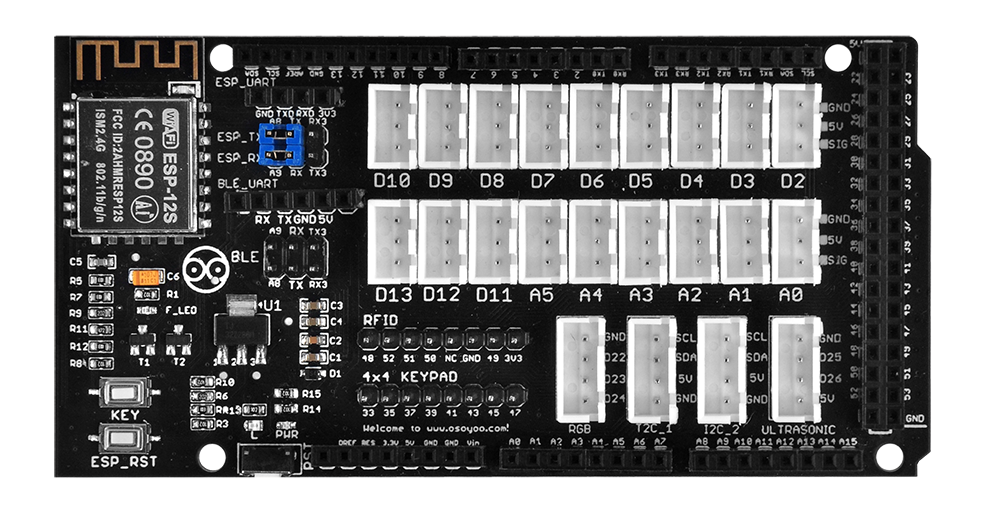
First, plug the OSOYOO MEGA-IoT Extension Board into the MEGA2560 board:

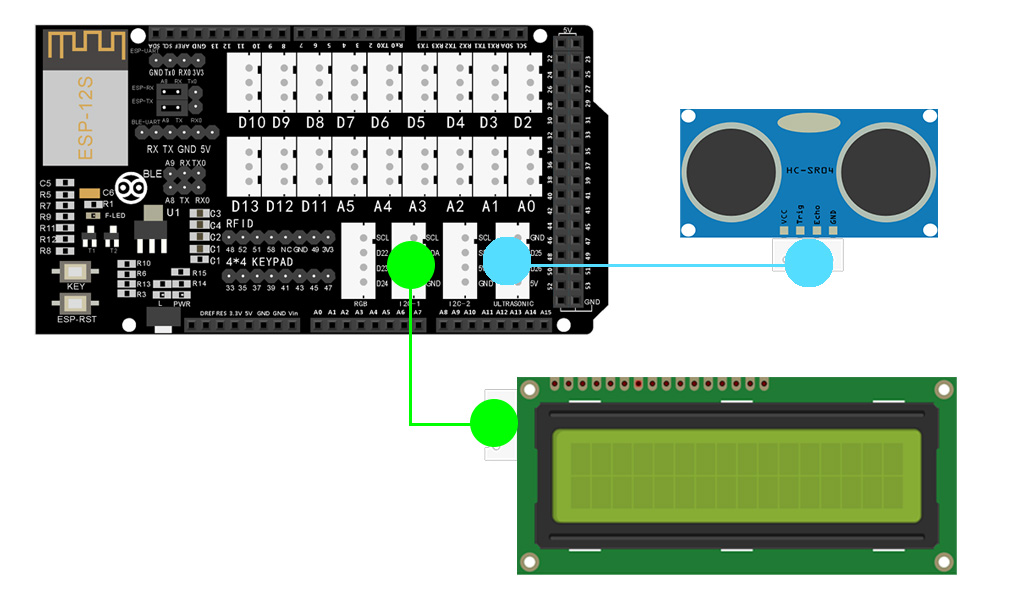
Build the circuit as shown below:
Connect the Echo pin to port D25 and the Trig pin to port D26.


Prerequisite:
If you haven’t installed the following libraries in previous lessons, you also need to download them from the links below:
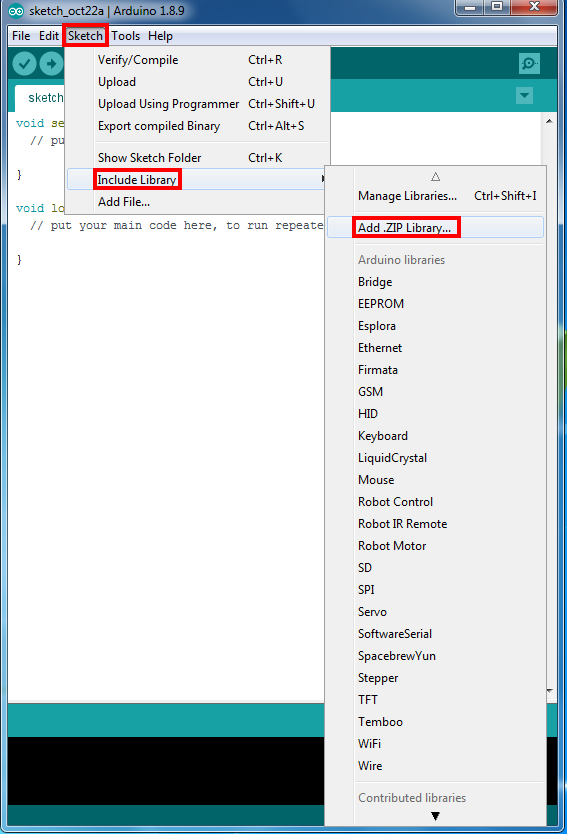
In Arduino IDE, click Sketch → Include Library → Add .ZIP Library and upload the library zip file to the IDE.

Download and Edit Lesson 2-4 Arduino Code:
Step 1: After installing the above libraries, download the code from the following link and unzip it:
https://osoyoo.com/driver/smart-home-v2-udp/lesson4/smart-home-lesson4a.zip
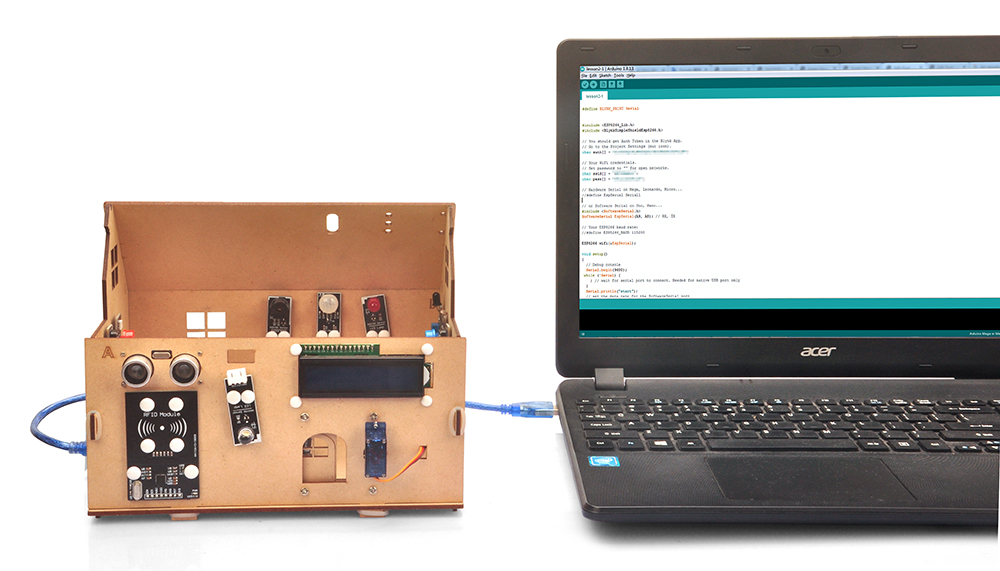
Step 2: After completing the above steps, connect the OSOYOO MEGA2560 board to your PC with a USB cable.
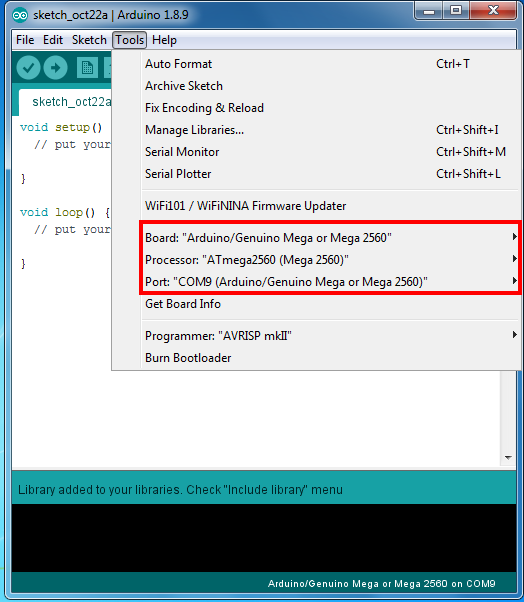
Step 6: Open Arduino IDE. Select the correct board type and port for your project.

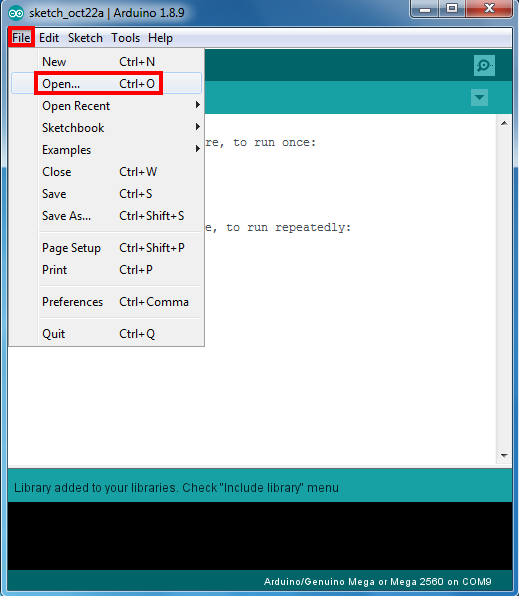
Step 7: In Arduino IDE, click File → Open, then choose the code file from the folder and load the sketch onto your Arduino.

Note: In the sketch, on lines 13 and 14, find the following lines:
Replace *** with your Wi-Fi SSID and password:
char ssid[] = "***";//replace this line with your Wi-Fi ssid char pass[] = "***"; //replace this line with your wifi password Upload the sketch to the board. Wait until you see something like this:
Done uploading
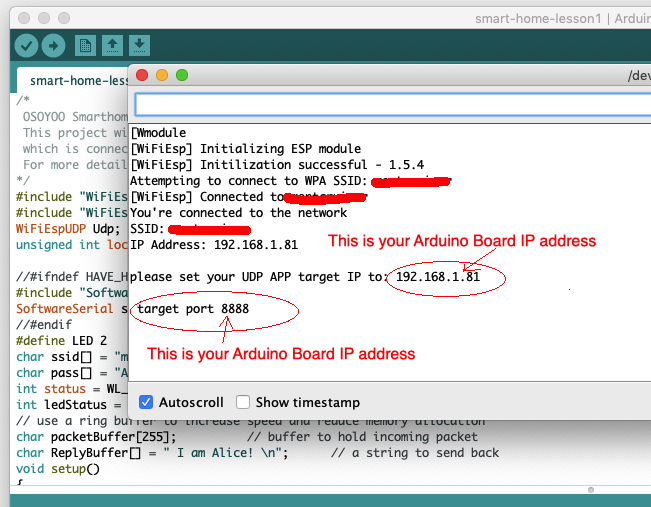
Now open your Serial Monitor and you will see the Arduino IP address:

APP Installation and Settings:
Step 1) If you haven’t installed the OSOYOO IoT Robot APP yet, search for “OSOYOO IoT Robot Car APP” in Google Play or the Apple App Store to install it.
You can read the following tutorial for more information about APP installation:
https://osoyoo.com/2022/02/06/smart-house-iot-learning-kit-v2-0-lesson-1-wireless-lighting-control/#installapp
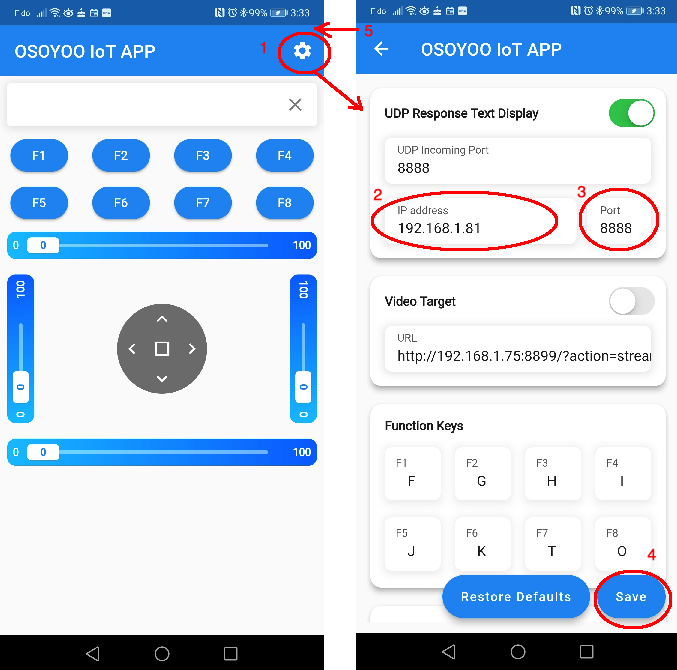
Step 2): Make sure your cell phone is on the same local network as the Arduino. Open the APP, tap Settings, then enter the Arduino IP address from Step 6 and set Port to 8888:


Now open your OSOYOO IoT UDP APP (if you don’t have it, search for “OSOYOO IoT UDP Robot APP” in the Apple App Store or Google Play Store).
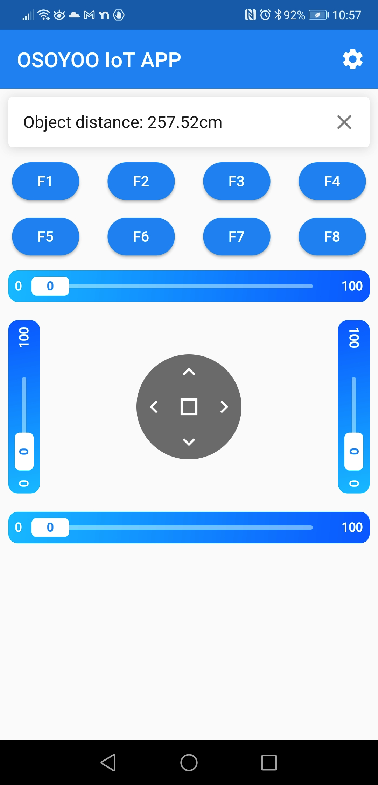
You will see the Object Distance value in the text field. If you can’t see the value, click any key and it will show the distance.

| No. | Picture | Device | Qty. | Link |
| 1 | ![]() |
OSOYOO MEGA2560 Board | 1 | Click here to buy |
| 2 | ![]() |
OSOYOO MEGA-IoT Extension Board | 1 | Click here to buy |
| 3 | ![]() |
Photosensitive Sensor | 1 | Click here to buy |
| 4 | ![]() |
Temp & Hum Sensor | 1 | Click here to buy |
| 5 | OSOYOO Active Buzzer Module | 1 | Click here to buy | |
| 6 | ![]() |
Flame Detection Sensor | 1 | Click here to buy |
| 7 | ![]() |
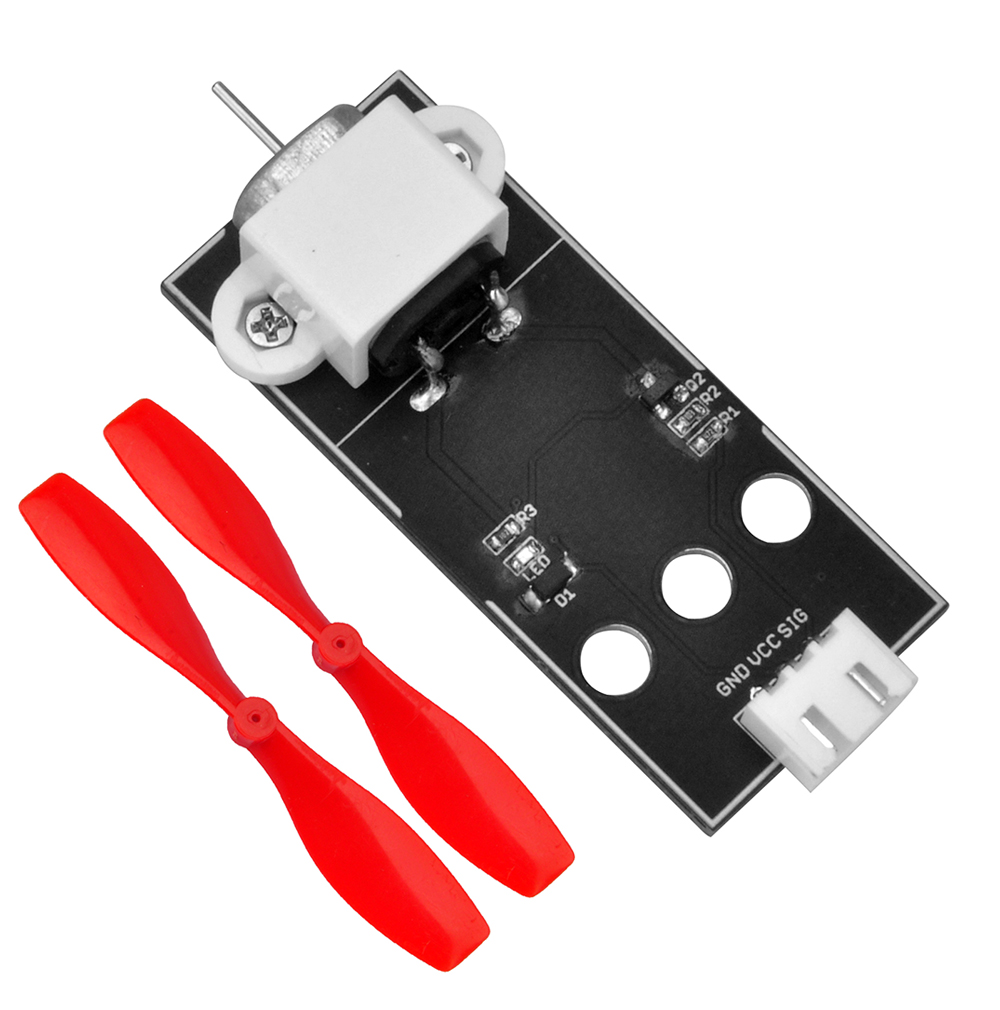
Fan Motor Module | 1 | Click here to buy |
| 8 | ![]() |
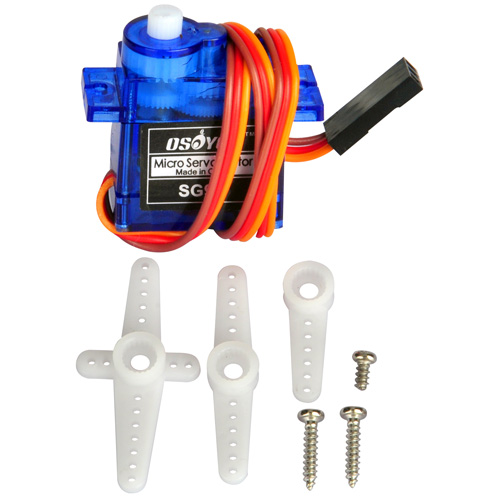
Micro Servo Motor | 1 | Click here to buy |
| 9 | ![]() |
RGB Module | 1 | Click here to buy |
| 10 | ![]() |
Ultrasonic Sensor | 1 | Click here to buy |
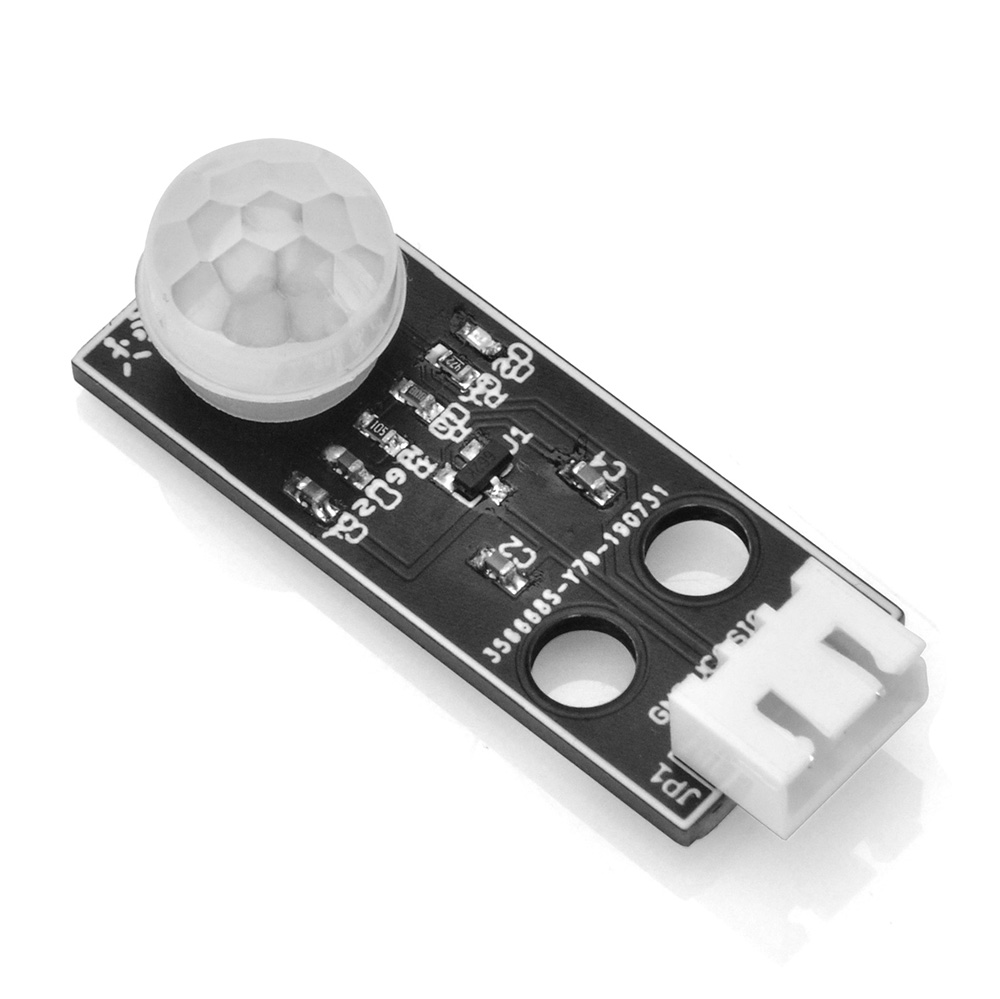
| 11 | PIR Motion Sensor | 1 | Click here to buy | |
| 12 | ![]() |
Microphone Module | 1 | Click here to buy |
| 13 | ![]() |
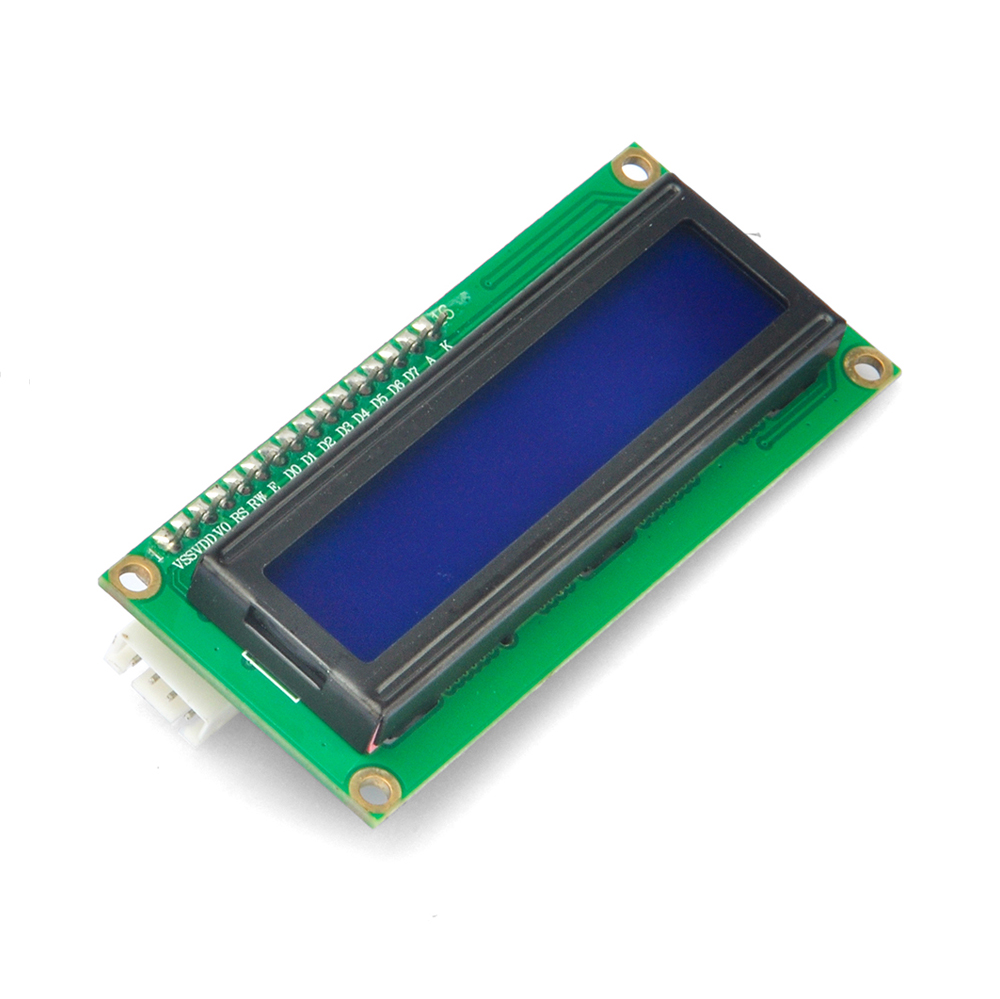
1602 I2C LCD Screen | 1 | Click here to buy |
| 14 | ![]() |
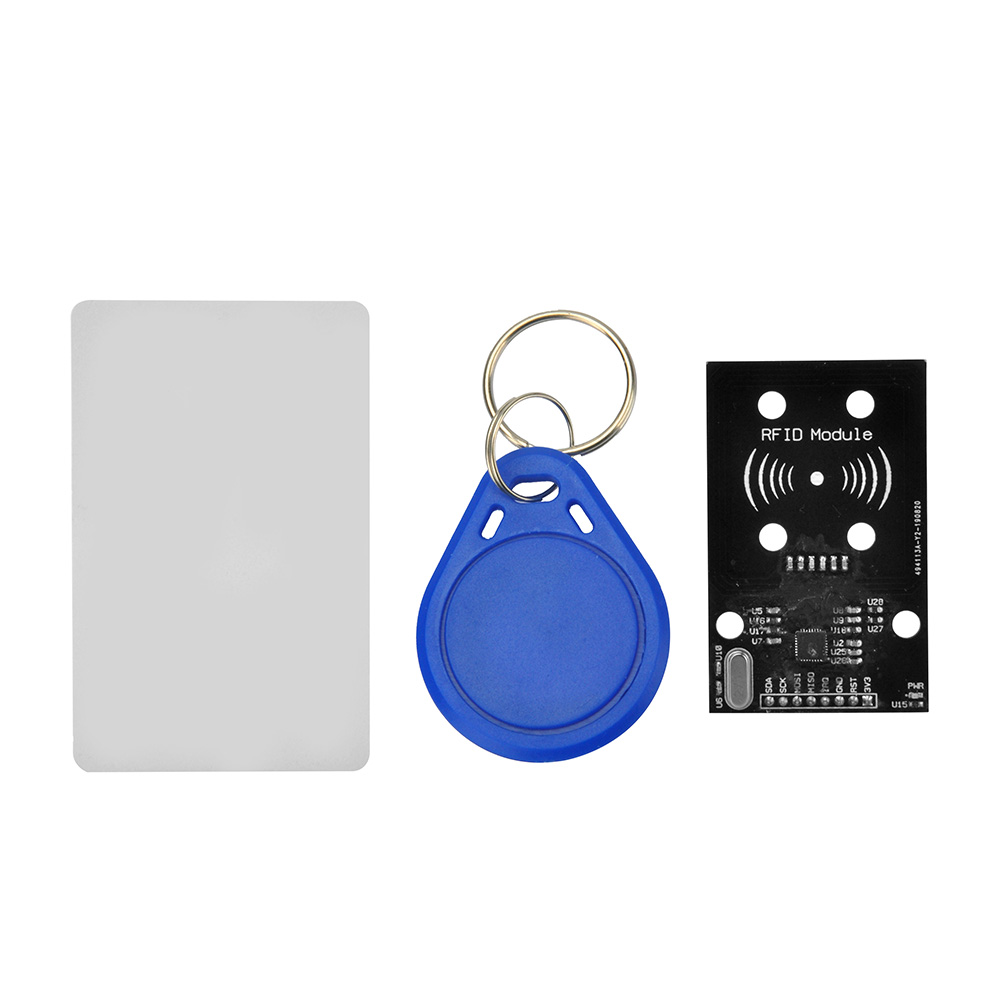
RFID Module | 1 | Click here to buy |
| 15 | ![]() |
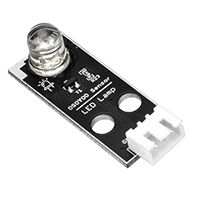
White LED Module | 1 | Click here to buy |
| 16 | ![]() |
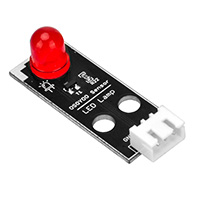
Red LED Module | 1 | Click here to buy |
| 17 | ![]() |
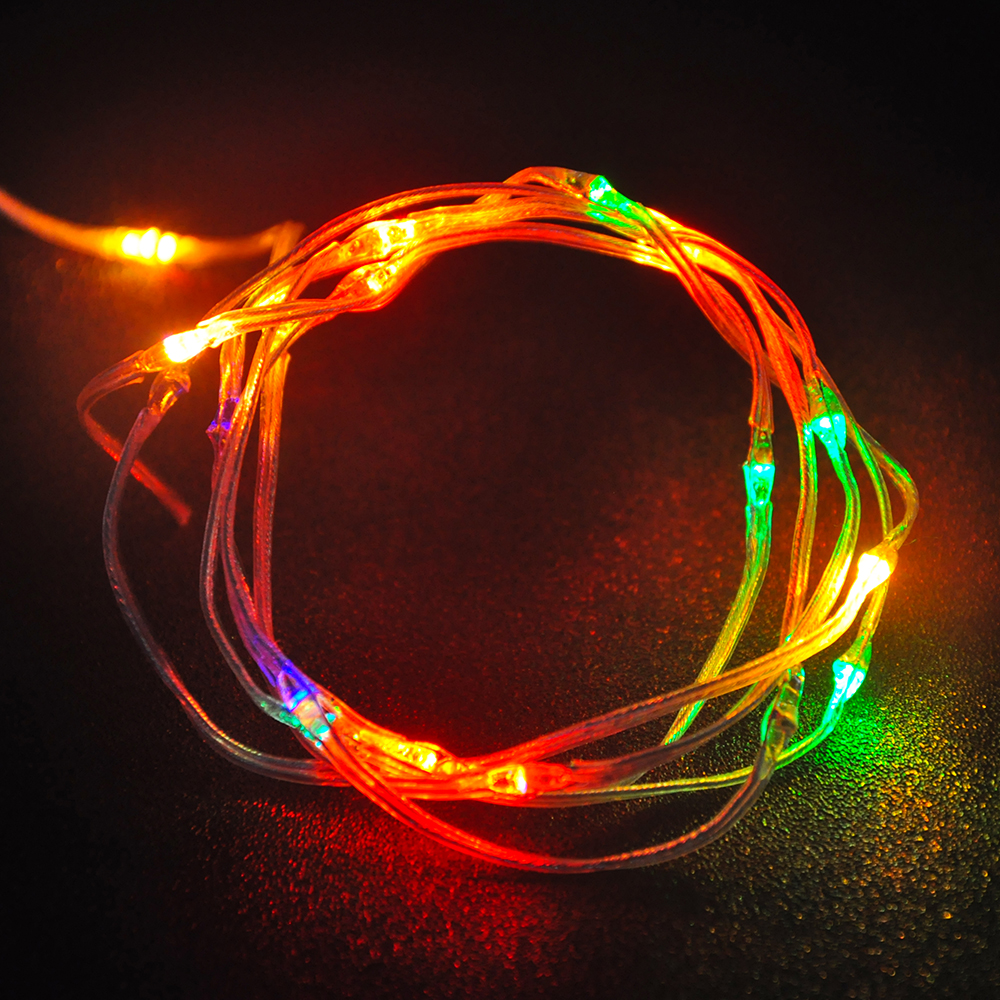
Colorful Light | 1 | Click here to buy |
| 18 | ![]() |
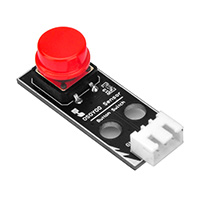
Red Button Module | 1 | Click here to buy |
| 19 | ![]() |
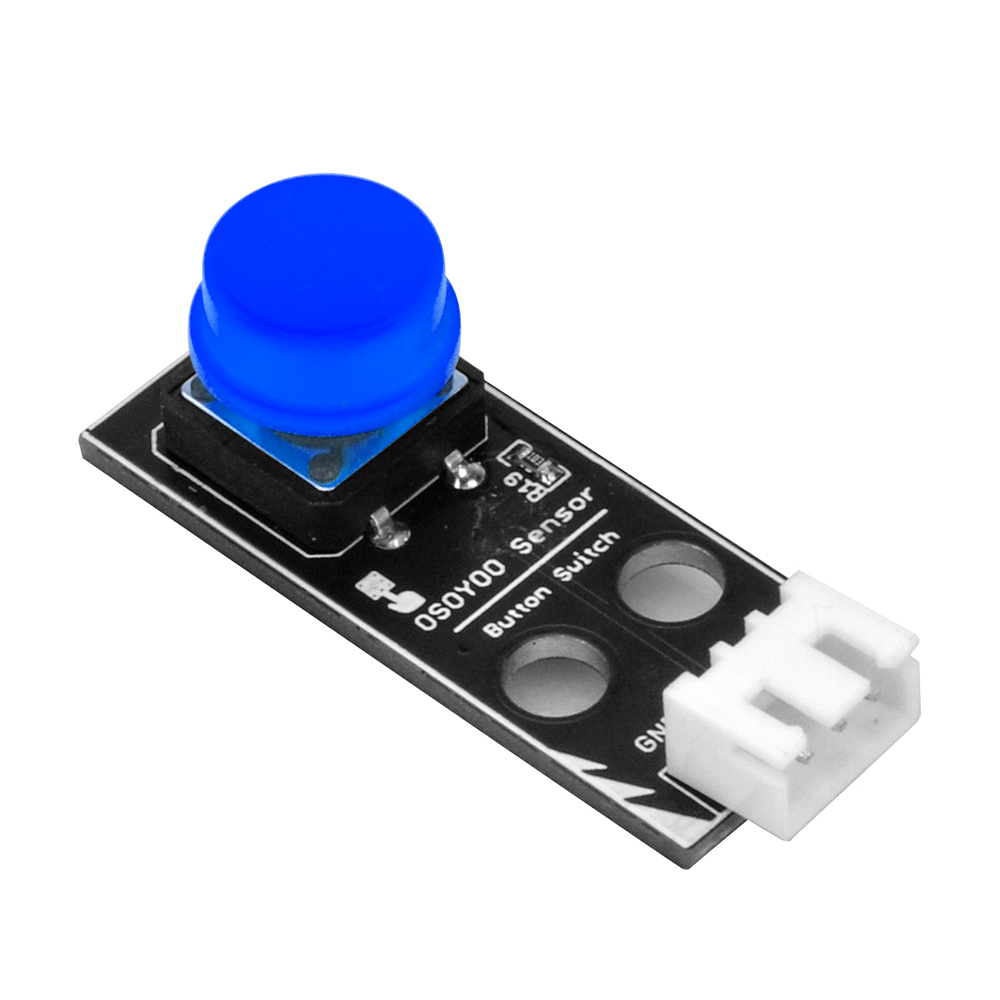
Blue Button Module | 1 | Click here to buy |
| 20 | ![]() |
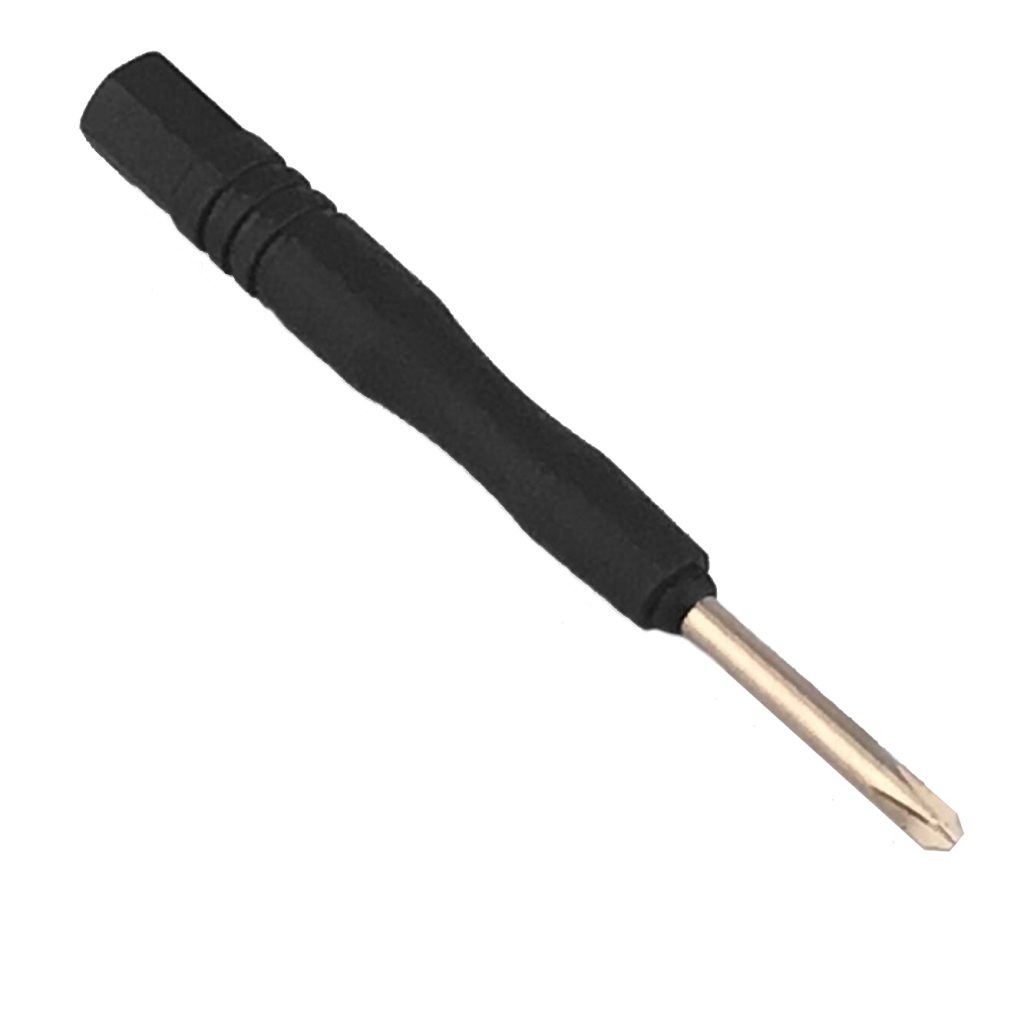
Philips Screwdriver | 1 | Click here to buy |
DownLoad Url osoyoo.com