There are many ways to control Raspberry Pi Robot Car over Internet. In this project, we introduce a popular method, which is to install a Web Server on Raspberry Pi. In other words, we can turn our Pi board into a website and use browse or Cell phone APP to exchange data with Raspberry Pi.
No.
Picture
Device
Qty.
Accessories
Link
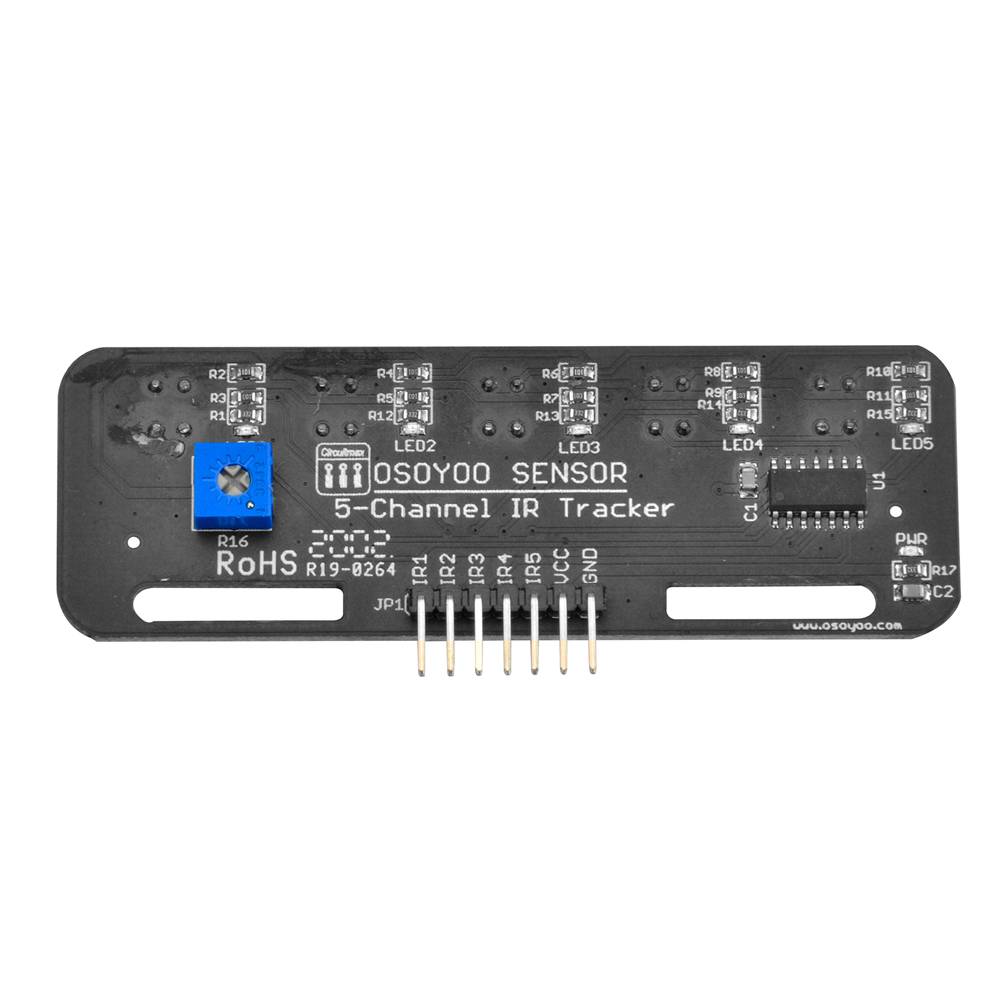
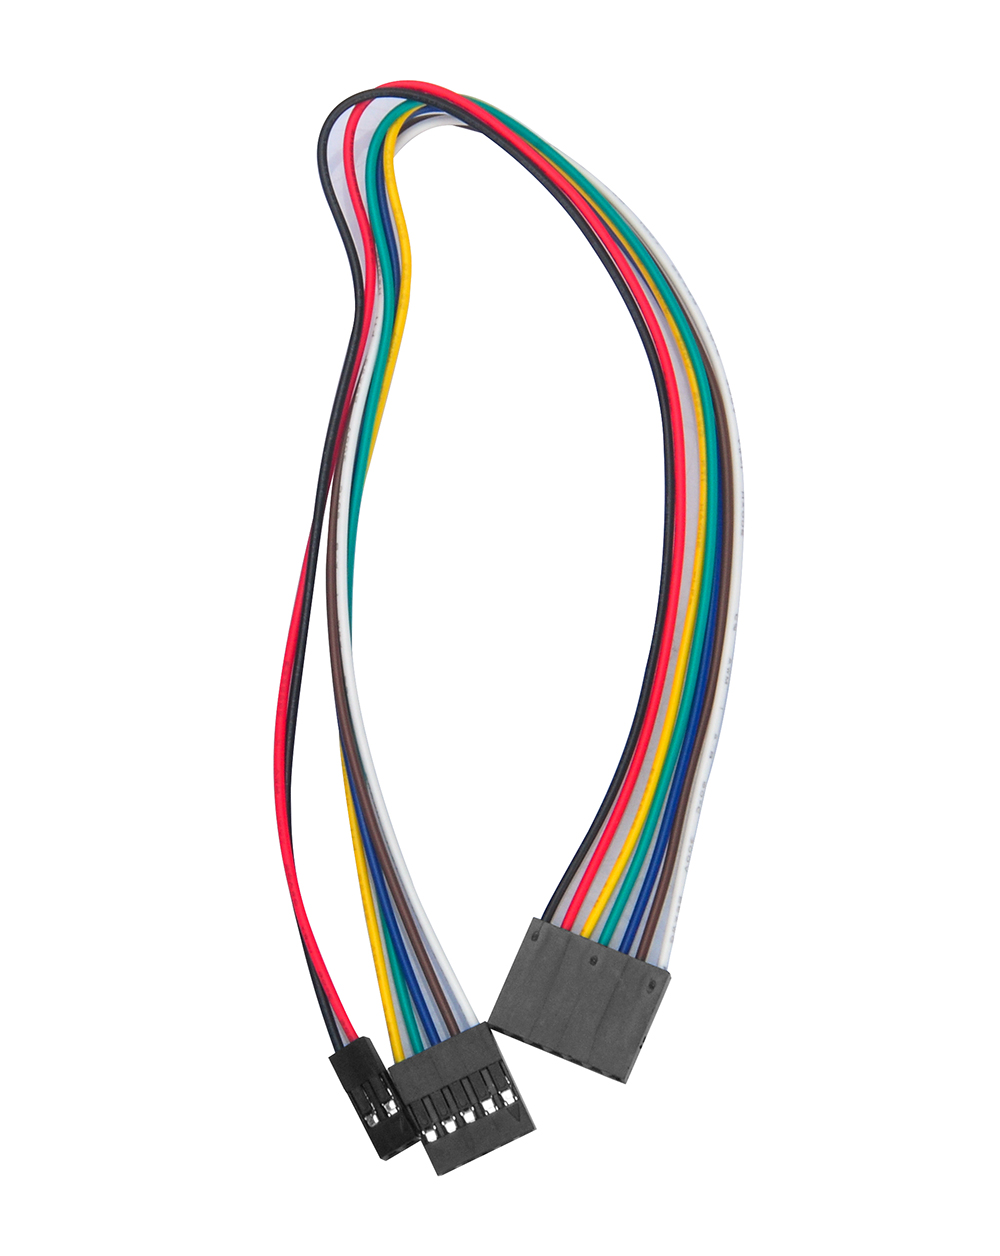
1
Tracking sensor module
1
M2.5 Plastic Screw x 2
M2.5 Plastic Nut x2
M2.5 Plastic Pillar x 2
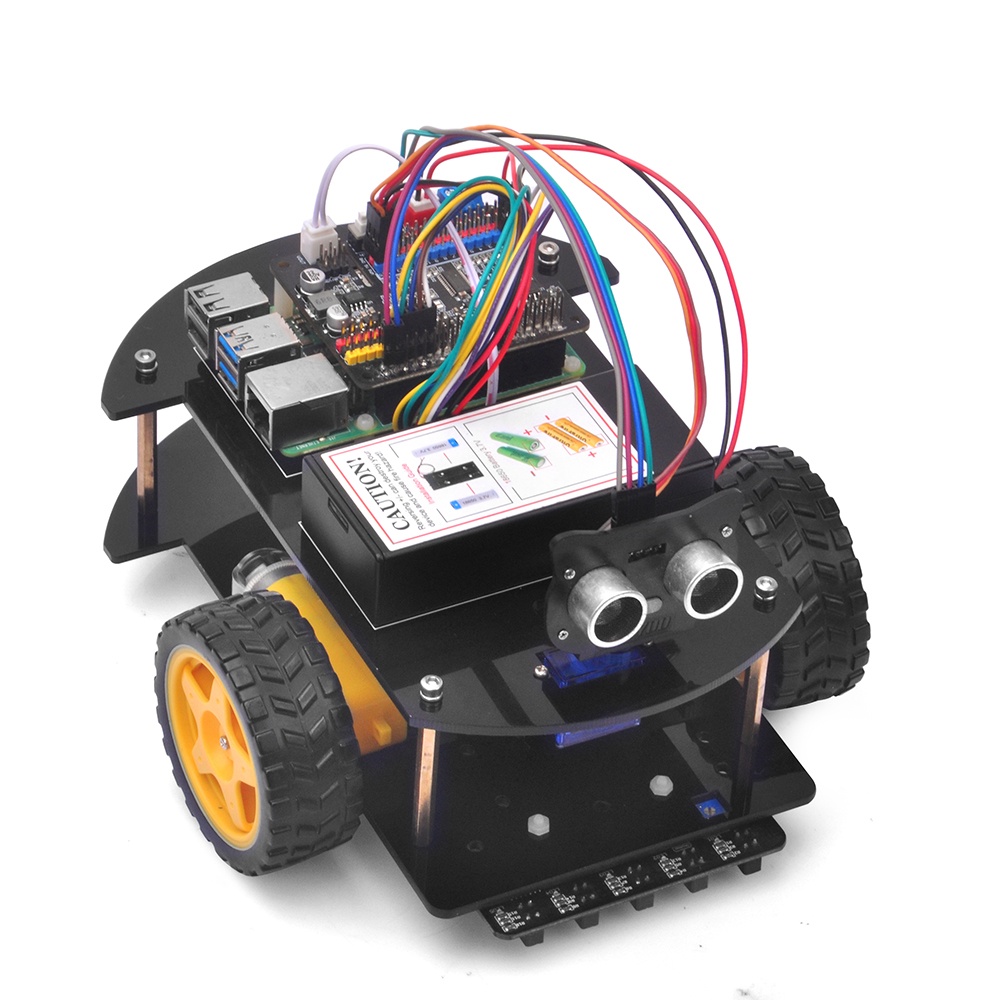
Step 1: Install the smart car basic framework as per Lesson 2. If you have completed lesson 3, you can just keep it Step 1) Make sure you have installed rpi.gpio and adafruit-pca9685 library, and enable I2C in lesson 1, and power on the robot car.
Step 2) Download installation shell script file by typing following command:
After running above commands, you will install python Flask library and automatically create a directory called pi-webserver and two subdirectories under pi-webserver which are static and templates, the structure is as follows:
The pi-webserver directory will store our python code file, static directory will store CSS file and templates folder will store HTML files. If you don’t know what is HTML, CSS file, it doesn’t matter.
Step 4) Run the code by typing the following command:
sudo python ~/pi-webserver/pi-webserver.py
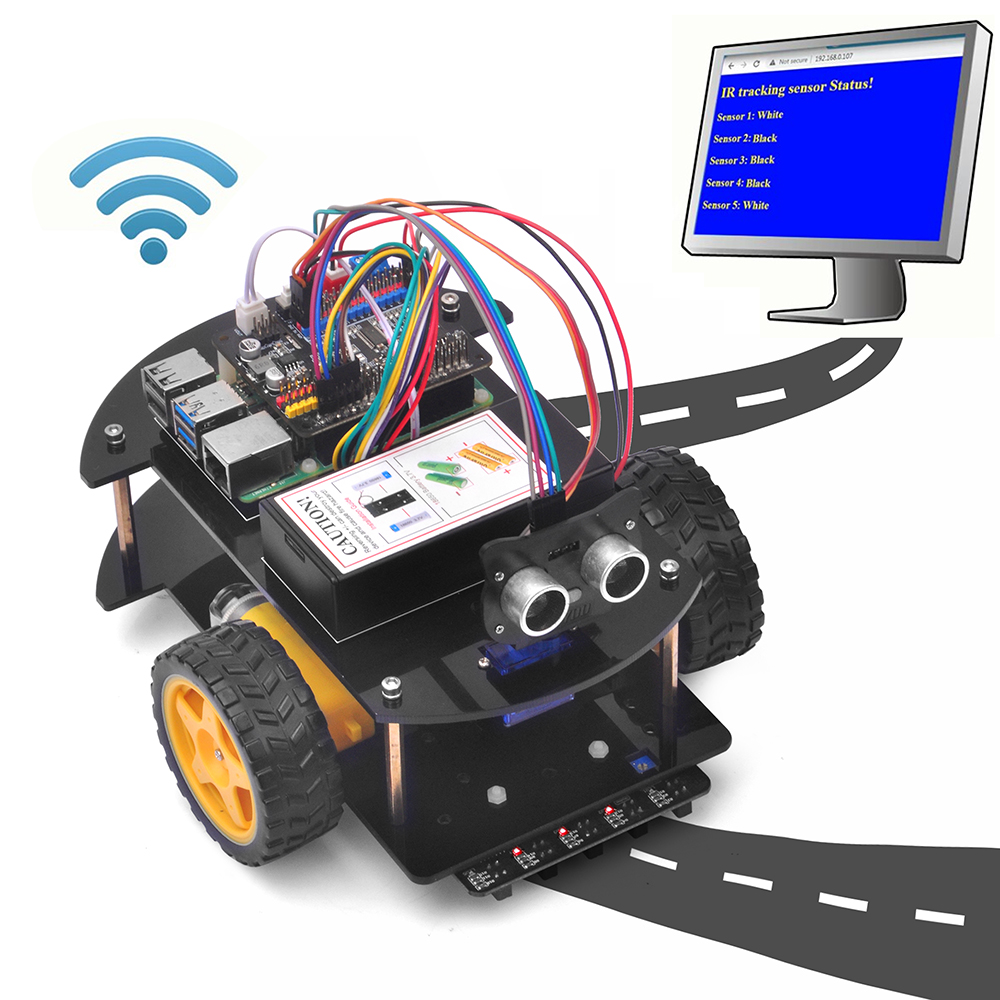
Step 5) Your python flask web server will start. Now in your PC or cell phone which is the same Wi-Fi network of your Raspberry Pi, open browser and visit http://your_raspberry_pi_ip_address:5000 (in my case http://192.168.0.107:5000), you will see your 5 tracking sensors status in your browser:
The sensor status will be updated every 5 seconds, so if you put the black line under other sensors, the sensor value in the above web page will change after 5 seconds.