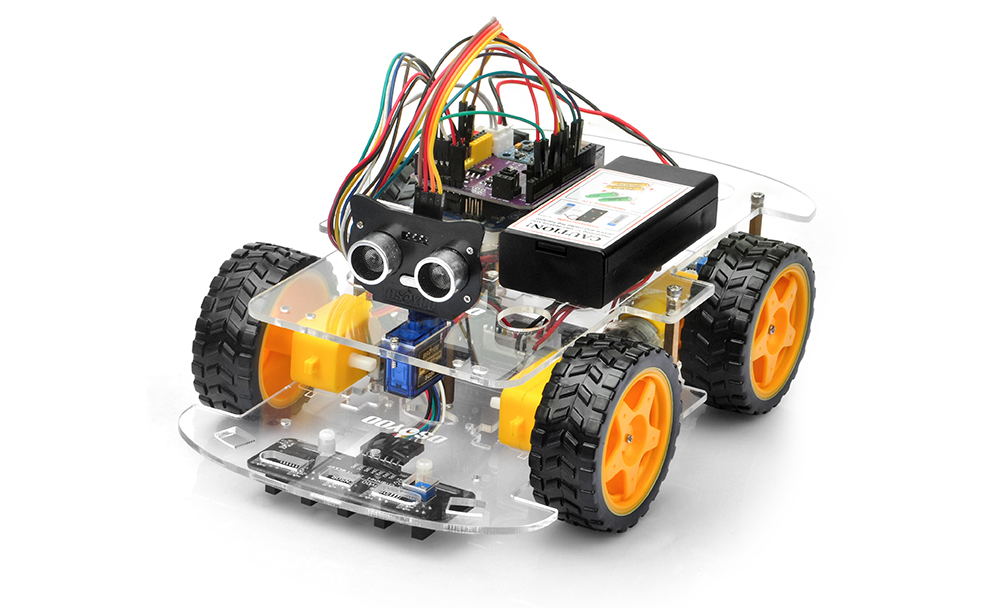
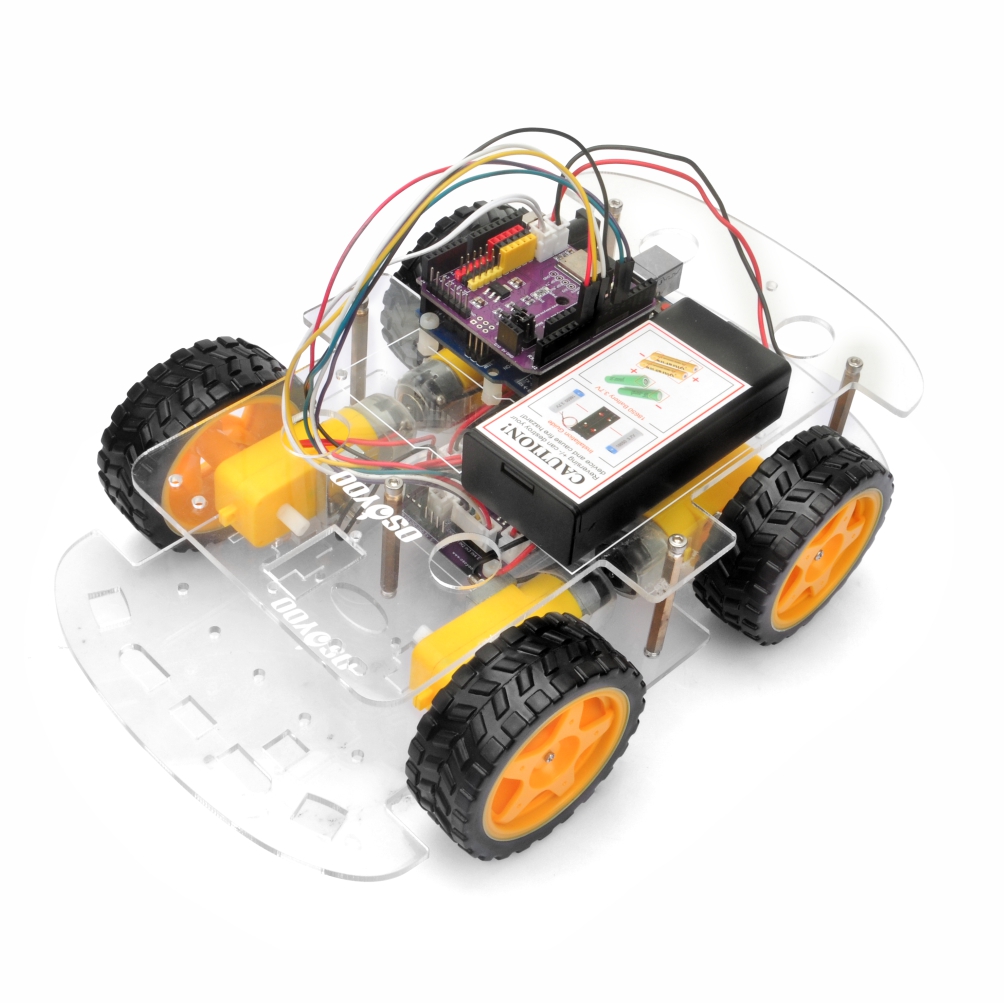
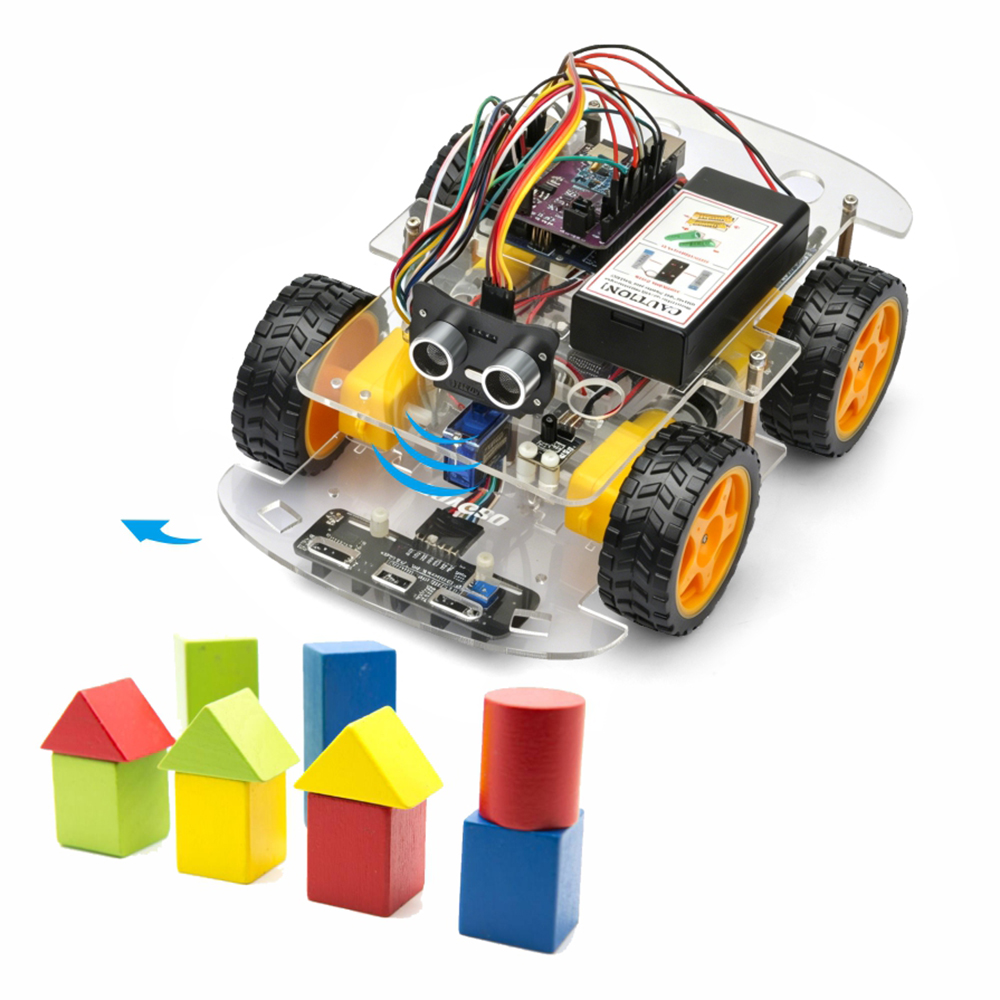
In this lesson, you will upgrade your OSOYOO V3 Robot Car into an autonomous obstacle-avoidance robot.
By combining an ultrasonic distance sensor and a servo motor, the robot can continuously monitor its surroundings, detect obstacles, and automatically choose a safe path without human intervention.
This project introduces one of the most important concepts in mobile robotics: Autonomous Navigation
The same fundamental principles are widely used in warehouse robots, service robots, automated guided vehicles (AGVs), and self-driving platforms.
If you have installed infrared distance sensors of lesson 3, please remove jumper wires on D2 and D3.
If you have completed lesson 2 and lesson 4, you can keep them parts and wires
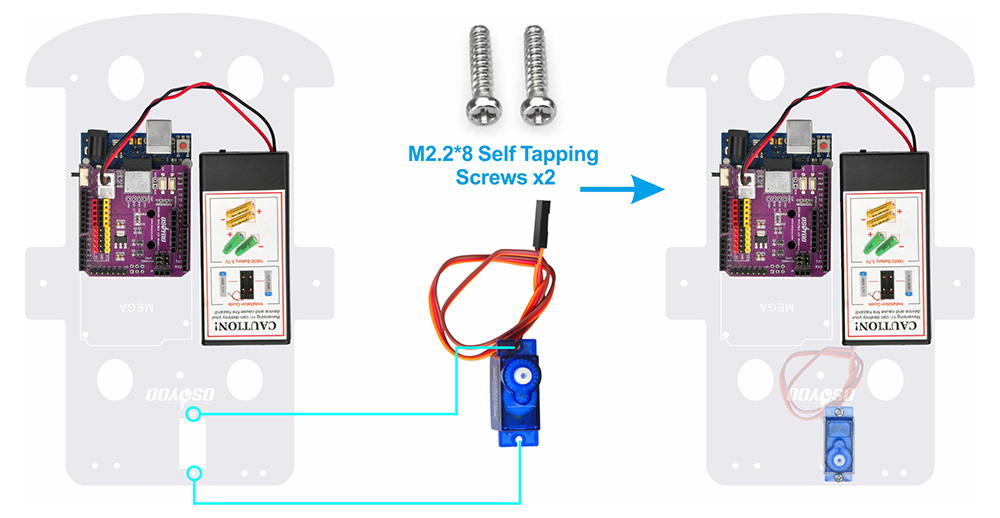
Step 2: Remove the M3 hex screen on upper chassis. Mount the SG90 servo motor on the front section of the upper chassis using 2pcs M2.2×8 self-tapping screws.
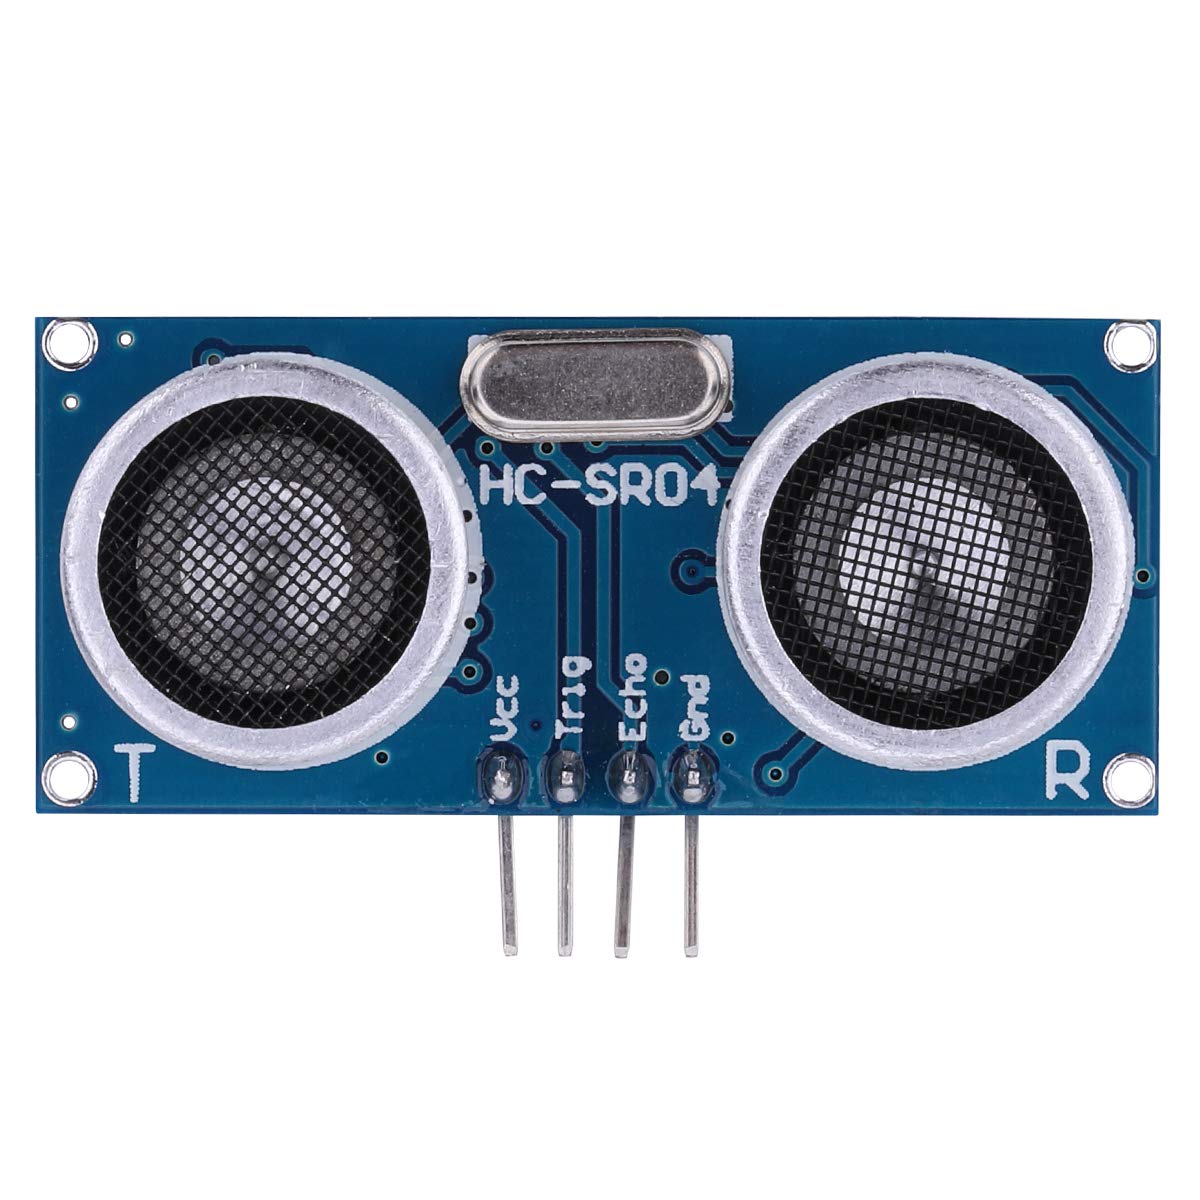
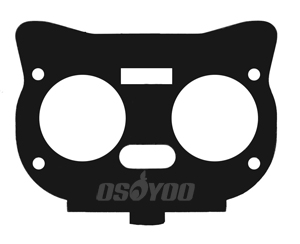
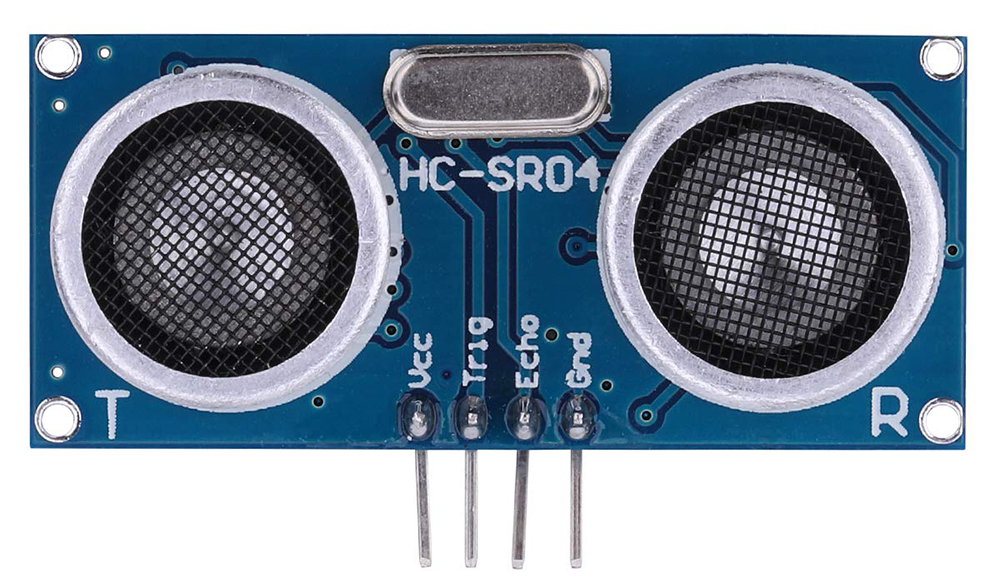
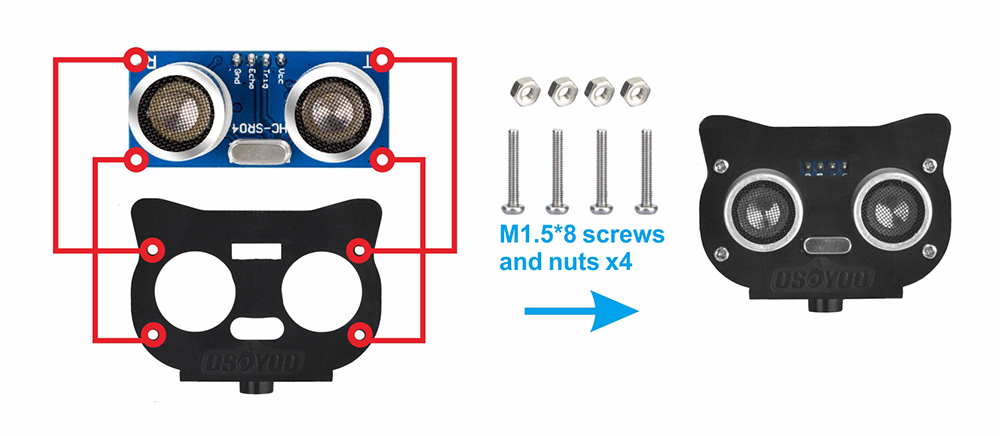
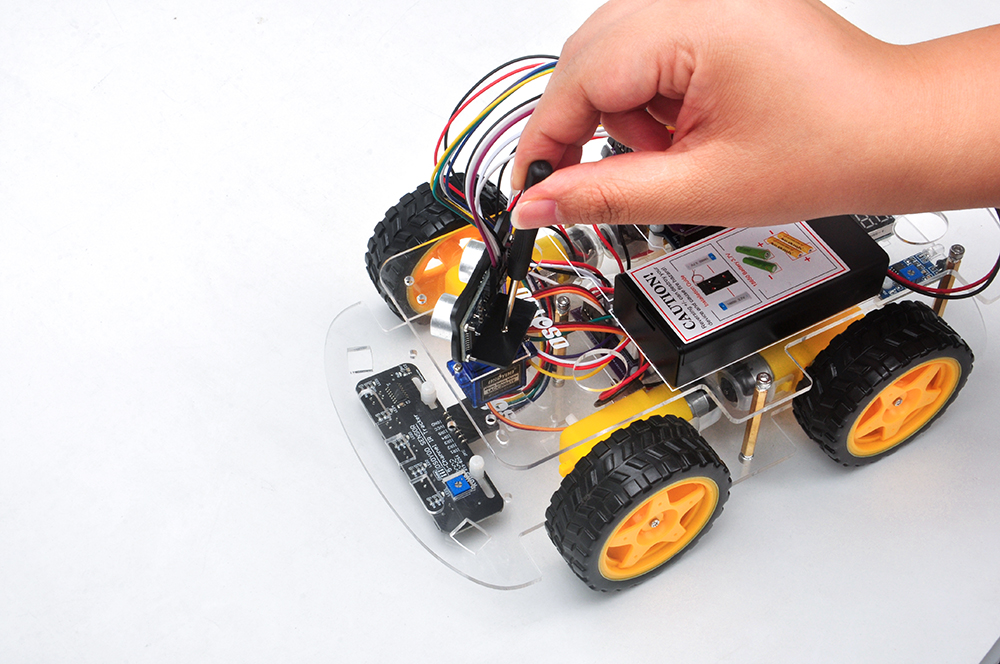
Step 3: Attach the ultrasonic module to the ultrasonic module bracket using 4pcs M1.5*8 screws and nuts.
Step 4: Secure the ultrasonic bracket onto the servo with M2.2*4 self-tapping screw. Ensure the sensor can rotate freely without interference.
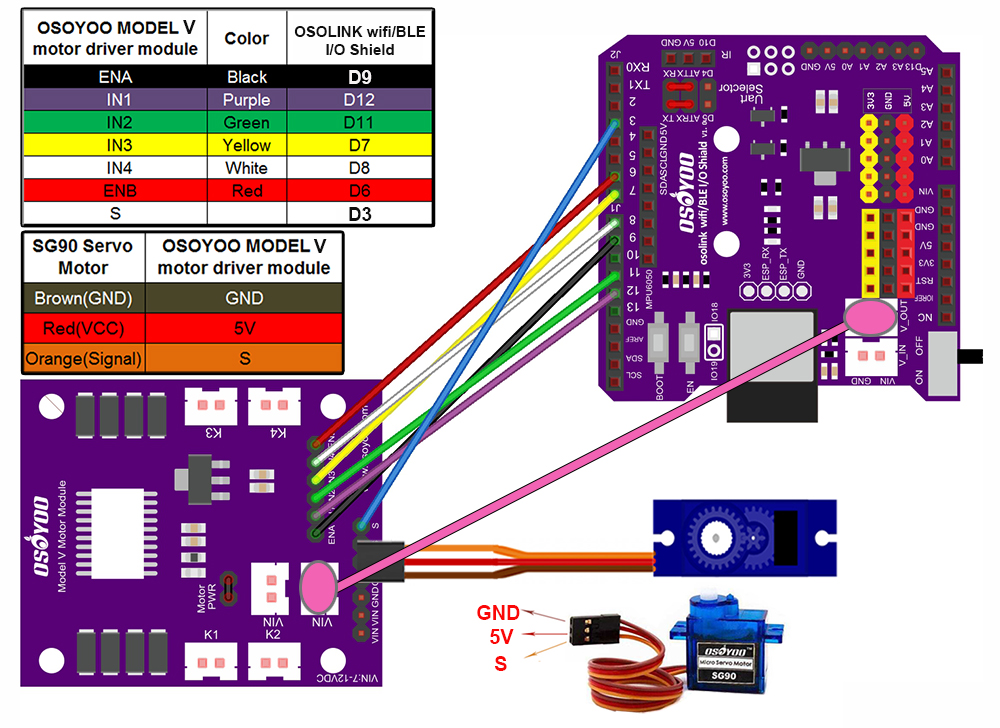
Step 5: Connect servo motor to OSOYOO MODEL V motor shield, and add 1 jumper wires from pinS of OSOYOO model V motor shield to OSOLINK Wifi/BLE I/O shield as below connection diagram
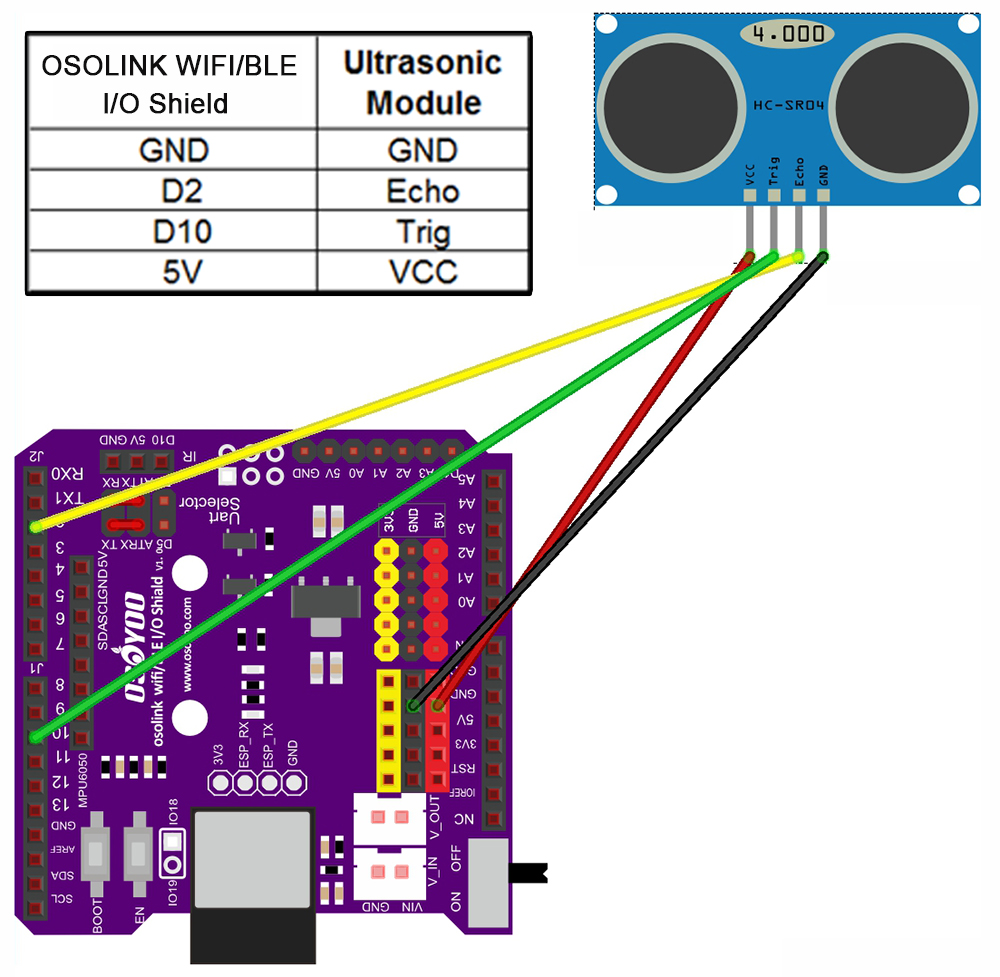
Step 6: Connect ultrasonic module to OSOLINK Wifi/BLE I/O shield as below connection diagram
Step 7: Reinstall the upper chassis and tighten all mounting screws.
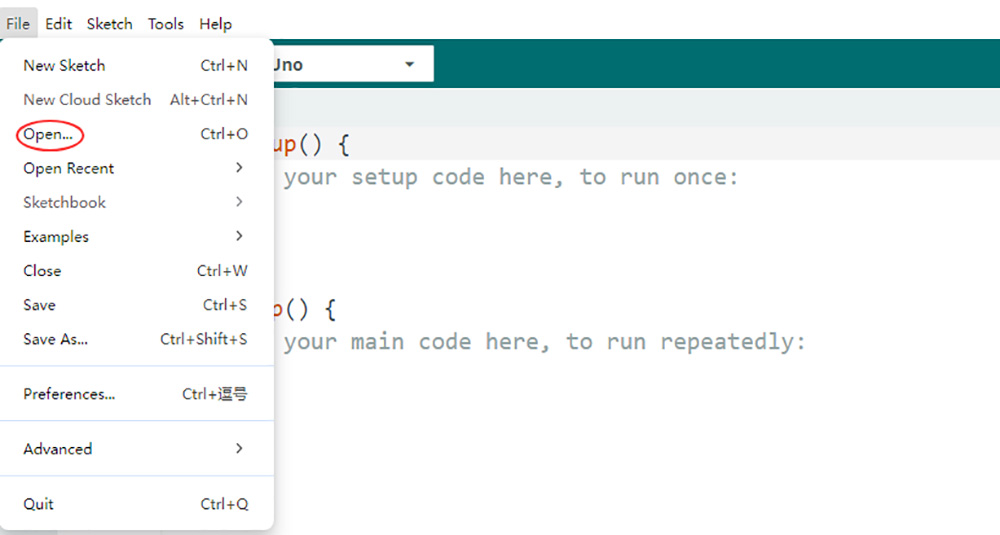
2. Code Acquisition: Download the provided sample code for Lesson 5 from here. Extract the contents and you will get a v3car-lesson5.ino in the folder v3car-lesson5. Open the v3car-lesson5.ino sketch in the Arduino IDE.
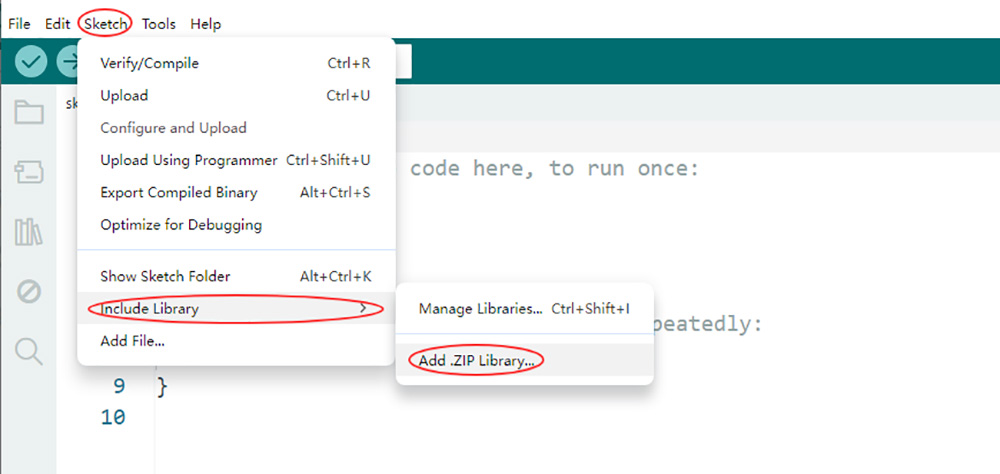
3. Install Libraries:
Firstly, download Libraries zip files from following links: https://osoyoo.com/driver/ServoTimer2-master.zip
Second, do NOT unzip them, open Arduino IDE ->Sketch ->Include Library ->Add Zip Library. Then upload above zip files to Arduino One by One.
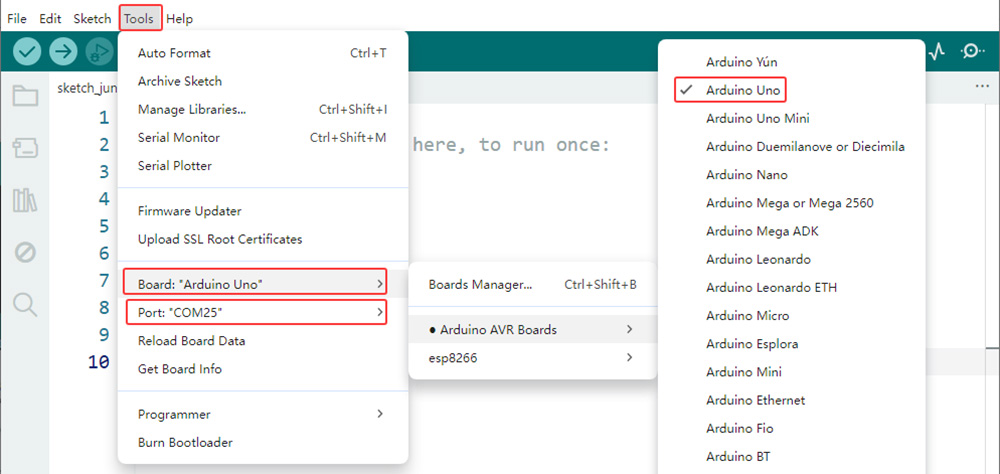
4. Board and Port Selection: Connect the OSOYOO Basic Board (compatible with Arduino UNO) to your computer via a USB cable(Crucially, ensure the robot car’s power switch is OFF and the battery is disconnected before connect the board to your PC). Launch the Arduino IDE. Navigate to Tools > Board and select Arduino Uno. Then, go to Tools > Port and select the appropriate serial port. If unsure, check your operating system’s device manager for the assigned port.
5. Code Upload: Click the “Upload” button (right arrow icon) to compile and transfer the sketch to OSOYOO Basic Board.
6Ultrasonic Sensor Alignment
Why Alignment Matters
The obstacle avoidance algorithm assumes the ultrasonic sensor faces directly forward when the servo is centered.
After power-up, the servo will turn left and right and finally stops at its center position a moment.
At this moment:
If the ultrasonic sensor point directly forward, keep it and work on.
If not:
Power off immediately.
Remove the sensor bracket.
Reinstall the bracket in the correct orientation.
Restart the robot.
Proper alignment is critical for reliable navigation.
7Test the Car
Now you can put the car onto the ground, turn on the power. The ultrasonic module will turn from right to left to detect surrounding obstacle. If no obstacle is detected, the car will go forward. If any obstacles is detected, the robot car will decide to make left turn, right turn or backward according to obstacle sensor data and our obstacle avoidance algorithm.
8 Troubleshooting
1. Robot Always Turns Left or Right
Possible causes:
Ultrasonic sensor not centered
Servo horn installed incorrectly
Loose servo connection
2. Robot Does Not Detect Obstacles
Check:
Trigger/Echo wiring
Sensor power supply
Battery voltage
Program upload status
3. Robot Frequently Collides
Possible causes:
Threshold distance set too low
Ultrasonic sensor alignment incorrect
Obstacle too small for reliable ultrasonic reflection
4. Unstable Distance Readings
Avoid:
Soft fabric objects
Angled surfaces
Strong airflow near the sensor
These conditions can weaken ultrasonic reflections.