| Buy from OSOYOO |
Buy from US |
Buy from UK |
Buy from DE |
Buy from IT |
Buy from FR |
Buy from ES |
ここでご購入を! |
 |
 |
 |
 |
 |
 |
 |
 |
 In this lesson, we use OSOYOO mini bricks to make a smart garage door. When the ultrasonic sensor detects a car, the door will open automatically.

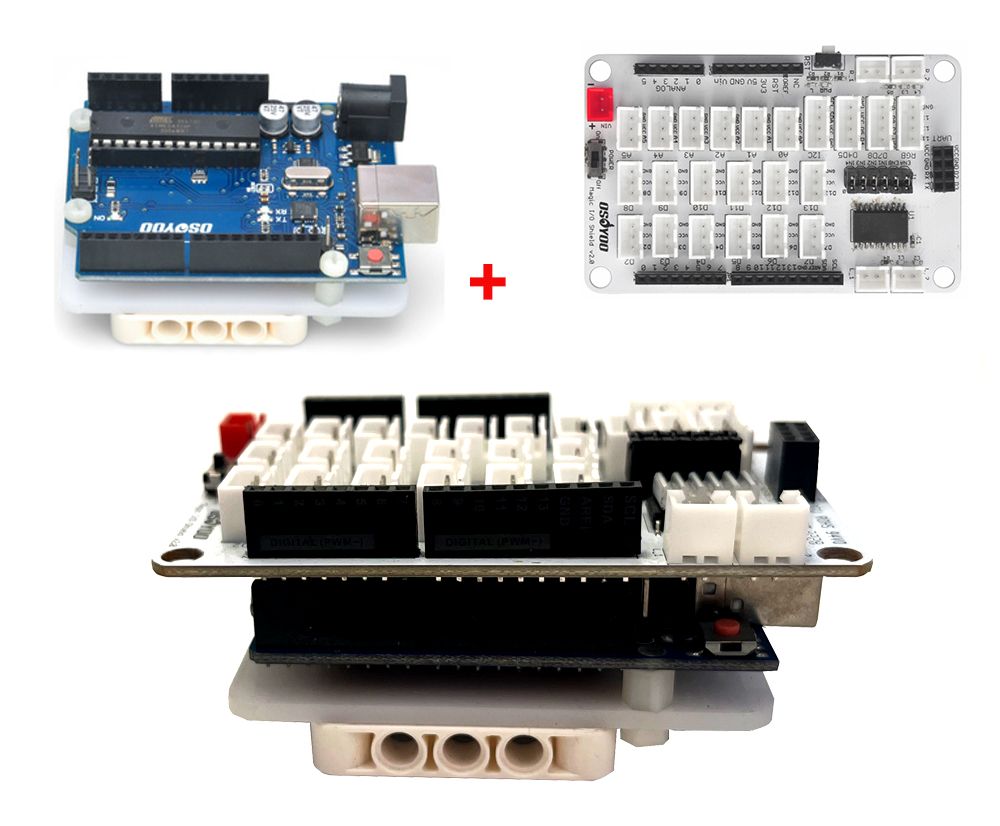
Note: All OSOYOO products for Arduino are third-party boards that are fully compatible with Arduino.

Before you build an elevator with blocks, please according to the Preparation before class 2: https://osoyoo.com/2021/12/01/preparation-before-class-2
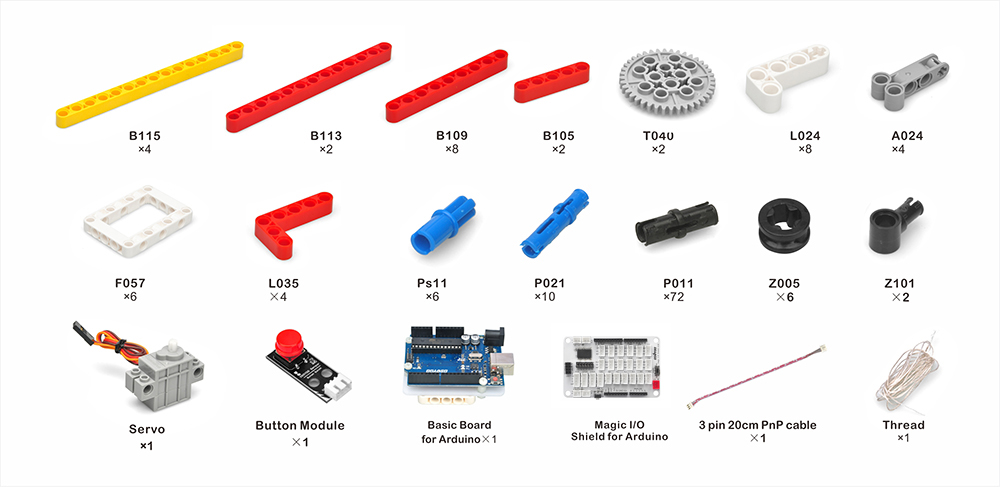
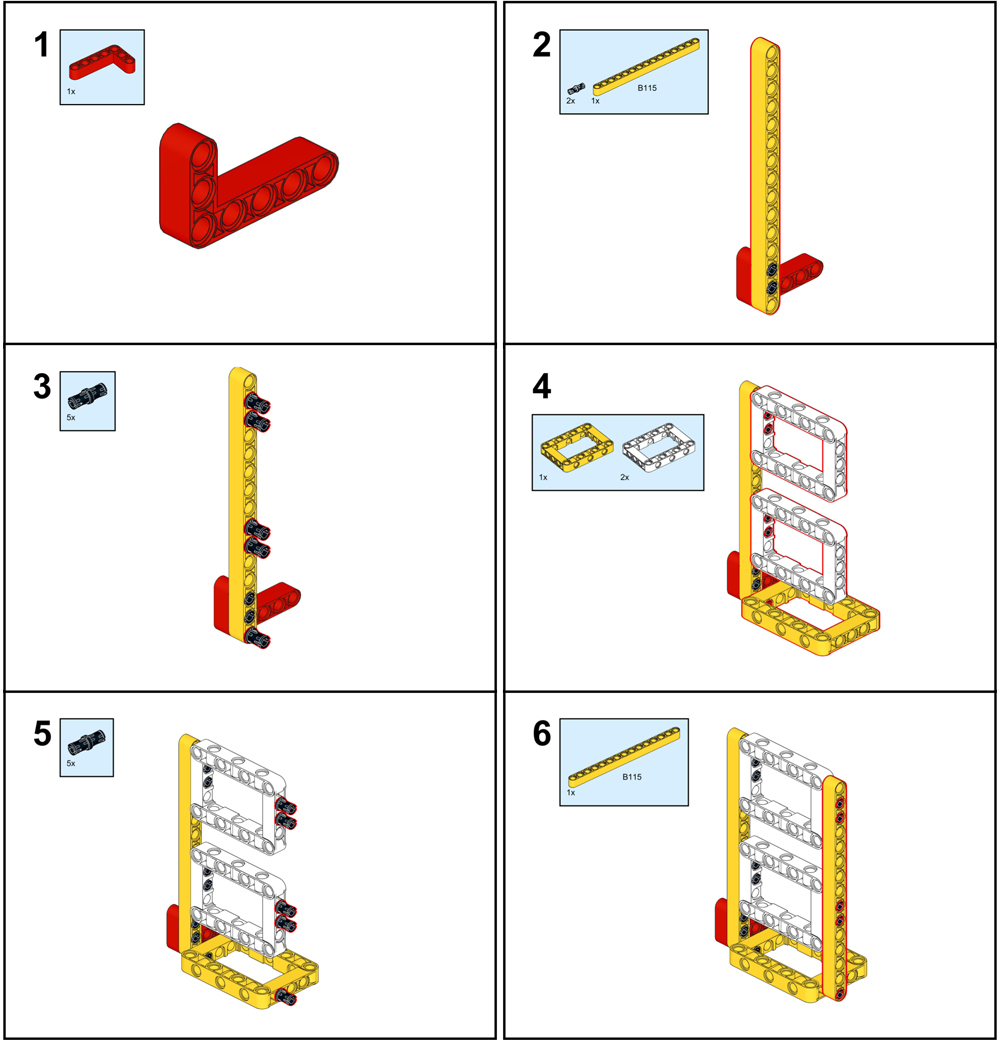
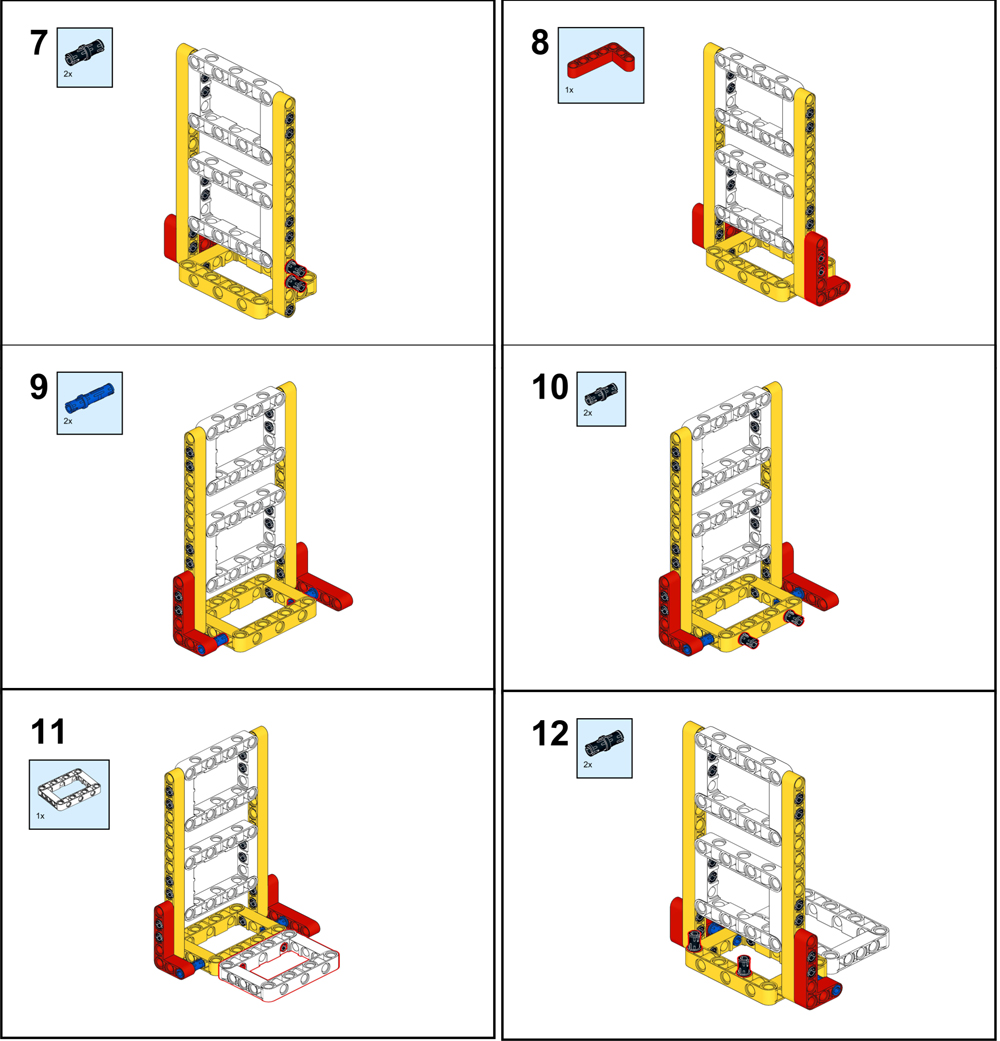
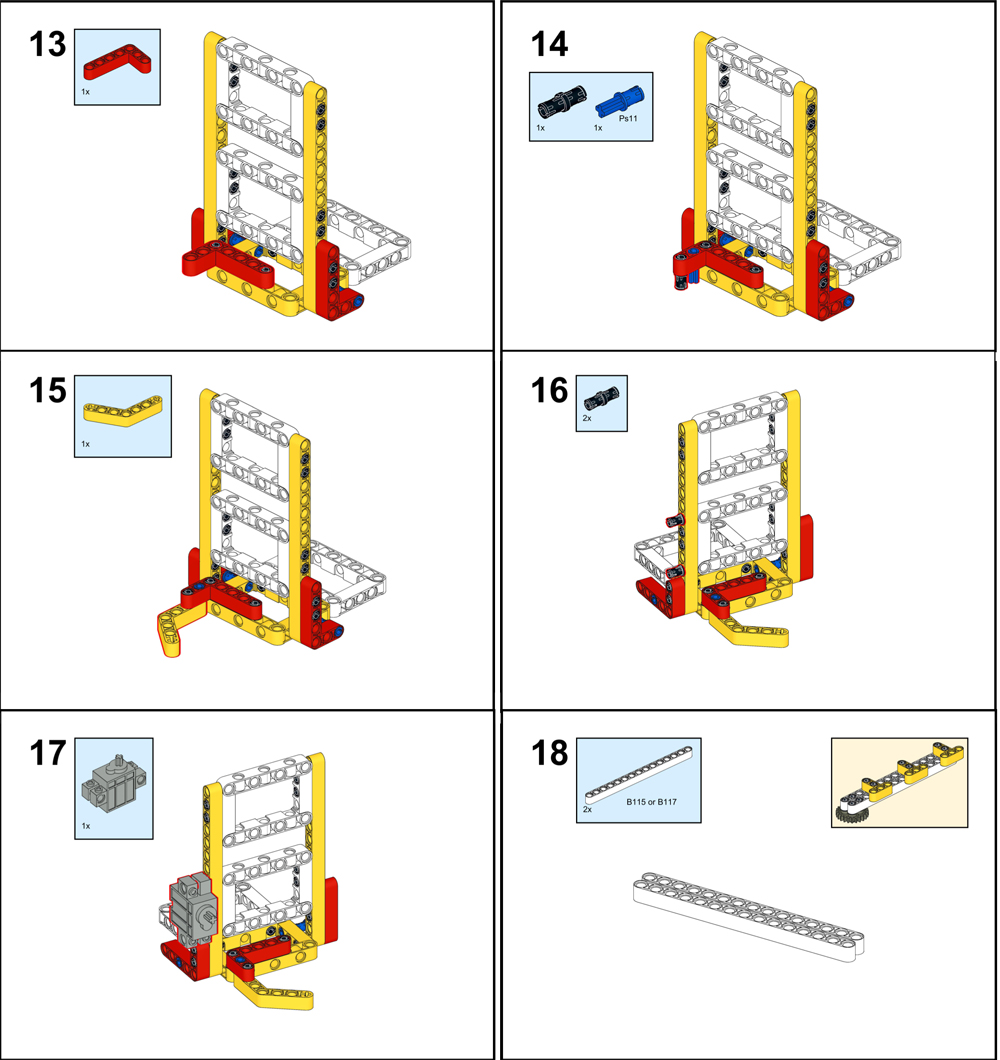
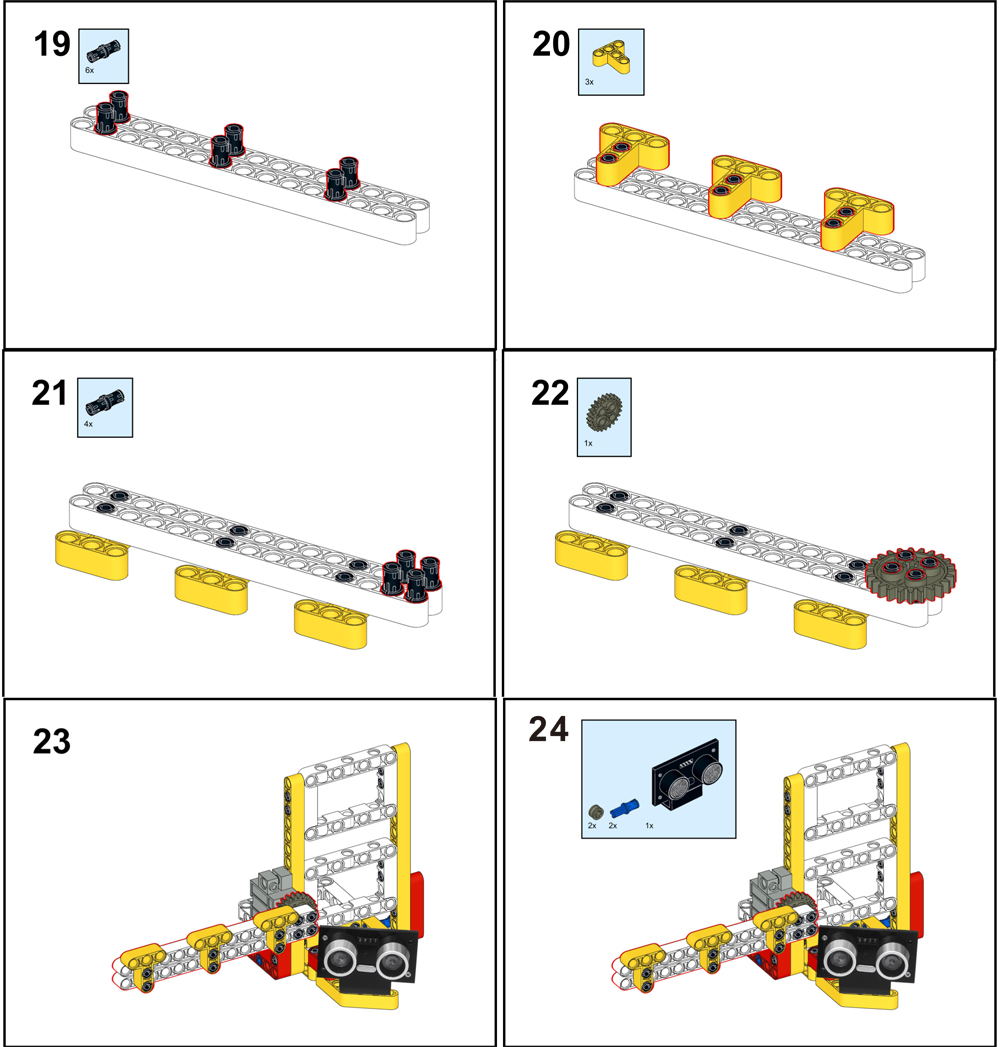
How to build:
Note:
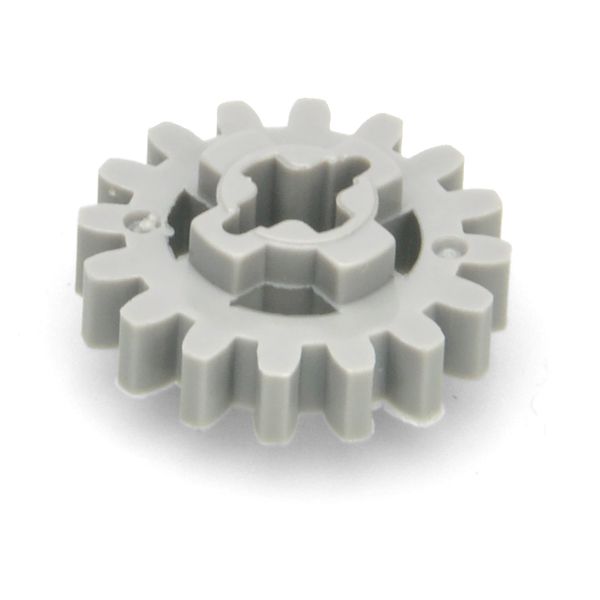
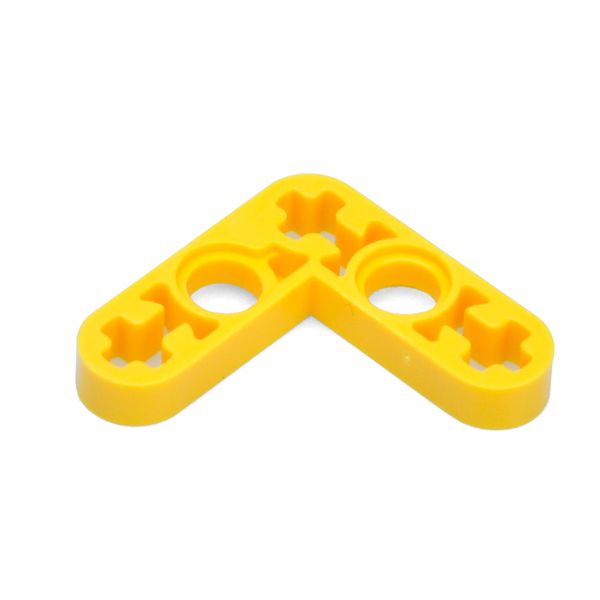
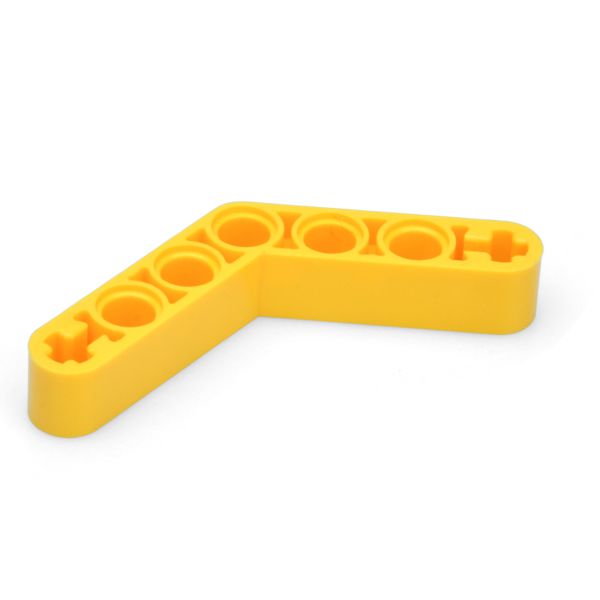
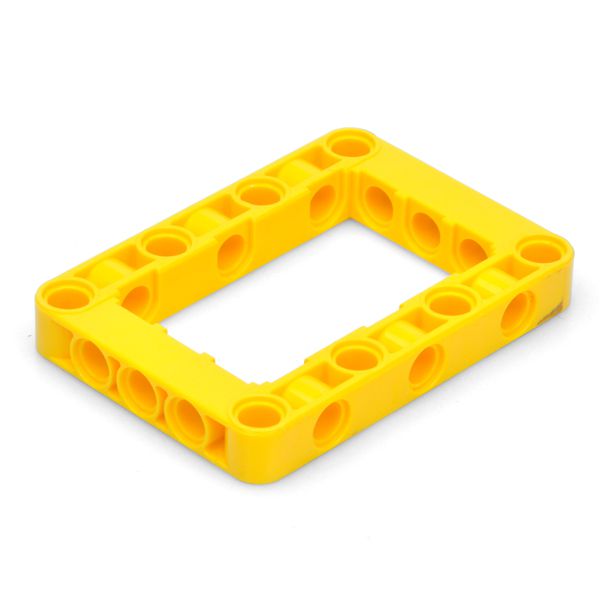
1. the color of the building block is subject to the actual product, which does not affect the use.
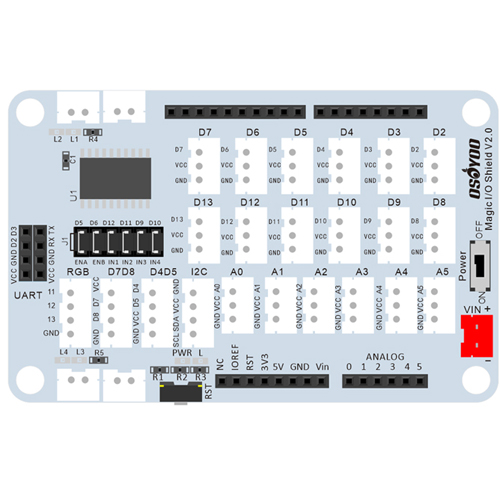
2. The color of OSOYOO Magic I/O board does not affect the installation.
PDF tutorial: https://osoyoo.com/picture/Block_kit/lesson1/lesson1.pdf
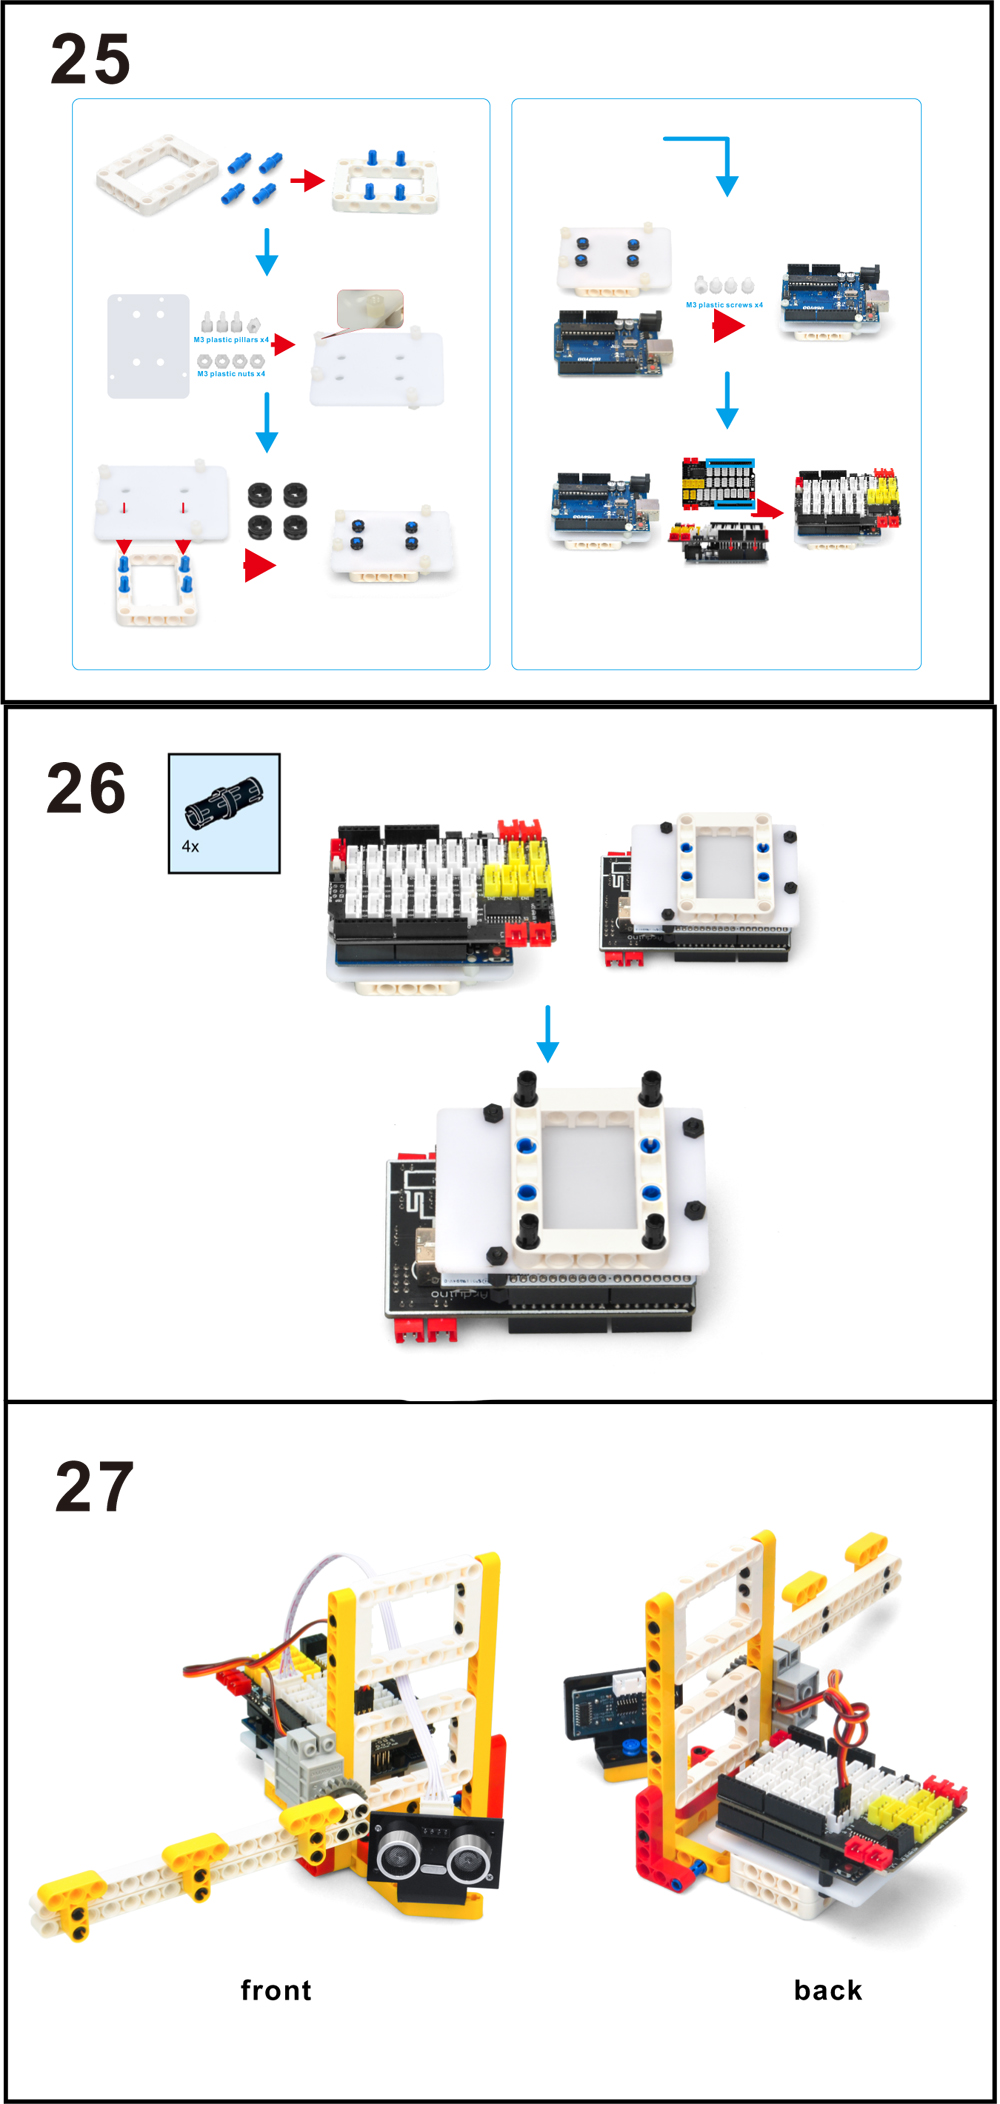
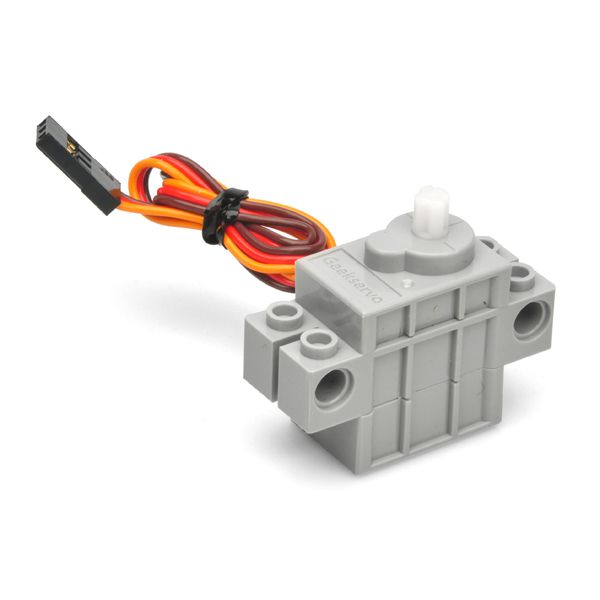
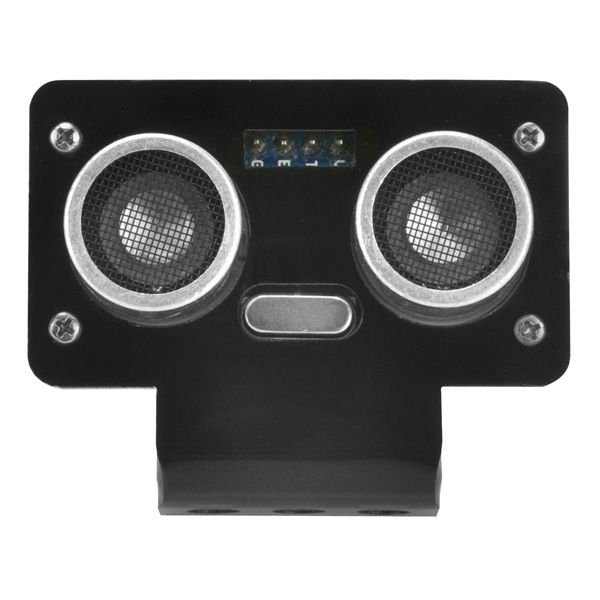
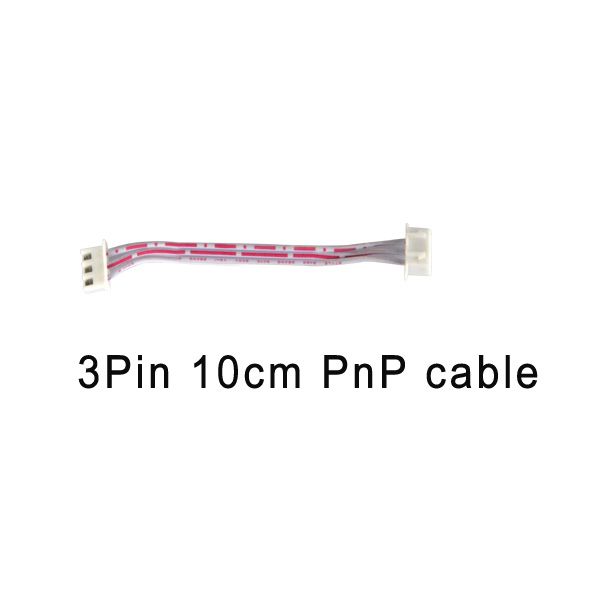
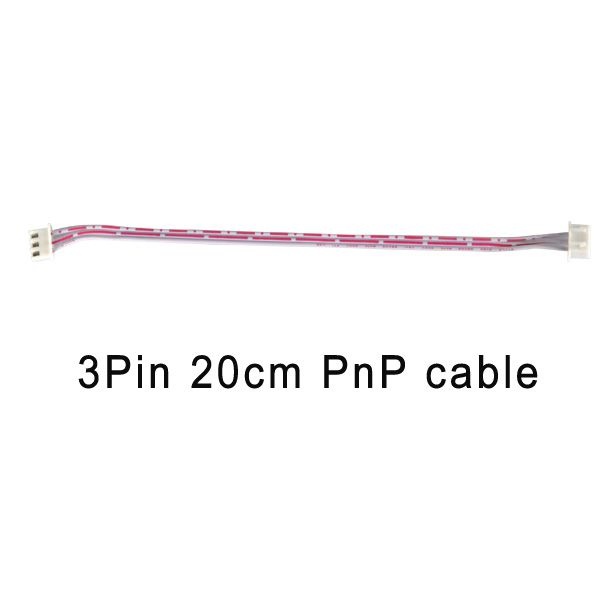
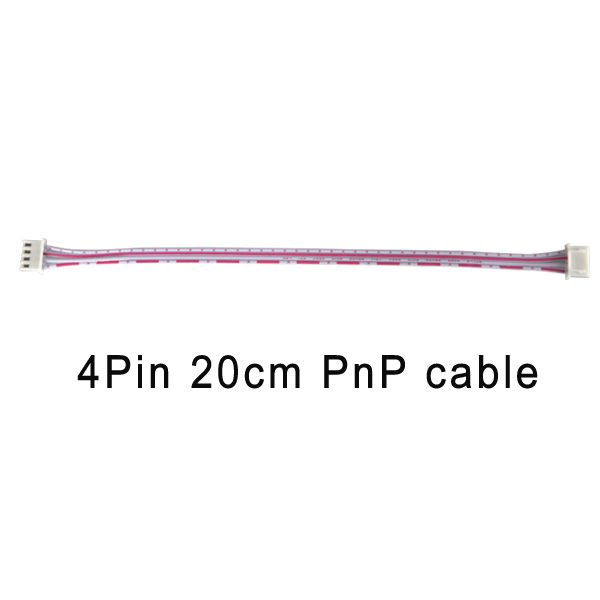
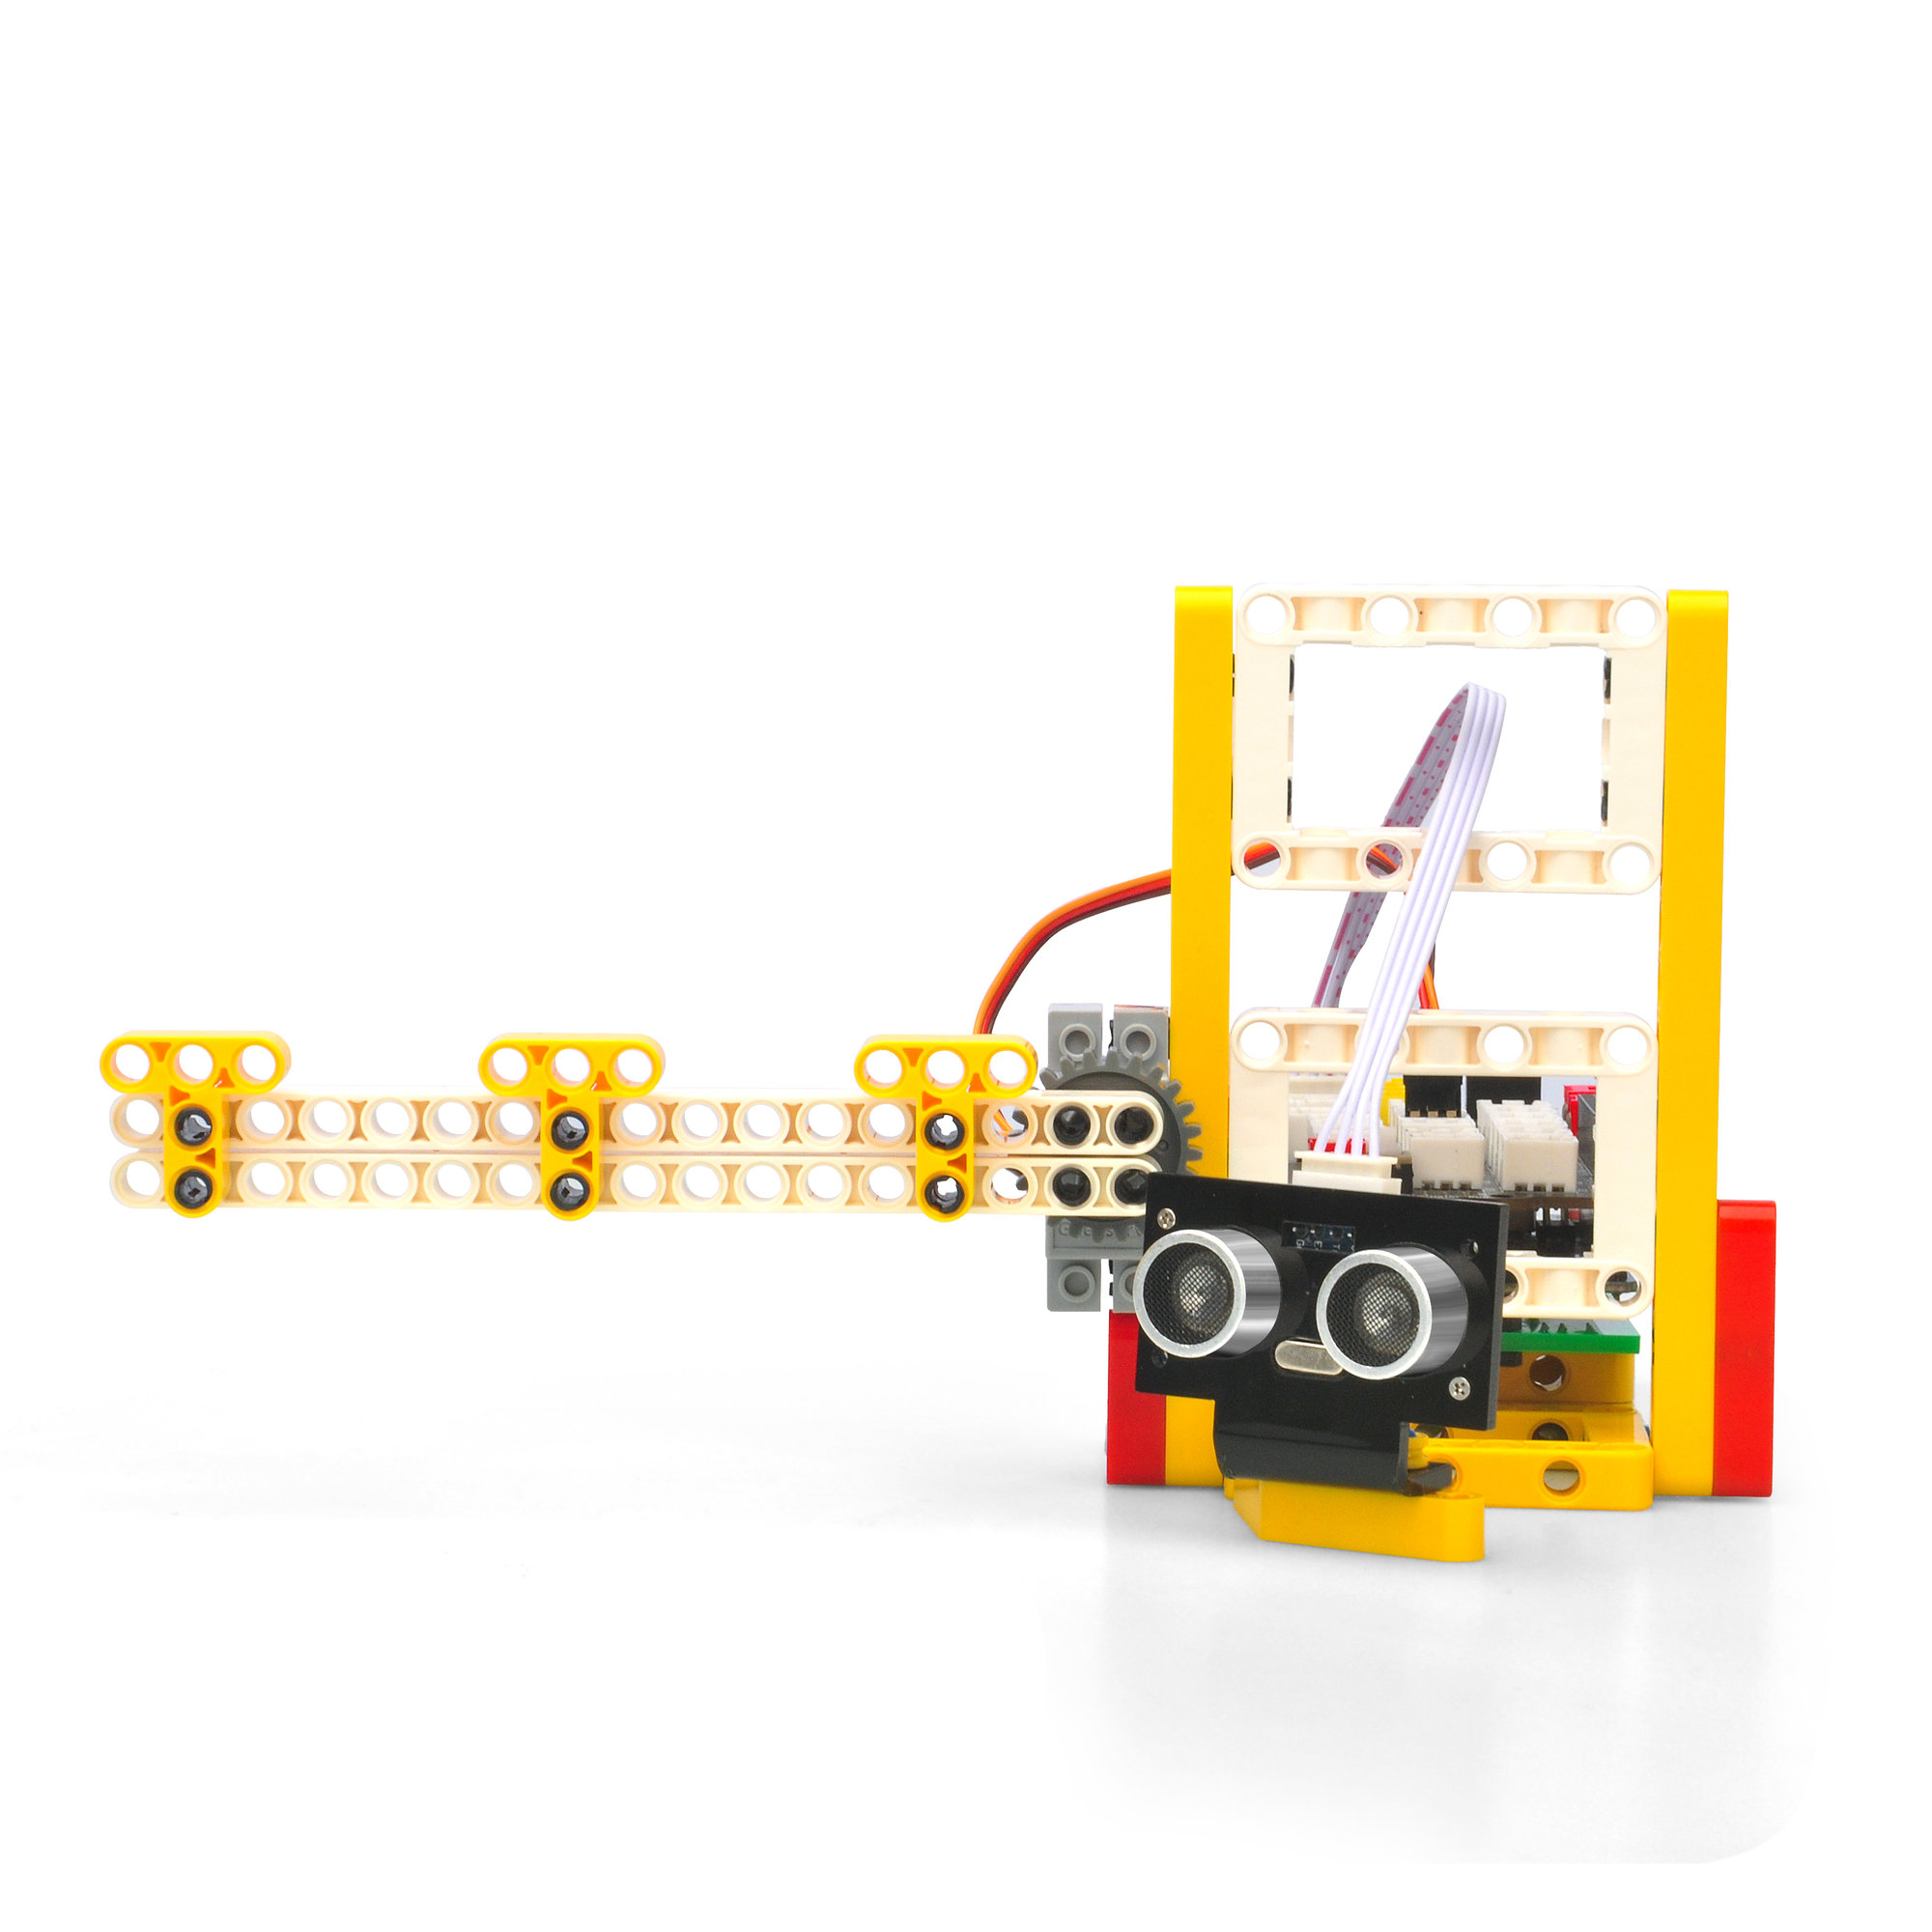
 Connect ultrasonic sensor to D7D8 slot with 4pin PnP cable, Servo to D9 port as per following picture:

Note: In this kit, we use mBlock as programming tool, if you want to learn more about mblock, please visit preparation before class 1: https://osoyoo.com/2021/12/01/preparation-before-class-1
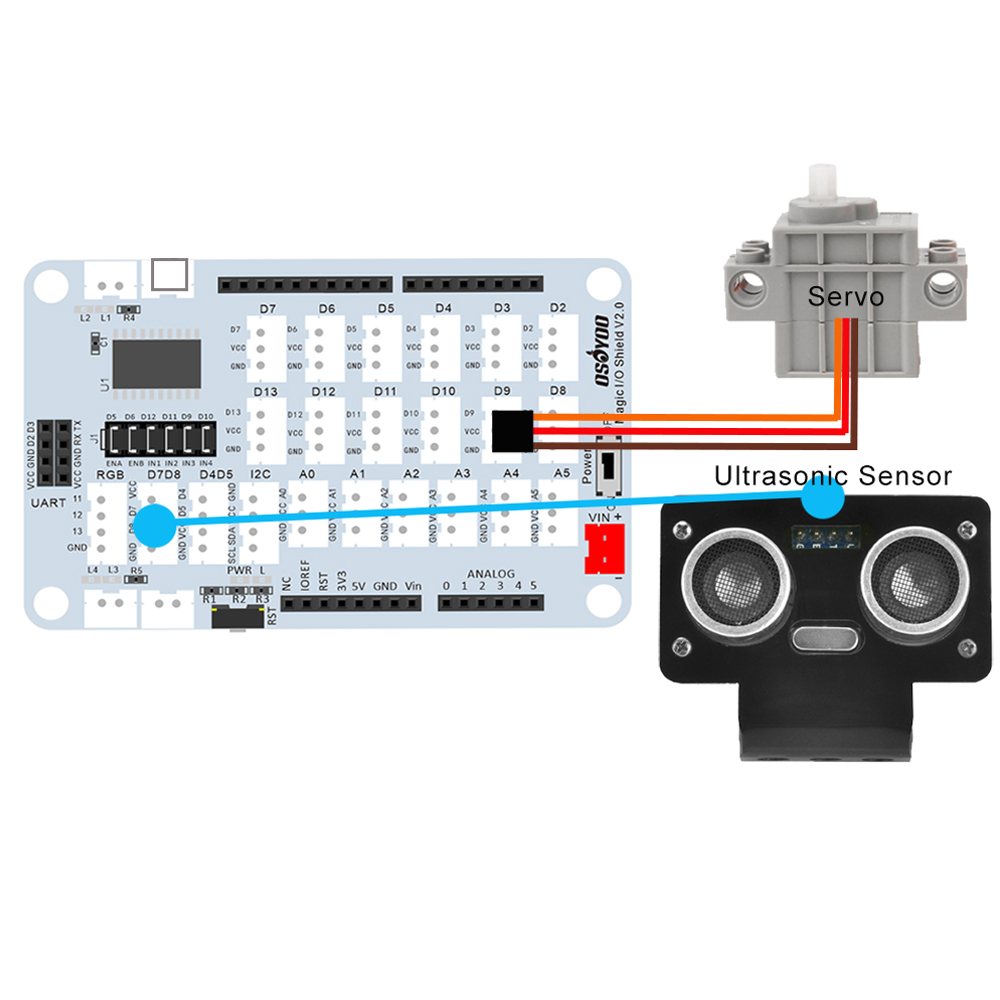
Step 1) Download mBlock PC from https://mblock.makeblock.com/en-us/download/, select the download file as per your computer OS type:
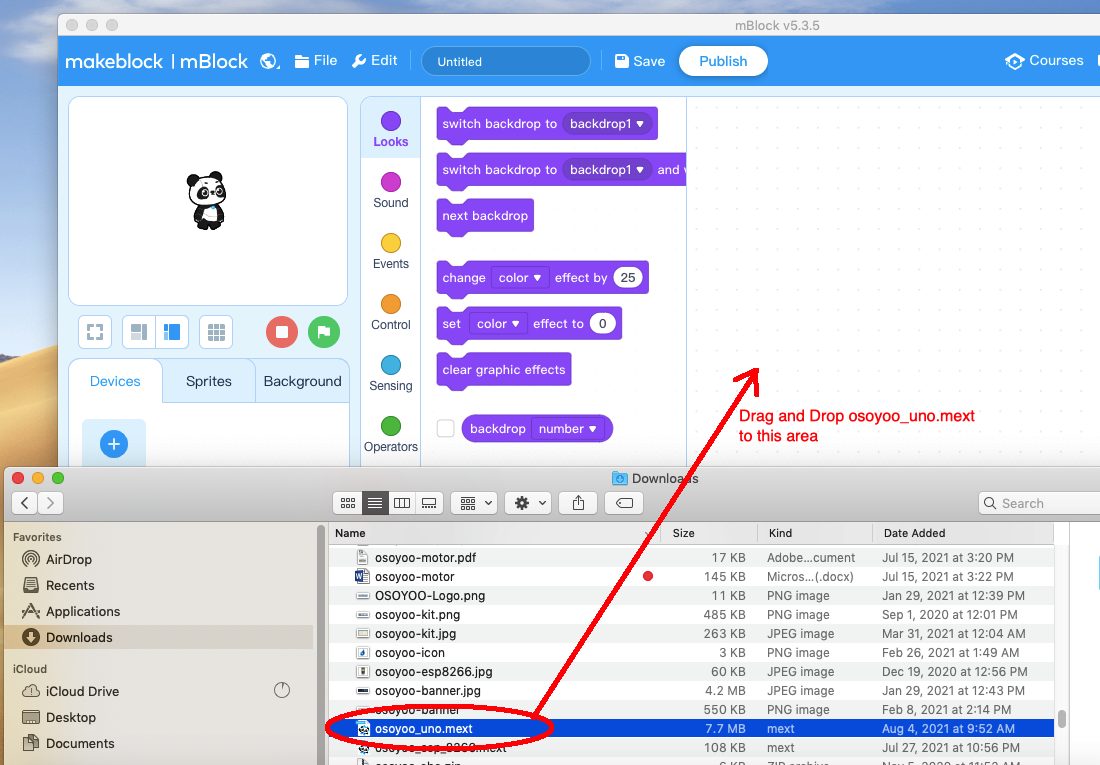
Step 2) Download OSOYOO_UNO.mext device file from https://osoyoo.com/driver/mblock/osoyoo_uno.mext
Step 3) Run the mBlock PC software by double-click the lovely Panda icon. You will see mBlock UI as the following picture. Please delete the default device CyberPi by click the cross in the red circle.

Step 4) Drag and Drop osoyoo_uno_mext file(downloaded in Step 2) to mBlock software as following:
Now you will see a new device firmware in mBlock, see following picture:
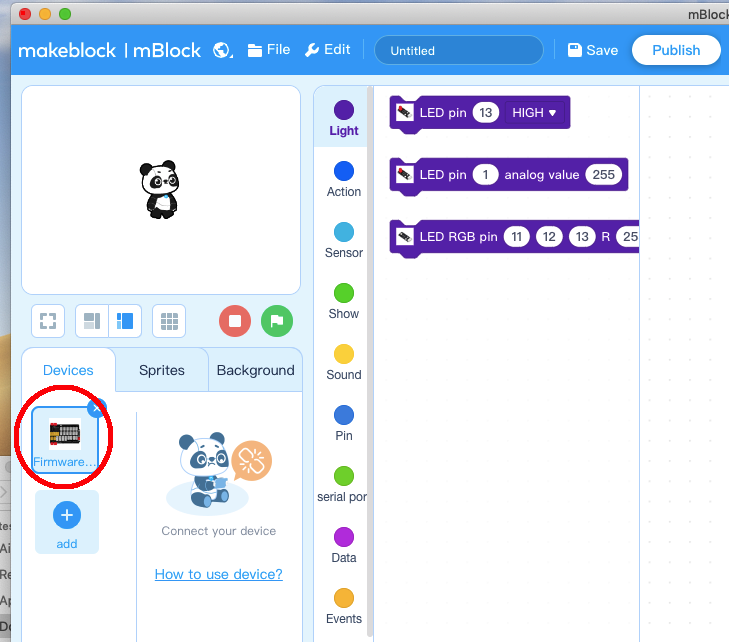
Now you will see a new device firmware in mBlock, see following picture:
Now, mBlock software and OSOYOO_UNO device firmware have been successfully installed in our PC!
Now we will show you how to use blocks to turn the above idea into reality.
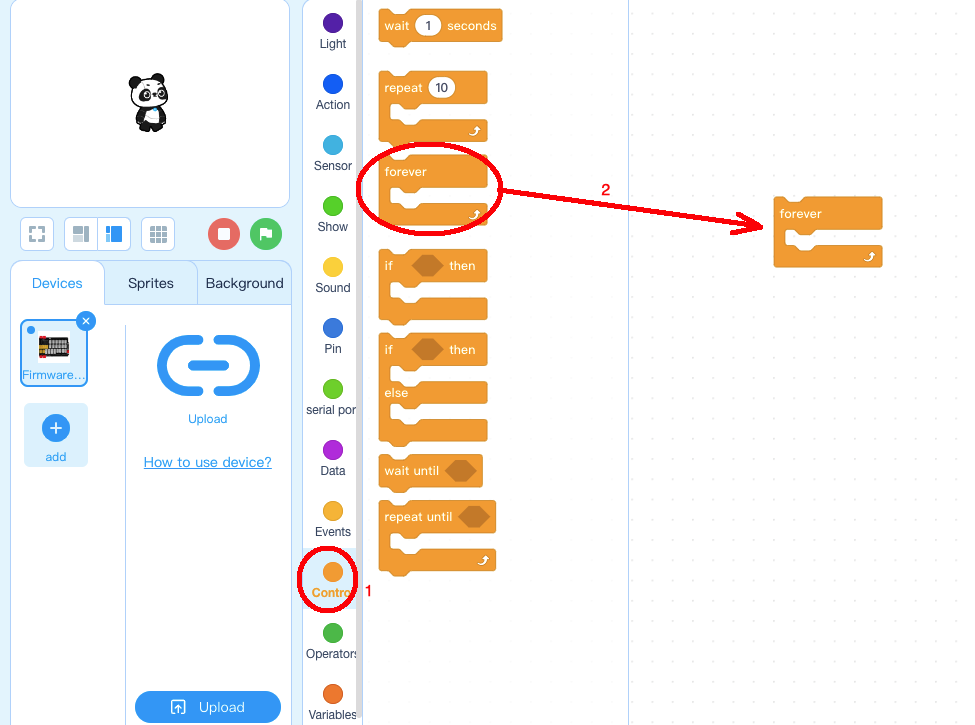
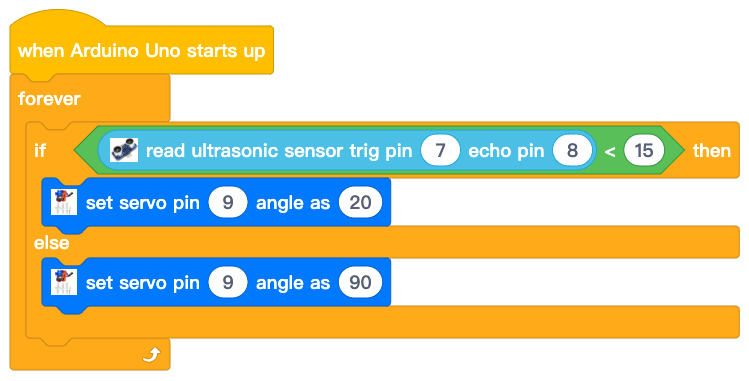
Step 1: Click Control, then drag and drop Forever block to programming area as the following:
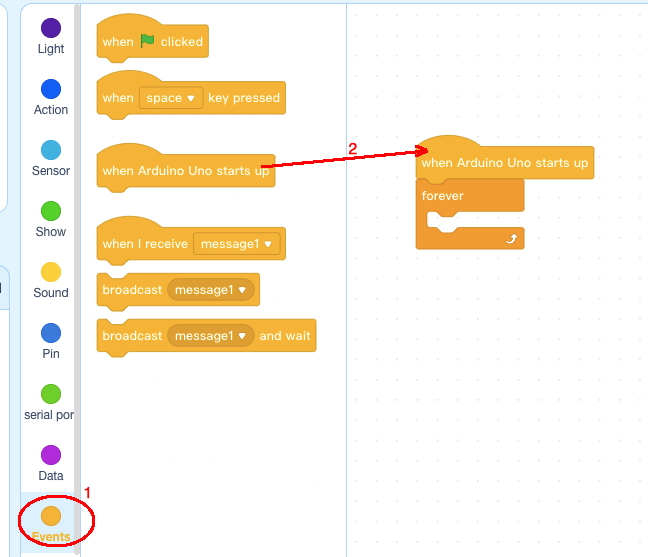
Step 2: Click Events, add when Arduino UNO starts up block to the top:
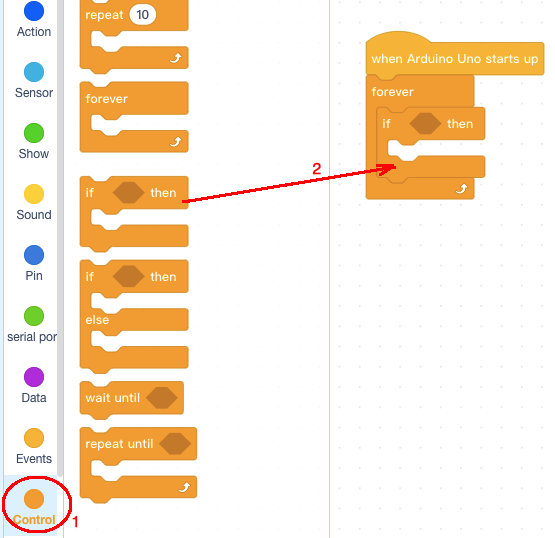
Step 3: Click Control, add if then block inside forever block:
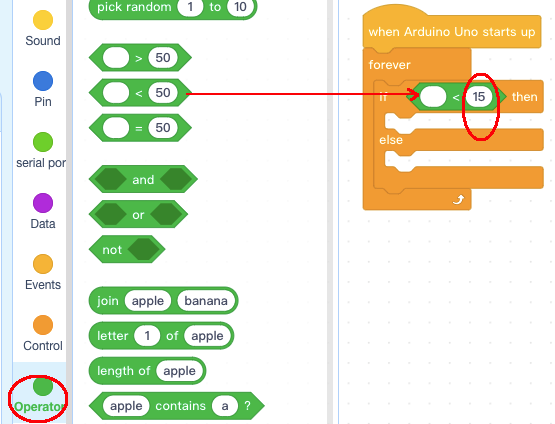
Step 4: Click Operator category, then add < 50 block into if else block condition area, change the value from 50 to 15 as following:
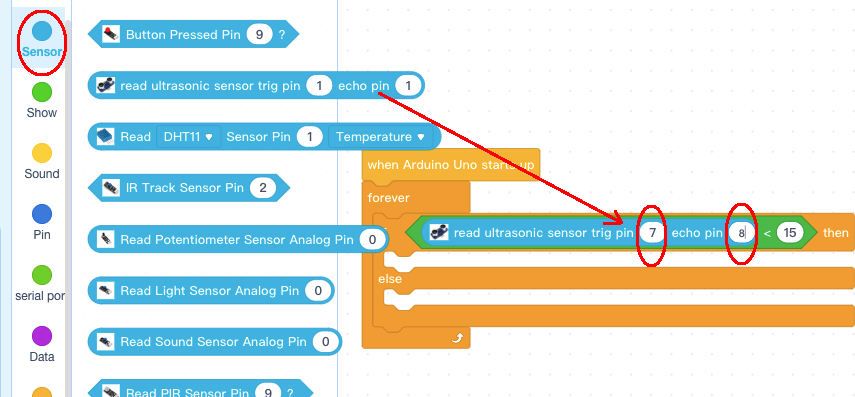
Step 5: Click Sensor category, add read ultrasonic sensor block into <15 block, change trig pin to 7, echo pin to 8 as following:
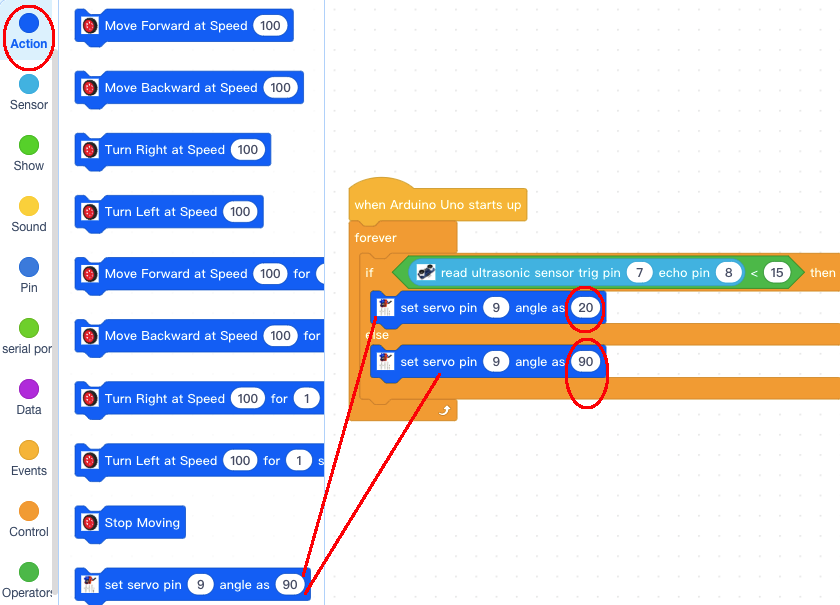
Step 6: Click Action category, add two pcs set servo pin blocks into if else block, change angle as value to 20 and 90 as following:
Now we have completed the block programming. The final blocks look like the following:
Upload the program to OSOYOO basic board.
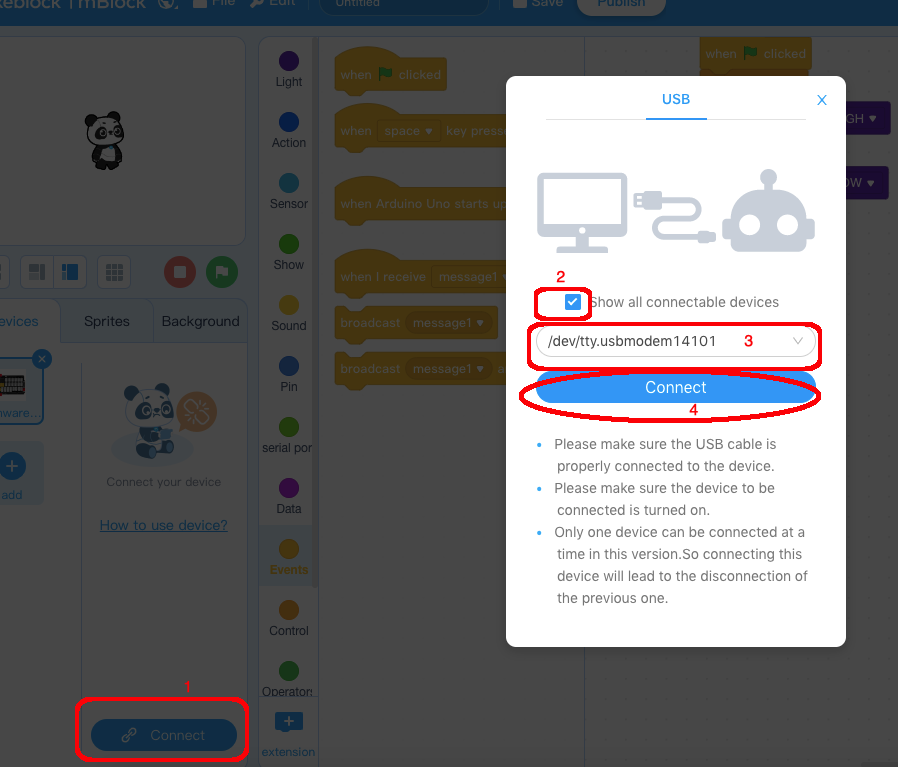
1)you need to click the Connect button in the bottom of the mBlock software, you will see a USB window pop up,
2) select Show all connectable device check box, then a device drop-down menu will show up,
3) select your port from device drop-down menu
4) click Connect button to connect your PC to OSOYOO basic board.
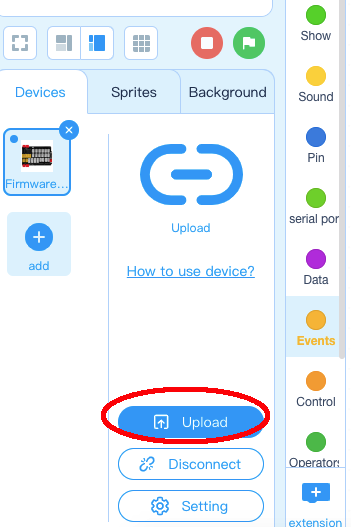
5)After your PC is connected to OSOYOO basic board, please click Upload button in the bottom of your software, then the code will be uploaded to OSOYOO basic board:

When your car arrives to the gate front and is detected by the ultrasonic sensor, the gate will open. When the car passes the gate, the gate will close automatically. (Note: The following construction models are for reference only and are subject to actual construction)