


| Buy from US |
Buy from UK |
Buy from DE |
Buy from IT |
Buy from FR |
Buy from ES |
ここでご購入を! |
 |
 |
 |
 |
 |
 |
 |
Introduction
For this project, we’ll use multiple LEDs in a circuit to create an illuminated mask. Rather than stitching just one LED to the battery holder (as we did in the Glowing Pin project), we’ll use a parallel circuit to connect all the LEDs to the battery.
Materials and Tools
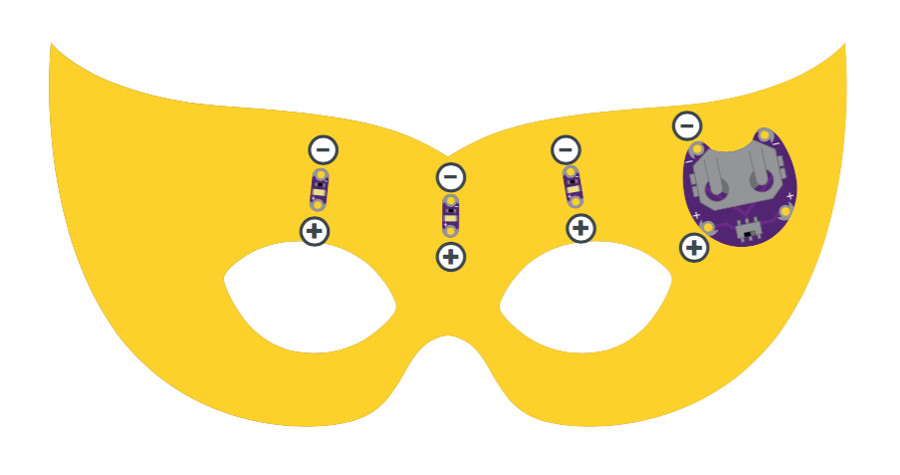
- 1x LilyPad Coin Cell Battery Holder
- 1x Coin Cell Battery
- 3x LilyPad LEDs
- Conductive Thread and Needle
- Mask Templates (2 pieces)
- Elastic Cord
- Felt (one 9″×12″ sheet of craft felt will make one mask; try mixing colors for a more festive mask)

Planning Your Project
For this project, we’ll use the Illuminated Mask templates. If needed, download and print the template from our website.
Click here to download: Illuminated Mask Template
There are two template pieces: a top layer and a bottom layer. Hold the top layer template up to your face to check the fit, and make any adjustments to the eye or nose shapes before tracing onto felt.
Using a pen or marker, trace the template shapes onto the felt. Both templates will fit on one piece of felt, but feel free to mix and match colors for your design. The electronics will attach to the top layer, while the bottom layer adds extra support to the mask. Set aside the bottom layer for now.
Understanding Your Circuit
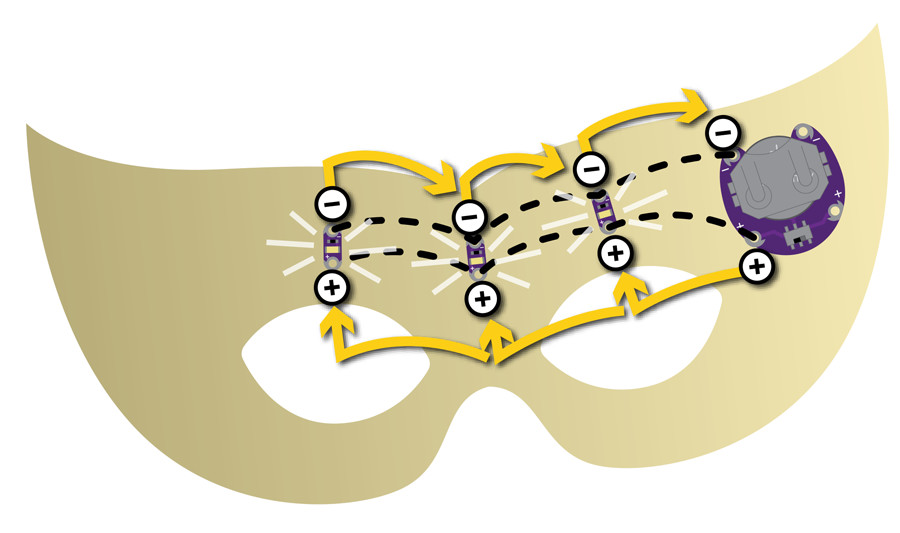
To light up the mask, we’ll connect the LEDs to the battery holder with conductive thread in a parallel circuit. In a parallel circuit, each component receives the same amount of power. Each LED in the mask will shine as brightly as the others by sharing a connection to the battery. Most e-textile projects use parallel circuits.
Stitching It Together
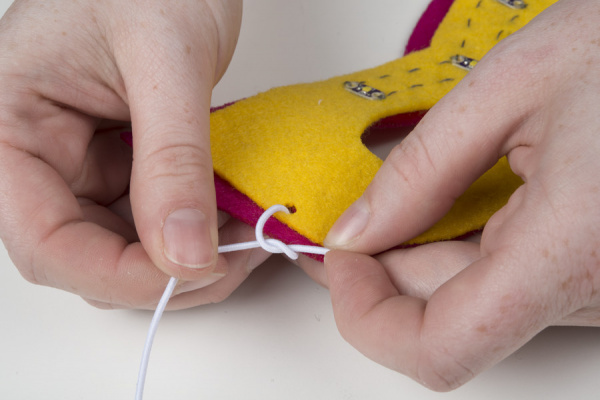
STEP 1:
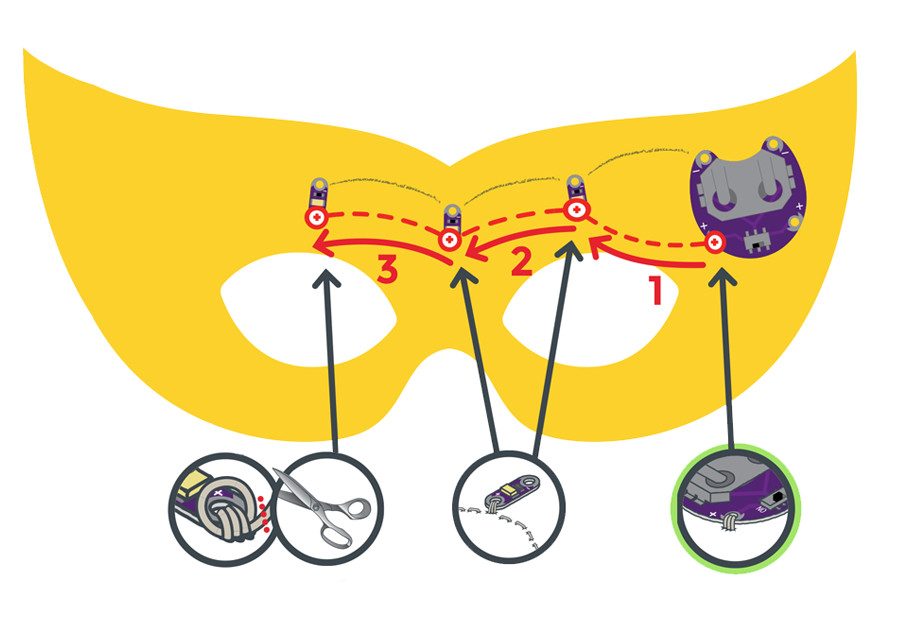
Cut a long piece of conductive thread, thread the needle, and tie a knot at the end. Sew your first connection: starting from the positive sew tab of the battery holder, connect each of the three LEDs with a running stitch and three loops of conductive thread around each positive (+) sew tab. Tie and cut your thread.
Finish your line of stitching by tying a finishing knot on the last (+) sew tab and trimming any excess thread.
STEP 2:
With a new piece of thread, repeat the process for the negative side of the circuit — connecting the three LEDs’ negative sew tabs to one another and, finally, to the negative sew tab on the battery holder. Tie a finishing knot, and trim any excess thread.

Installing Your Battery and Testing
Insert the coin cell battery with the positive (+) side facing up into the battery holder. Slide the switch to ON to see the LEDs light up. Remove the battery, then continue to the Finishing Touches section.
Finishing Touches
Always remove your battery when working on your project to avoid damaging your components.
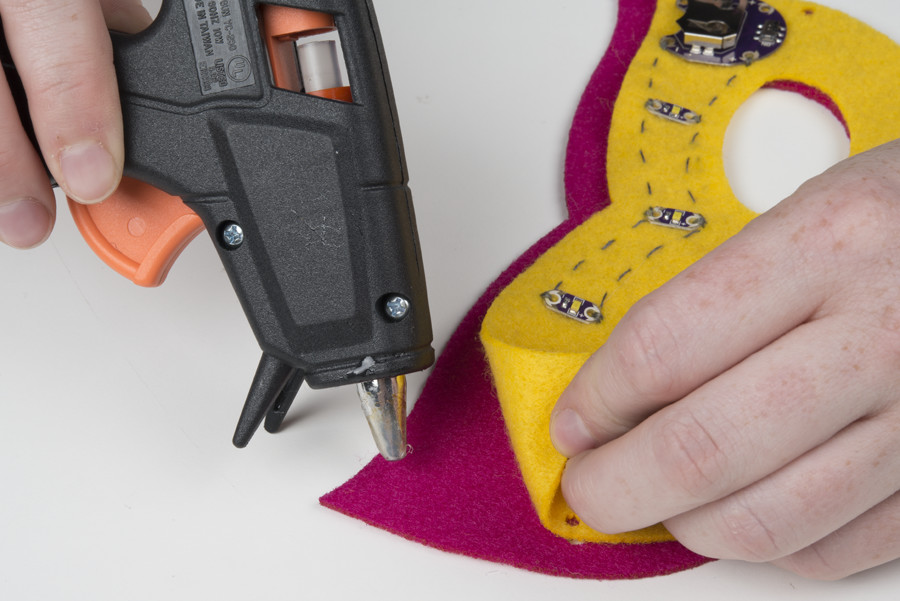
Once you’ve checked your circuit, it’s time to add creative details to the mask. With the battery removed, glue the second layer of felt on the back of the mask to add extra stability and insulate the back of the circuit.
Next, cut small holes on either side of the mask with scissors or a hole punch, and tie the elastic cord to hold the mask on.
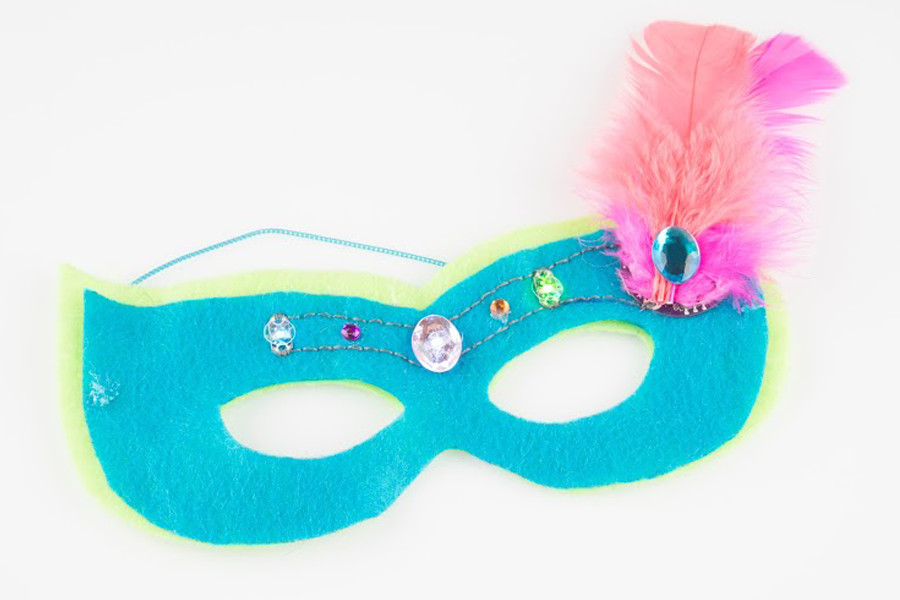
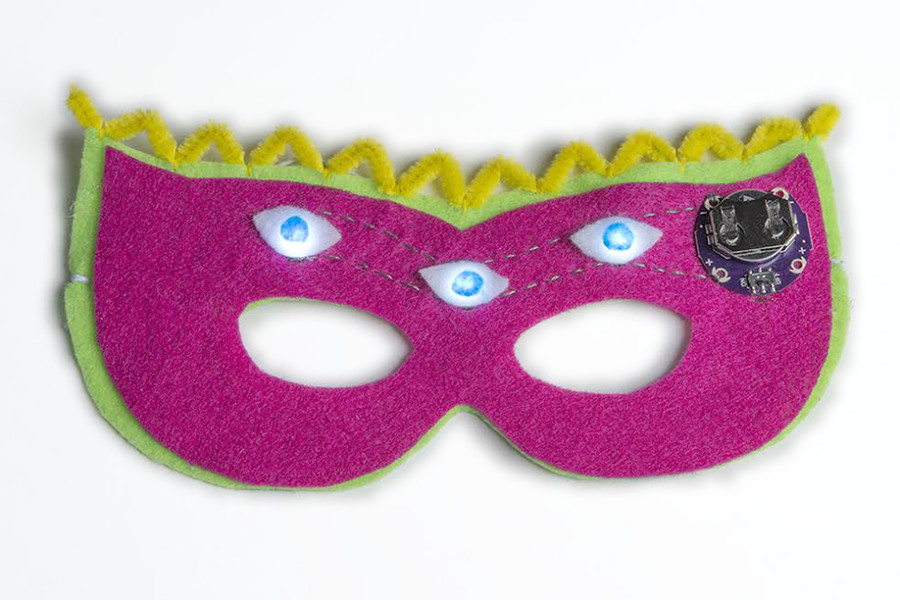
Add craft supplies such as glitter, paint, or other decorative accents to enhance or hide your LEDs and stitching. If you want to cover the battery holder on the front of the mask, feathers or large buttons can add flair while hiding the board. Make sure to leave an opening so you can replace the battery when needed.
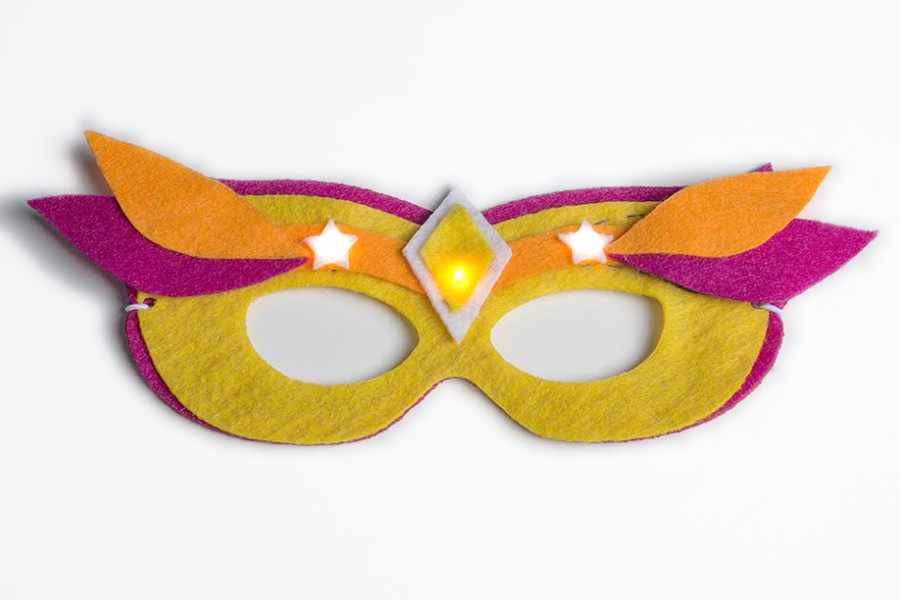
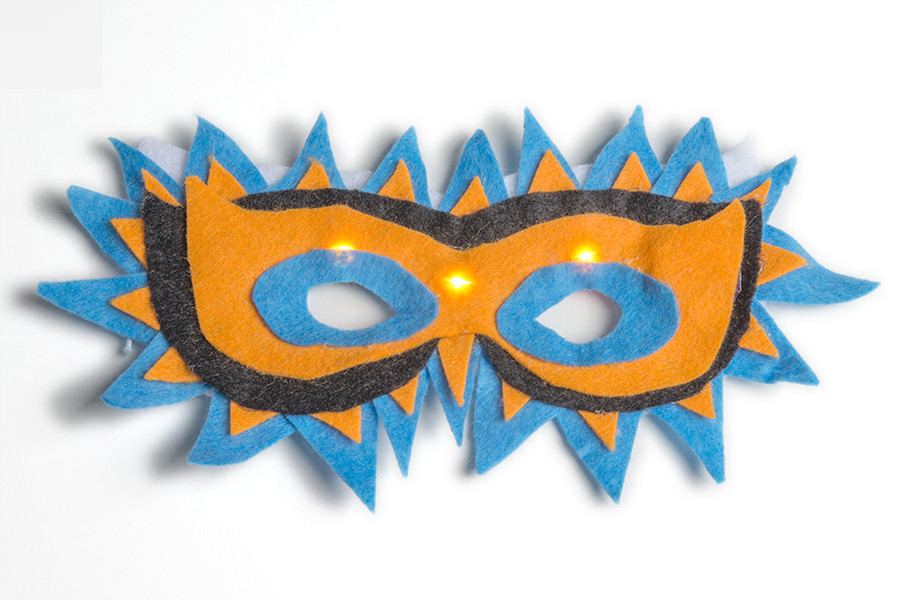
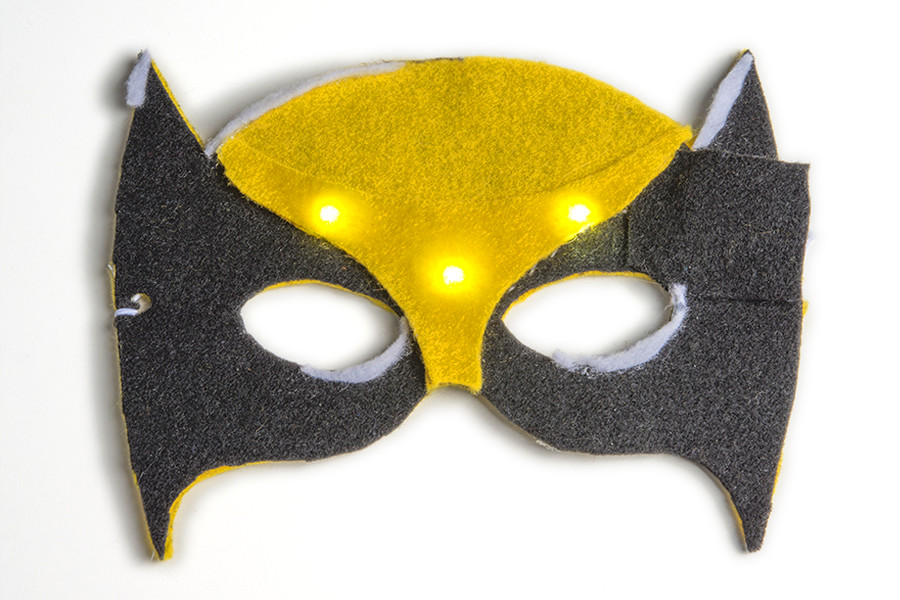
Here are a few examples of creative decorations on finished masks:

~~~~~~~~~~~~~~~~~~~~~~~~~~~~~~~~~~~~~~~~~~~~~~~~~~~~~~~~~~~~~~~~~~~~~~~~~~~
LilyPad Sewable Electronics Projects:
~~~~~~~~~~~~~~~~~~~~~~~~~~~~~~~~~~~~~~~~~~~~~~~~~~~~~~~~~~~~~~~~~~~~~~~~~~~


