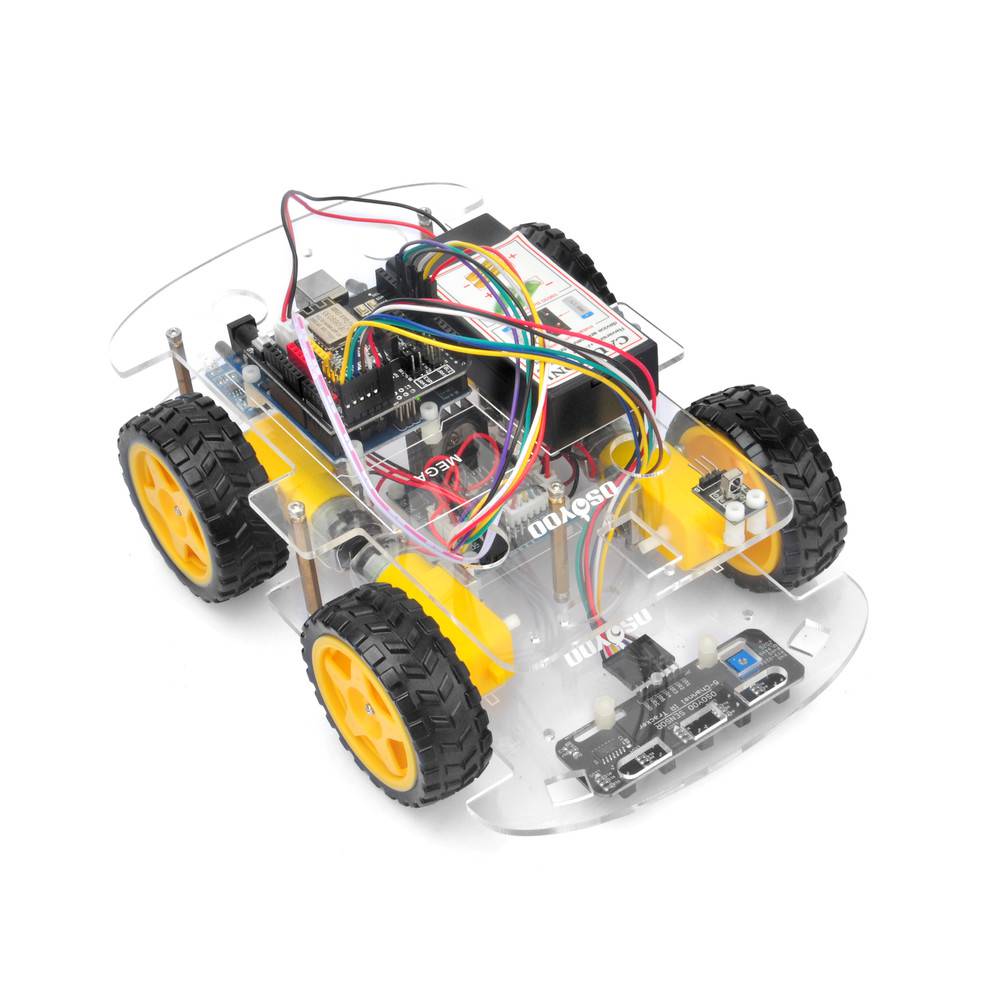
In this lesson, we will add 5 channel black/white tracking sensor module to the framework built in Lesson 1. If you have not completed installation in Lesson 1, please review Lesson 1
The software in this lesson will read data from these 5 channel black/white tracking sensor module and automatically guide the smart car to move along the black track line in the white ground.
Parts and Devices:
No.
Picture
Device
Qty.
Accessories
Link
1
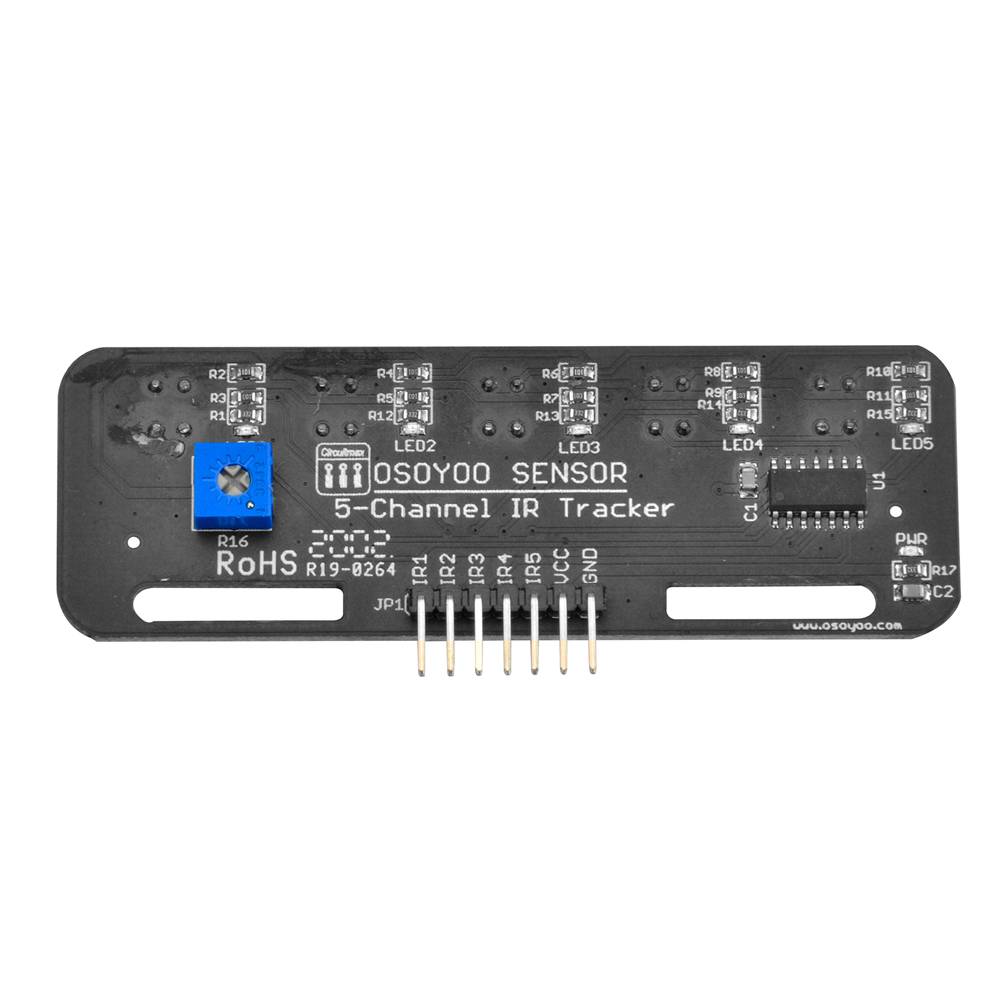
Tracking sensor module
1
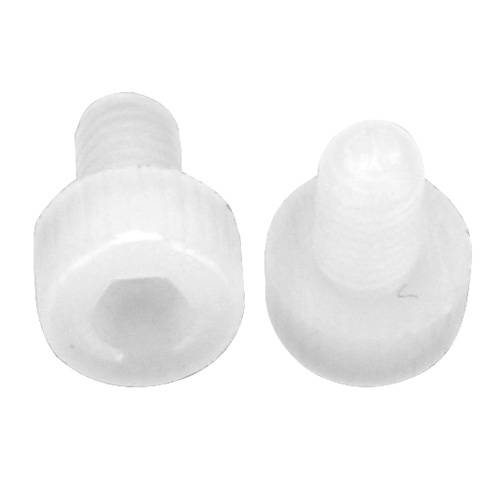
M3 Plastic Screw x 2
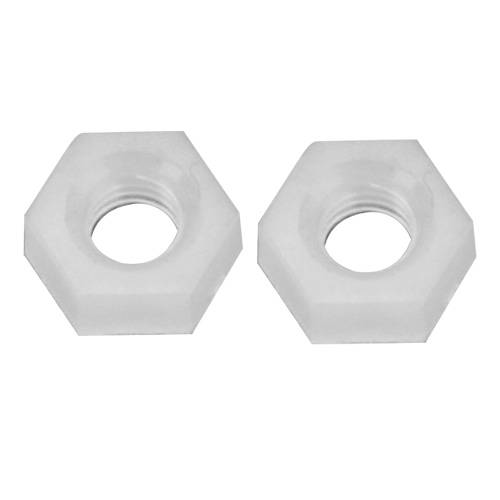
M3 Plastic Nut x2
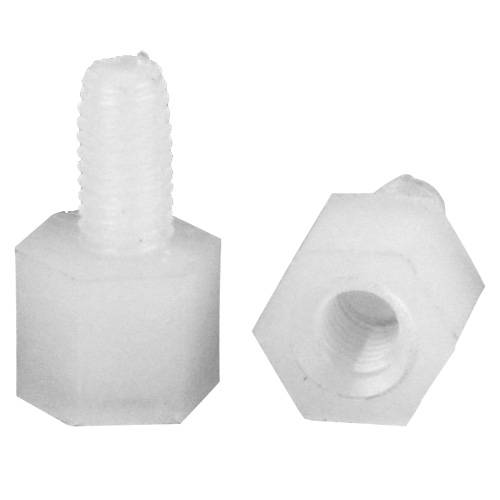
M3 Plastic Pillar x 2
Hardware Installation: Step 1: Motor driver(Model-X )pin installation.
Start the installation from previous status of Smart Car Lesson 1 . If you have installed Lesson 2 or 3, you must remove the wires which you connected in lesson2 and lesson3.
Step 2: Install tracking sensor modules under lower car chassis with 2pcs M3 plasctic screws, M3 plastic pillars and M3 plastic nuts.
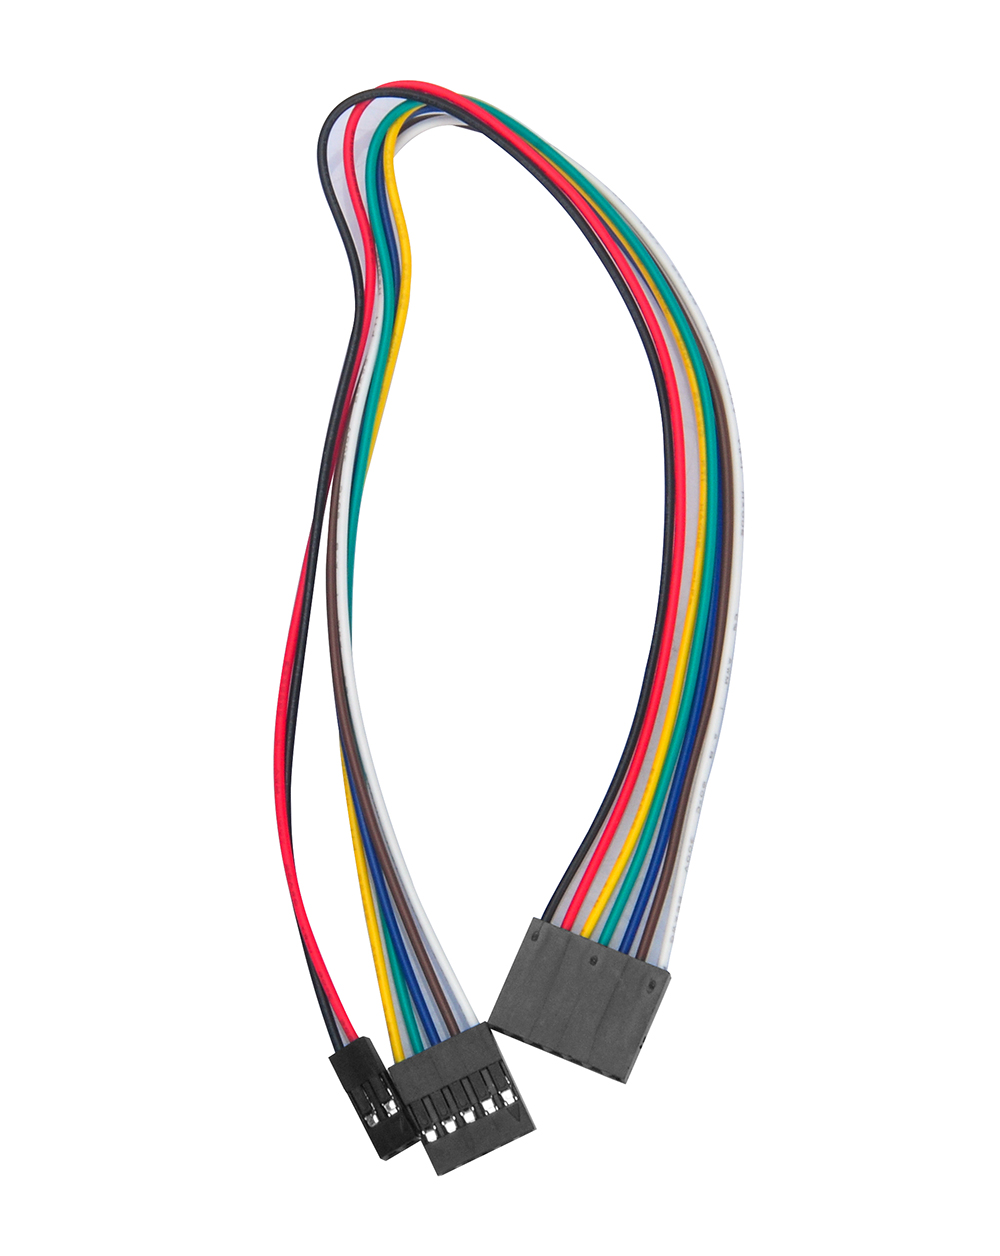
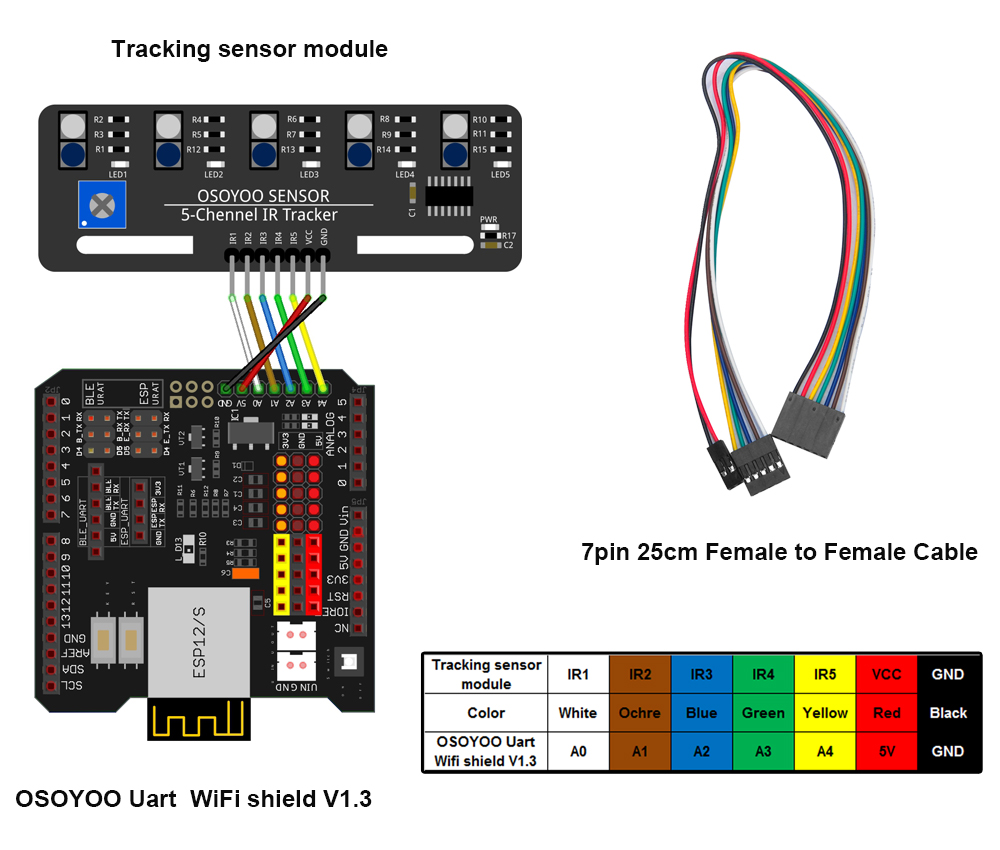
Step 3: Connect GND-VCC pin of tracking sensor module to GND-5V of OSOYOO Uart WiFi shield V1.3; connect IR1, IR2, IR3, IR4, IR5 pins to A0, A1, A2, A3, A4 with 7pin 25cm female to female cable as the following photo shows(Remember : DO NOT remove any existing wires installed in Lesson 1 ):
✅ This tutorial was written for the OSOYOO V2.1 Robot Car Kit
All 8 lessons, sample code, and circuit diagrams on this page are designed specifically for this kit.
Buy direct from OSOYOO Store and save 10% — plus get free shipping on orders over $70.
OSOYOO V2.1 Robot Car Kit
🔋 With battery & charger: $61.02 $67.80
— code ROBOTCAR10
Step 2: Download Lesson 4 tracking smart car sample code fromv2smartcar-lesson4 , unzip the download zip file smartcar-lesson4.zip, you will see a folder called smartcar-lesson4B .
Step 3: Connect OSOYOO basic board to PC with USB cable, Open IDE -> click file -> click Open -> choose code “smartcar-lesson4.ino” in smartcar-lesson4 folder, load the code into your board.
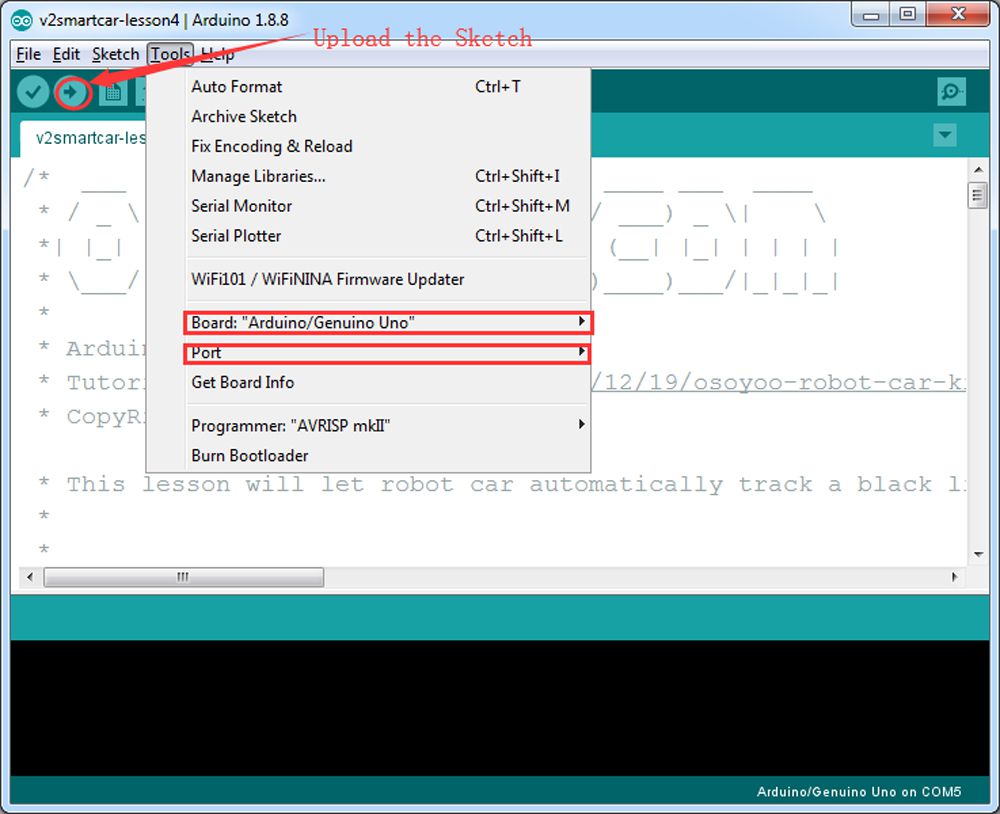
Step 4: Choose corresponding board/port for your project,upload the sketch to the board.
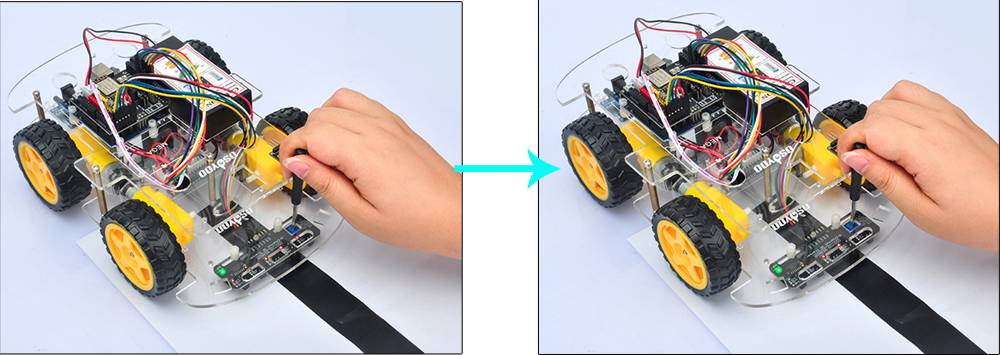
Step 5: Adjust the sensitivity of tracking sensor modules. Turn on and hold the car and adjust the potentiometer on the tracking sensor with Philips screwdriver until you get the best sensitivity status: the signal indicate LED light will turn on when sensor is above black track, and the signal LED will turn off when the sensor is above white ground
Testing:
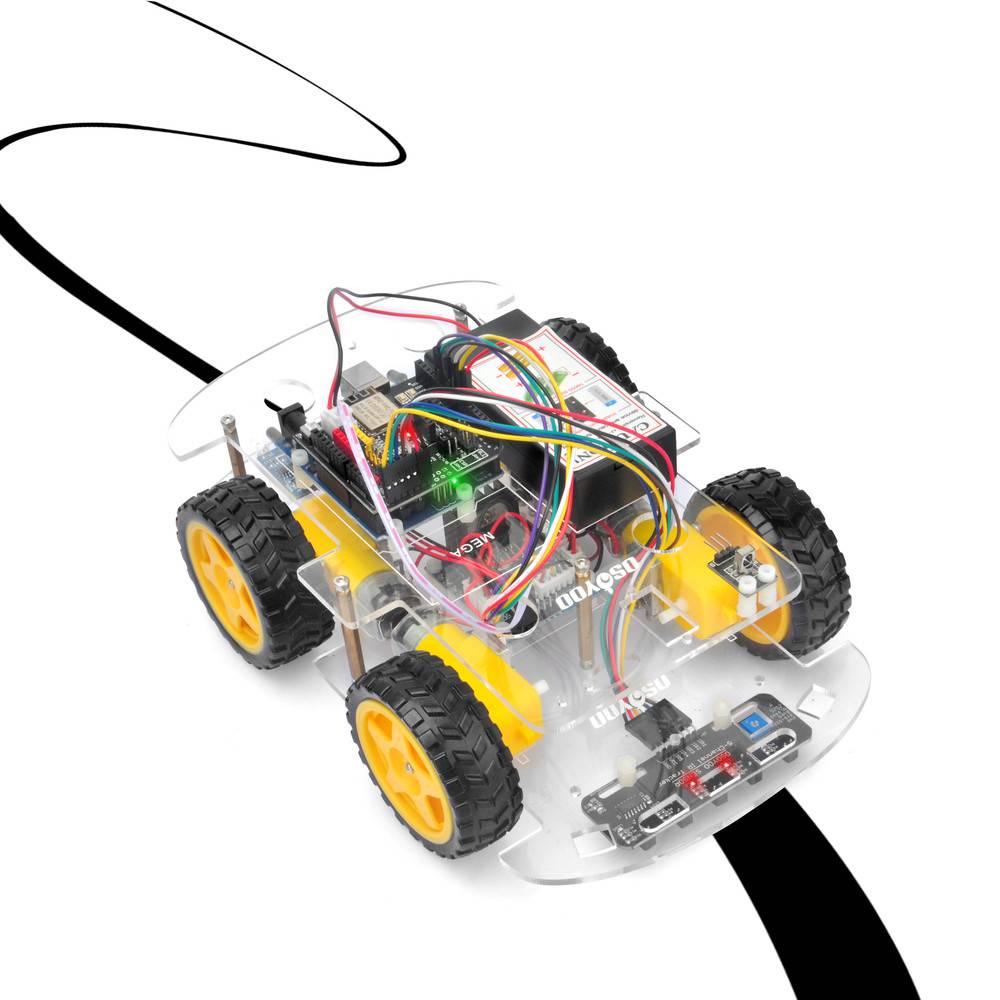
Prepare a black track (the width of the black track is more than 20mm and less than 30mm) in white ground. Please note, the bend angle of track can’t be larger than 90 degree. If the angle is too large, the car will move out of the track.
Turn on the car and put the middle of tracking sensor module facing over black track, and then the car will move along the black track.
🤖 Start building your V2.1 Robot Car today
Official kit for this tutorial · WiFi + Bluetooth + 8 project lessons included
Use exclusive reader code ROBOTCAR10 for 10% off — buy direct and save vs Amazon