In this project, we will make a smart robot finger and use it to transfer a ping-pong ball to another place. We will use an obstacle sensor(ultrasonic distance detector) to detect the coming ball. When a ball is detected, the finger will pick up the ball, and the car will drop it in another place, then the car will go back to its original place to wait for another ball.
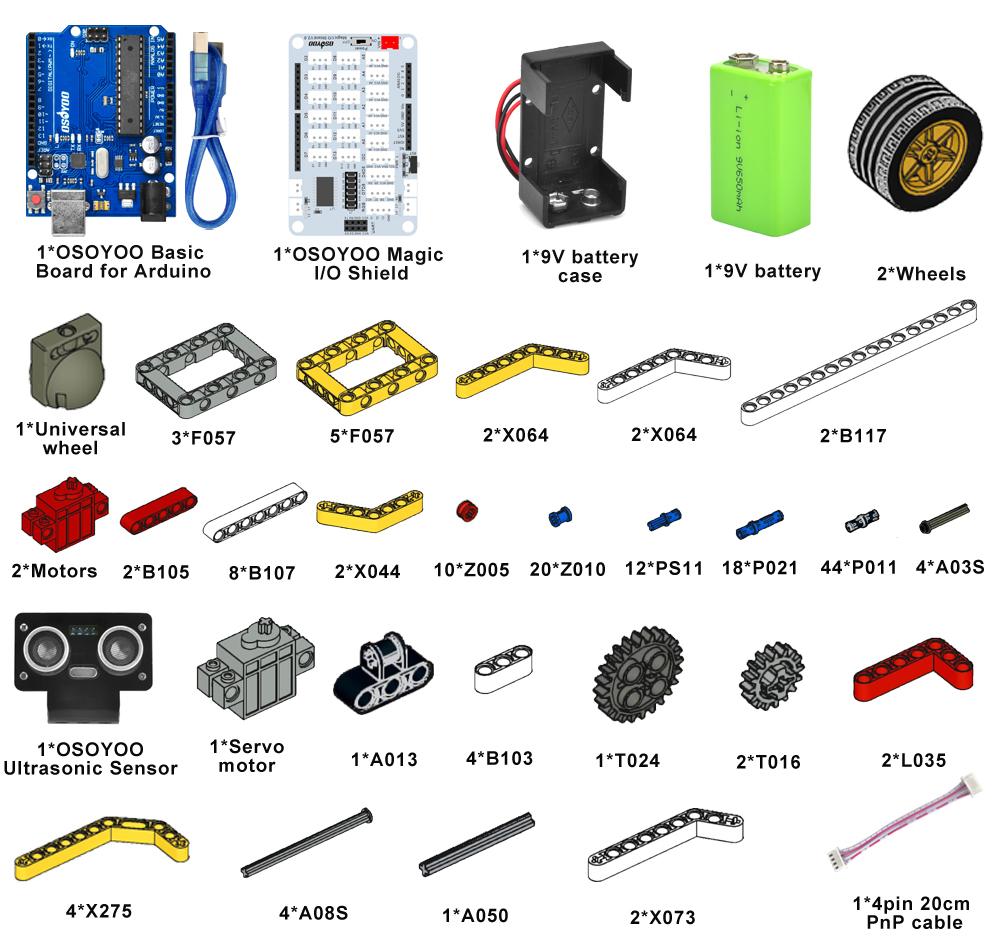
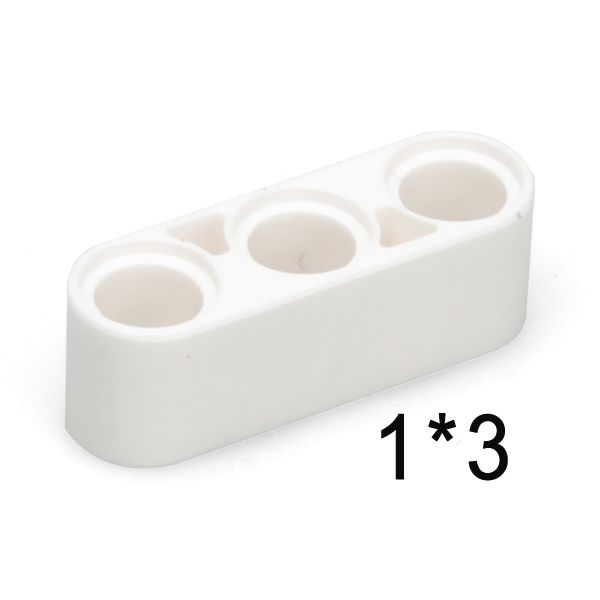
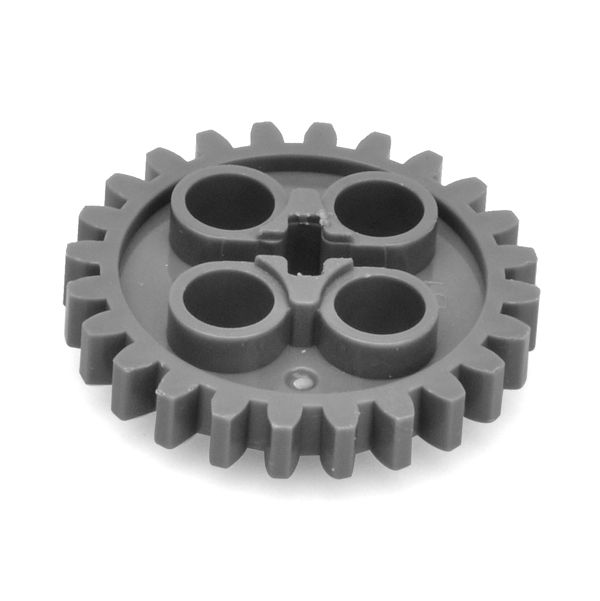
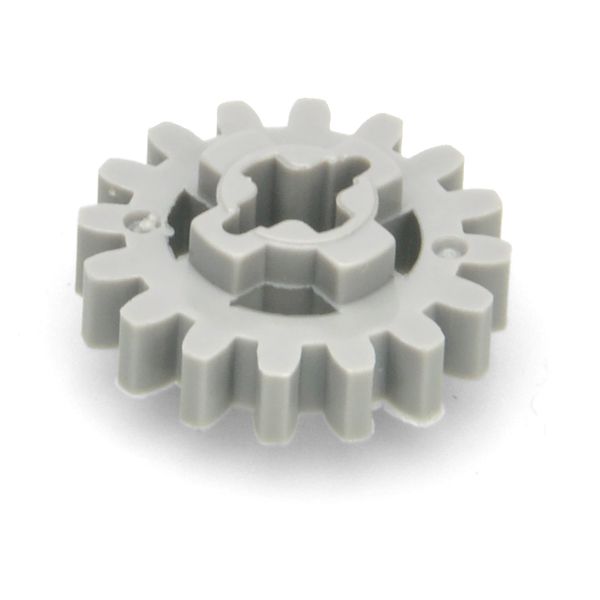
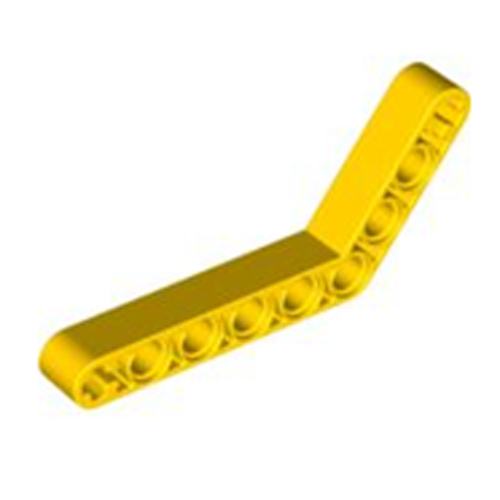
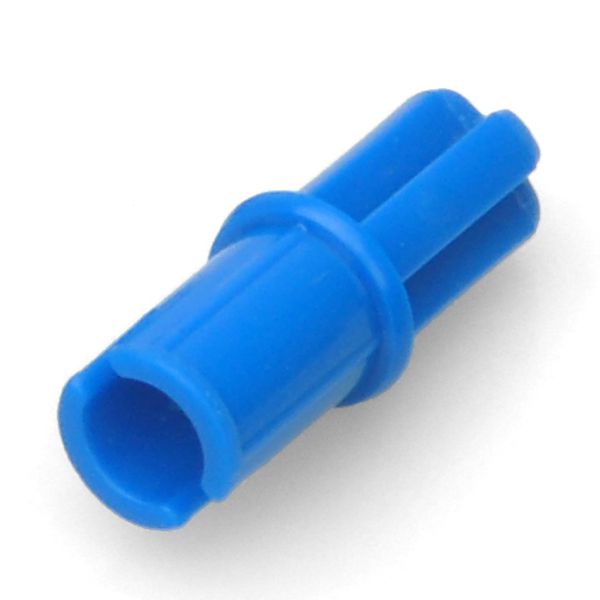
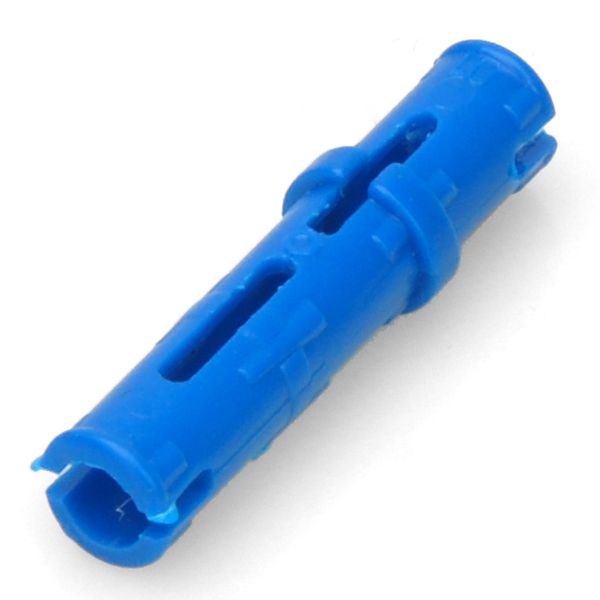
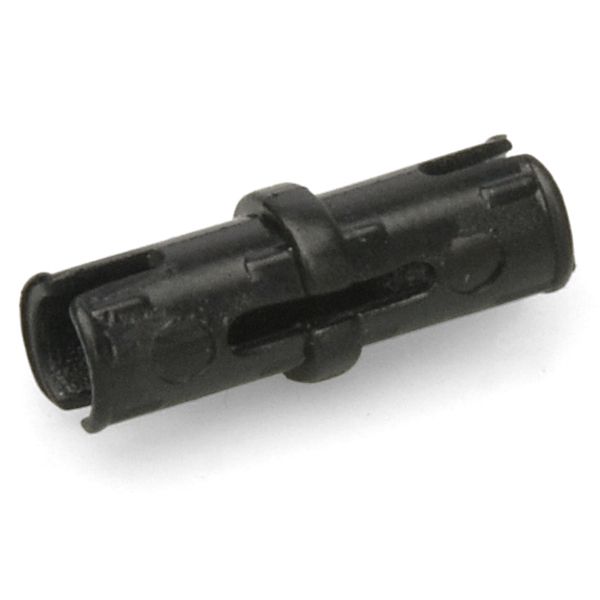
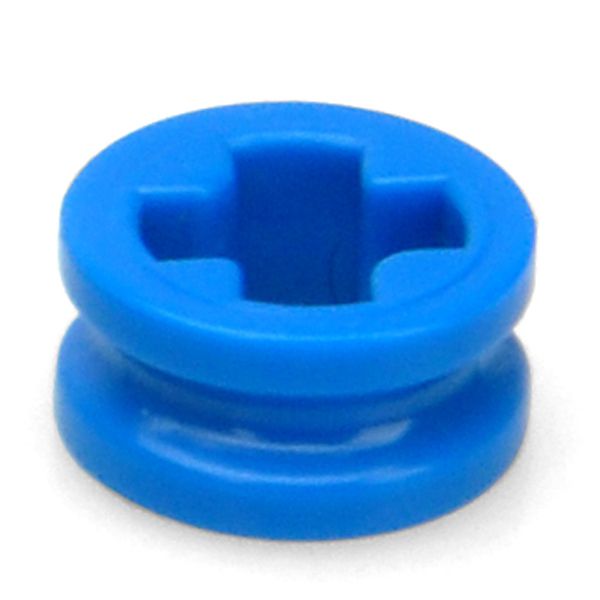
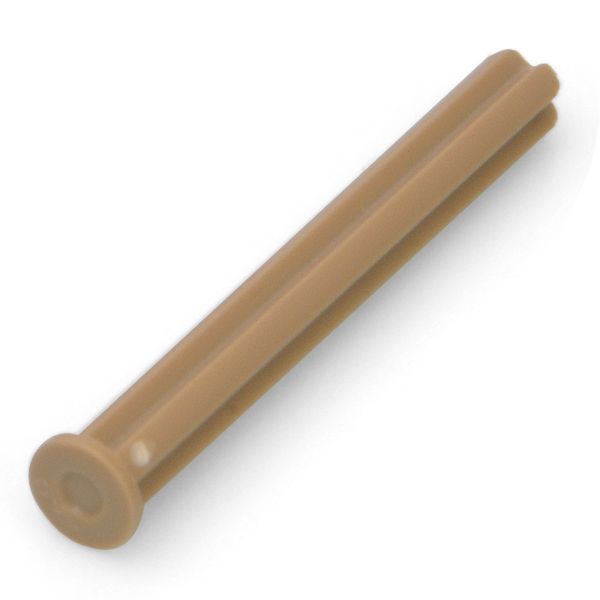
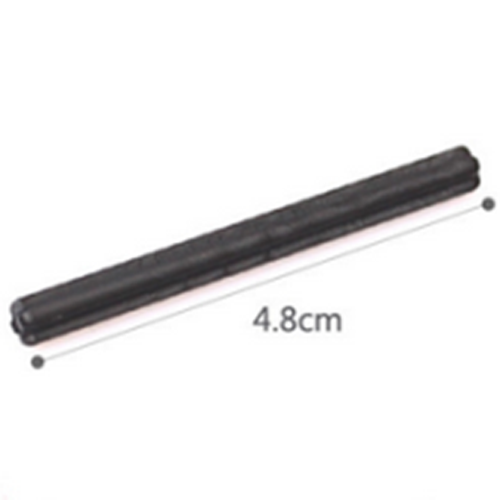
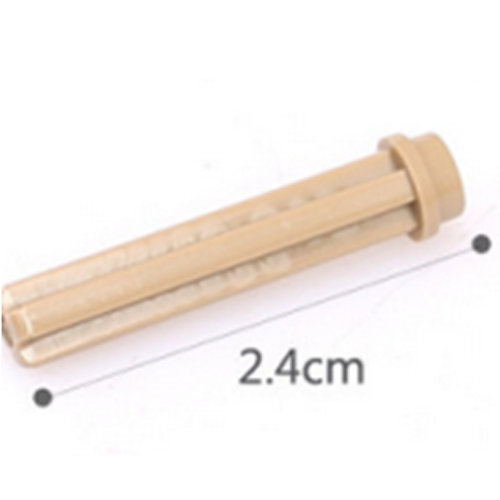
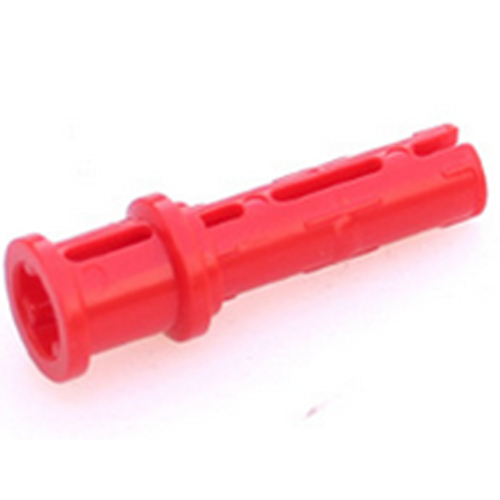
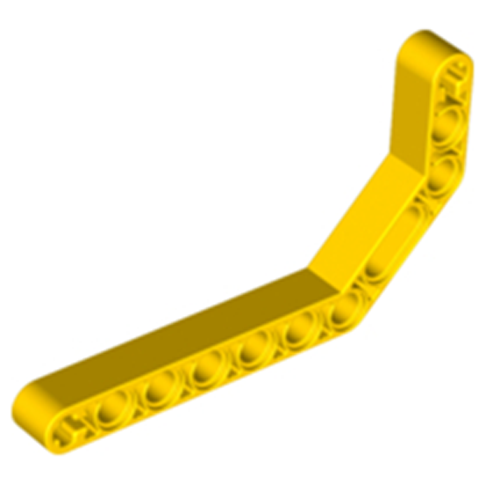
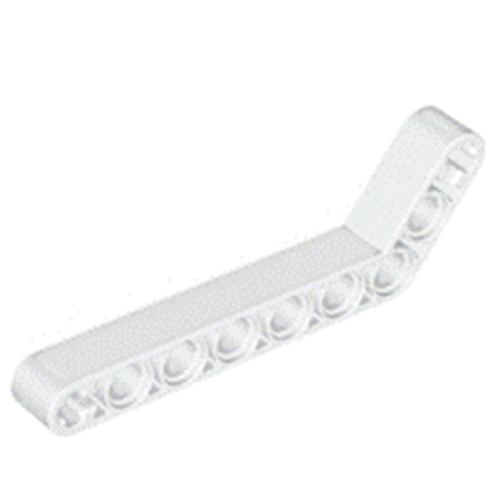
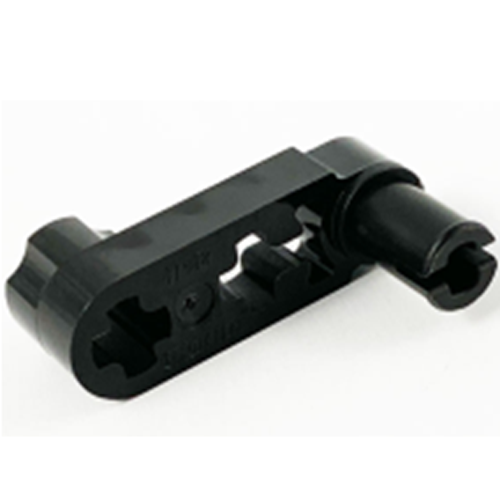
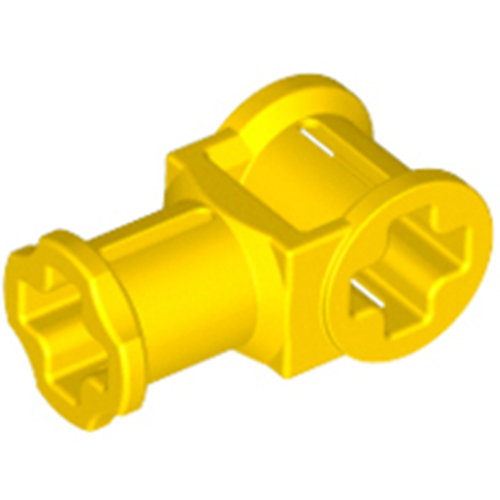
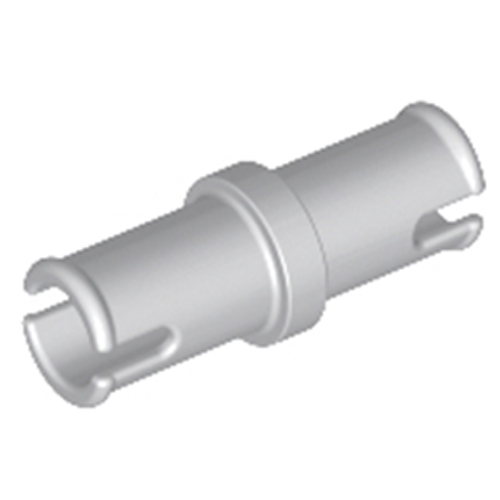
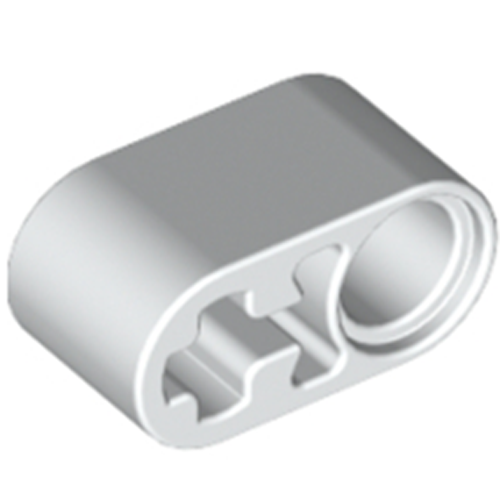
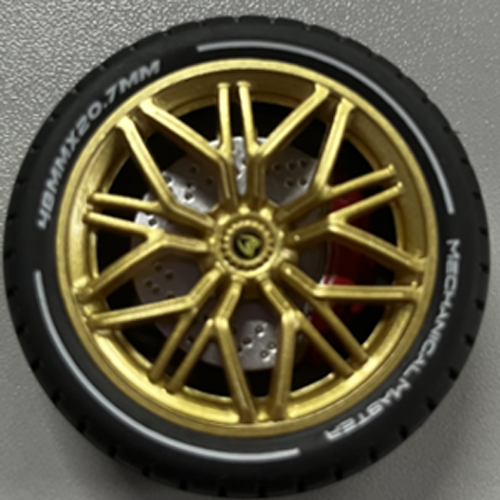
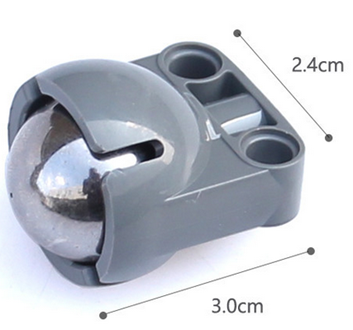
Please prepare the following parts to complete this project NOTE: 1. the color of the building block is subject to the actual product, which does not affect its use. 2. ALL OSOYOO PRODUCTS FOR ARDUINO ARE THIRD-PARTY BOARD WHICH IS FULLY COMPATIBLE WITH ARDUINO
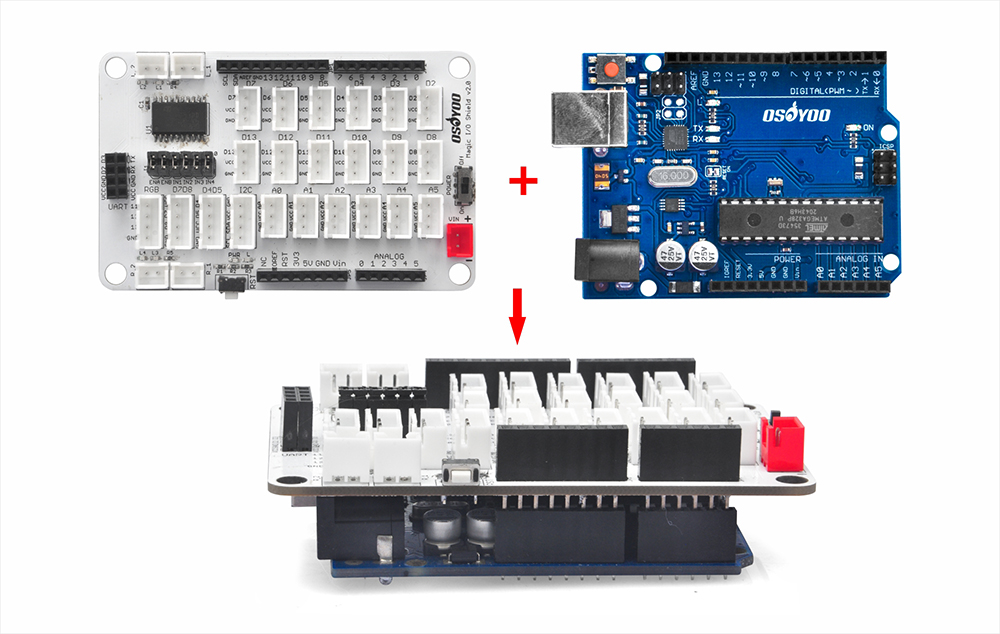
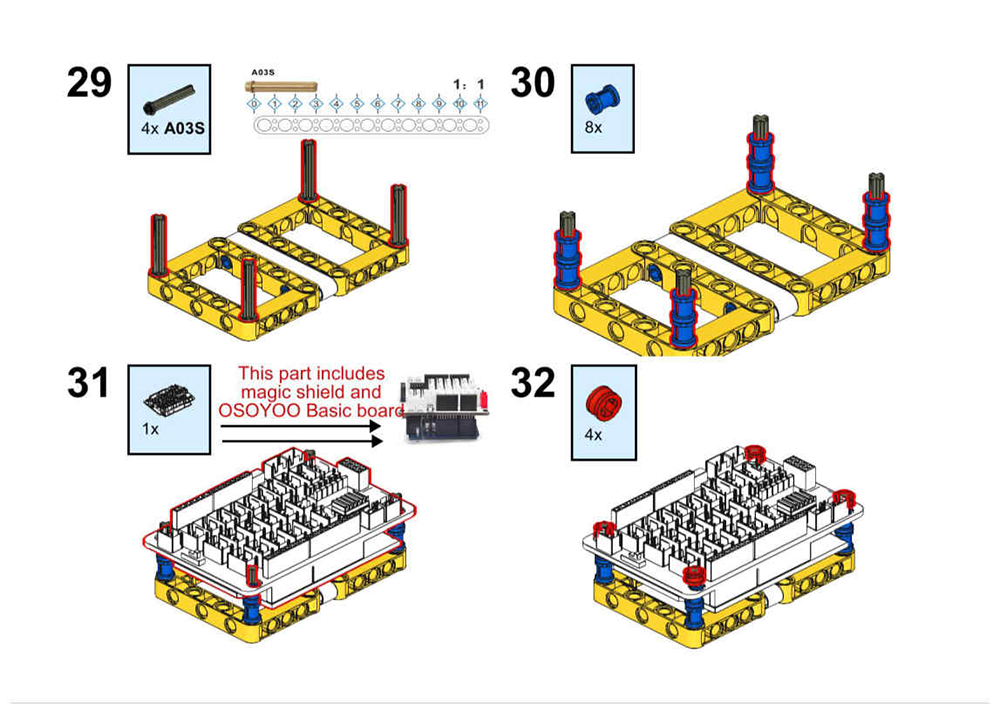
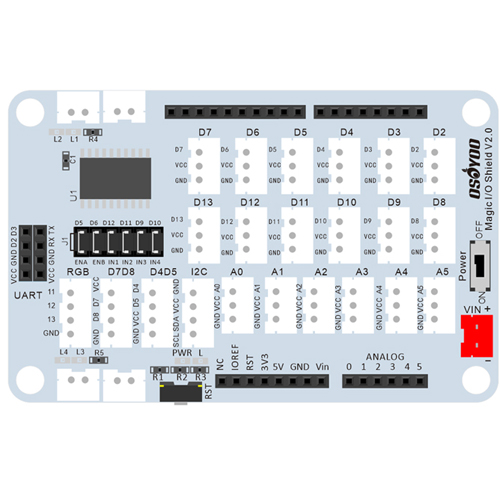
Before you build the robot with blocks, please install OSOYOO basic board for Arduino under the OSOYOO Magic I/O shield as follows (Attention please: the pins of the I/O shield are aligned with the port of the basic board first, then press the shield tightly on the UNO board).
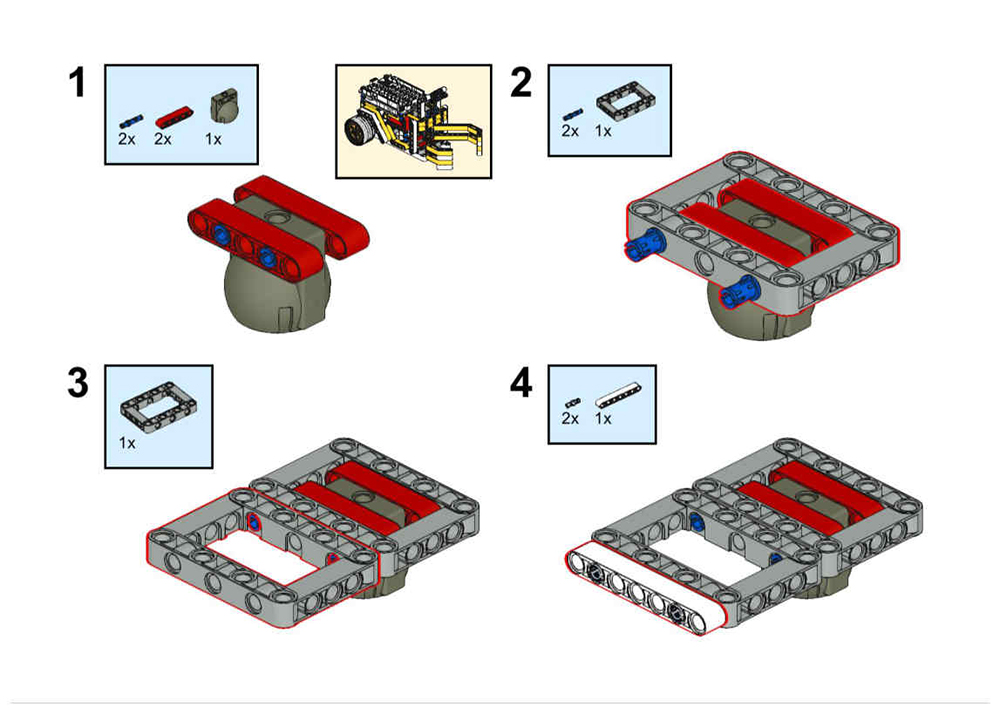
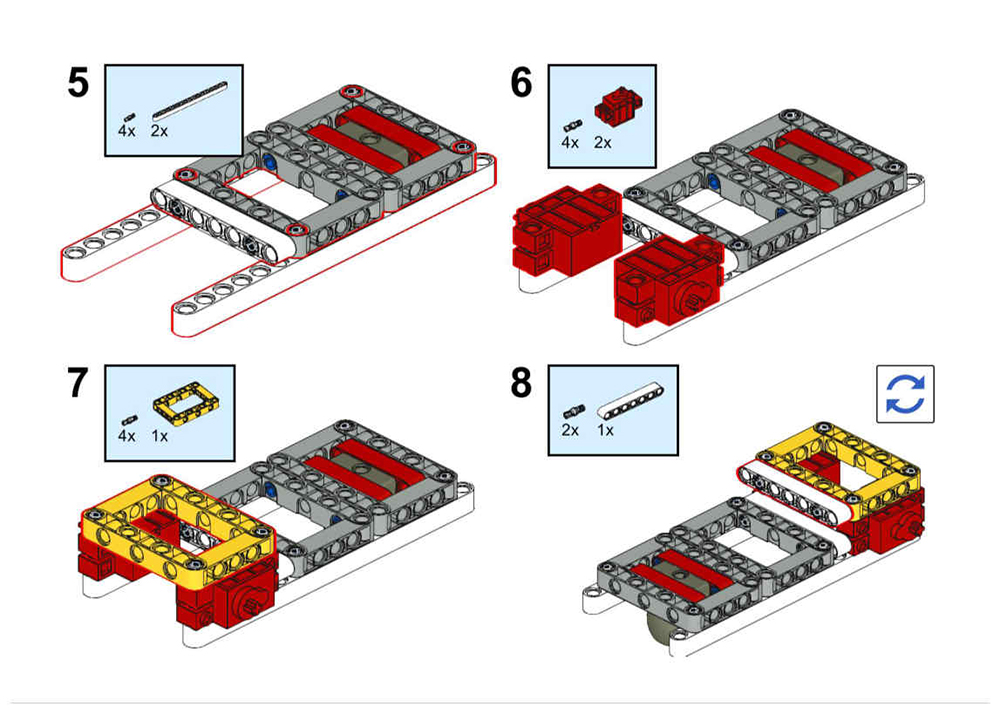
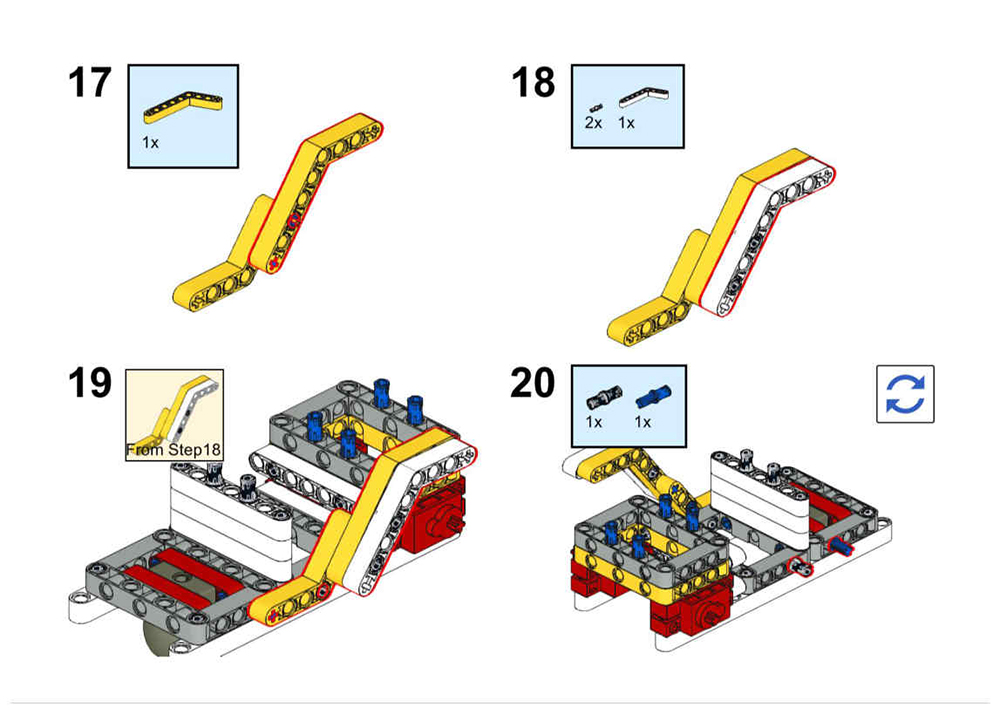
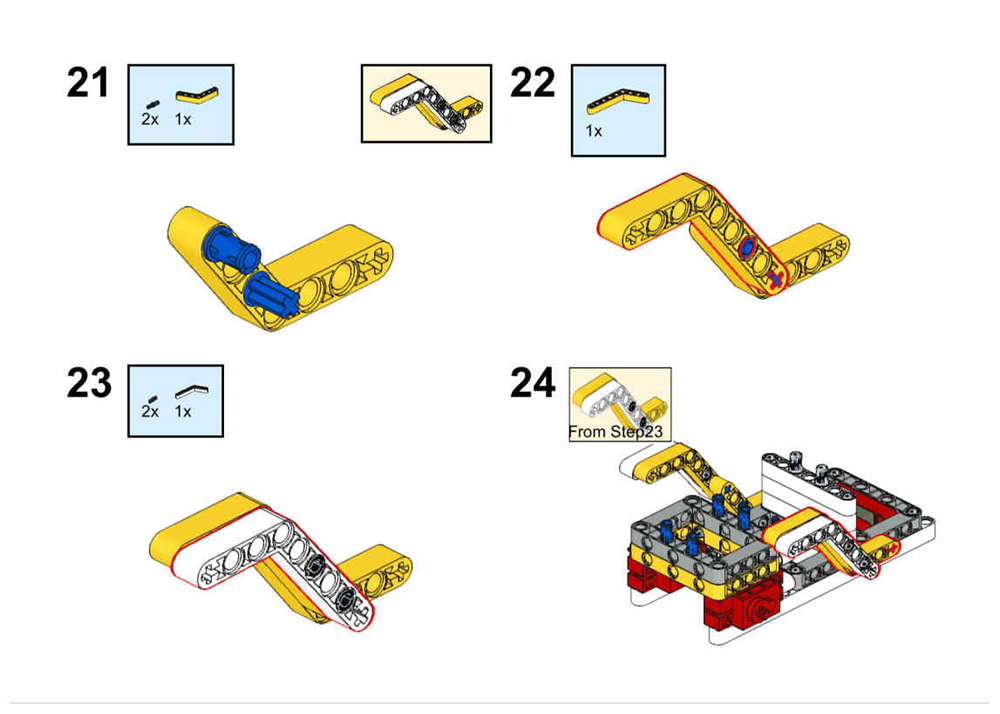
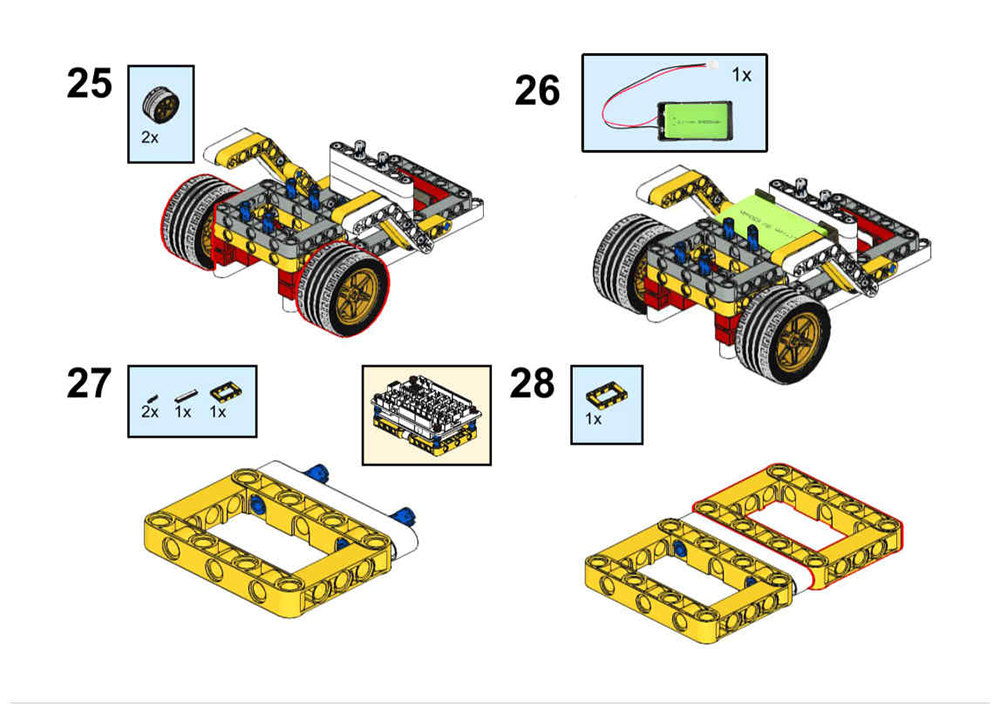
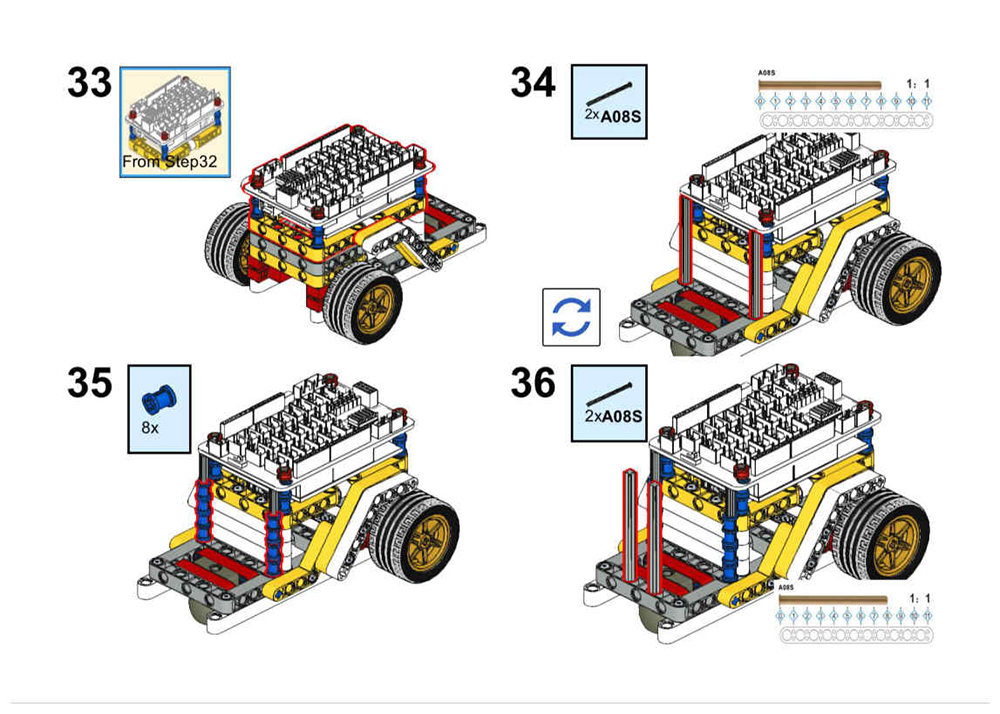
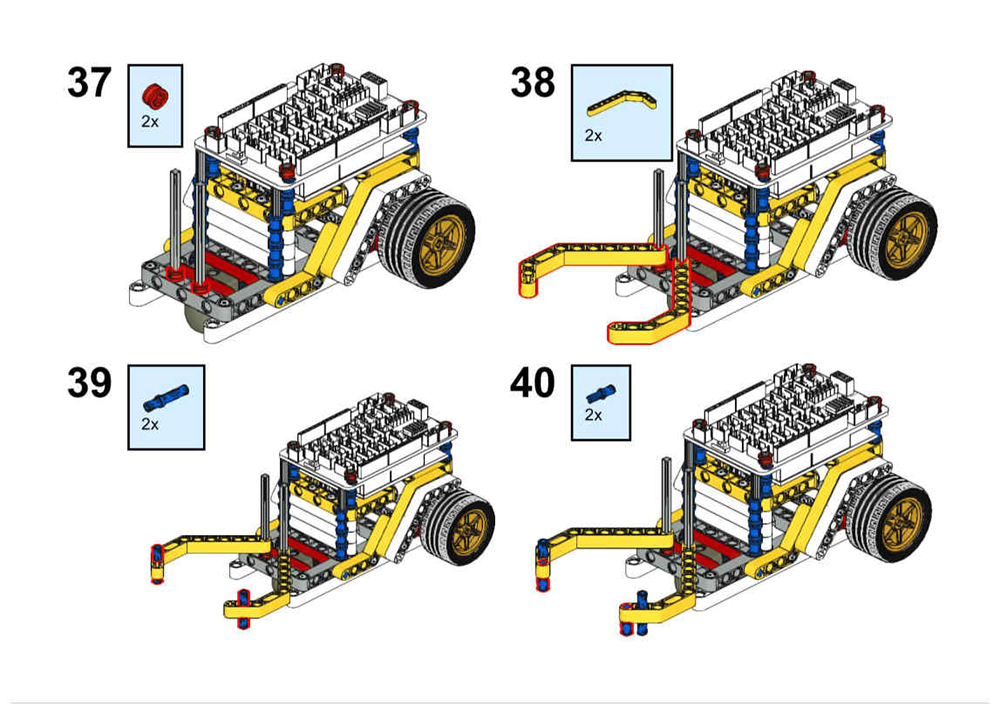
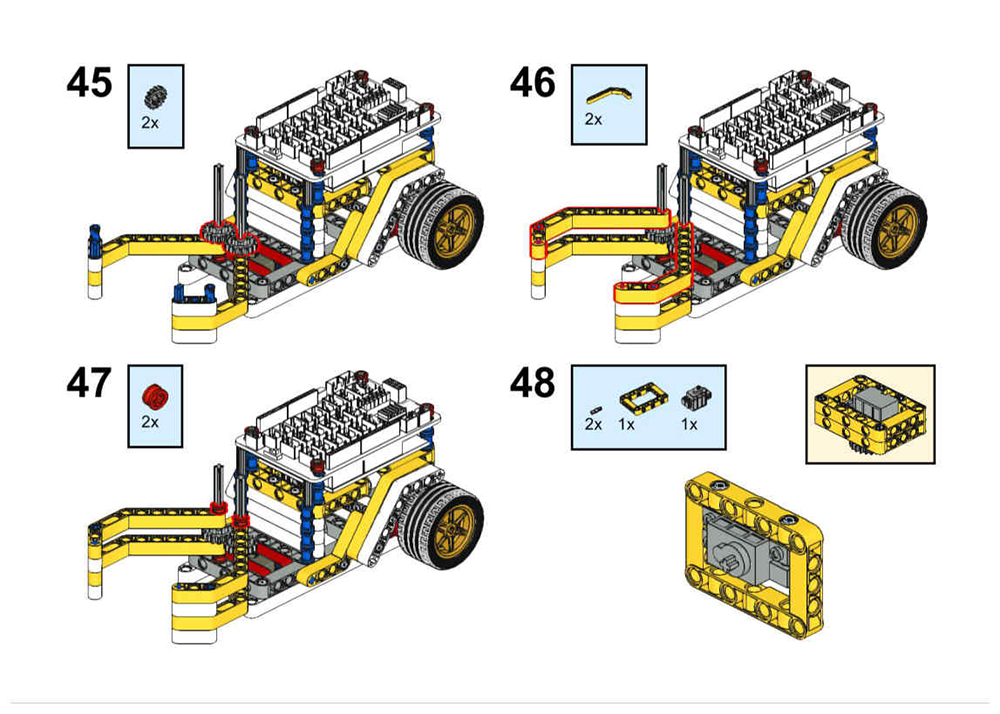
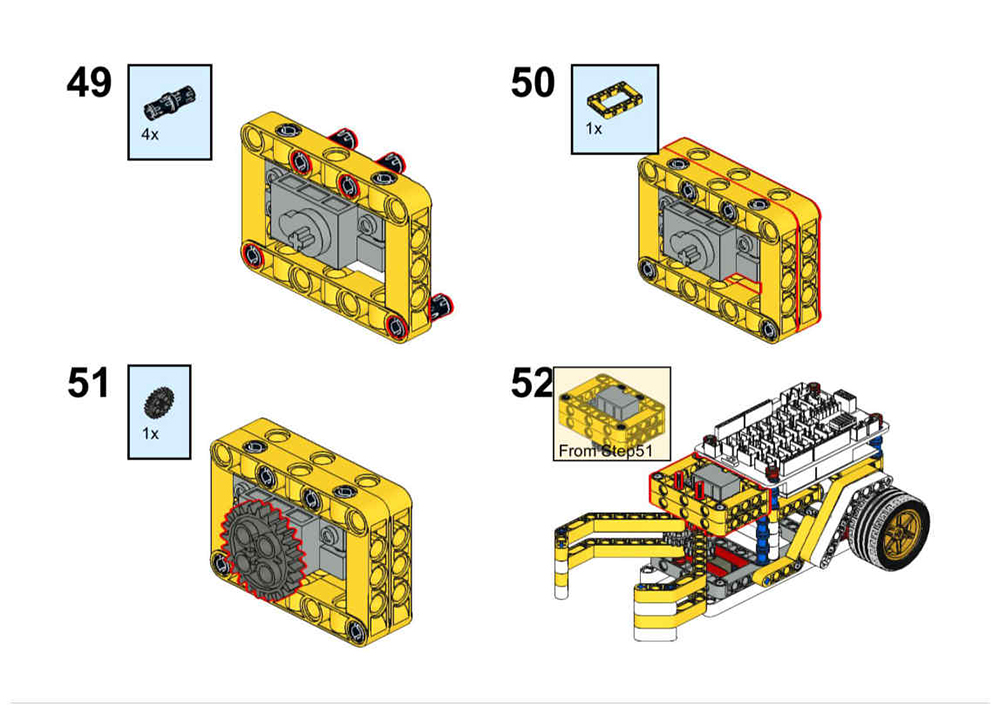
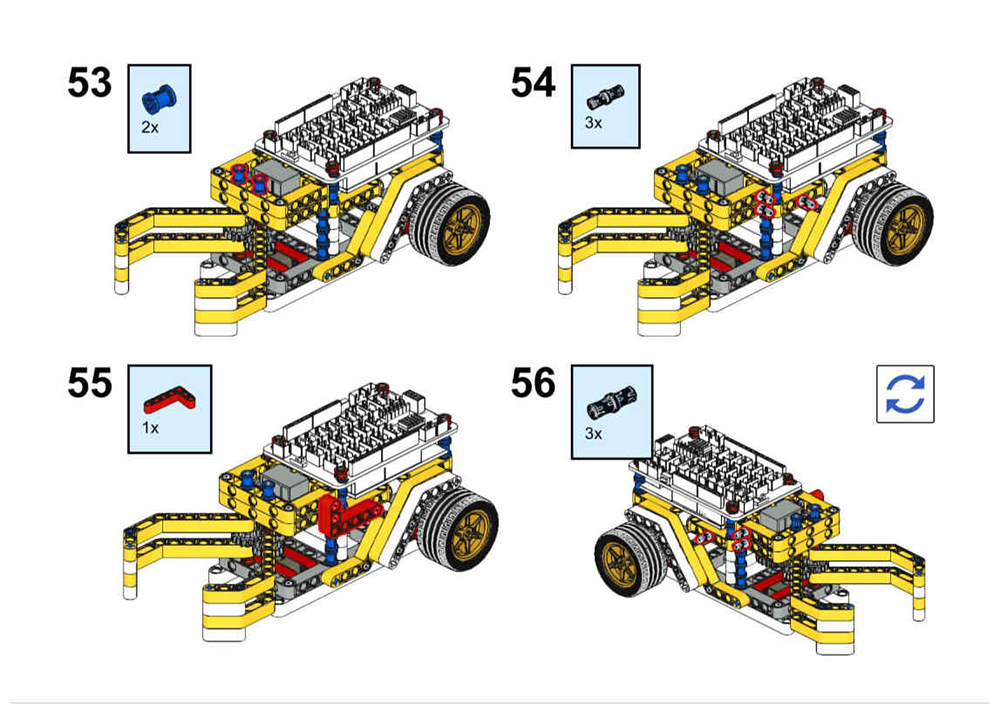
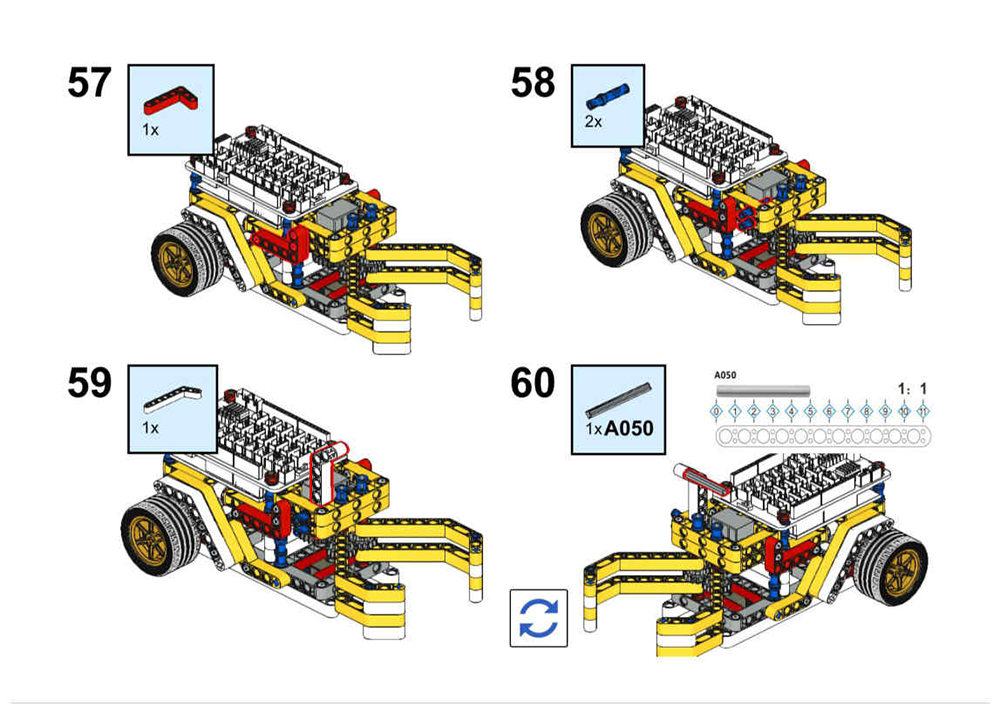
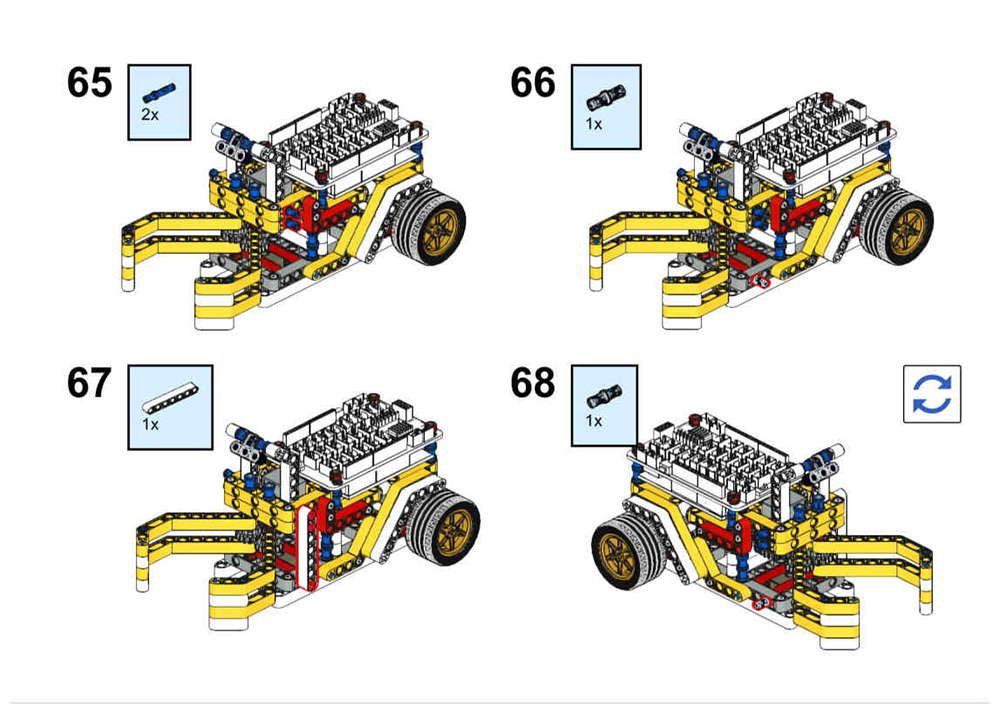
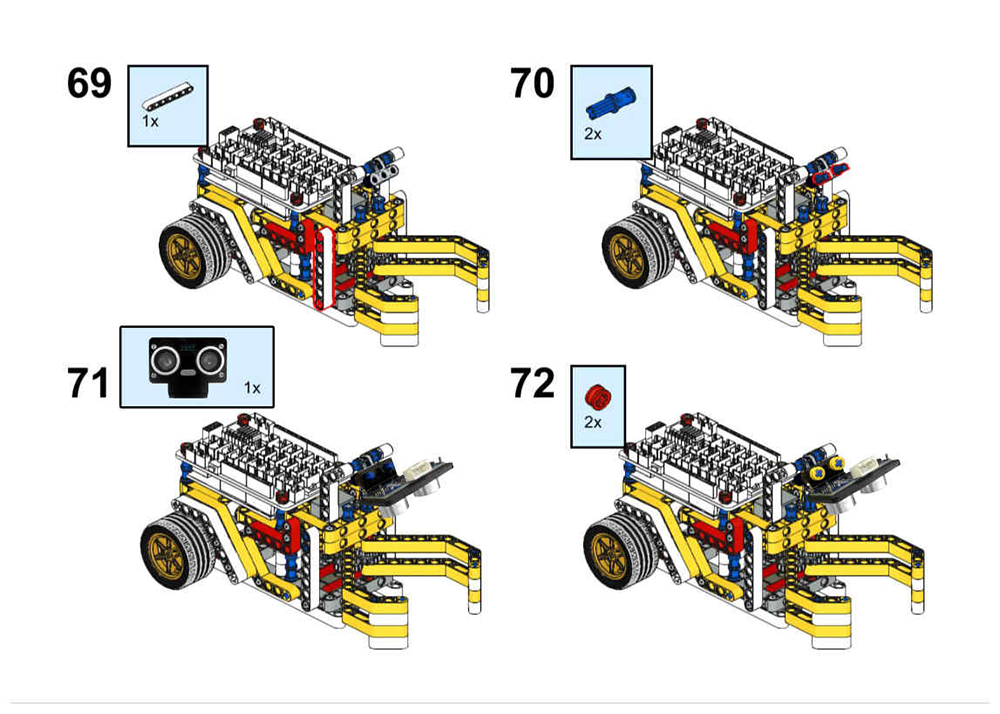
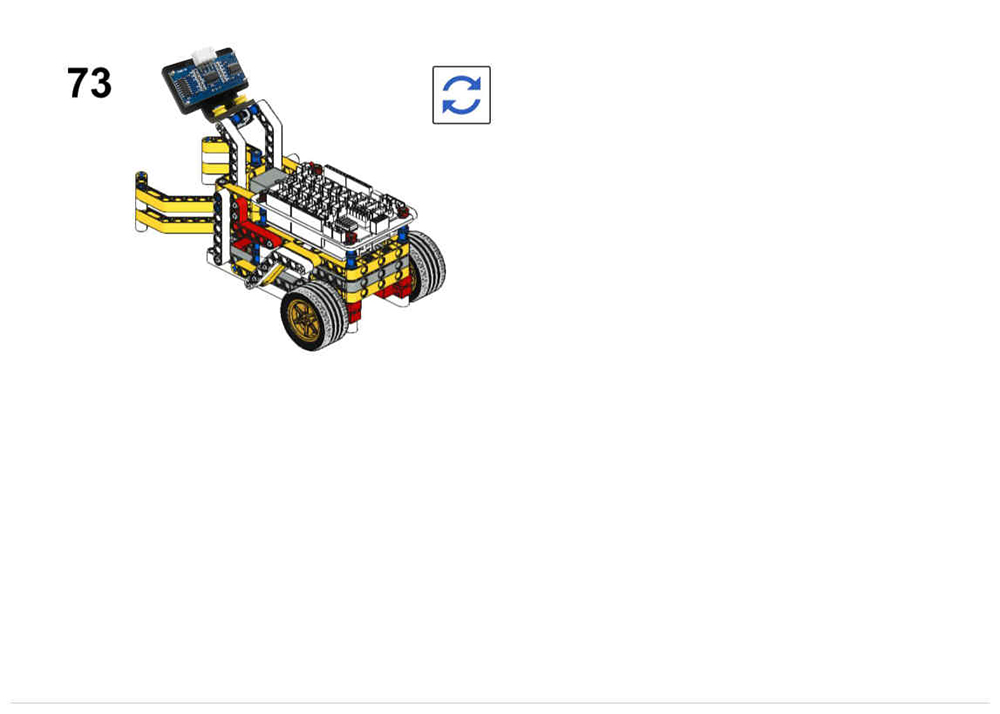
Please follow the building steps to build this robot car, If you want to get clear PDF building steps, please download from https://osoyoo.com/picture/Building_Robot_Car/lesson5/LESSON5.pdf
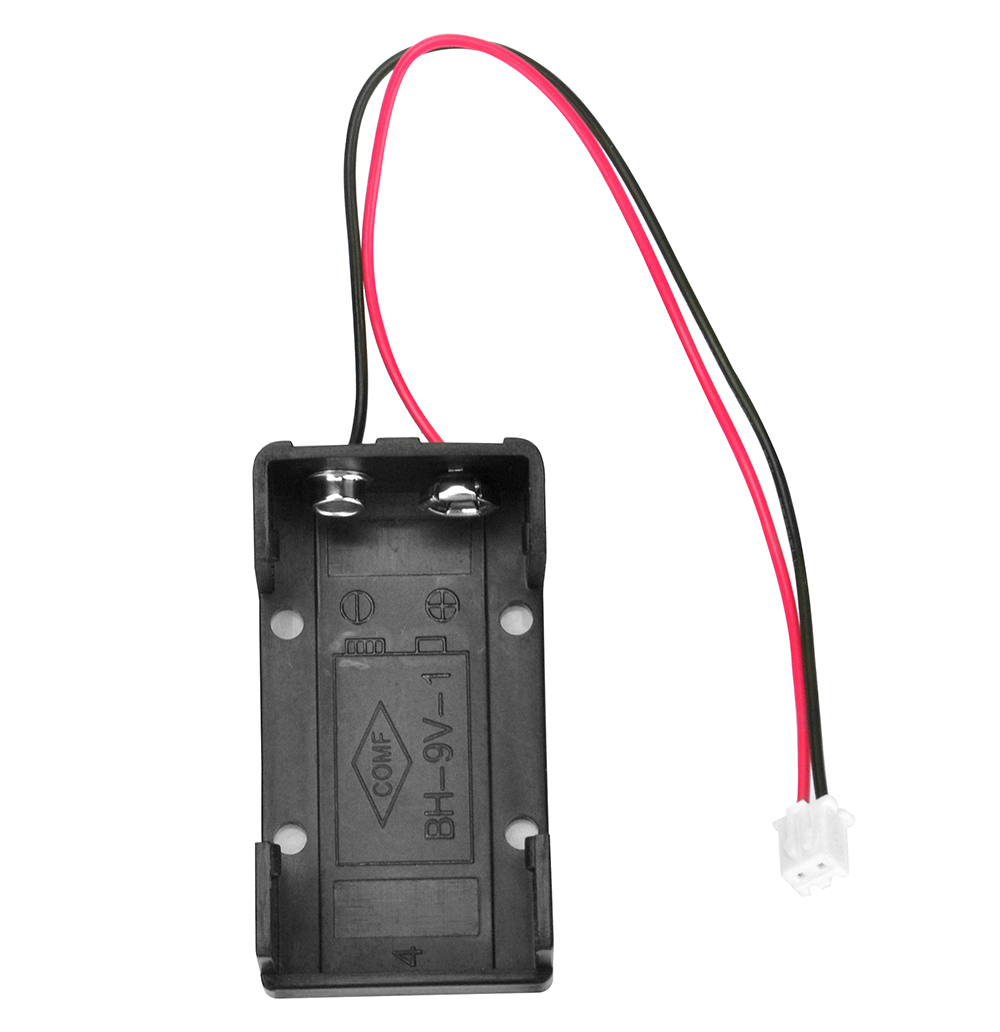
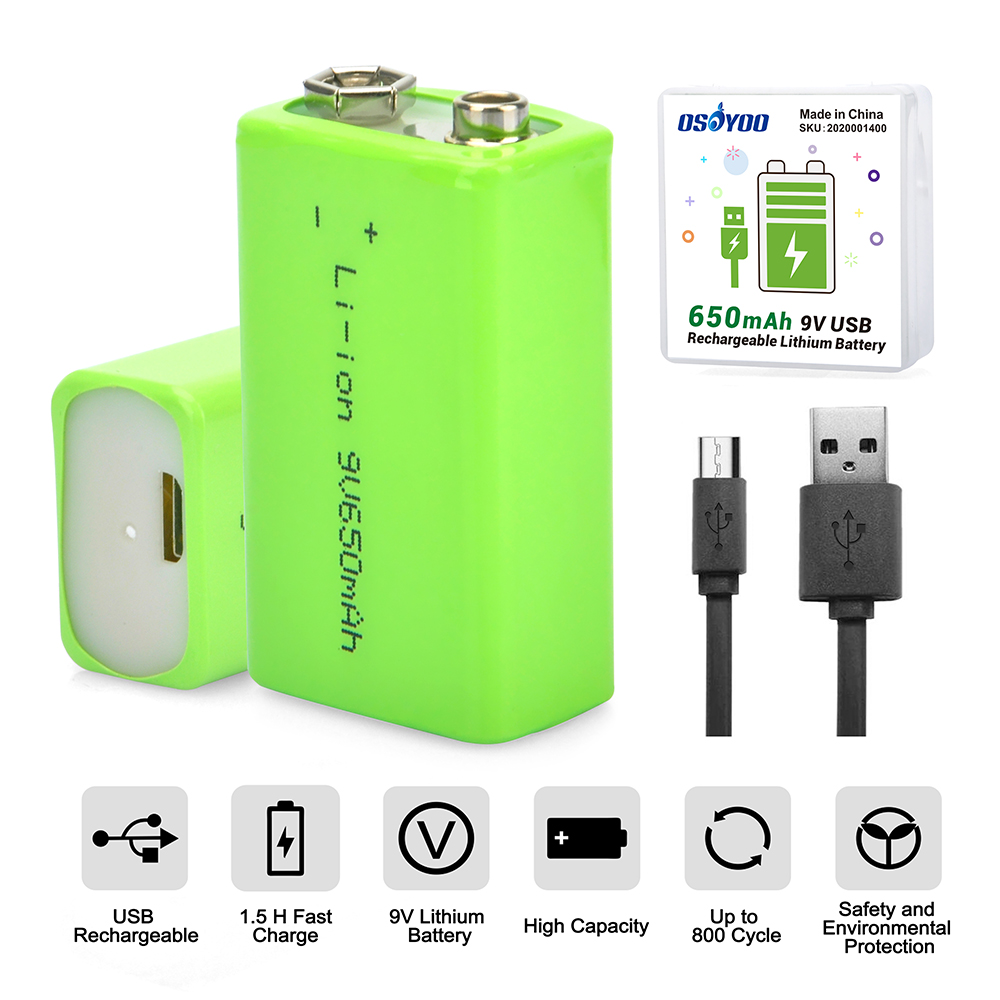
Please connect motors and 9V battery case as lesson 1.
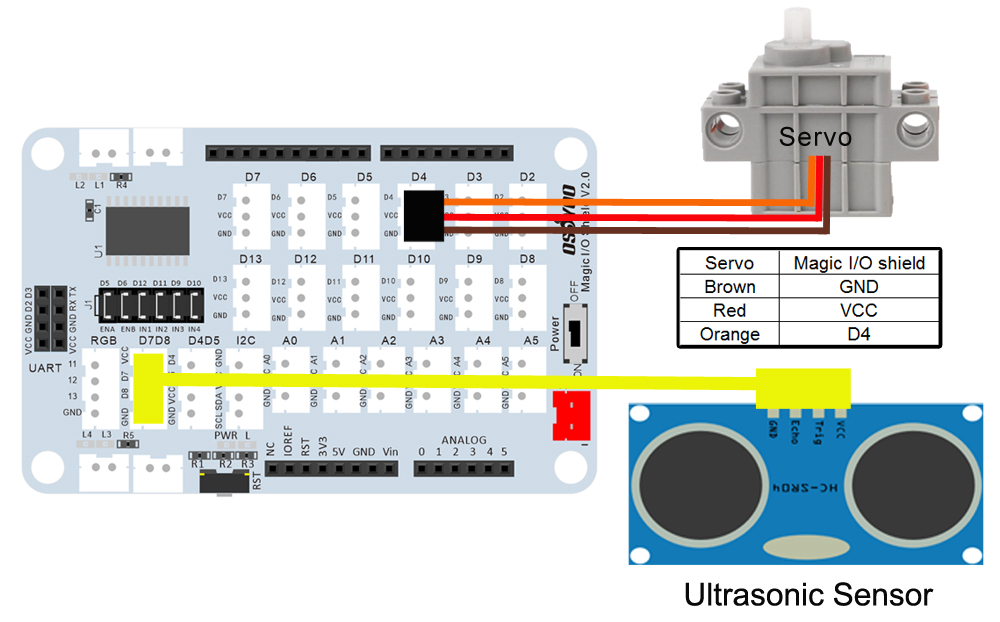
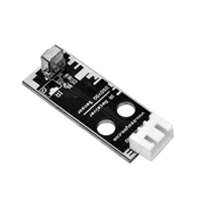
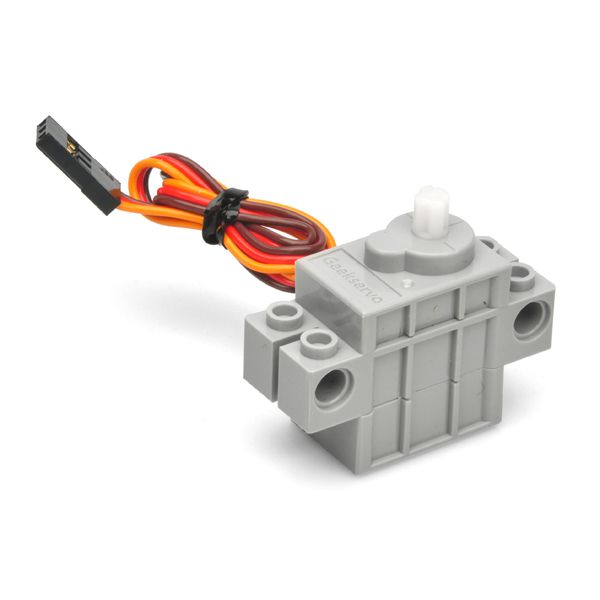
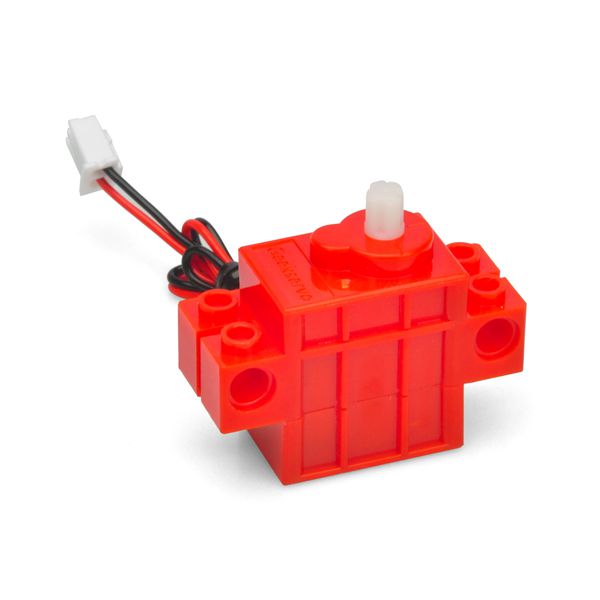
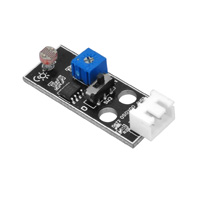
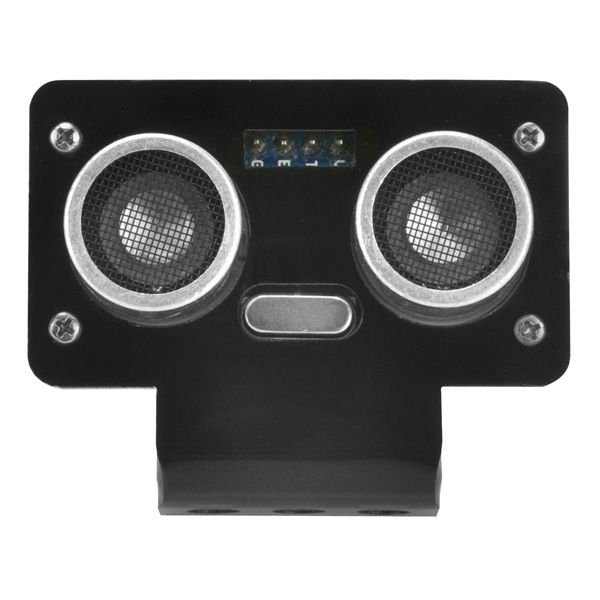
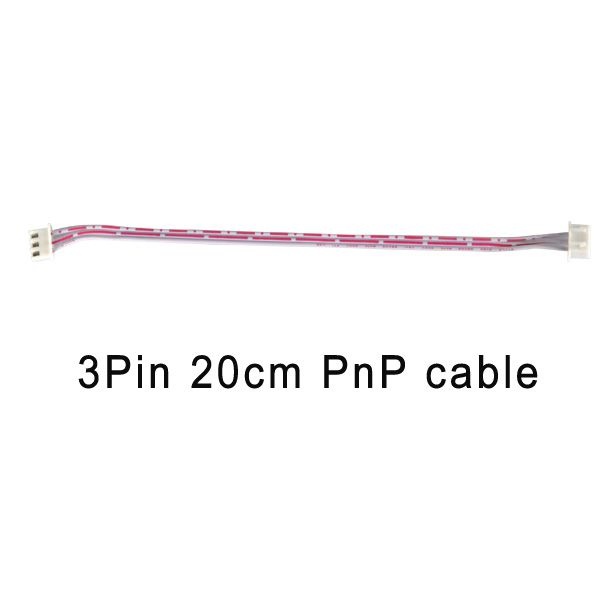
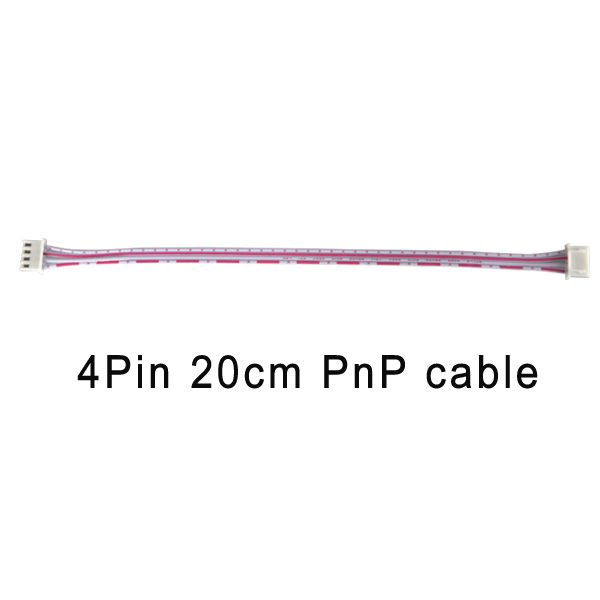
Then Connect the SG90 servo motor to the D4 port of OSOYOO Magic I/O shield, Ultrasonic module sensor to the D7D8 port of the Magic I/O shield with a 4-pin PNP cable as below:
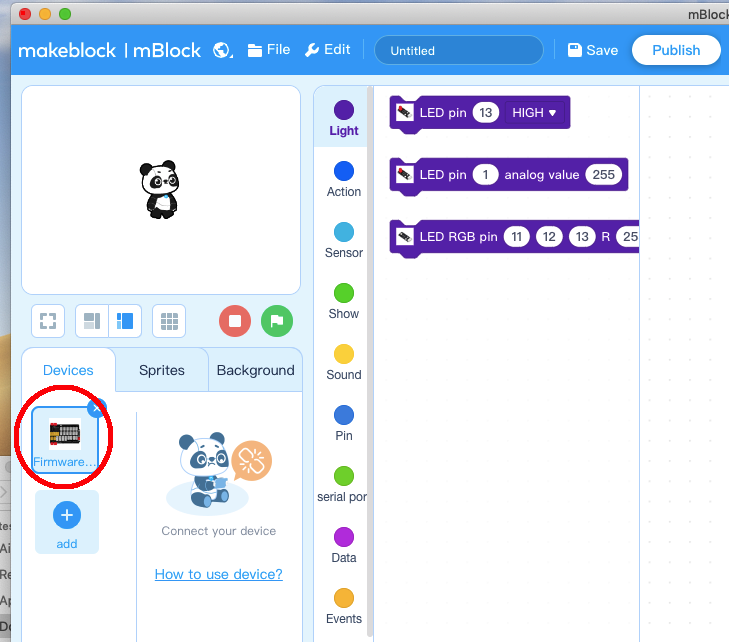
Step 3) Run the mBlock PC software by double click the lovely Panda icon. you will see mBlock UI as the following picture. Please delete the default device CyberPi by clicking the cross in the red circle.
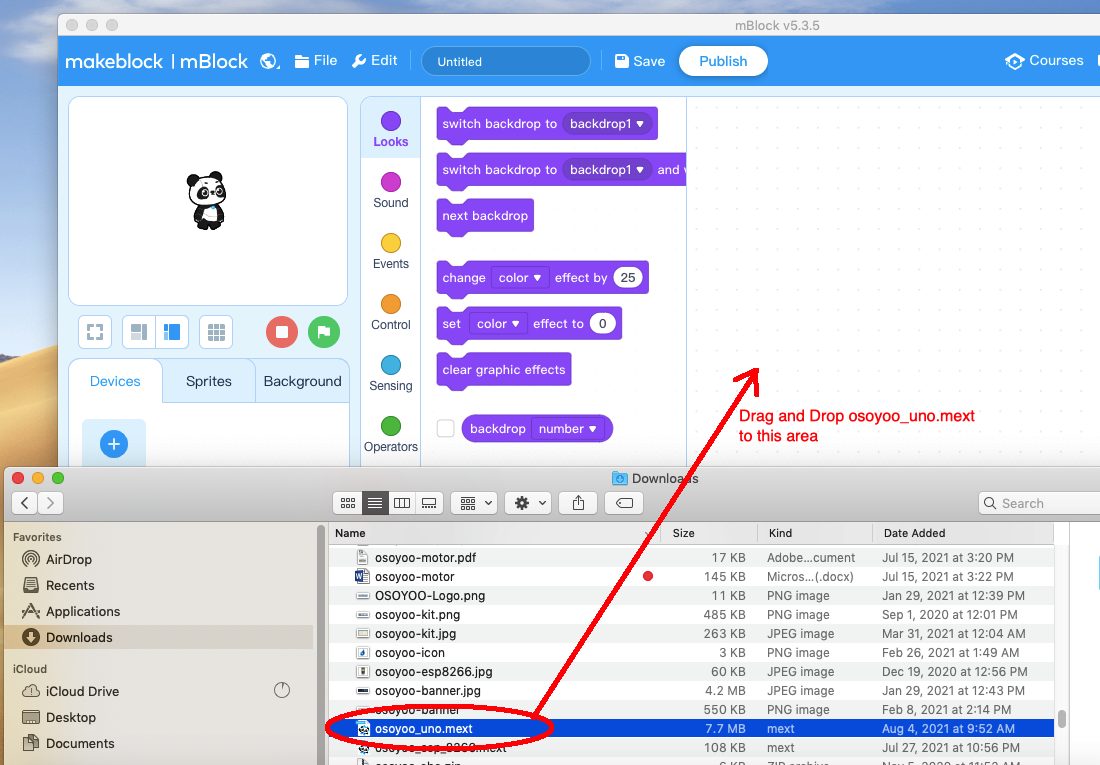
Step 4) Drag and Drop osoyoo_uno_mext file(downloaded in Step 2) to mBlock software as following:
Now you will see a new device firmware in mBlock, see the following picture:
Now mBlock software and OSOYOO_UNO device firmware have been successfully installed in our PC!
Now we will show you how to use blocks to turn the above idea into reality.
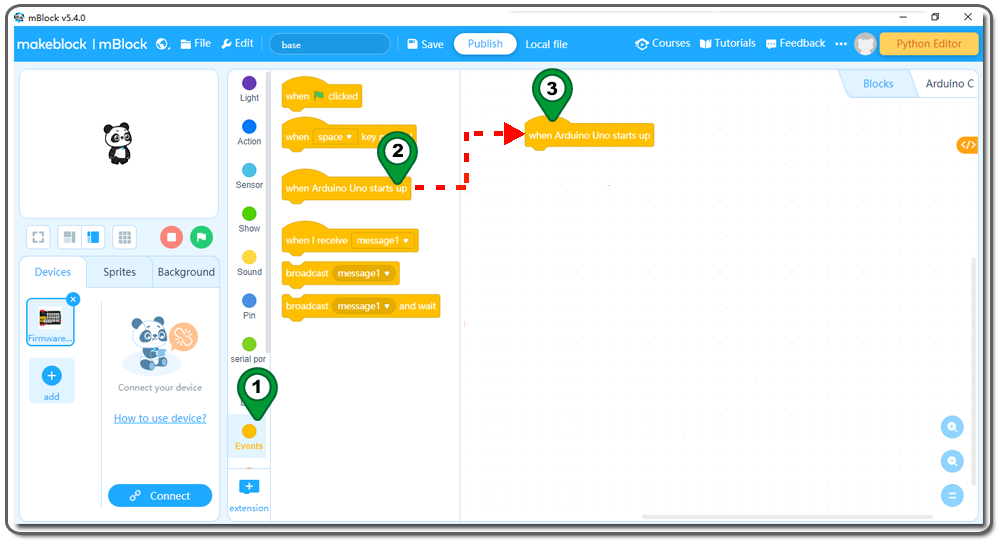
Step 5: Click Events, add when Arduino Uno starts upblock to the top:
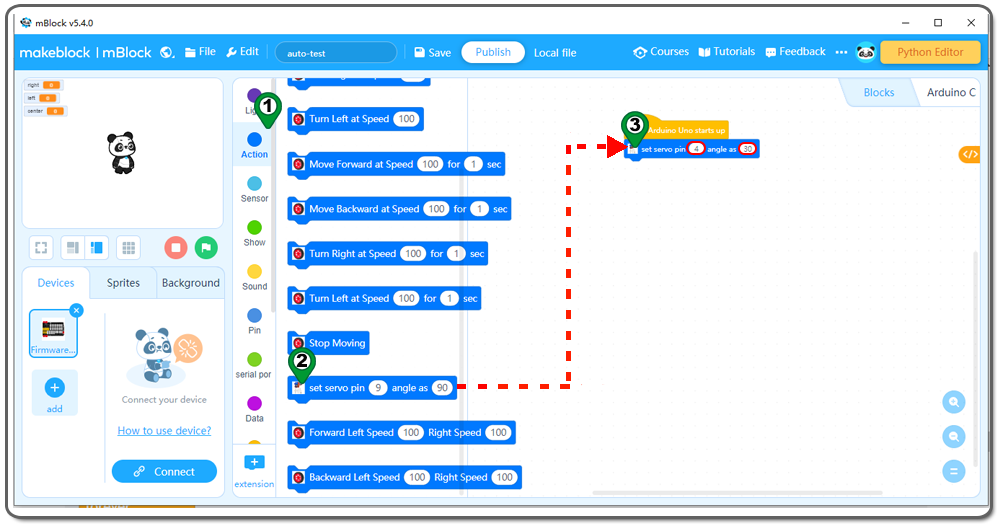
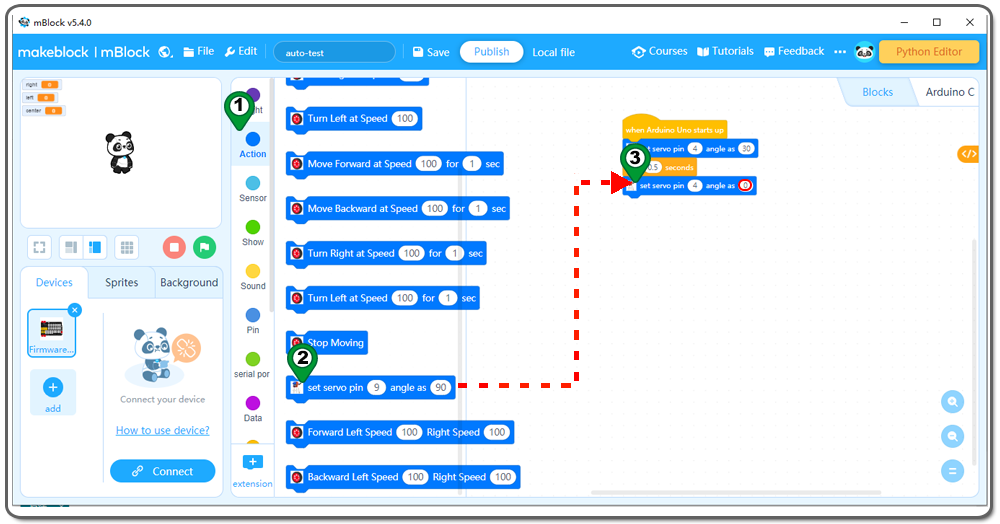
Step 6: Click Action, then Drag and drop set servo pin angle as block to programming area,change the pin 9 to 4,90 to 30 as follows;
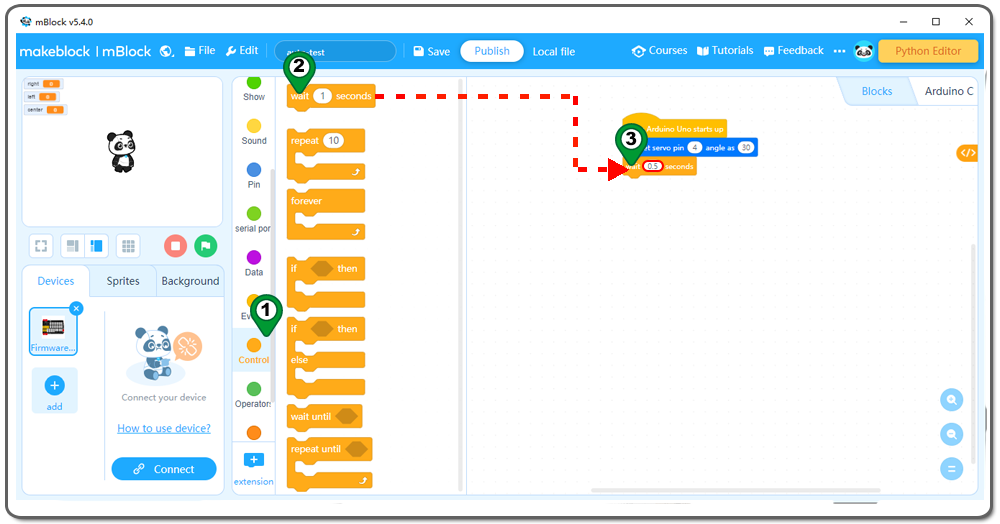
Step 7: Click Control, then Drag and drop wait seconds block to the programming area, set the value to 0.5 seconds as follows:
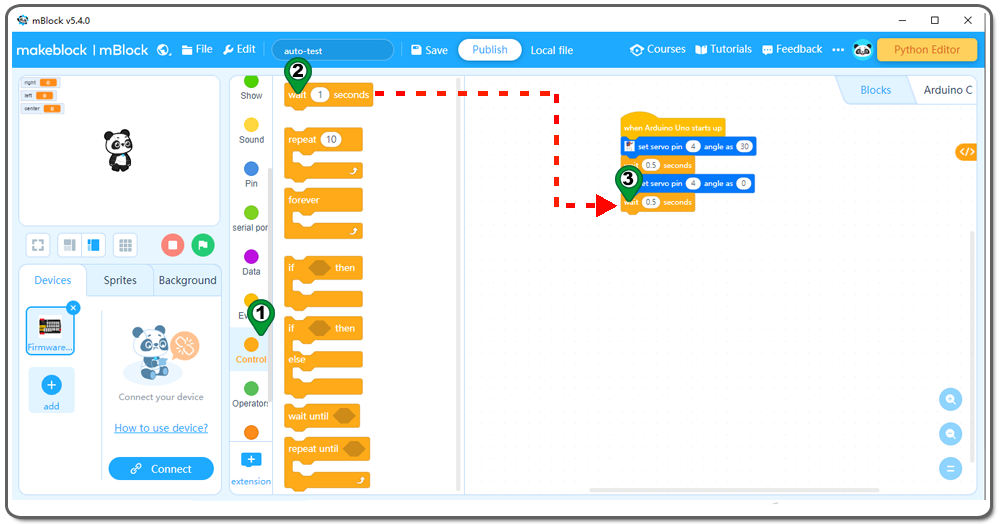
Step 8: Click Action again, then Drag and drop set servo pin angle as block to programming area,30 to 0 as follows;
Step 9:Repeat the Step7 as follows:
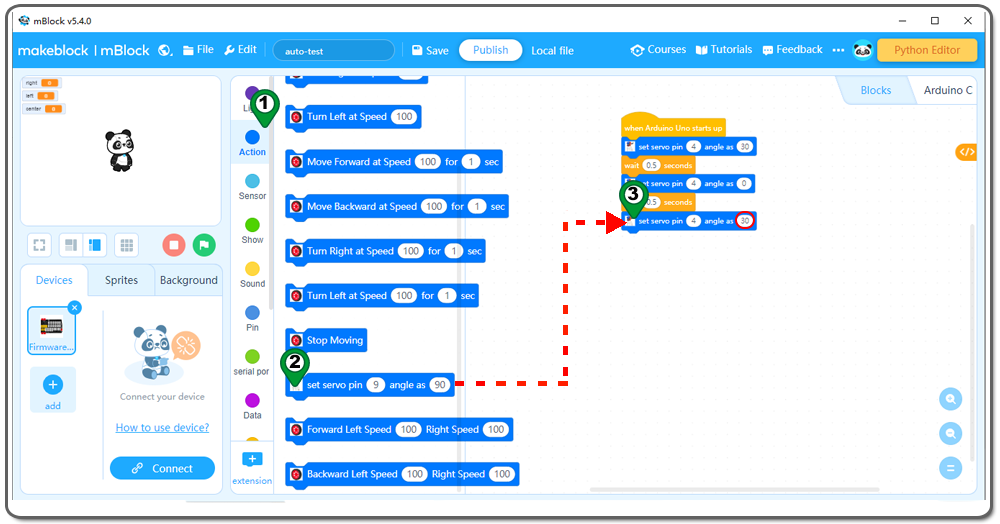
Step 10:Click Action, then Drag and drop set servo pin angle as block to programming area, change 0 to 30 as follows;
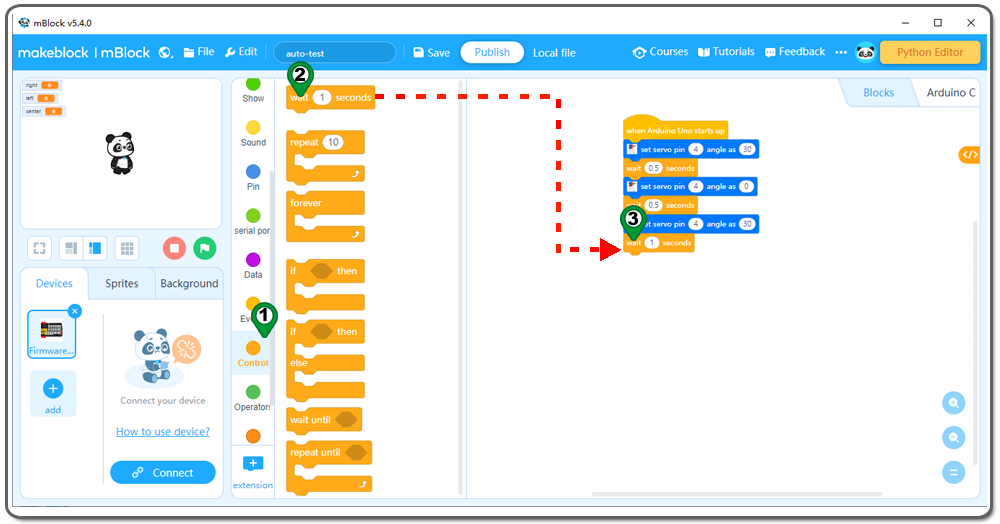
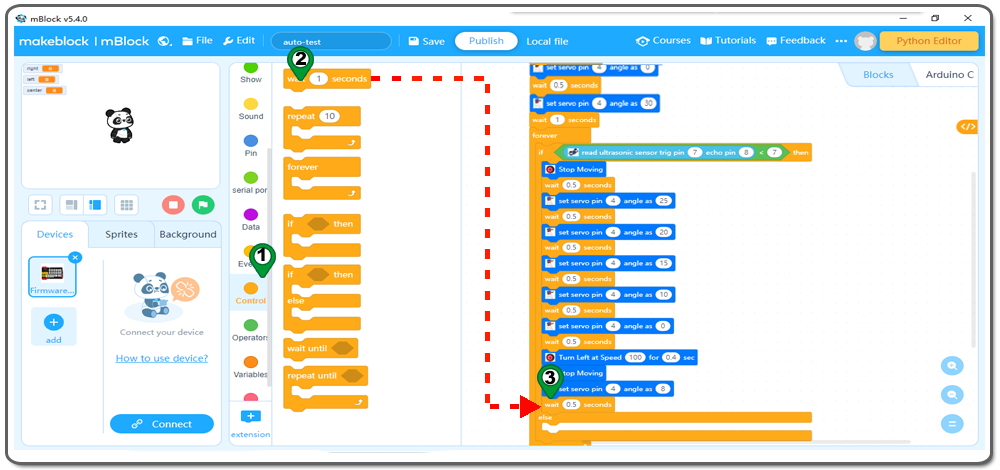
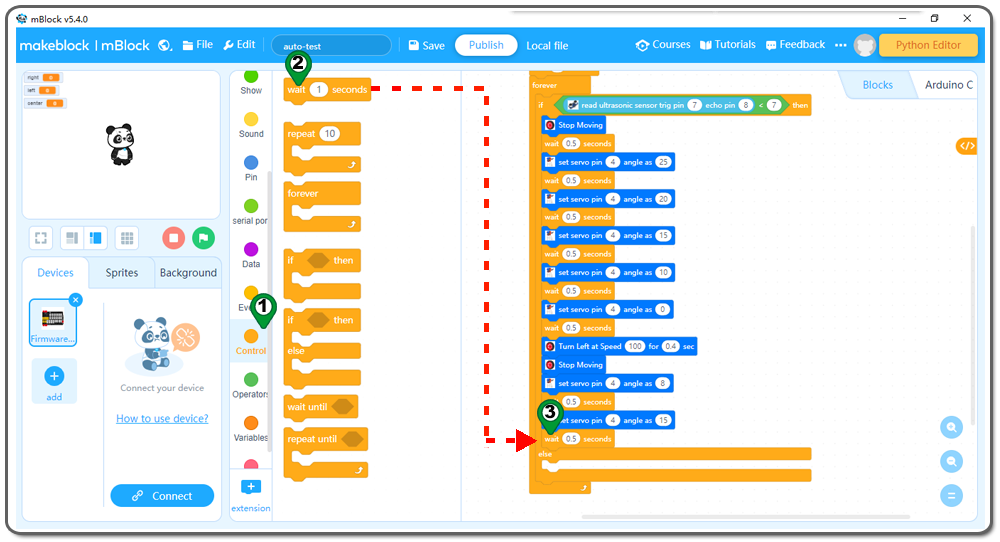
Step 11:Click Control, then Drag and drop wait seconds block to the programming area , wrote 1 seconds as follows:
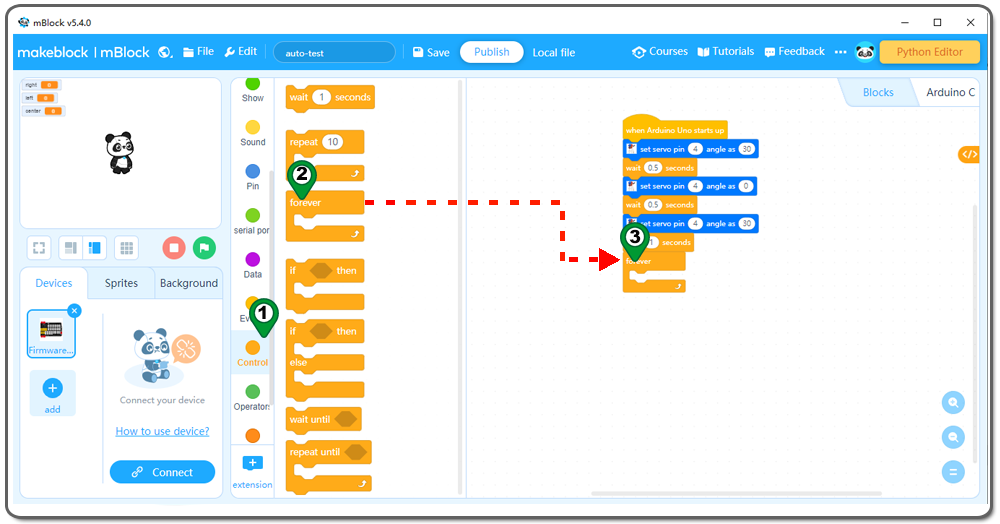
Step 12: Click Control, then Drag and drop forever block to the programming area as follows:
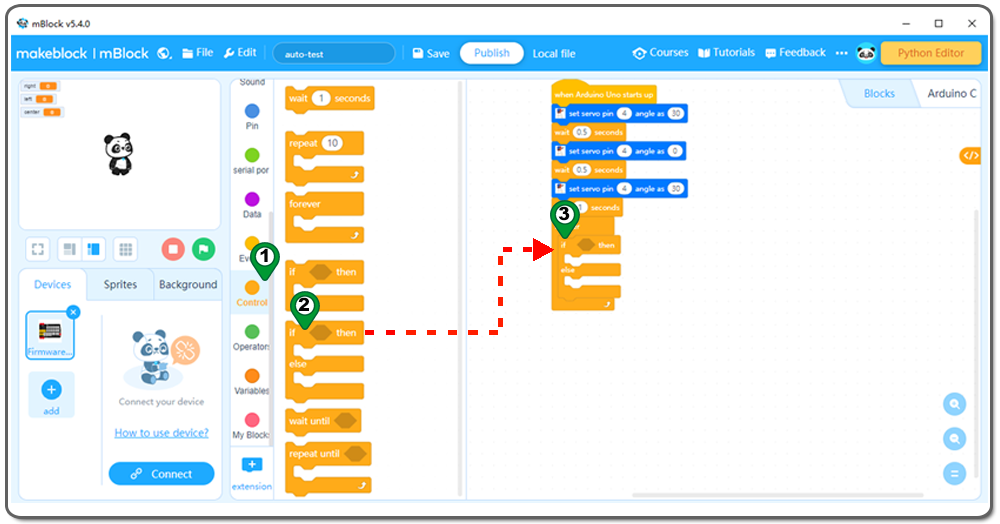
Step 13: Click Control again, then Drag and drop if then else block to the programming area as follows:
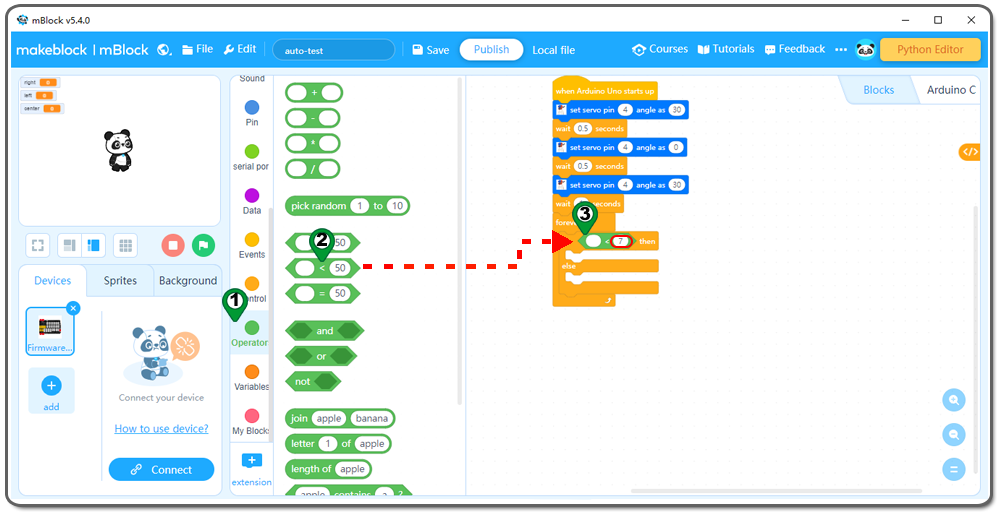
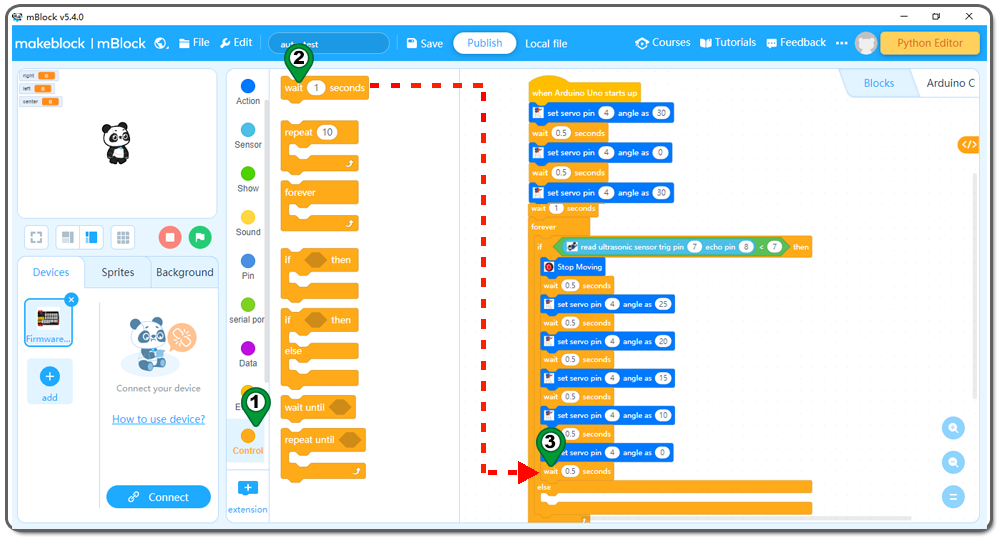
Step 14: Click Operation, then Drag and drop 0<0 block to the programming area , change the 0 to 7 as follows:
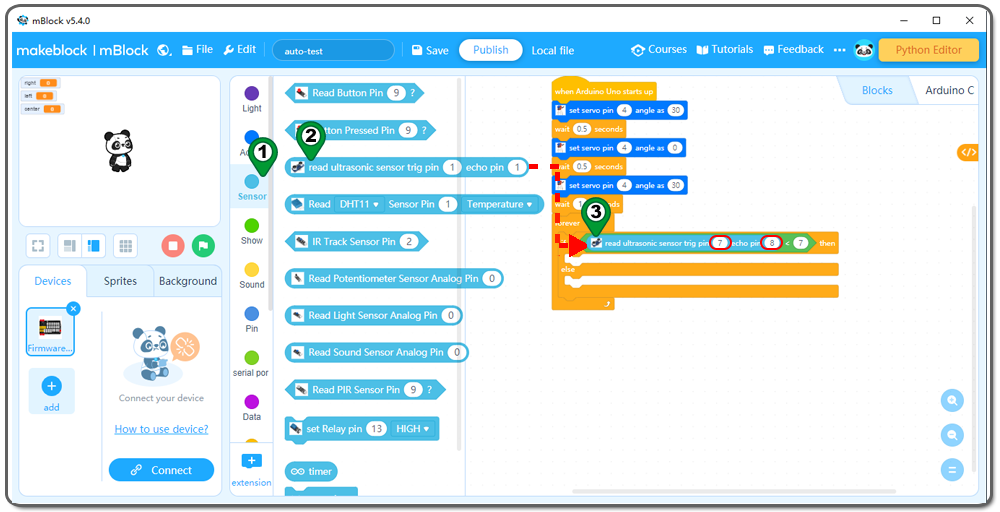
Step 15:Click Sensor, then Drag and drop read ultrasonic sensor trig pin echo pin block to programming area, set pin 7 and pin 8 as follows;
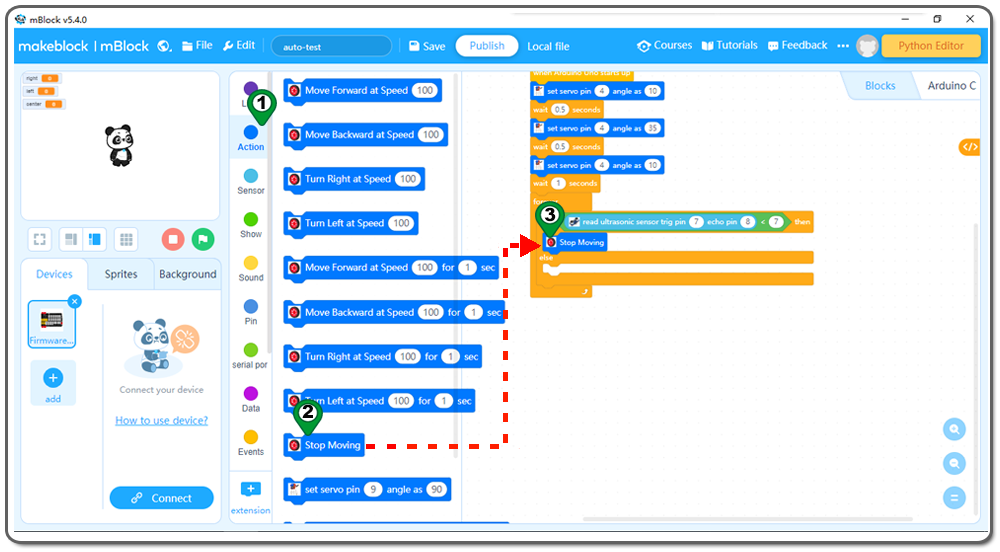
Step 16: Click Action, then Drag and drop Stop Mowing block to the programming area as follows;
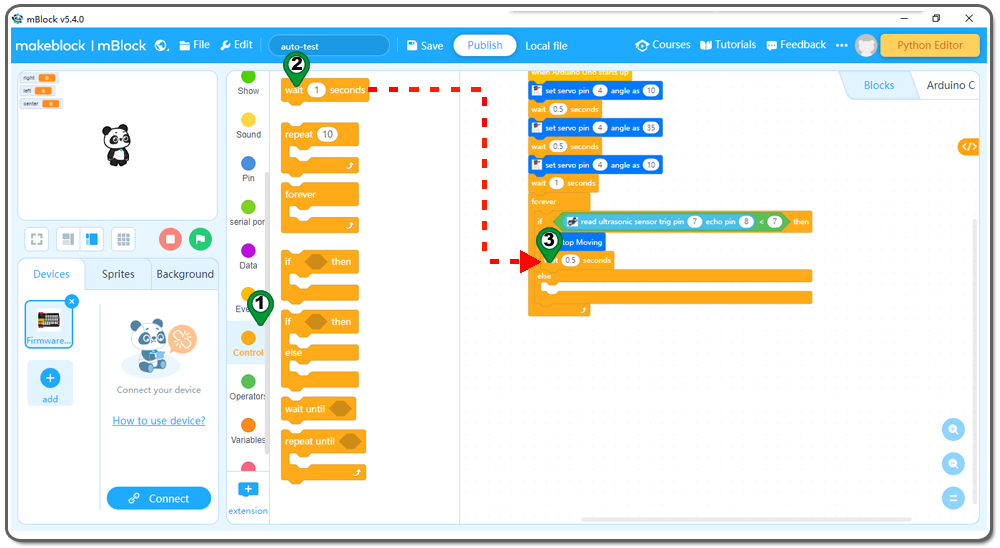
Step 17:Click Control, then Drag and drop wait seconds block to the programming area , wrote 0.5 seconds as follows:
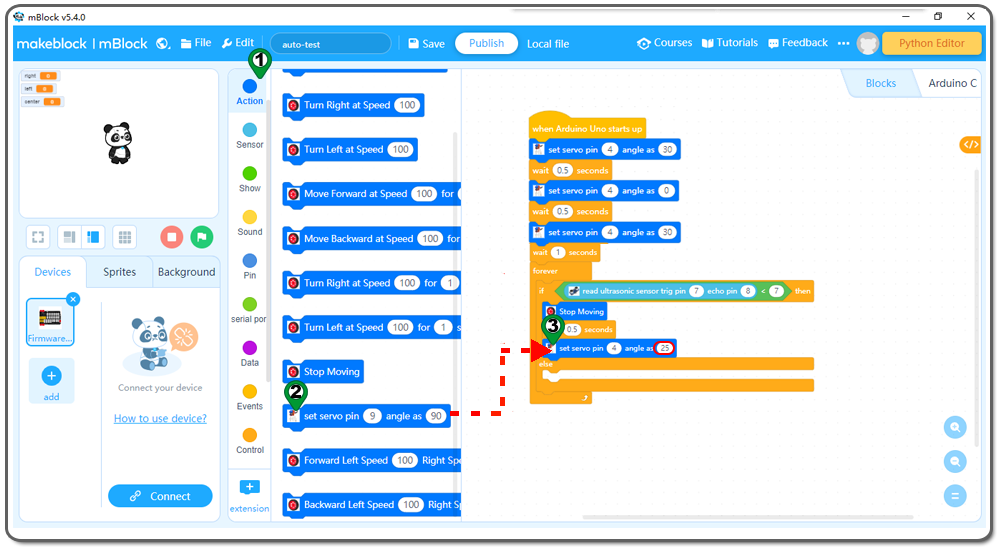
Step 18:Click Action, then Drag and drop set servo pin angle as block to programming area,change 0 to 25 as follows;
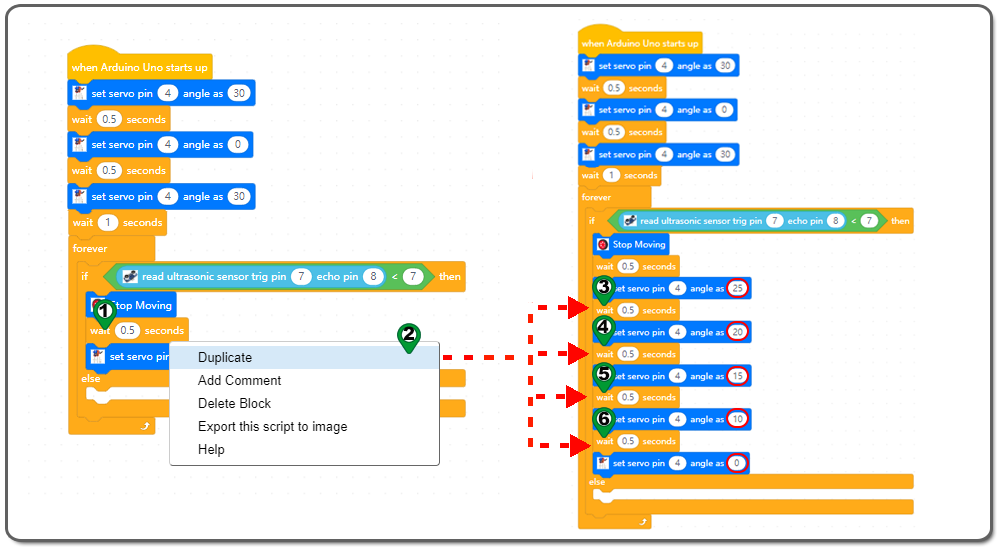
Step 19:Right click Wait seconds block, Click duplicate from the digital write pin to block over. You will get a duplicated block, and place it behind Set servo pin angle as block . Change the angle valueas the following figure.
Step 20:Click Control, then Drag and drop wait seconds block to the programming area , wrote 0.5 seconds as follows:
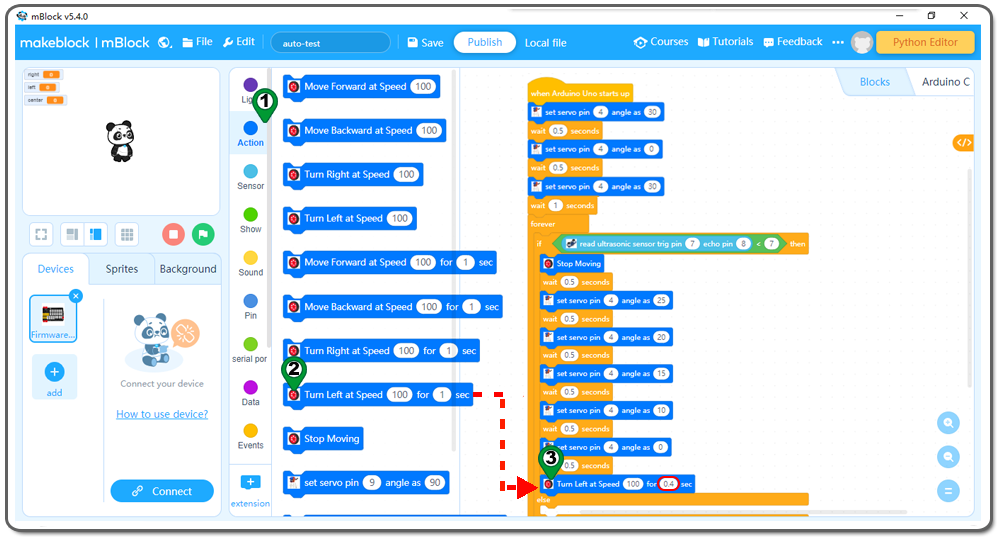
Step 21:Click Action, then Drag and drop Turn Left Speed for block to programming area , change the 1 sec to 0.4 sec as follows;
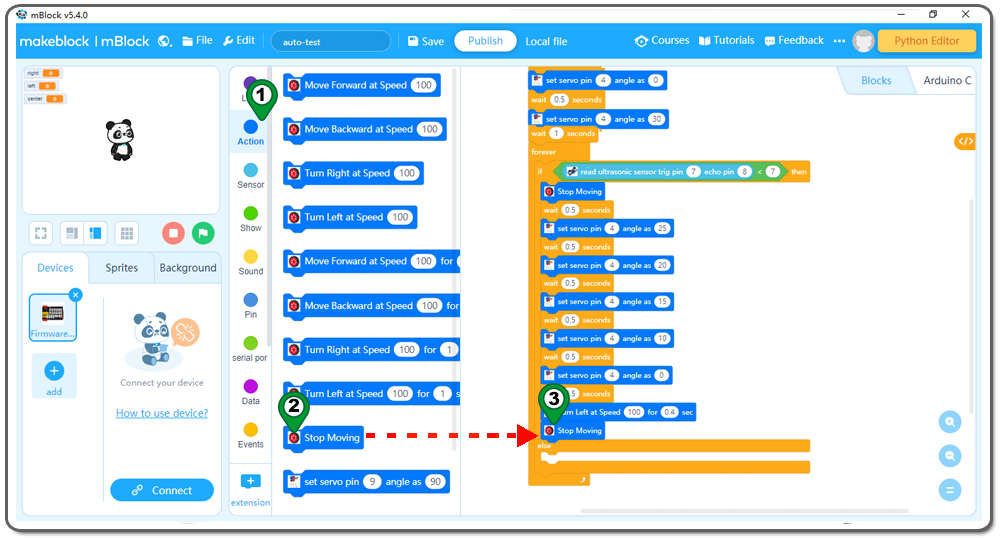
Step 22: Click Action, then Drag and drop Stop Mowing block to the programming area as follows;
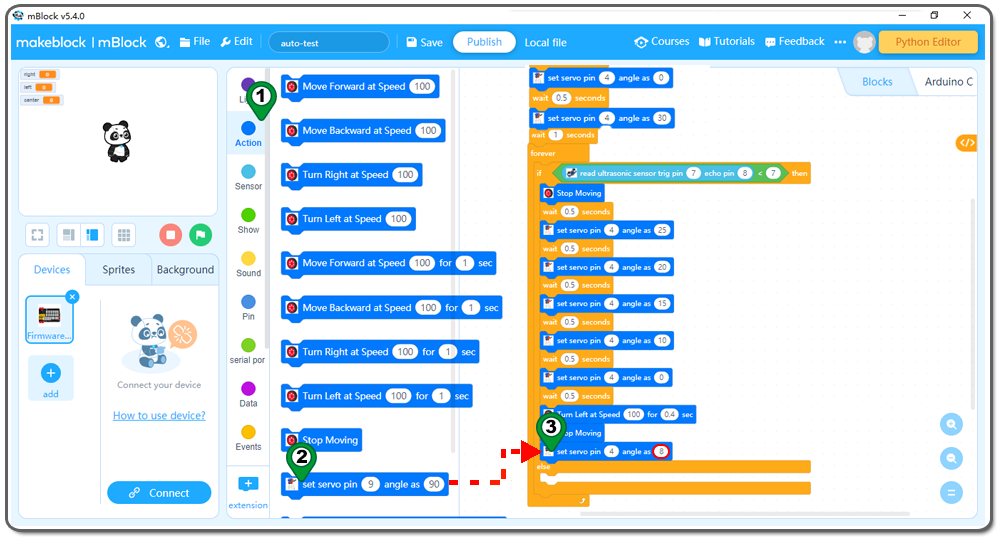
Step 23:Click Action again, then Drag and drop set servo pin angle as block to programming area, change 90 to 0 as follows;
Step 24:Click Control, then Drag and drop wait seconds block to the programming area , wrote 0.5 seconds as follows:
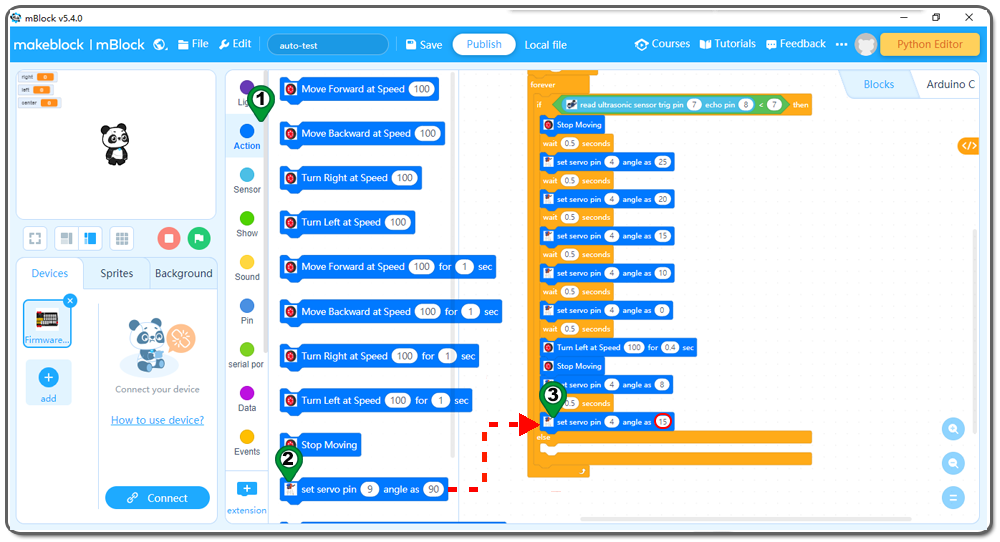
Step 25: Repeat Step 23, change the 90to 15 as follows:
Step 26:Click Control, then Drag and drop wait seconds block to the programming area , wrote 0.5 seconds as follows:
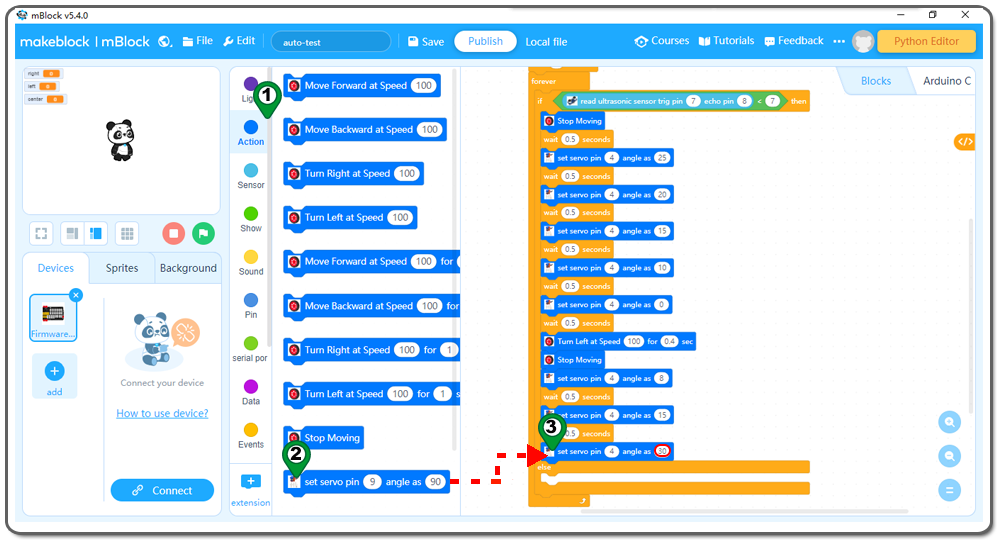
Step 27:Click Action again, then Drag and drop set servo pin angle as block to programming area, change 90 to 30 as follows;
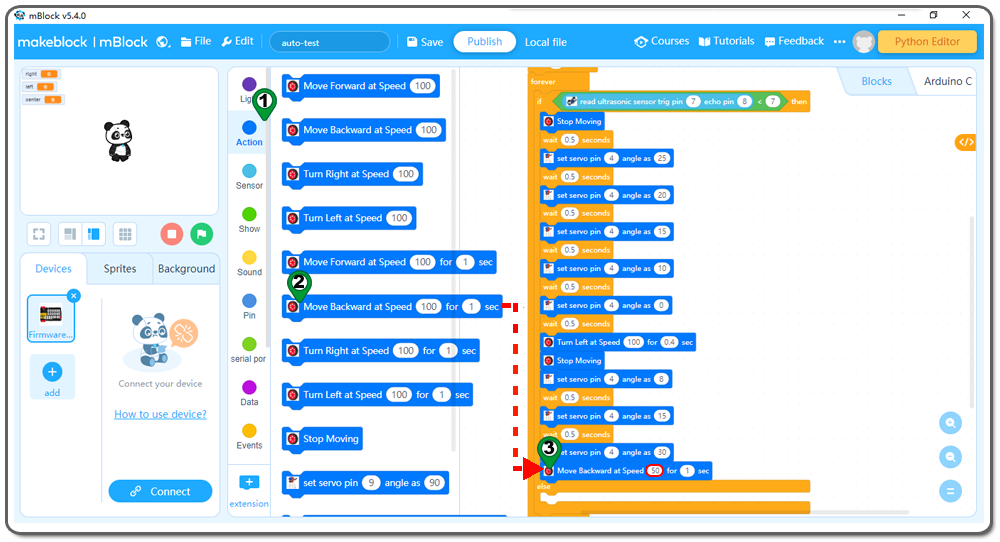
Step 28:Click Action, then Drag and drop Move Backward at speed for sec block to the programming area , and change the speed from 100 to 50 as follows;
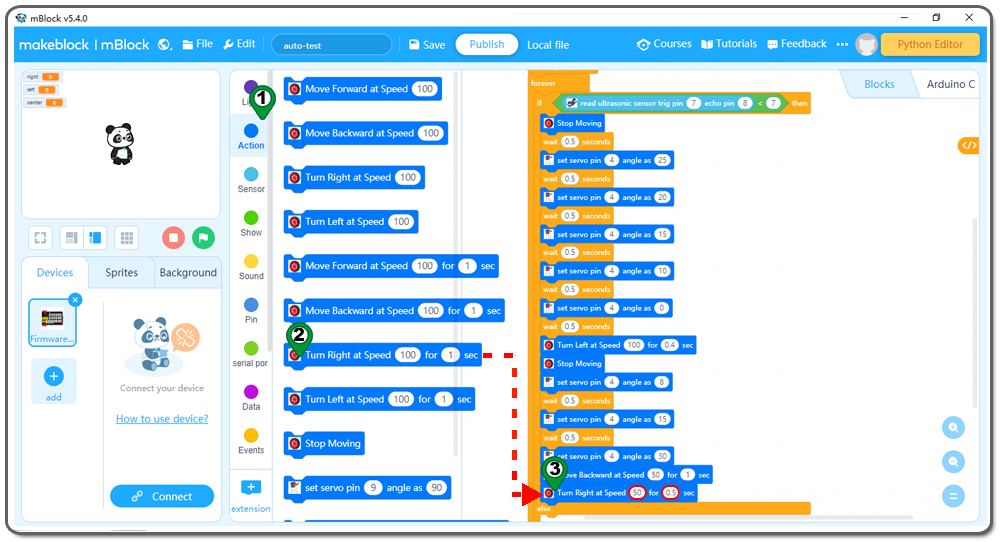
Step 29:Also in Action, then Drag and drop Turn Right at speed for sec block to the programming area , change the speed from 100 to 50, and change from1 sec to 0.5 sec as follows;
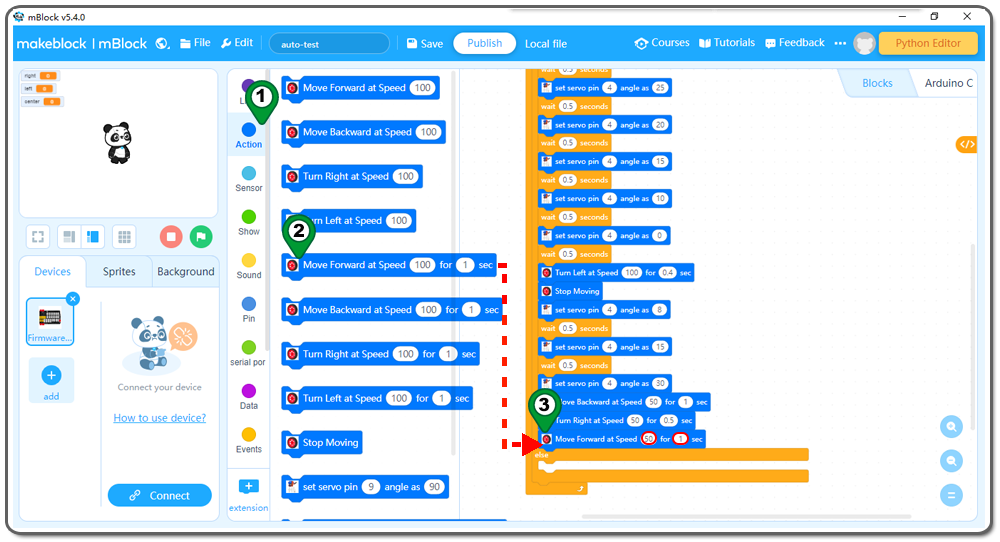
Step 30: Drag and drop Move Forward at speed for sec block to the programming area, change the speed from 100 to 50 as follows;
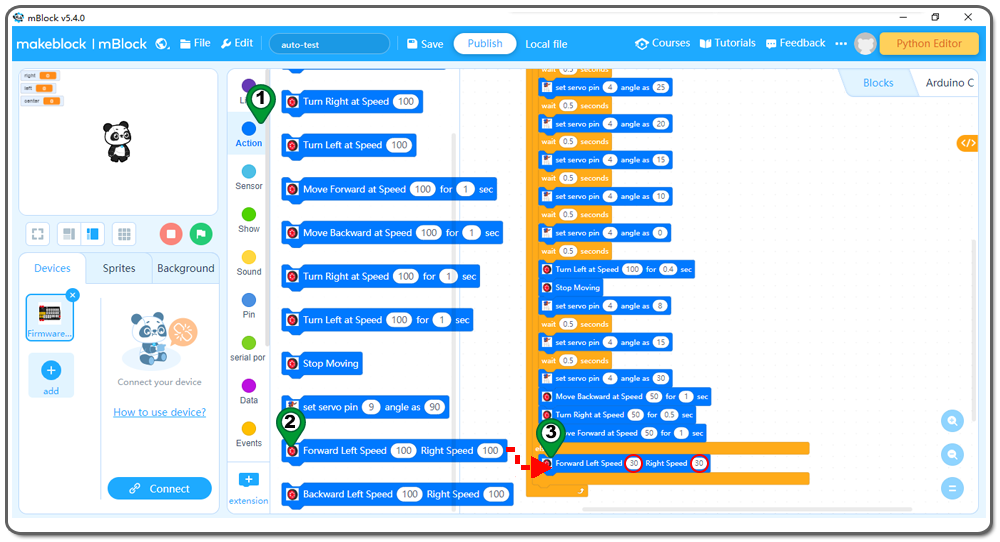
Step 31: Drag and drop Forward Left speed Right speed block to the programming area , and change the speed from 100 to 30 as follows;
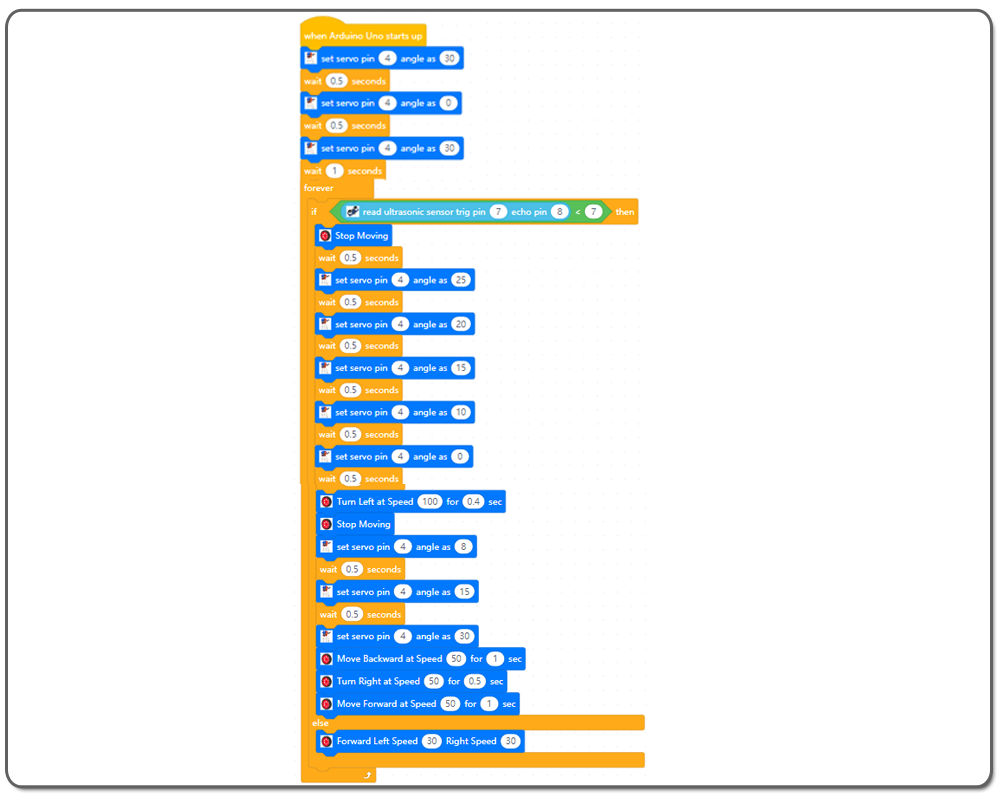
Now we have completed the block programming. The final blocks look like the following:
Now all the programming blocks have been completed! From the above picture, the logic is pretty straightforward:
When Arduino is started, the computer will enter a dead loop which will check the button status, when the button is not pressed, the servo will stop at its original position (in my servo 0 degree ) and the elevator is in the ground, when the button is pressed, the servo arm will rotate from 0 degree position to 180 degree position and the elevator is lifted to the air.
Step 32 Upload the program to OSOYOO basic board
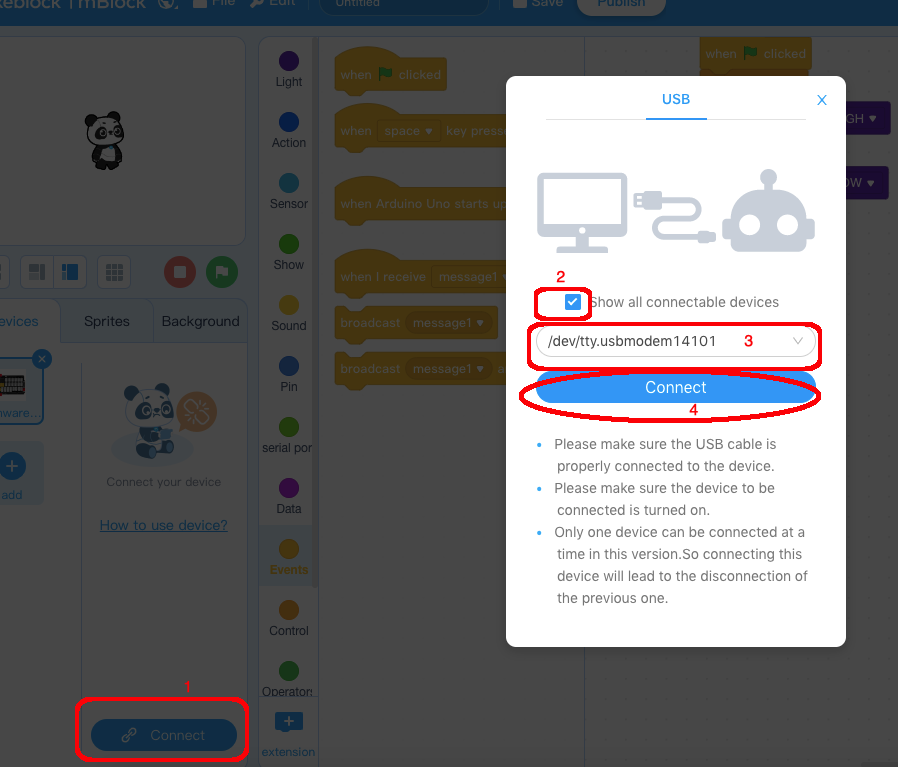
1) Please connect your OSOYOO basic board to your PC with a USB cable first. Then click the Connect button at the bottom of the mBlock software, you will see a USB window pop up,
2) select Show all connectable device check box, then a device drop-down menu will show up,
3) select your port from the device drop-down menu
4) click Connect button to connect your PC to OSOYOO basic board.
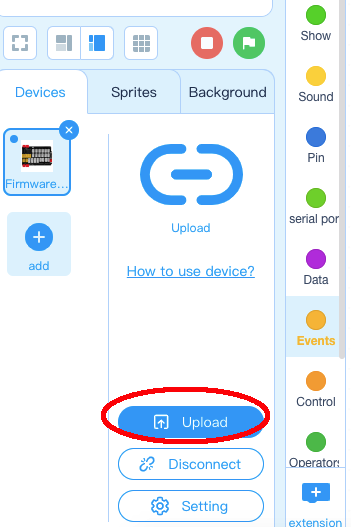
5)After your PC is connected toOSOYOO basic board, please click the Upload button at the bottom of your software, then the code will be uploaded to OSOYOO basic board:
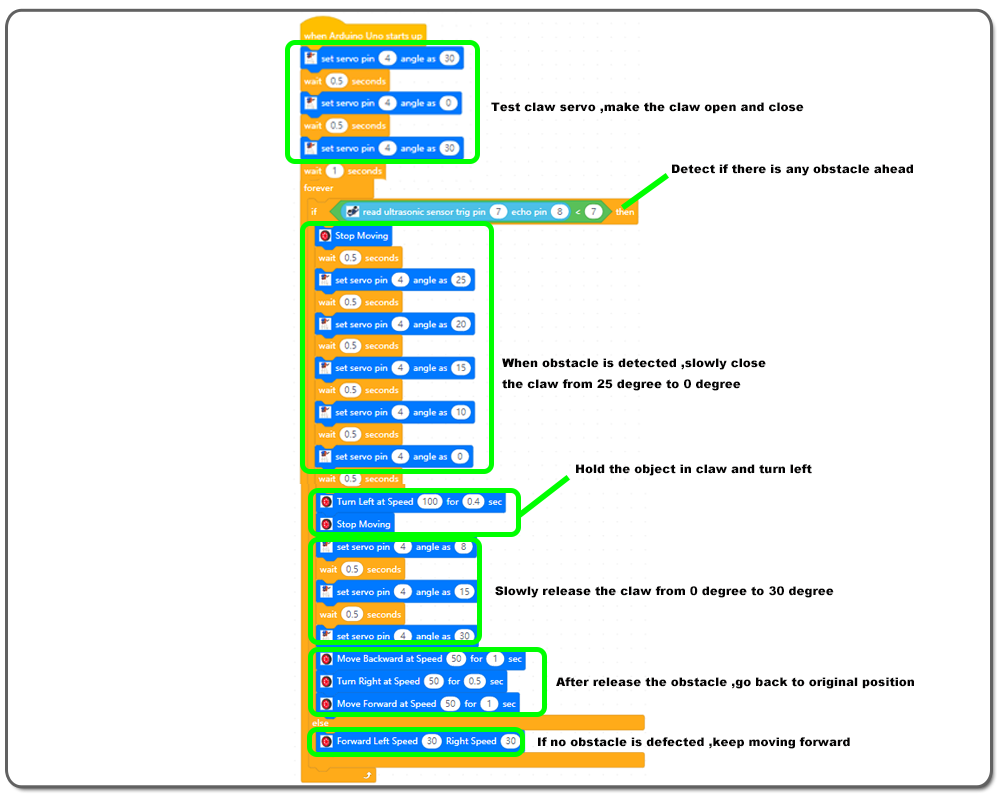
This lesson does not use any new program blocks. If you don’t understand the block’s meaning, please review previous lessons. The programming logic explanation is in the following graph:
First, the program will make the servo rotate from 30 degrees to 0 degrees and then stop at 30 degrees. This will make the finger from opening status to closing status. then opening status. If the finger doesn’t work like this, you need to adjust the finger first.
Then ultrasonic sensor enters into a forever loop which checks whether there is an obstacle or not on the car’s way
If the ultrasonic sensor detects an obstacle within 7cm, the car will stop moving for 0.5 seconds. The servo will rotate slowly from opened status to closed status to make the finger catch the obstacle, then the robot car turn left at speed 100 for 0.4 seconds, then stop. The servo will rotate slowly from closed status to opened status to make the finger put down the obstacle, then the robot car moves backward at speed 50 for 1 second, then turn right at speed 50 for 0.5 seconds, then move forward at speed 50 for 1 second.
If the ultrasonic sensor doesn’t detect an obstacle, the car will move forward at speed 30.
Above program blocks are running as a forever loop unless you turn off the power.
Adjust the finger position:
By manual:
After turning on the power, the finger will open, then close, and then open again and stay in the open position for about 1 second. If the finger does not stop at the open position, please turn off the power, then take out the servo gear and put it in a position where both fingers are in the open position.
After you have adjusted the finger to the right position, please turn on the power again. Then put a ball into the open finger. Once the ultrasonic sensor detected the ball, it will catch the ball and move it to left-hand location. After transferring the ball, then the car will turn back to its original position.
By Code:
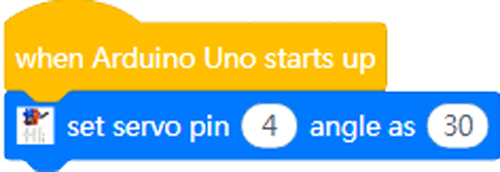
Please upload the following code to your Arduino. Turn on the power and check whether the finger is in opened position or not.
If not, please adjust “30” to another degree and repeat the step till you get the correct value.
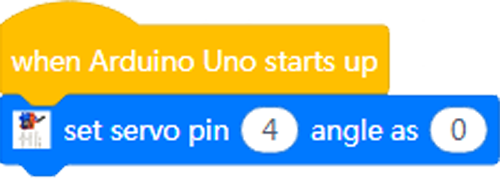
Please upload the following code to your Arduino. Turn on the power and check whether the finger is in a close position or not.
If not, please adjust “0” to another degree and repeat the step till you get the correct value.
Please record the degrees for your robot finger, and replace the degrees of the sample code with your correct value. so that the code will work perfectly.
Working Result:
When you turn on the power and put the car on the ground, the car will go forward, when there is an obstacle( please select the suitable obstacle according to the finger size) on its way, the finger will catch it, and put it away) then move on forward. As the following video: