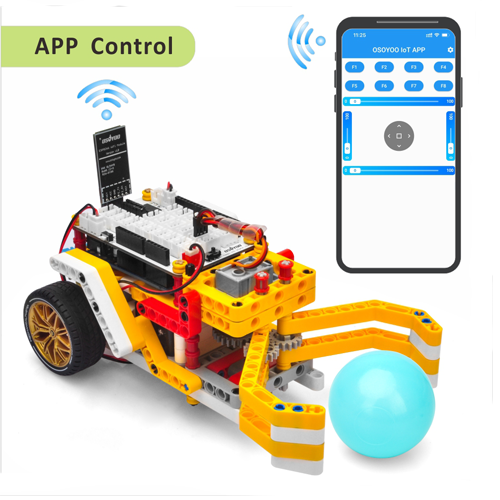
This lesson will use the programming tool —— IDE for Arduino to complete the robot car control by WIFI APP. In this lesson, the car is controlled by phone APP to move forward, backward, turn right and left and open finger servo to catch object and unload object.
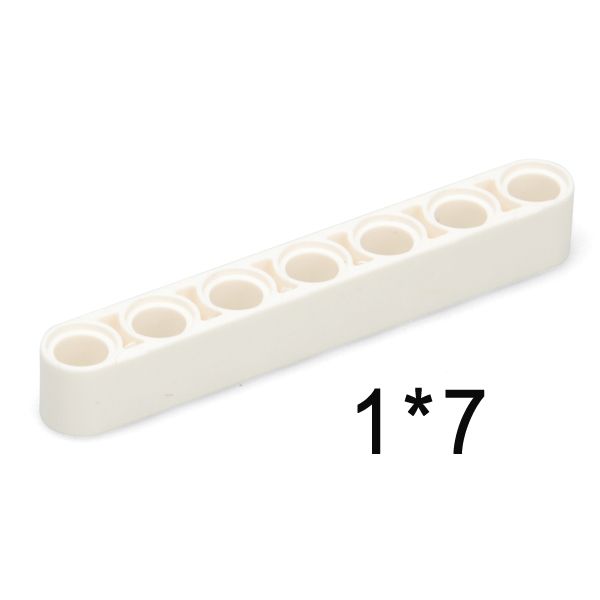
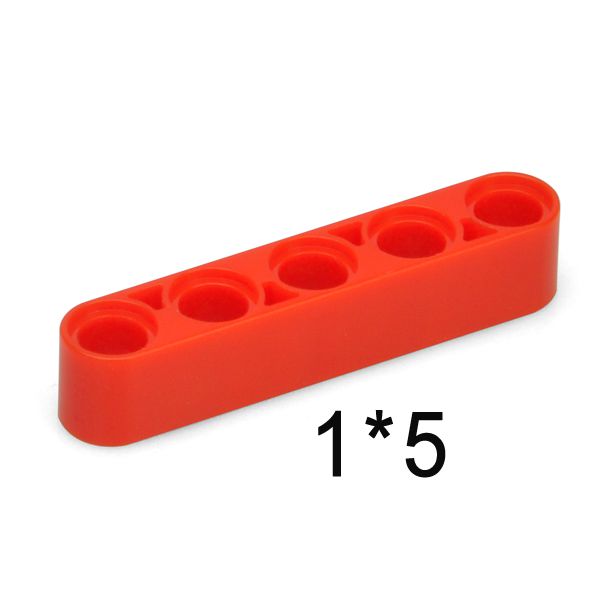
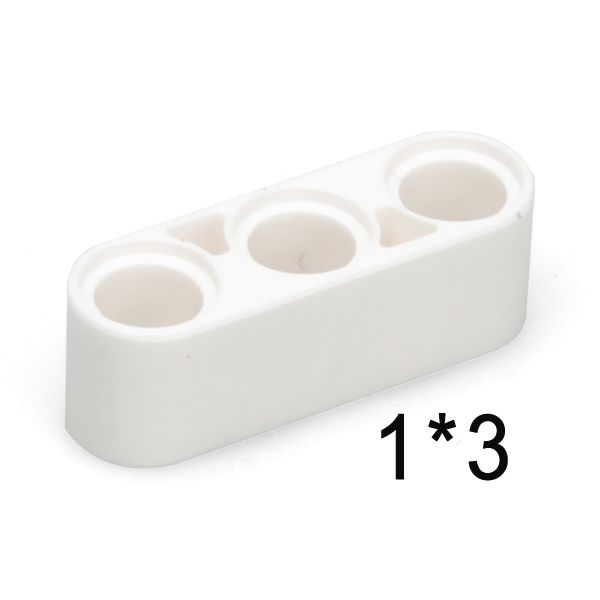
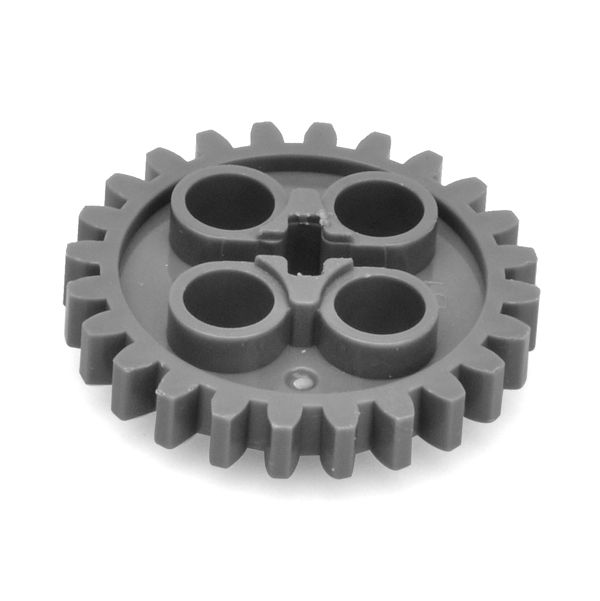
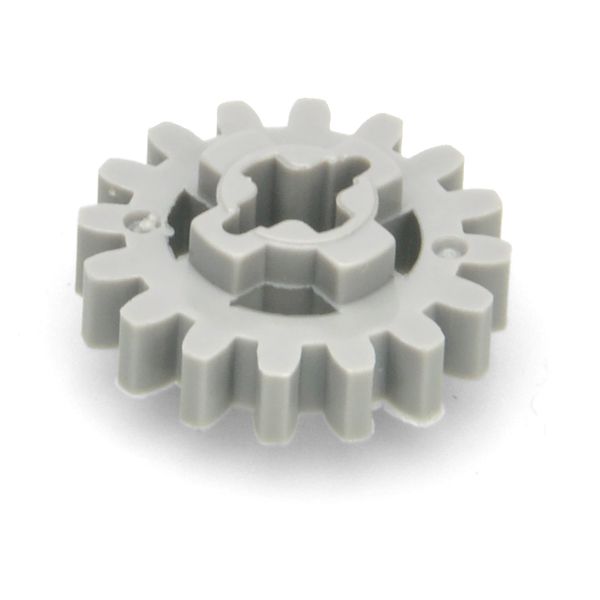
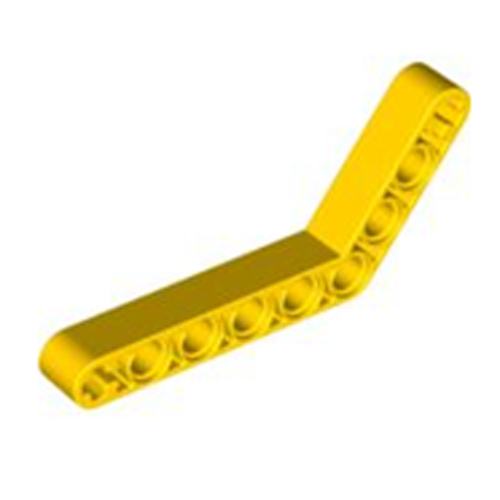
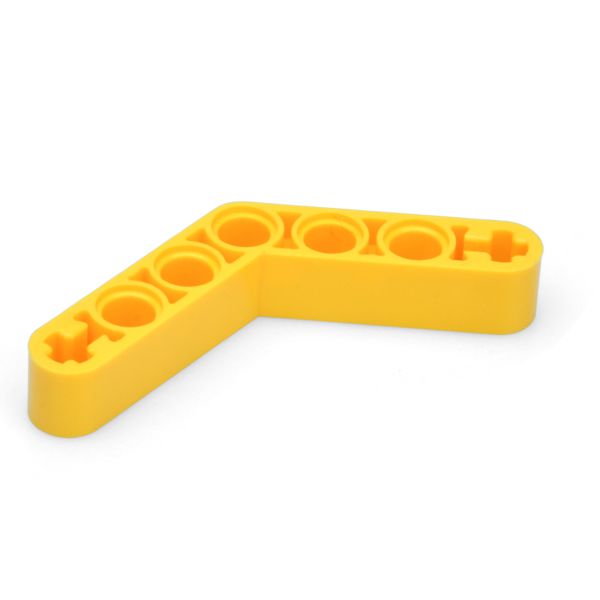
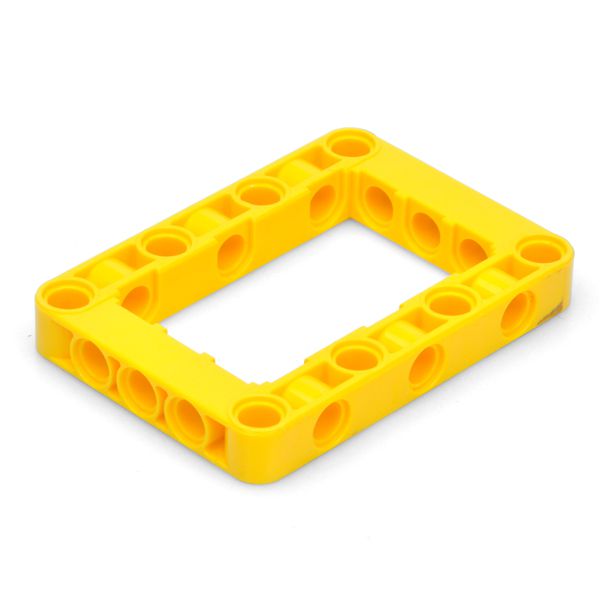
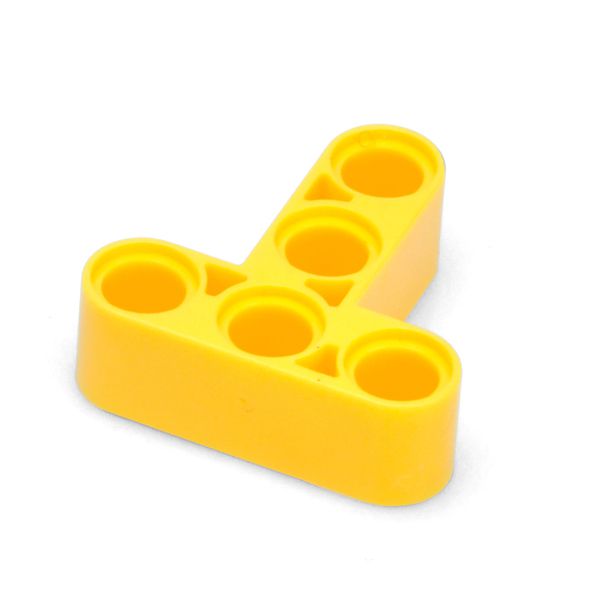
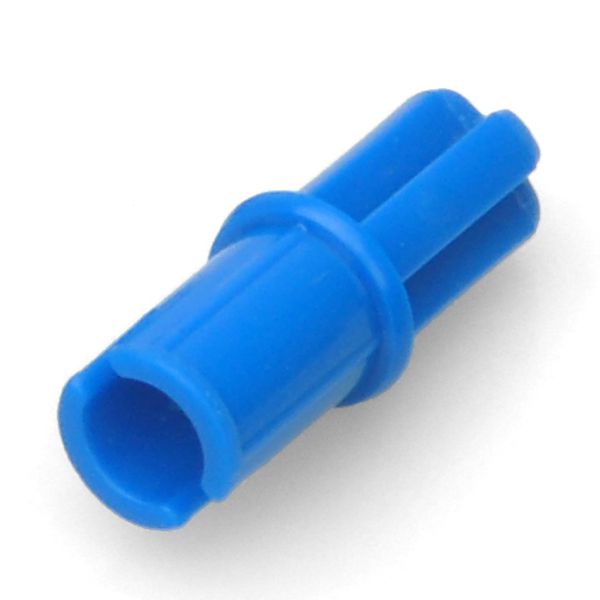
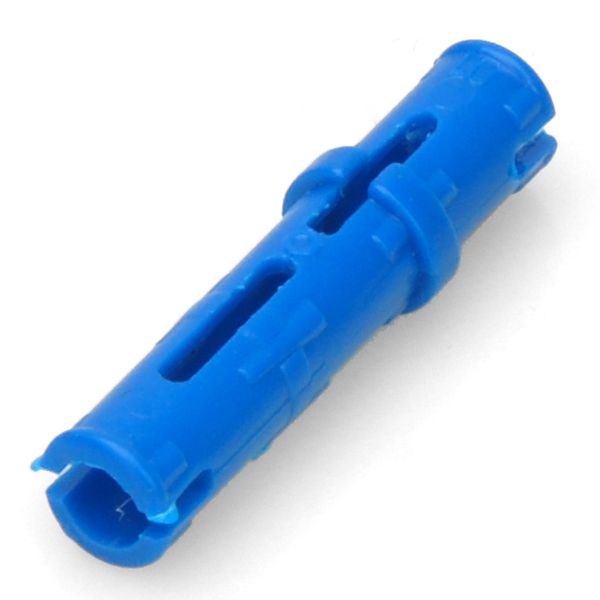
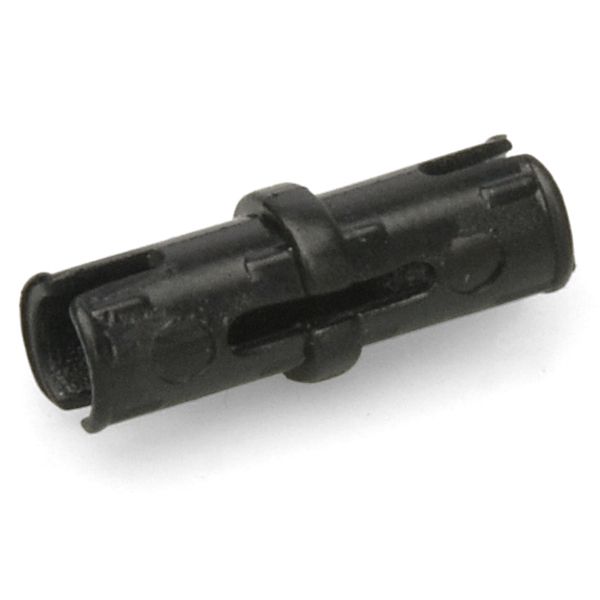
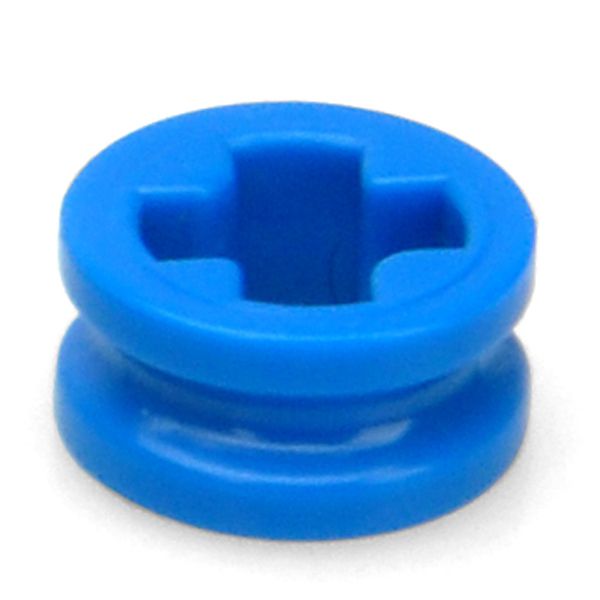
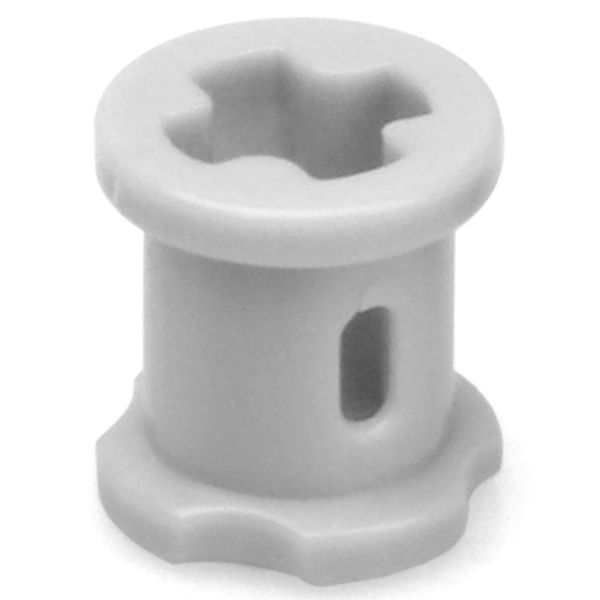
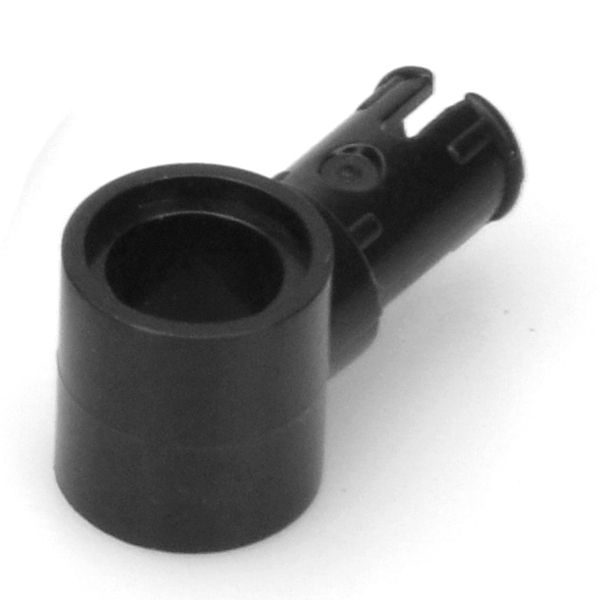
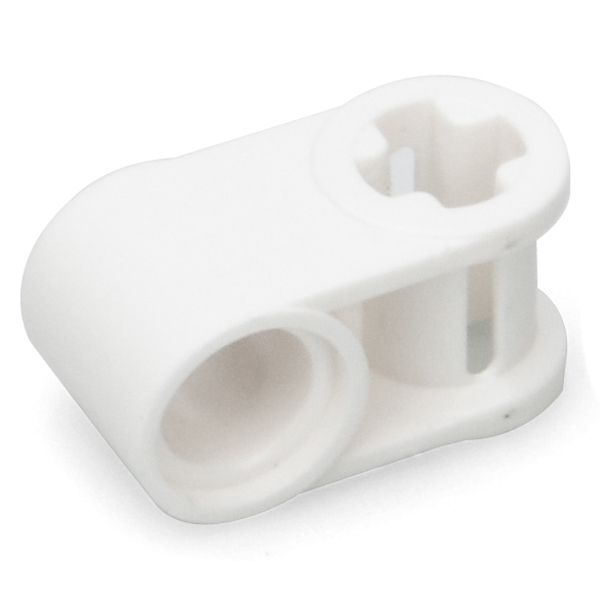
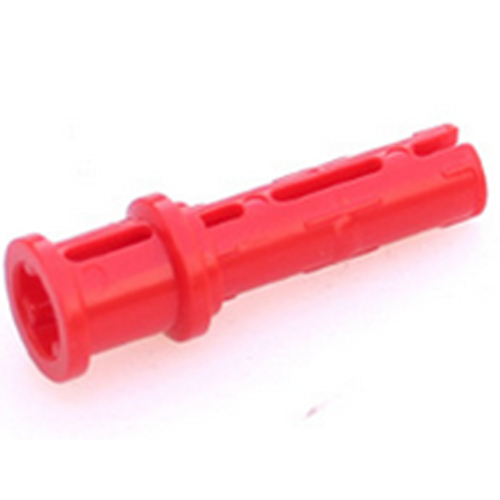
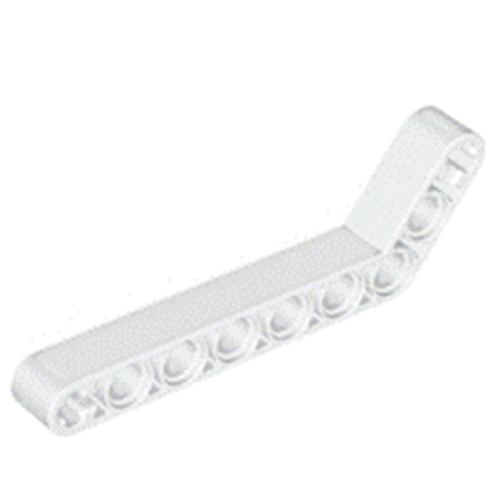
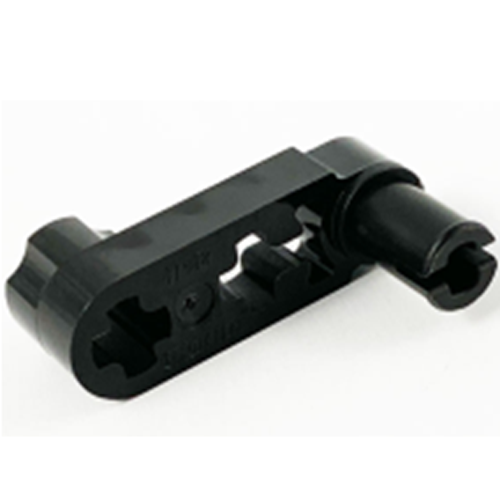
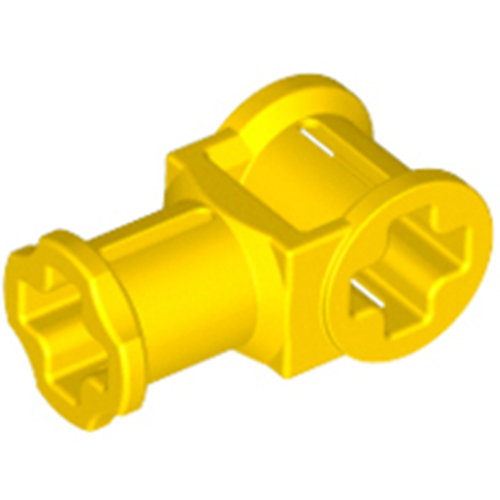
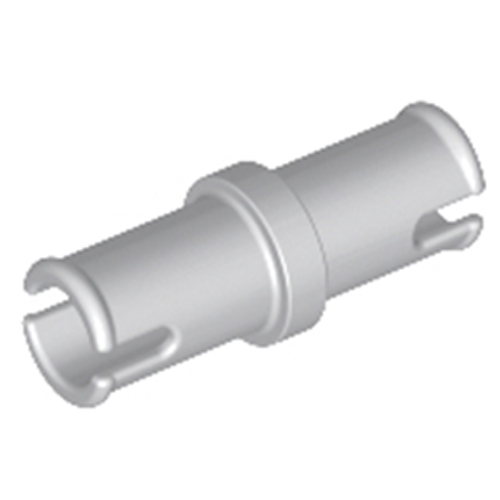
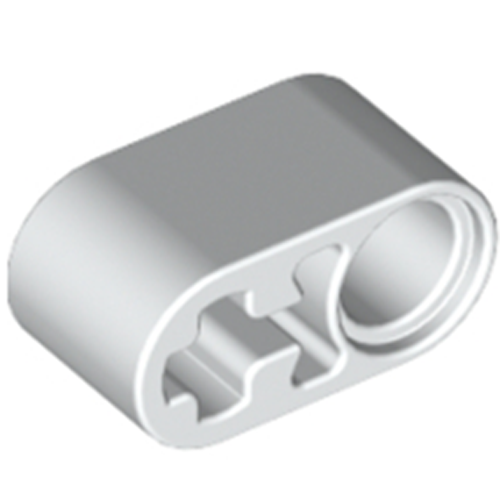
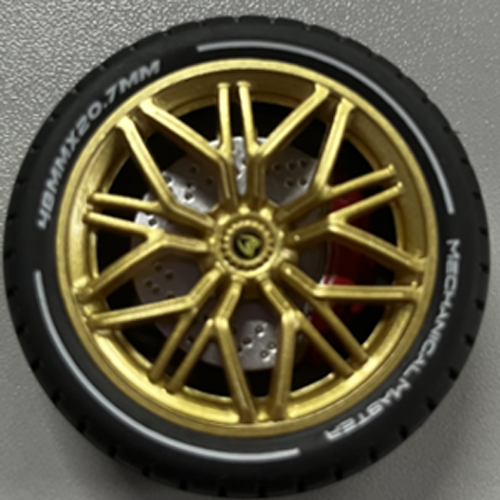
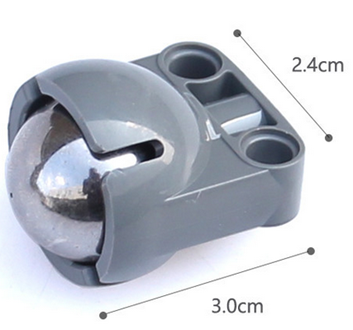
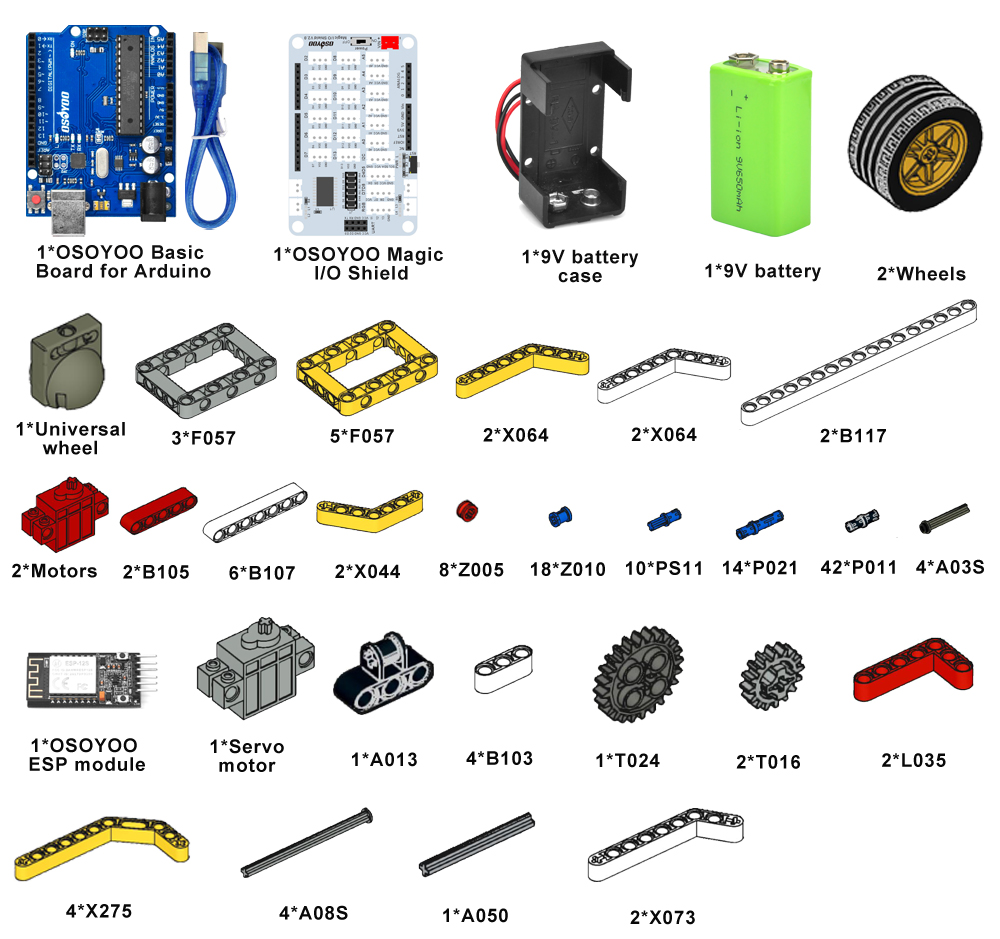
Please prepare the following parts to complete this project
NOTE: 1.the color of the building block is subject to the actual product, which does not affect the use. 2. ALL OSOYOO PRODUCTS FOR ARDUINO ARE THIRD PARTY BOARD WHICH IS FULLY COMPATIBLE WITH ARDUINO
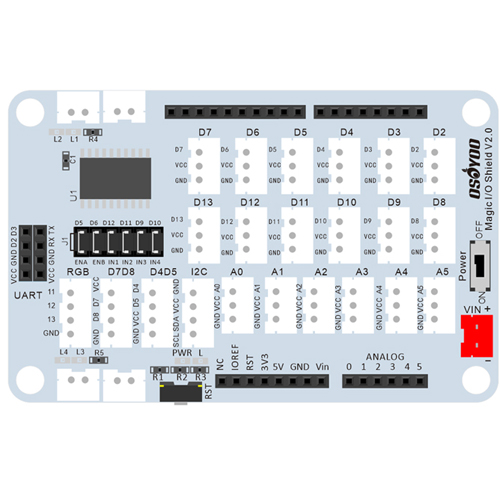
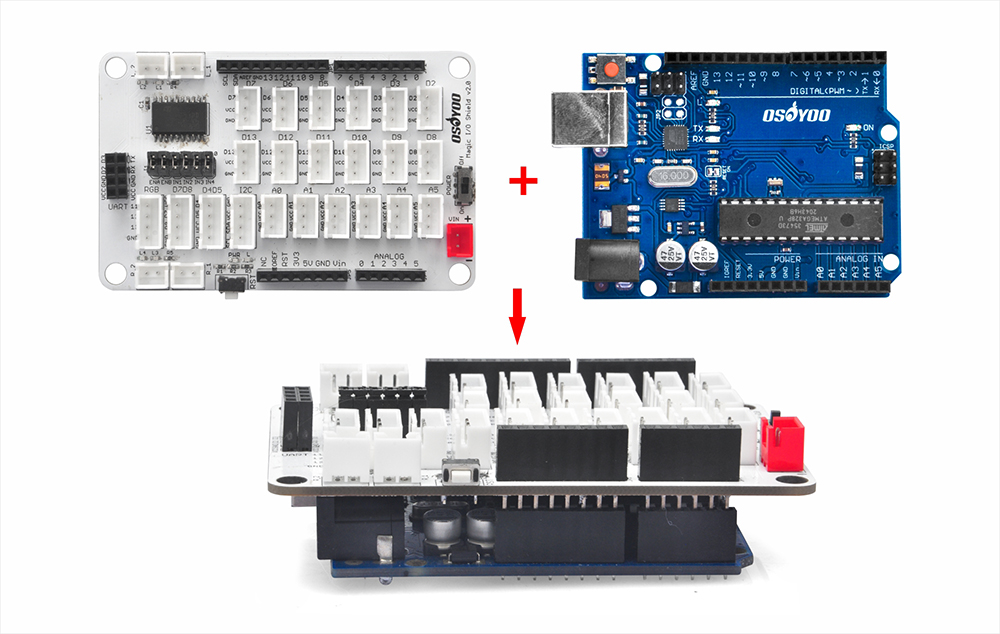
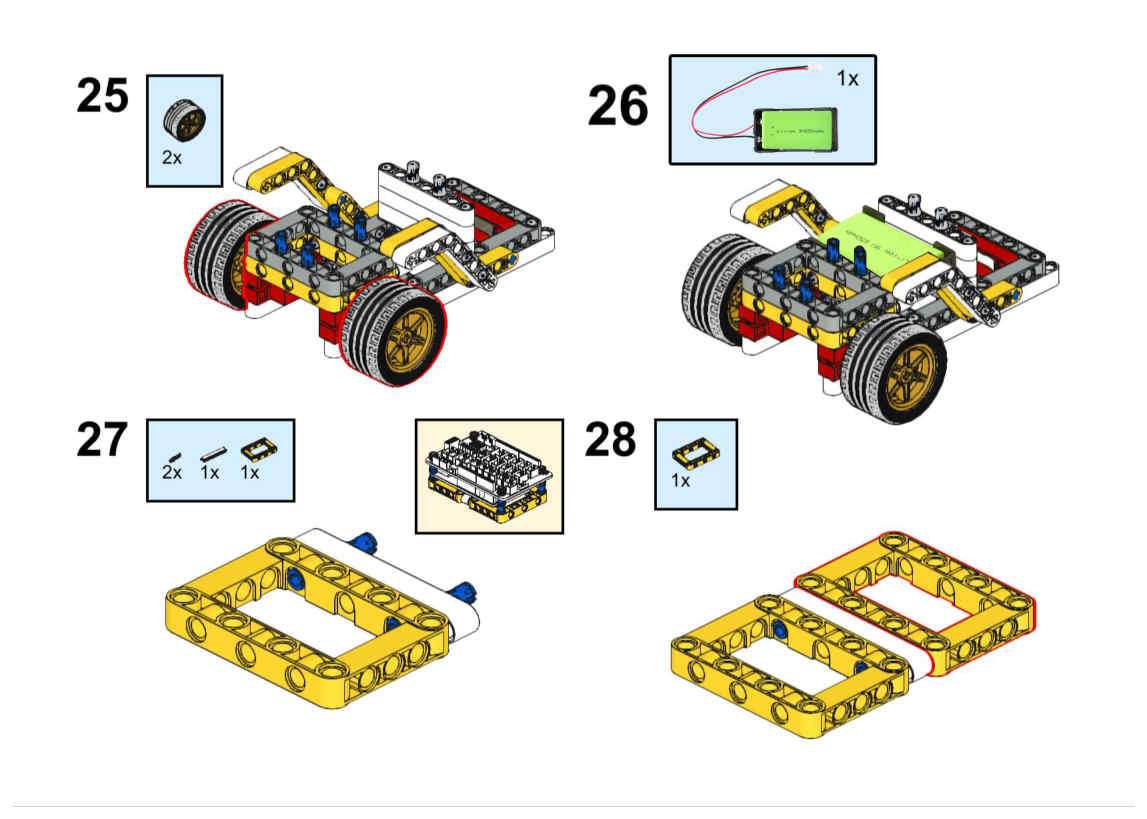
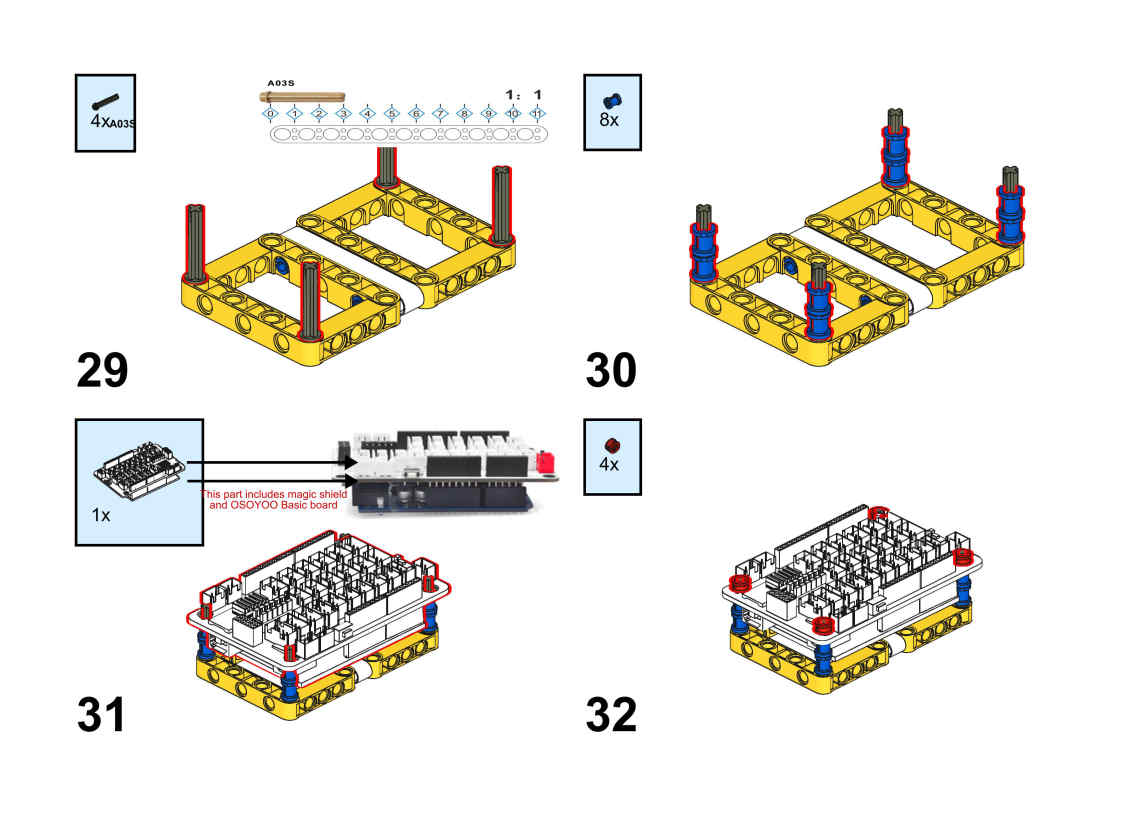
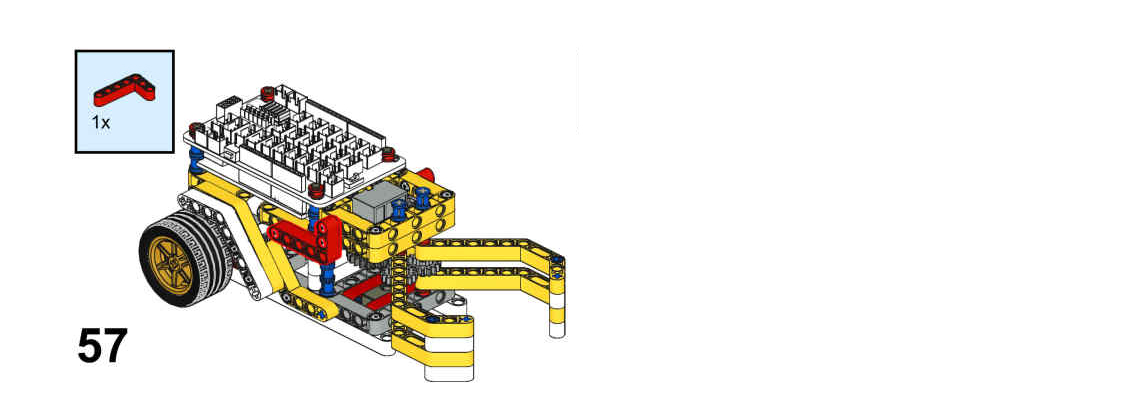
Before you build the robot with blocks, please install OSOYOO basic board for Arduino under OSOYOO Magic I/O shield as following (Attention please : the pins of I/O shield is aligned with the port of basic the board firstly, then press the shield tightly on the board).
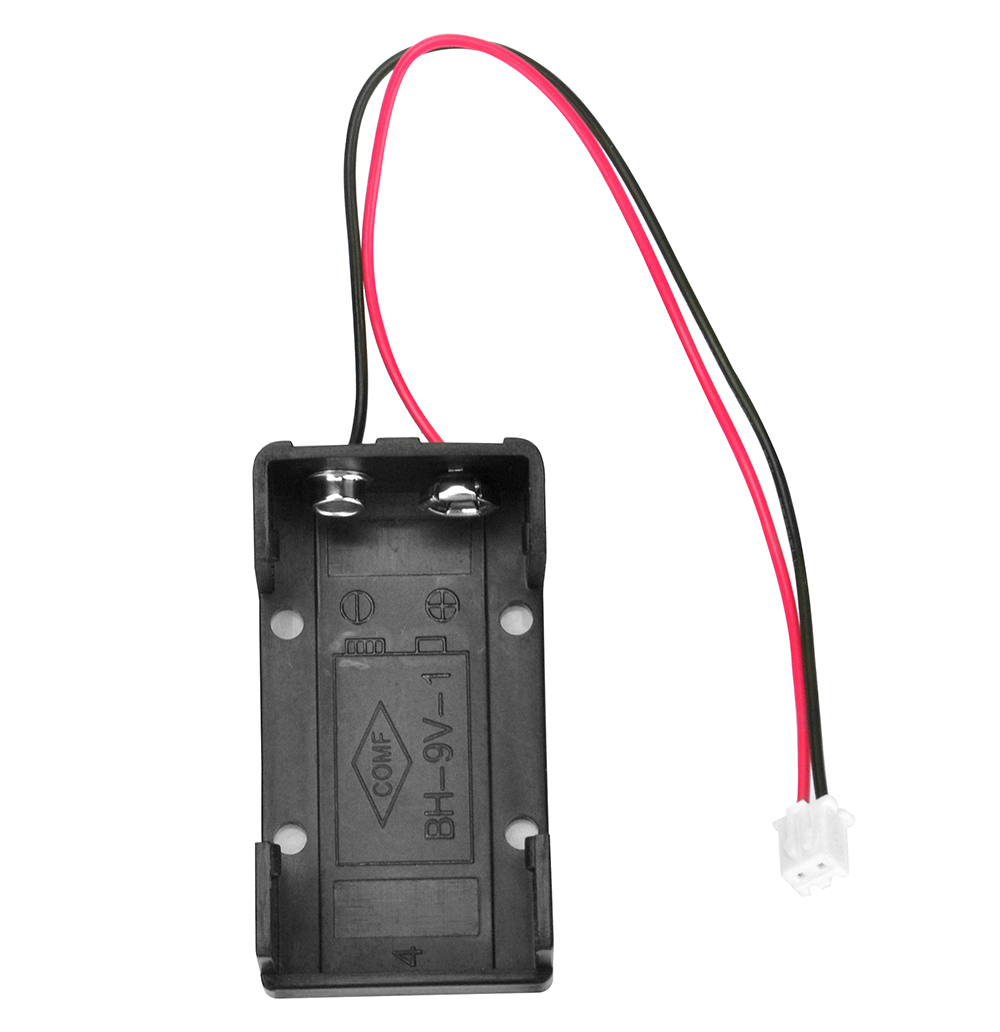
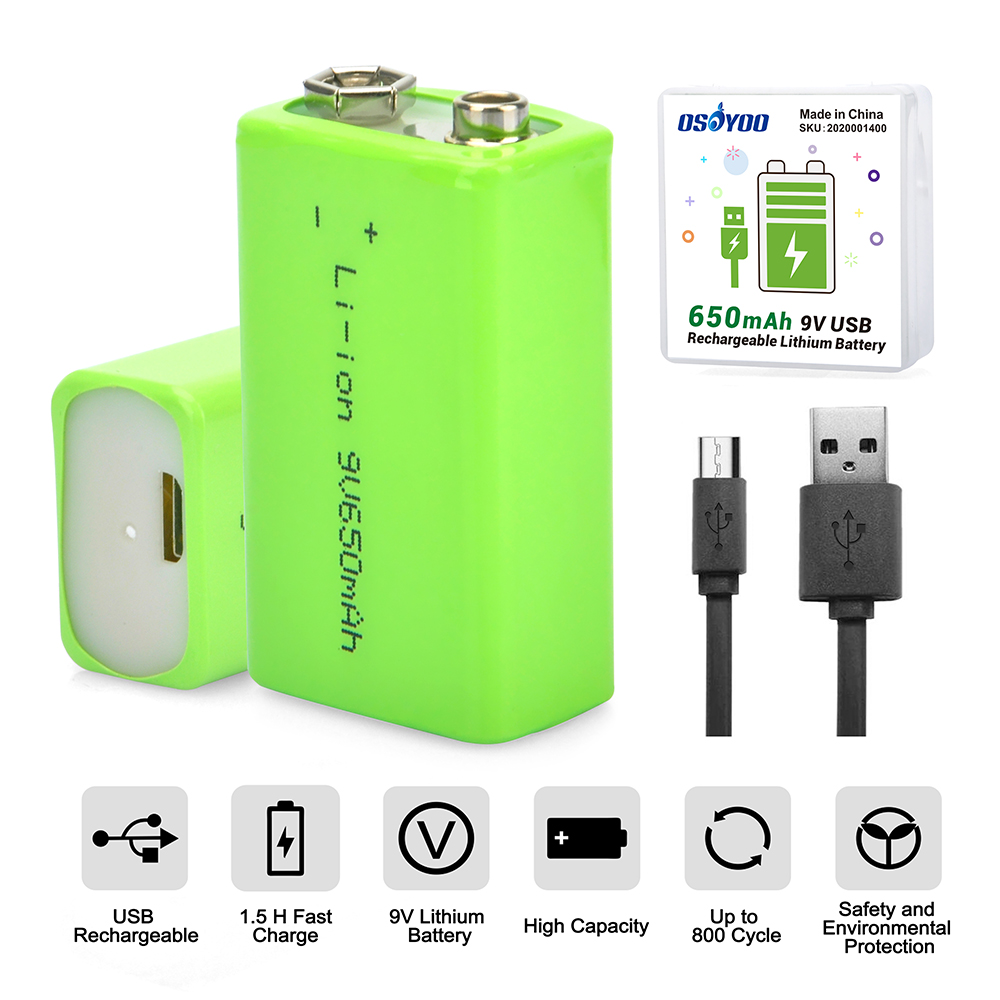
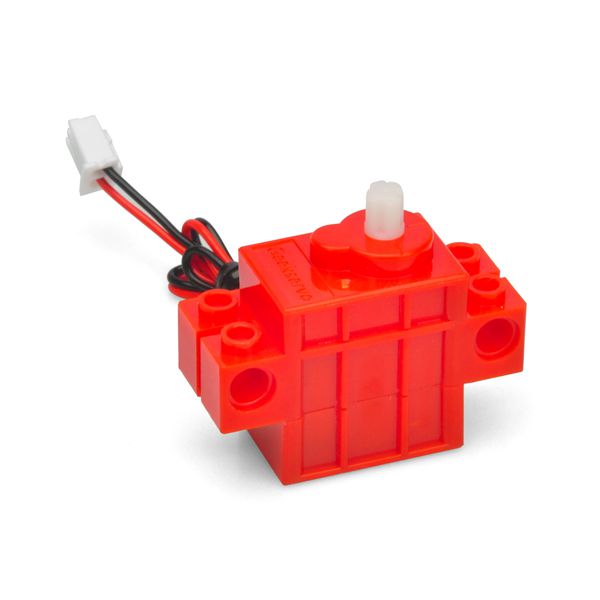
Please connect motors and 9V battery case as lesson1.
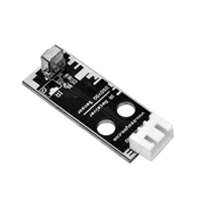
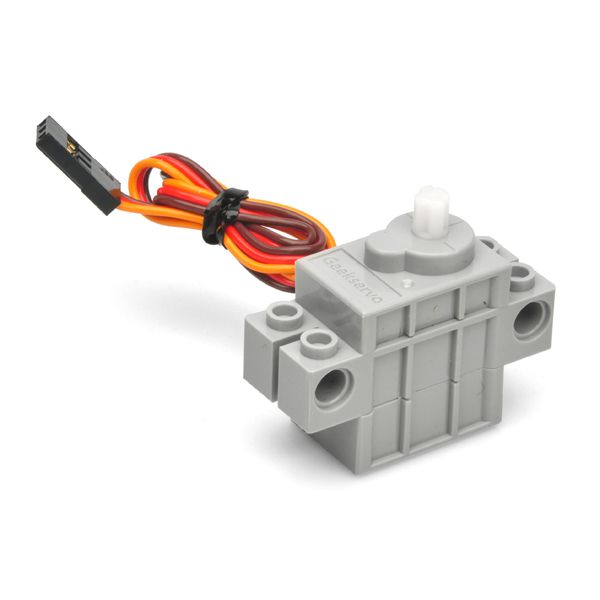
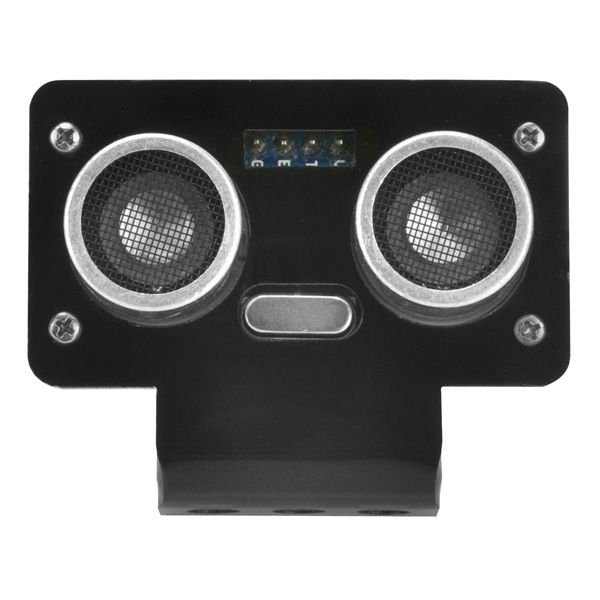
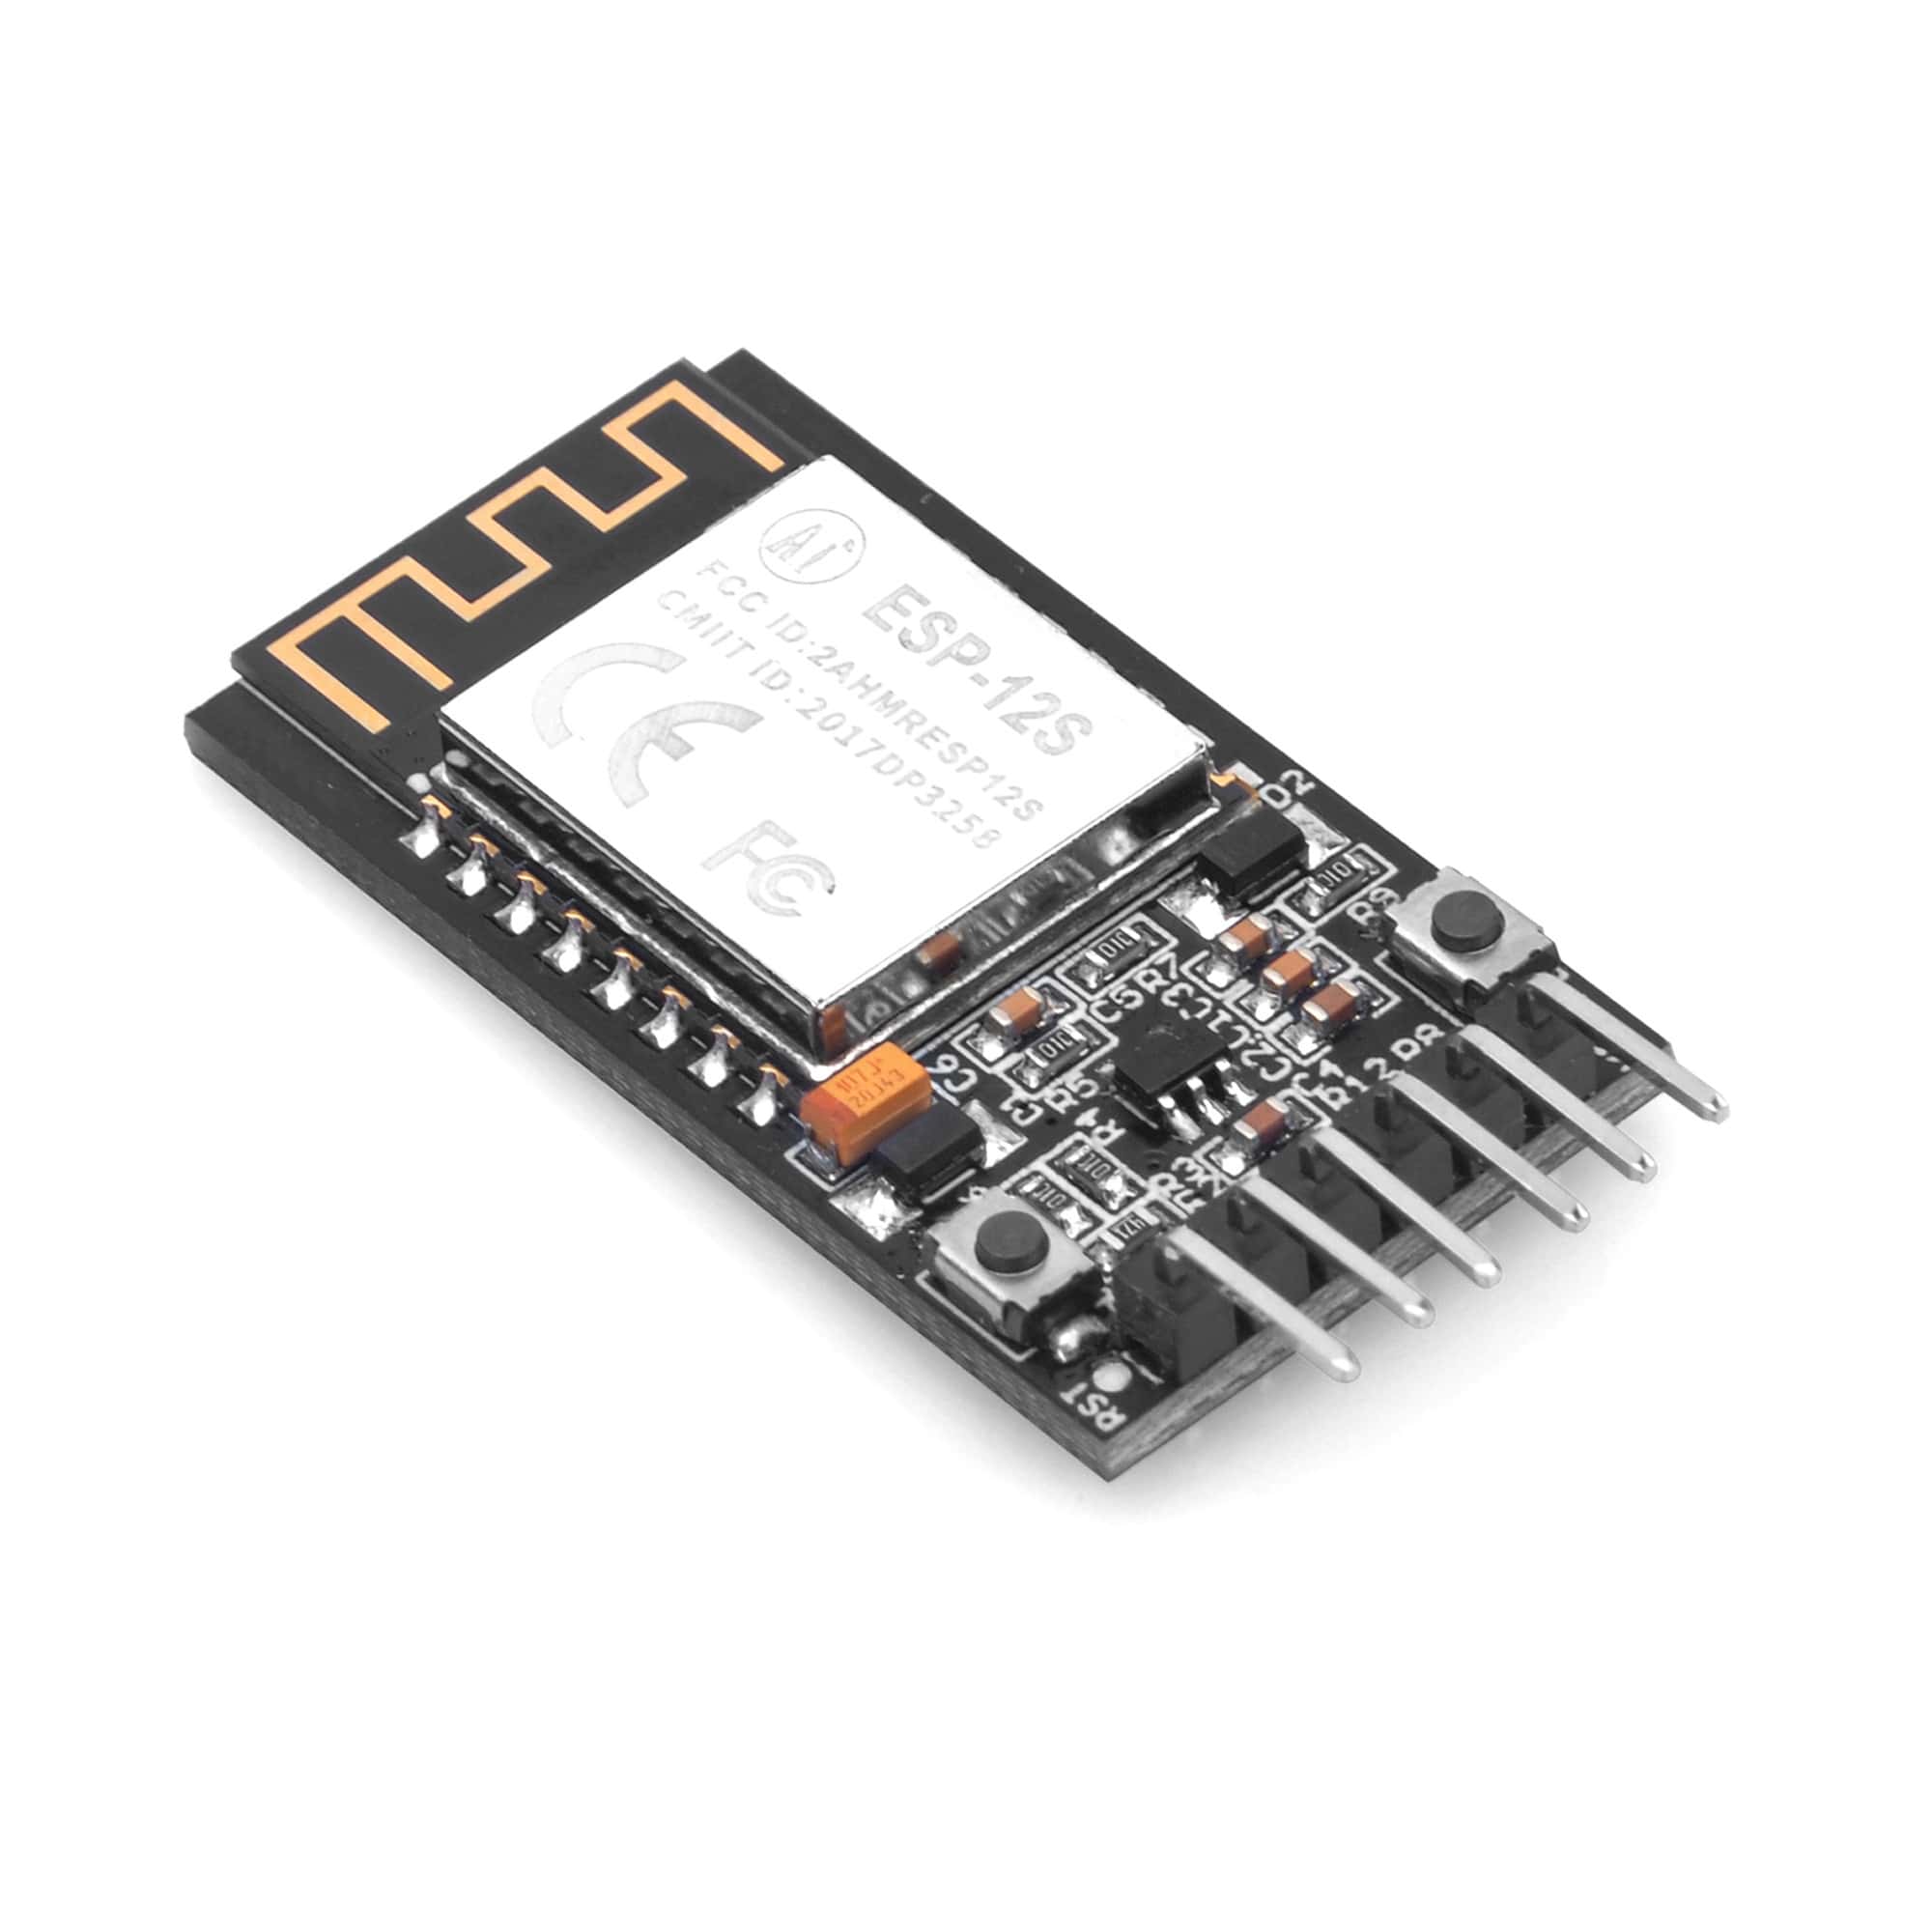
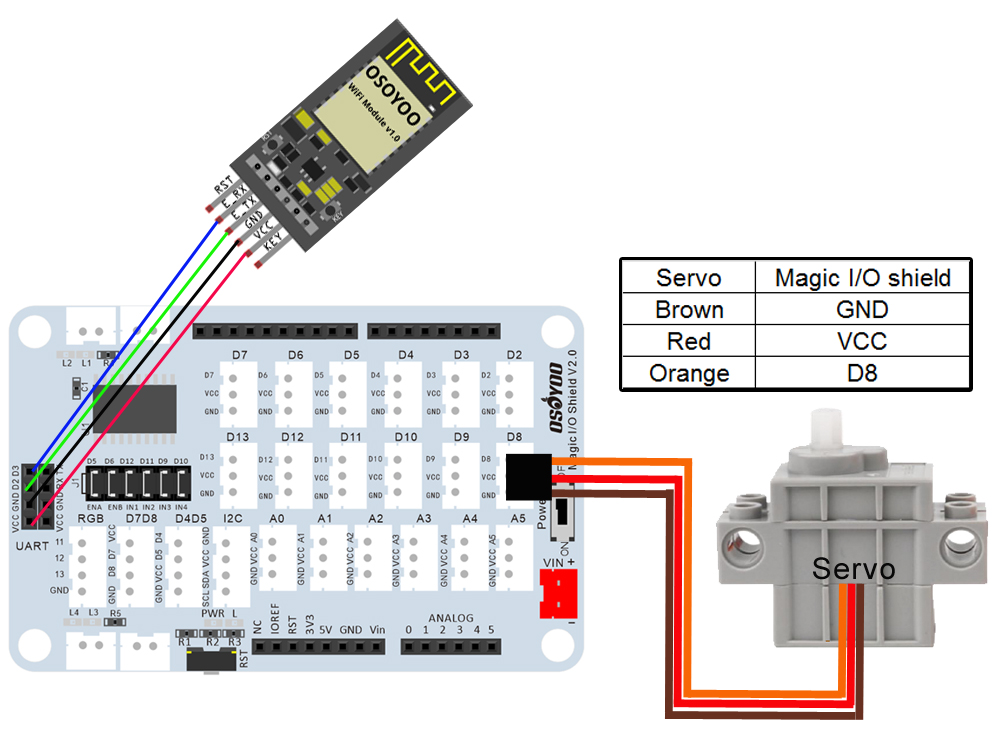
Then connect the middle four pins of OSOYOO WIFI Module connect to VCC/GDN/D2/D3 slot of Magic I/O shield, connect servo motor to D8 port as following (Attention please: there are six jumper caps on ENA/ENB/IN1/IN2/IN3/IN4)
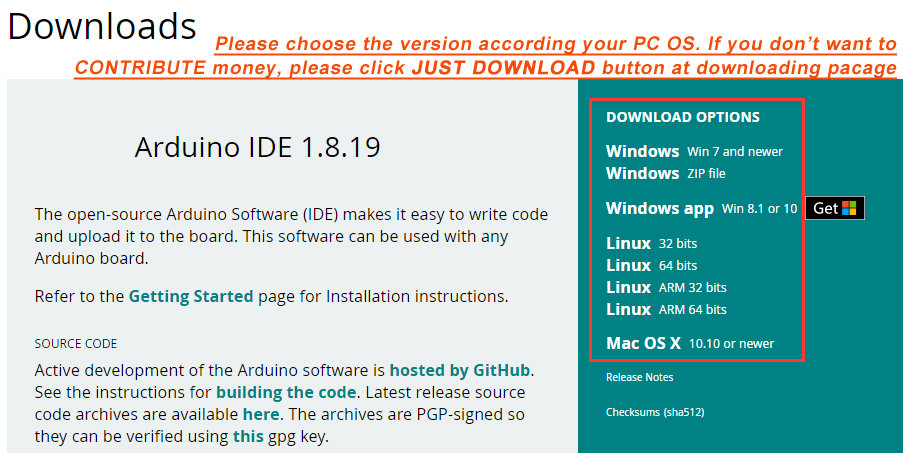
Note: This lesson use Arduino IDE as programming tool.
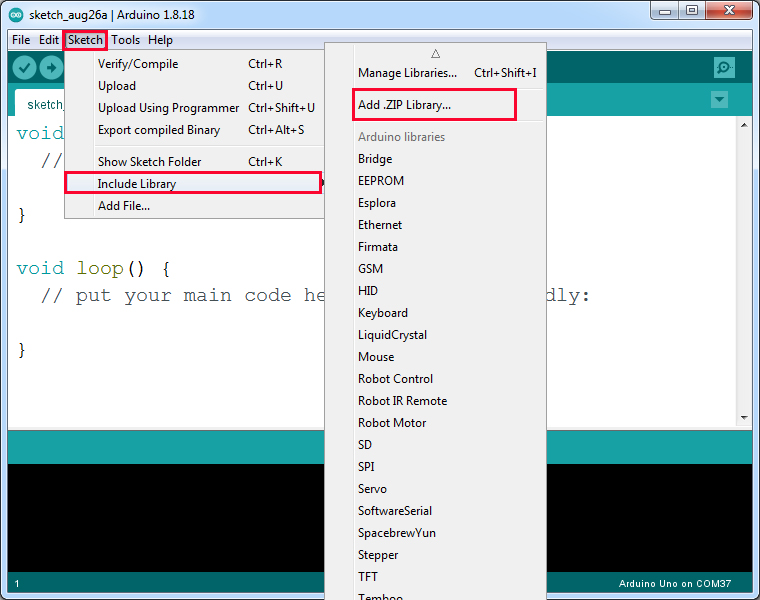
Step 2: Install WifiEsp-master library into IDE (If you have already installed WifiEsp-master library, please skip this step)
Download WifiEsp-master library from https://osoyoo.com/driver/WiFiEsp-master.zip, then import the library into IDE(Open IDE-> click Sketch->Include Library->Add .Zip Library)
Step 3: Install OsoyooIOT Library into IDE (If you have already installed OsoyooIOT Library, please skip this step)
Download OsoyooIOT Library from https://osoyoo.com/driver/wifi-iot/OsoyooIOT.zip, then import the library into IDE(Open IDE-> click Sketch->Include Library->Add .Zip Library)
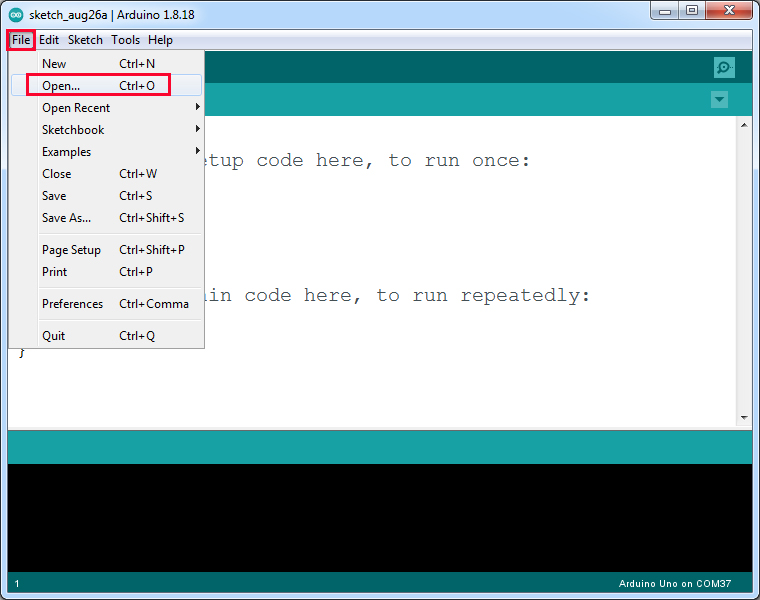
Step 5: Connect OSOYOO basic board for Arduino to PC with USB cable, Open Arduino IDE -> click file -> click Open -> choose code “robot-arm-car.ino” in robot-arm-car folder, load the code into arduino. (Notice: Please turn off power when your Robot is connected to Personal Computer or Laptop via USB cable)
Step 6: You need change the code Line 35 and Line 36 as your router wifi ssid name and password :
char ssid[] = “***”; // replace *** with your router wifi SSID (name) char pass[] = “***”; // replace *** with your router wifi SSID (password)
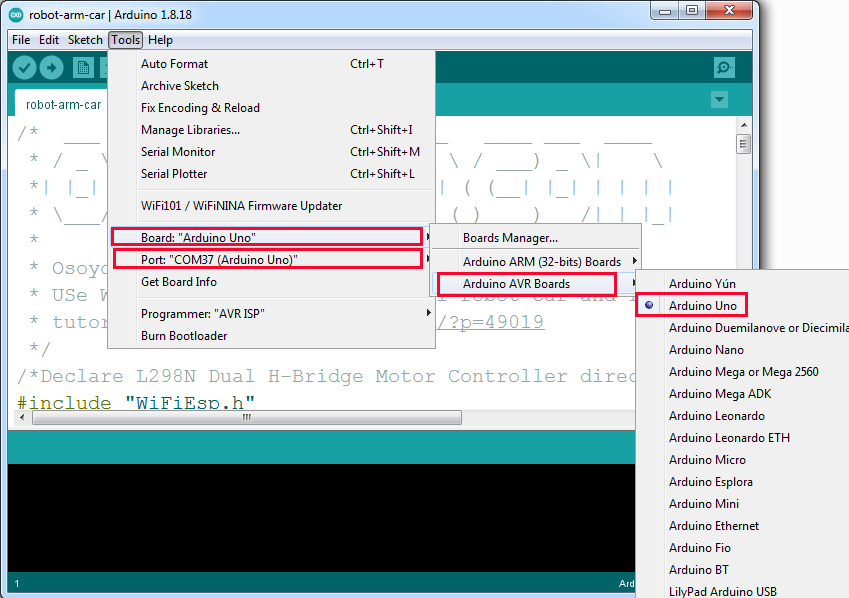
Step 7: Choose corresponding board and port for your project, upload the sketch to the board.
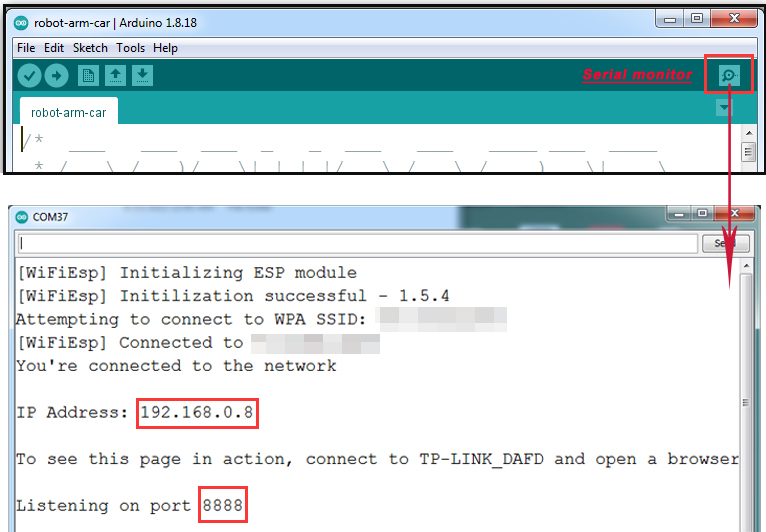
Step 8: click the Serial monitor window in upper right corner of IDE, you will see following result (Note: your PC and the robot are connected with the same LAN network):
TIPS:
If you find the speed for the car is slow or fast, please open the code and change the value of line31 to line33 as the following:
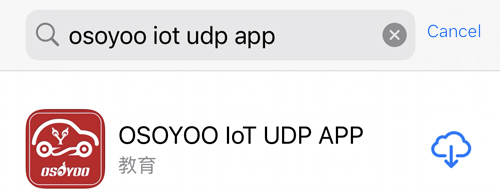
APP Installation and Setting: Step 1) Download OSOYOO Iot udp APP by searching OSOYOO Iot udp APP from Apple Store(iPhone/iPad) or Google Play Store(Android device). (Note: If you can not find this APP in Google Play, you can directly download the APP from following link: https://osoyoo.com/driver/udp-app.apk )
Step 2): Install the OSOYOO Iot udp APP in your Phone and make sure your Cell phone is connected with the same LAN Network of your robot car for Arduino.
Step 3): Set IP Address in APP 1)Open APP, click Setting button in upper right corner
2)Use the IP address you get in serial monitor window (For our robot is 192.168.0.8) to replace default IP 192.168.1.255
3)keep default port number 8888 without changing
4)Click Save button to save the changes you just made
5)Click Back Arrow to go back APP front UI
You can use the Arrow keys to control the car movement. APP Button Action


)