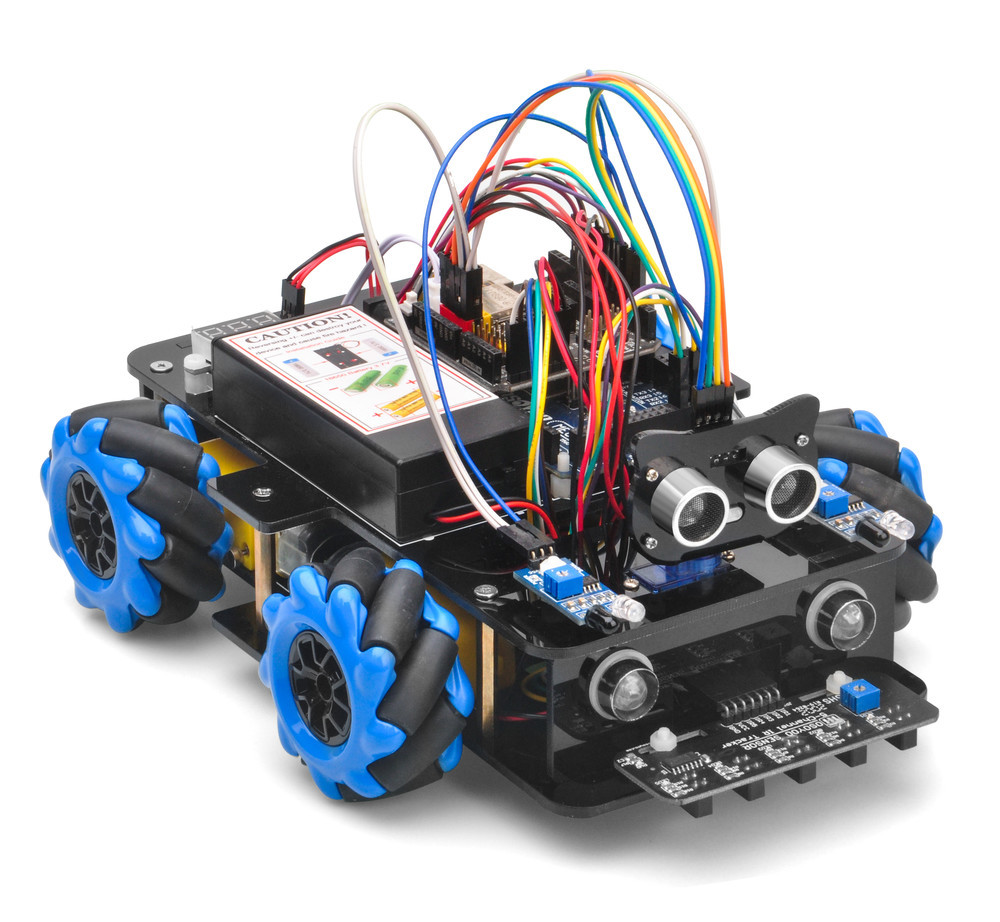
In this lesson, we will install 2pcs IR distance sensors on a robot car and program the car to follow object movements. The car receives the signal from the IR distance sensors, and then the program will drive the car to take actions.
You must complete lesson 1 (assembling the car) before you start this lesson.
OSOYOO Mecanum wheels robotic car chassis x1
OSOYOO Wheels and motors x4 (left-wheels x2/right-wheels x2)
OSOYOO Mega2560 board, fully compatible with Arduino UNO/Mega2560 x1
OSOYOO Uart Wi-Fi shield x1
OSOYOO Model Y driver board x1
OSOYOO Voltage meter x1
OSOYOO IR distance sensors x2
OSOYOO Battery box x1
OSOYOO 3pin female to female jumper wire x1
OSOYOO 6pin male to female jumper wire x2
OSOYOO 10pin male to female jumper wire x1
OSOYOO 2 pin PnP female to female x1
18650 Batteries(3.7V) x2
Battery charger x1
Step 1: Install the smart car basic framework as per Smart Car Lesson 1. If you have already completed installation in Lesson 1, just keep it as is.
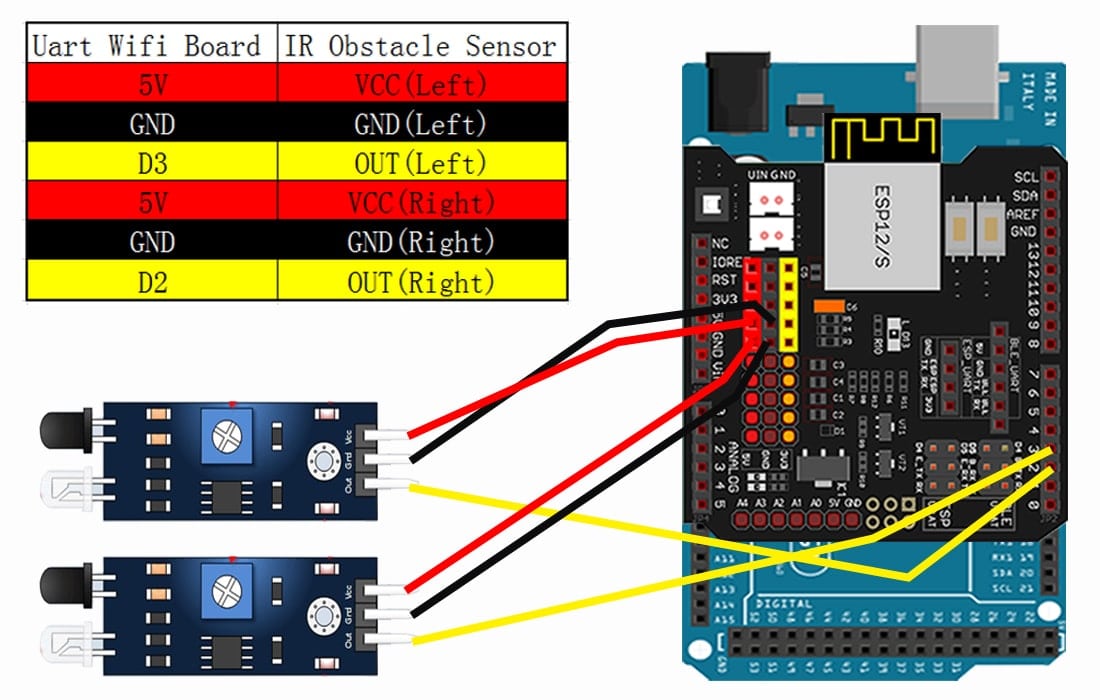
Step 2: Connect 2pcs IR distance sensors modules as below connection diagram. (Remember : DO NOT remove any existing wires installed in Lesson 1).
Step 1: Install latest Arduino IDE (If you have Arduino IDE version after 1.1.16, please skip this step). Download Arduino IDE from https://www.arduino.cc/en/Main/Software?setlang=en, then install the software.
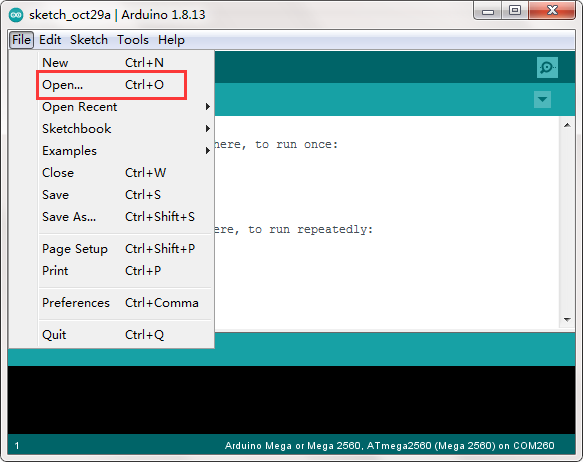
Step 3: Connect Mega2560 board to PC with USB cable, Open Arduino IDE → click file → click Open → choose code “lesson4.ino” in lesson4 folder, load the code into Arduino.
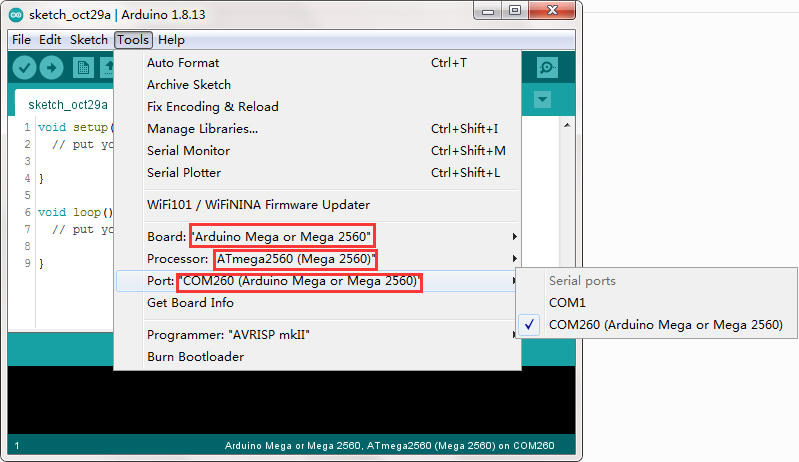
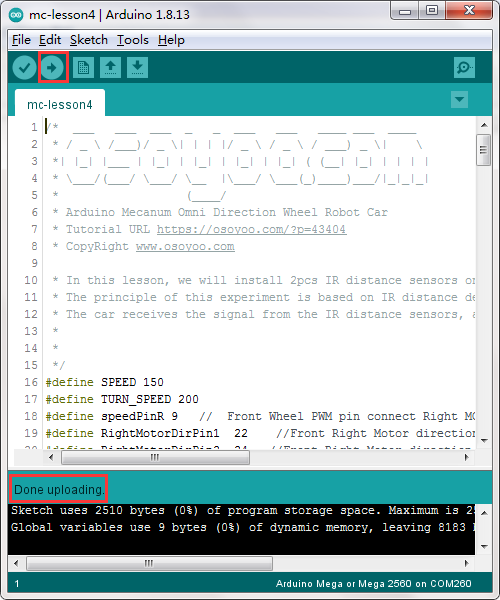
Step 4: Choose corresponding board/port for your project, upload the sketch to the board.
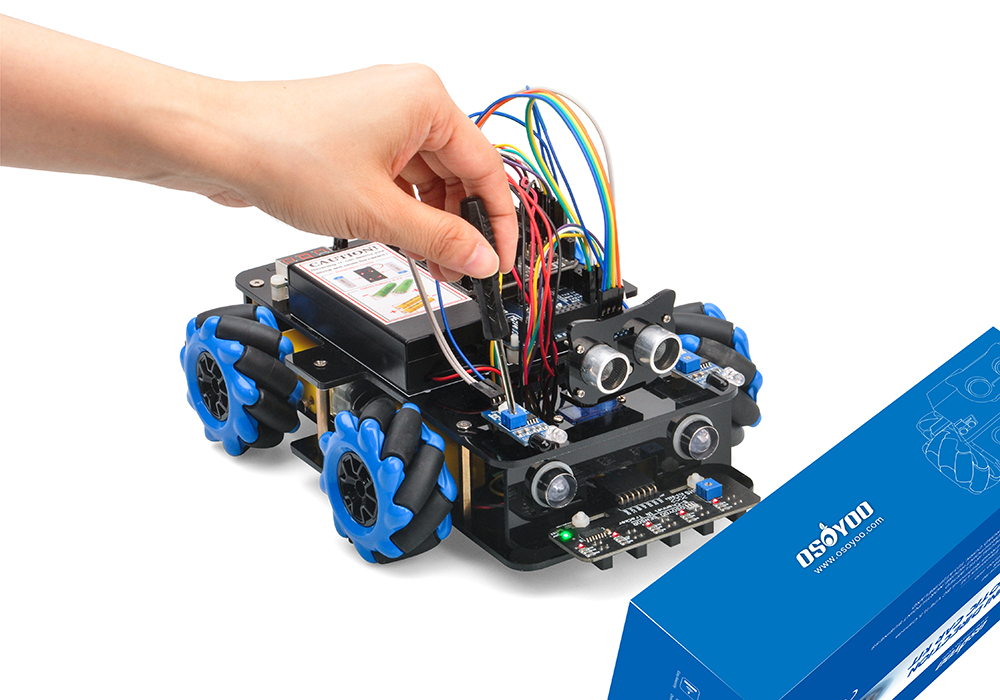
Step 5: Turn on the car, put object about 10 cm ahead of each IR distance sensors and adjust potentiometer on IR distance sensors to detect object or your hand.
Note: When these IR modules detect objects, both the power indicator and signal indicator are on. When No object is detected, only power indicator is on, signal indicator is off. If the signal indicator is always on even though there is no obstacle in front of the sensor, you need to adjust the potentiometer.
Turn on the car, place your hand ahead of the car, then the car will move towards your hand as if you pull it. It goes forward when both IR Obstacle Avoidance modules detect your hand; it turns right if only the right IR Obstacle Avoidance module detects object; it turns left if only the left IR distance sensor detects object.
When your hand is over 10 cm ahead, it will stop.
yes. all the 6 example lessons related to this V2.0 Mecanum car use the same parts in the package box. No need buy extra parts. But you might need to change some wire connection. Please read the tutorial carefully.


yes. all the 6 example lessons related to this V2.0 Mecanum car use the same parts in the package box. No need buy extra parts. But you might need to change some wire connection. Please read the tutorial carefully.