| Buy from US |
Buy from UK |
Buy from DE |
Buy from IT |
Buy from FR |
Buy from ES |
ここでご購入を! |
 |
 |
 |
 |
 |
 |
 |


- BBC micro:bit board x 1
- Micro USB Cable x 1
- Computer/Tablet PC/Phone x1


.png)
Step 1. Using your web browser, go directly to https://makecode.microbit.org to land the MakeCode for micro:bit home page. You can bookmark this package to easily open this package for next project. In the My Projects section, click on the New Project
For more information about MakeCode, please go to our tutorial: What is MakeCode

Step 2. Then the MakeCode editor for micro:bit will start on your browser. In the Toolbox, click on any Category and from the submenu, click on the block you want to place on the coding area

Step 3. In the Toolbox, click on the Basic category and drag and drop “show leds” block inside the forever block. Otherwise, you can click on “show leds” block to placing it on the coding area and then drag it inside forever block. draw a “heart” (as following) by clicking the dots in the 5×5 matrix, then you will see the heart shown on the simulator.

Step 4. In the Toolbox, click on the Basic category and drag and drop a show icon block inside the forvever block, just below the show leds block., and choose an example icon (different from the heart at the last step) from the drop-down menu.
Step 5. In the Toolbox, click on the Basic category and Click more and drag the clear screen block over and place it inside forever block. 
Step 6. Drag and drop a show string block from Basic category over and place it inside the forever block , and change Hello to Papa.
Step 7. In the Toolbox, click on the Basic category, click and drag the pause (ms) block over and place it inside of the forever block, and change time as you like

Step 8. Rename this project as “flashing-heart” and click Download to download this project

Step 9. For chrome browser users, you can see a little windows at the bottom of browser, you can see a .hex file when click “Show in folder”. If you use other browser, please open this file’s folder according to the download directory of your browser.

Step 10. Connect Micro bit to your computer with Micro-USB cable, and you will see a “MICROBIT” disk.

Step 11. Drag the .hex file to “MICROBIT” disk. Otherwise, right click the .hex file and send it to “MICROBIT” disk.

Below is the full code we have done for you as reference, you can click the edit at the upper right conner to get the full code:


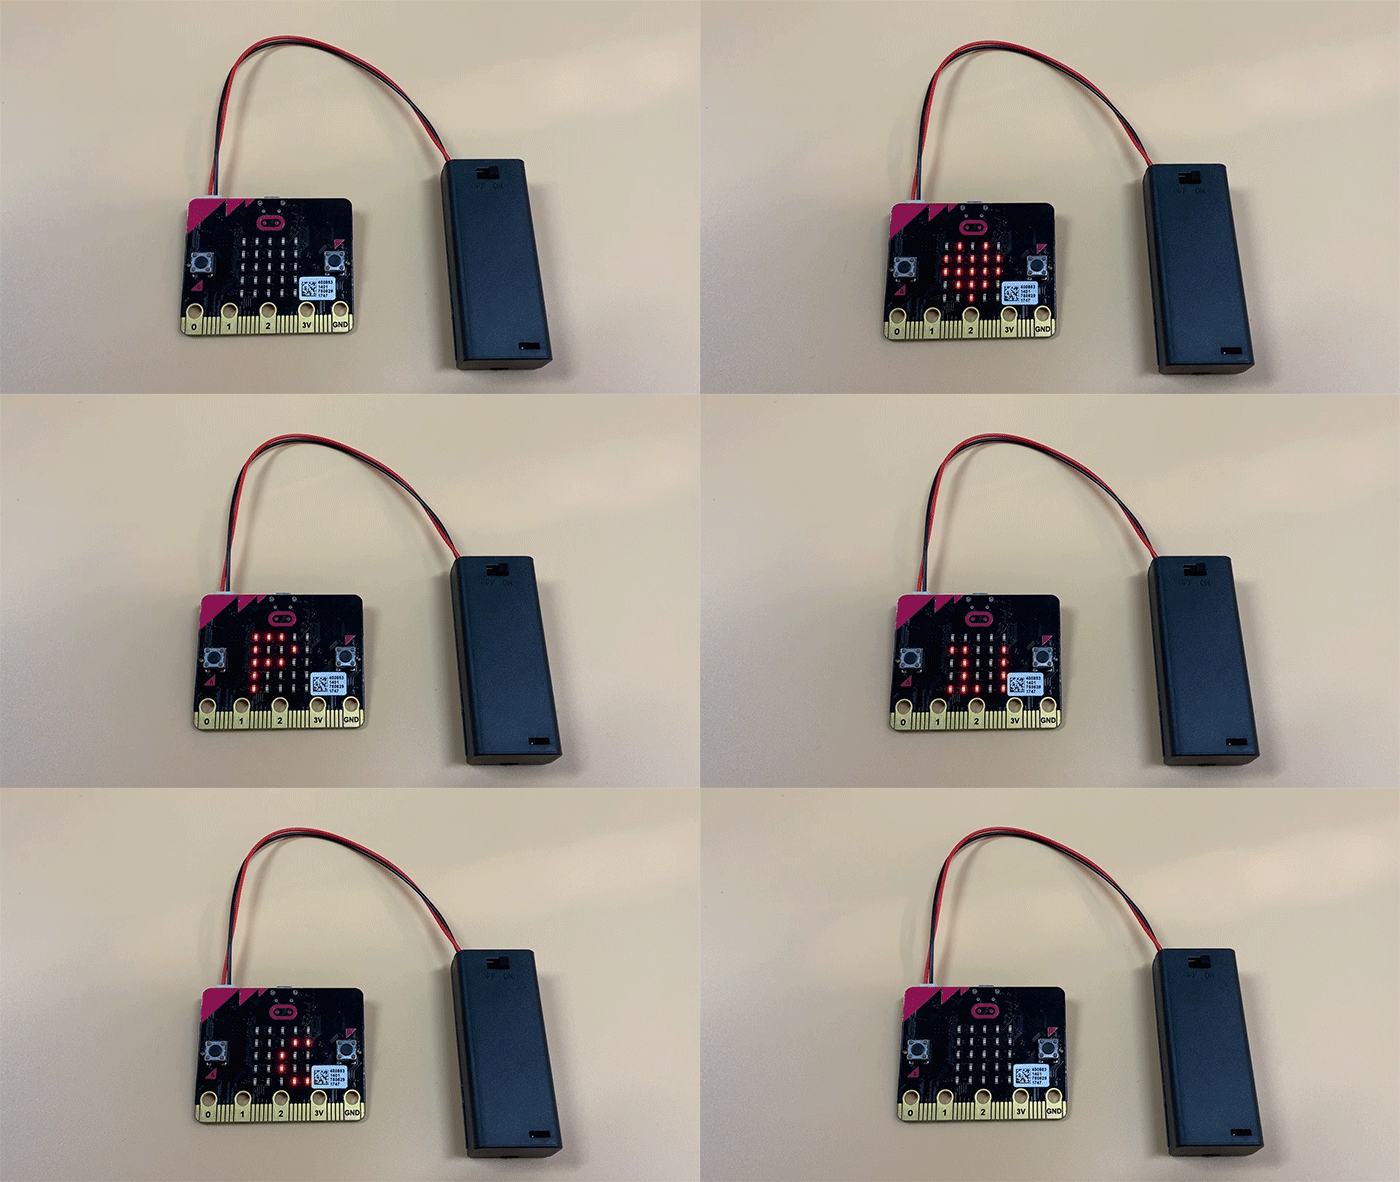
Power on the micro:bit which is downloaded this project, You should see the LED shows: “Love heart, Love heart, Papa”


Learn More about parts


.png)


