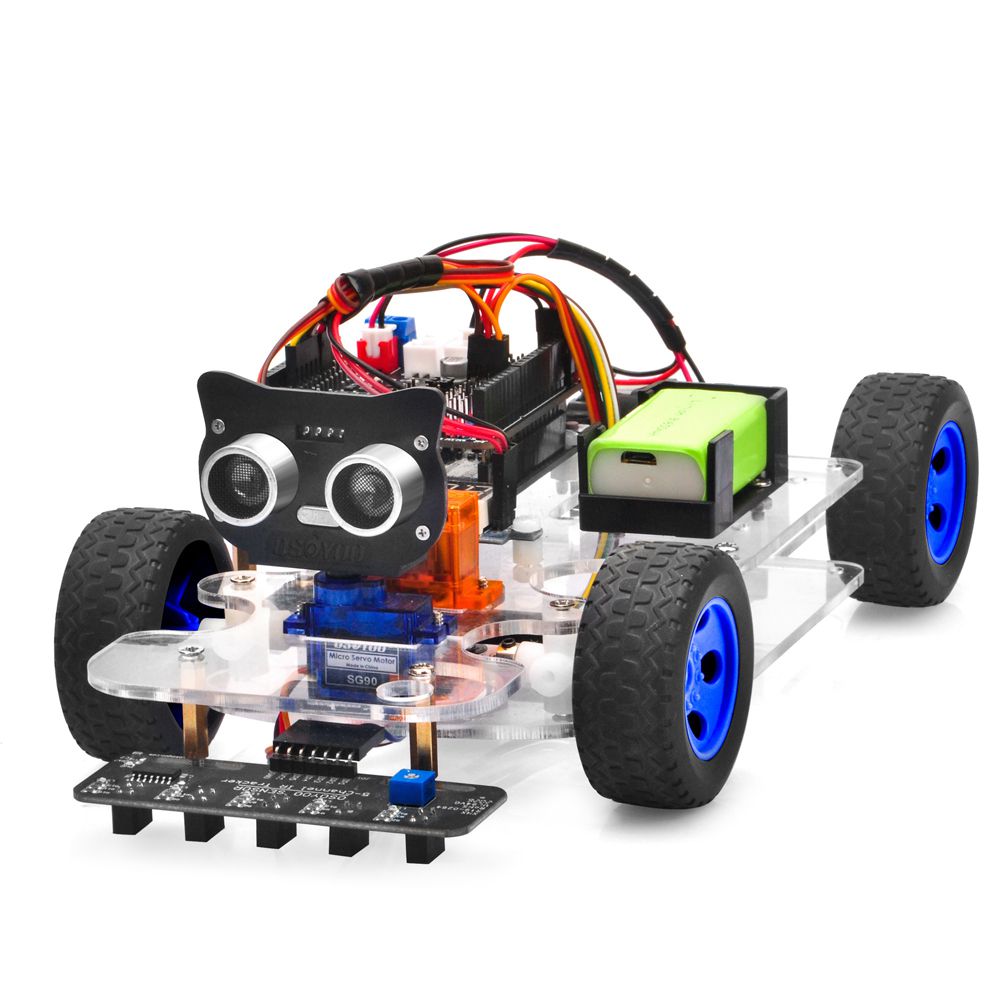
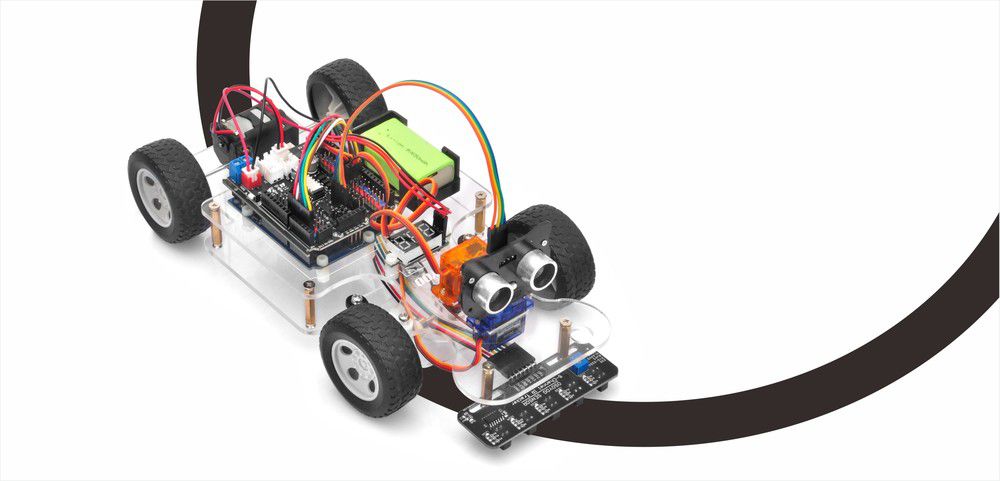
In this tutorial, we will use 5-line tracking sensor to guide OSOYOO Sport Car for Arduino to move along the black track line in the white ground automatically. The software in this lesson will read data from the tracking sensors and automatically guide the car to move along the black track line in the white ground.
The OSOYOO 5-Channel IR Tracker Sensor is an array of 5 IR sensors that are configured and read as digital bits! It can adapt to many complex environments, users can adjust the on-board sensitivity potentiometer according to the actual situation to modify trigger threshold, which detecting changes in the angle of the curve track. On board, a 5 channel infrared tracking probe can simultaneously detect the middle track line and detect the left and right edges. We can install it on the smart car with screws and copper or rivets to complete the high-precision tracking.
For more information about the sensor, please refer to this link:
Step 1: Please download PWMServo library from https://osoyoo.com/driver/sg90car/PWMServo.zip, then import the library into Arduino IDE. If you completed lesson 2, please skip this step.
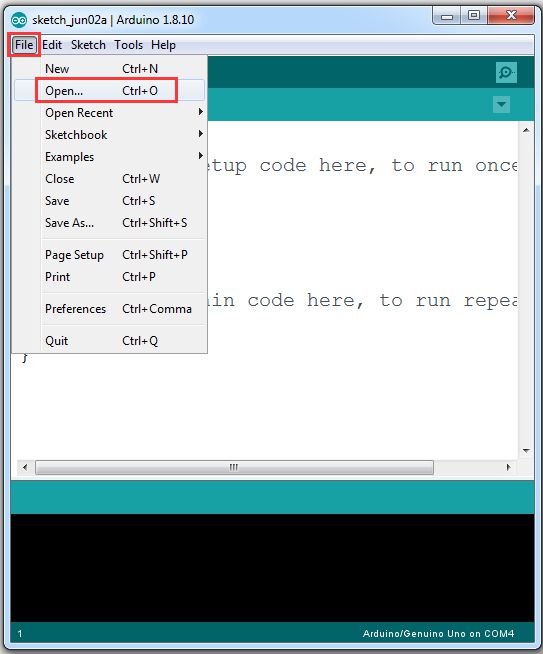
Step 2: Download Lesson 3 sample code, unzip the download zip file sg90car-lesson3.zip, you will see a folder called sg90car-lesson3. Step 3: Connect UNO R3 board to PC with USB cable, Open Arduino IDE → click file → click Open → choose code “sg90car-lesson3.ino” in sg90car-lesson3 folder, load the code into OSOYOO Basic Board for Arduino. Notice: Shut off your battery or unplug your power adapter when upload sketch code to OSOYOO Basic Board for Arduino.
Step 4: Please change the default value 90 in line 22 to the FRONT value in lesson 1. If you align the wheel direction manually as the option 1 in Step 5 of lesson1, please skip this step.
#define FRONT 90 // steering to front
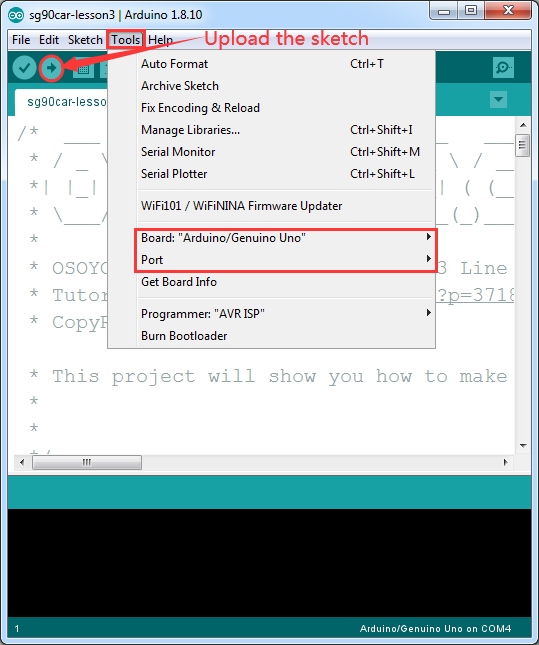
Step 5: Choose corresponding board/port for your project, upload the sketch to the board.
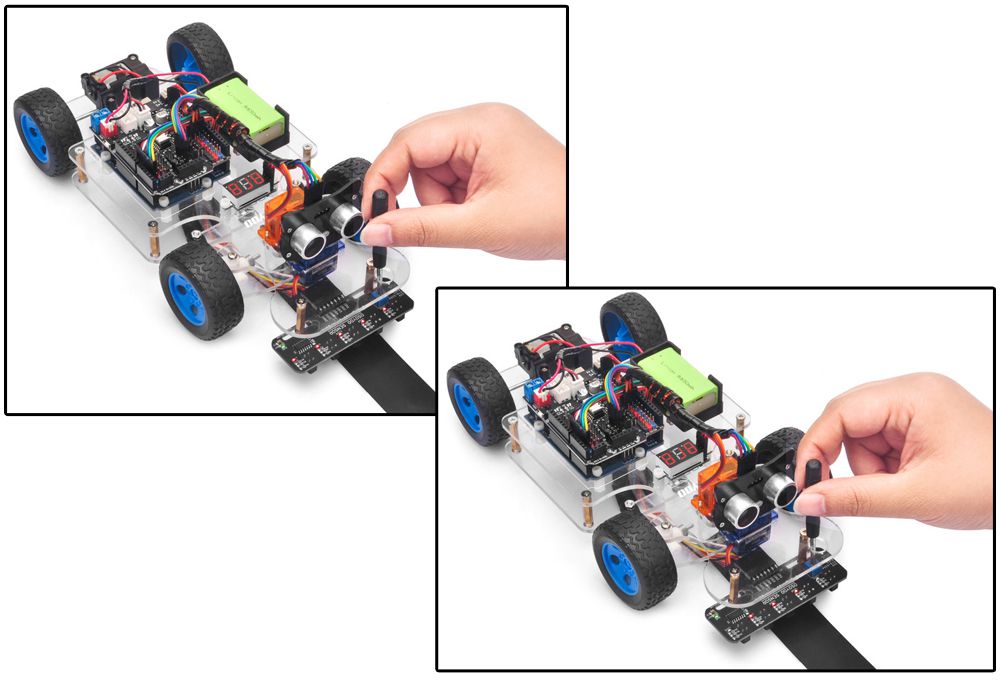
Step 6: Adjust the sensitivity of tracking sensor modules.
Turn on and hold the car and adjust the potentiometer on the tracking sensor with cross screwdriver until you get the best sensitivity status: the signal indicates LED light will turn off when the sensor is above white ground, and the signal LED will turn on when the sensor is above black track
Final Testing
1. Prepare a black track (the width of the black track is more than 20 mm and less than 30 mm) in white ground. Please note, the bend angle of track can’t be larger than 30 degree. If the angle is too large, the car will move out of the track.
2. Disconnect OSOYOO Basic Board for Arduino from PC and confirm that the power switch of the OSOYOO Motor Shield V1.1 is off, then put a 9V battery into battery box. (Note: make sure polar direction is correct, otherwise it can destroy your device and cause fire hazard).
3. Put the car on the track, turn on the switch of OSOYOO Motor Shield V1.1, the car will move along the black track. Note: If the car does not move as per above-mentioned result, you should check your wire connection of tracking sensor, battery voltage (must over 7.2v).
4. If you want to change the angel of the right or left, please edit the line 23 to 26 of the code and upload the sketch again: (Note: the angel can’t be set more than 35)
int SHARP_RIGHT=FRONT+33;
int SHARP_LEFT=FRONT-33;
int  RIGHT=FRONT+20;
int  LEFT=FRONT-20;
5. If you want to change the speed of the car, please revise the following code of the sketch (Note: the max value is 255)