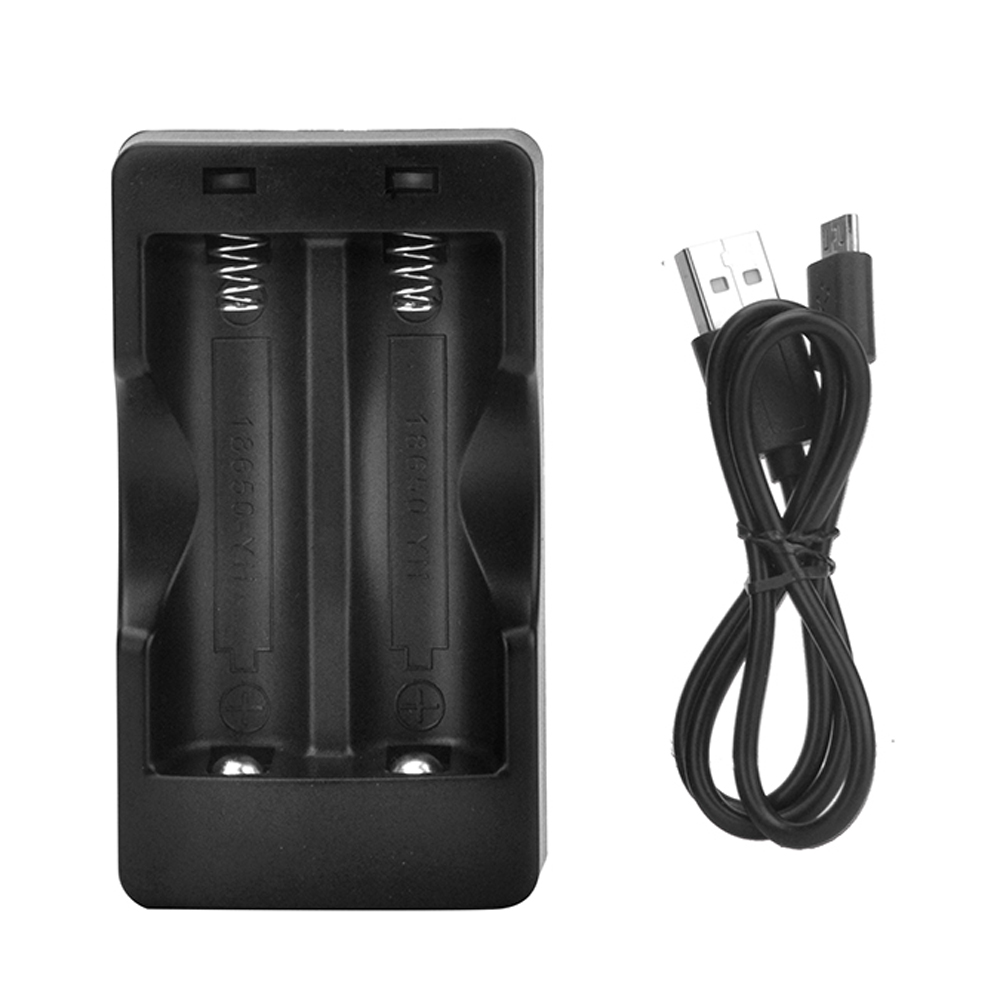
Acquista il V2.1 Robot Car Plus Kit (con batterie 18650 e caricatore USB) dal seguente link:
| Acquista da OSOYOO |
Acquista dagli USA |
Acquista dal UK |
Acquista dalla DE |
Acquista dall’IT |
Acquista dalla FR |
Acquista dalla ES |
Acquista dal JP |
 |
 |
 |
 |
 |
 |
 |
 |
Acquista il V2.1 Robot Car senza batteria e caricatore:
| Acquista da OSOYOO |
Acquista dagli USA |
Acquista dal UK |
Acquista dalla DE |
Acquista dall’IT |
Acquista dalla FR |
Acquista dalla ES |
Acquista dal JP |
|
|
|
|
|
|
|
|
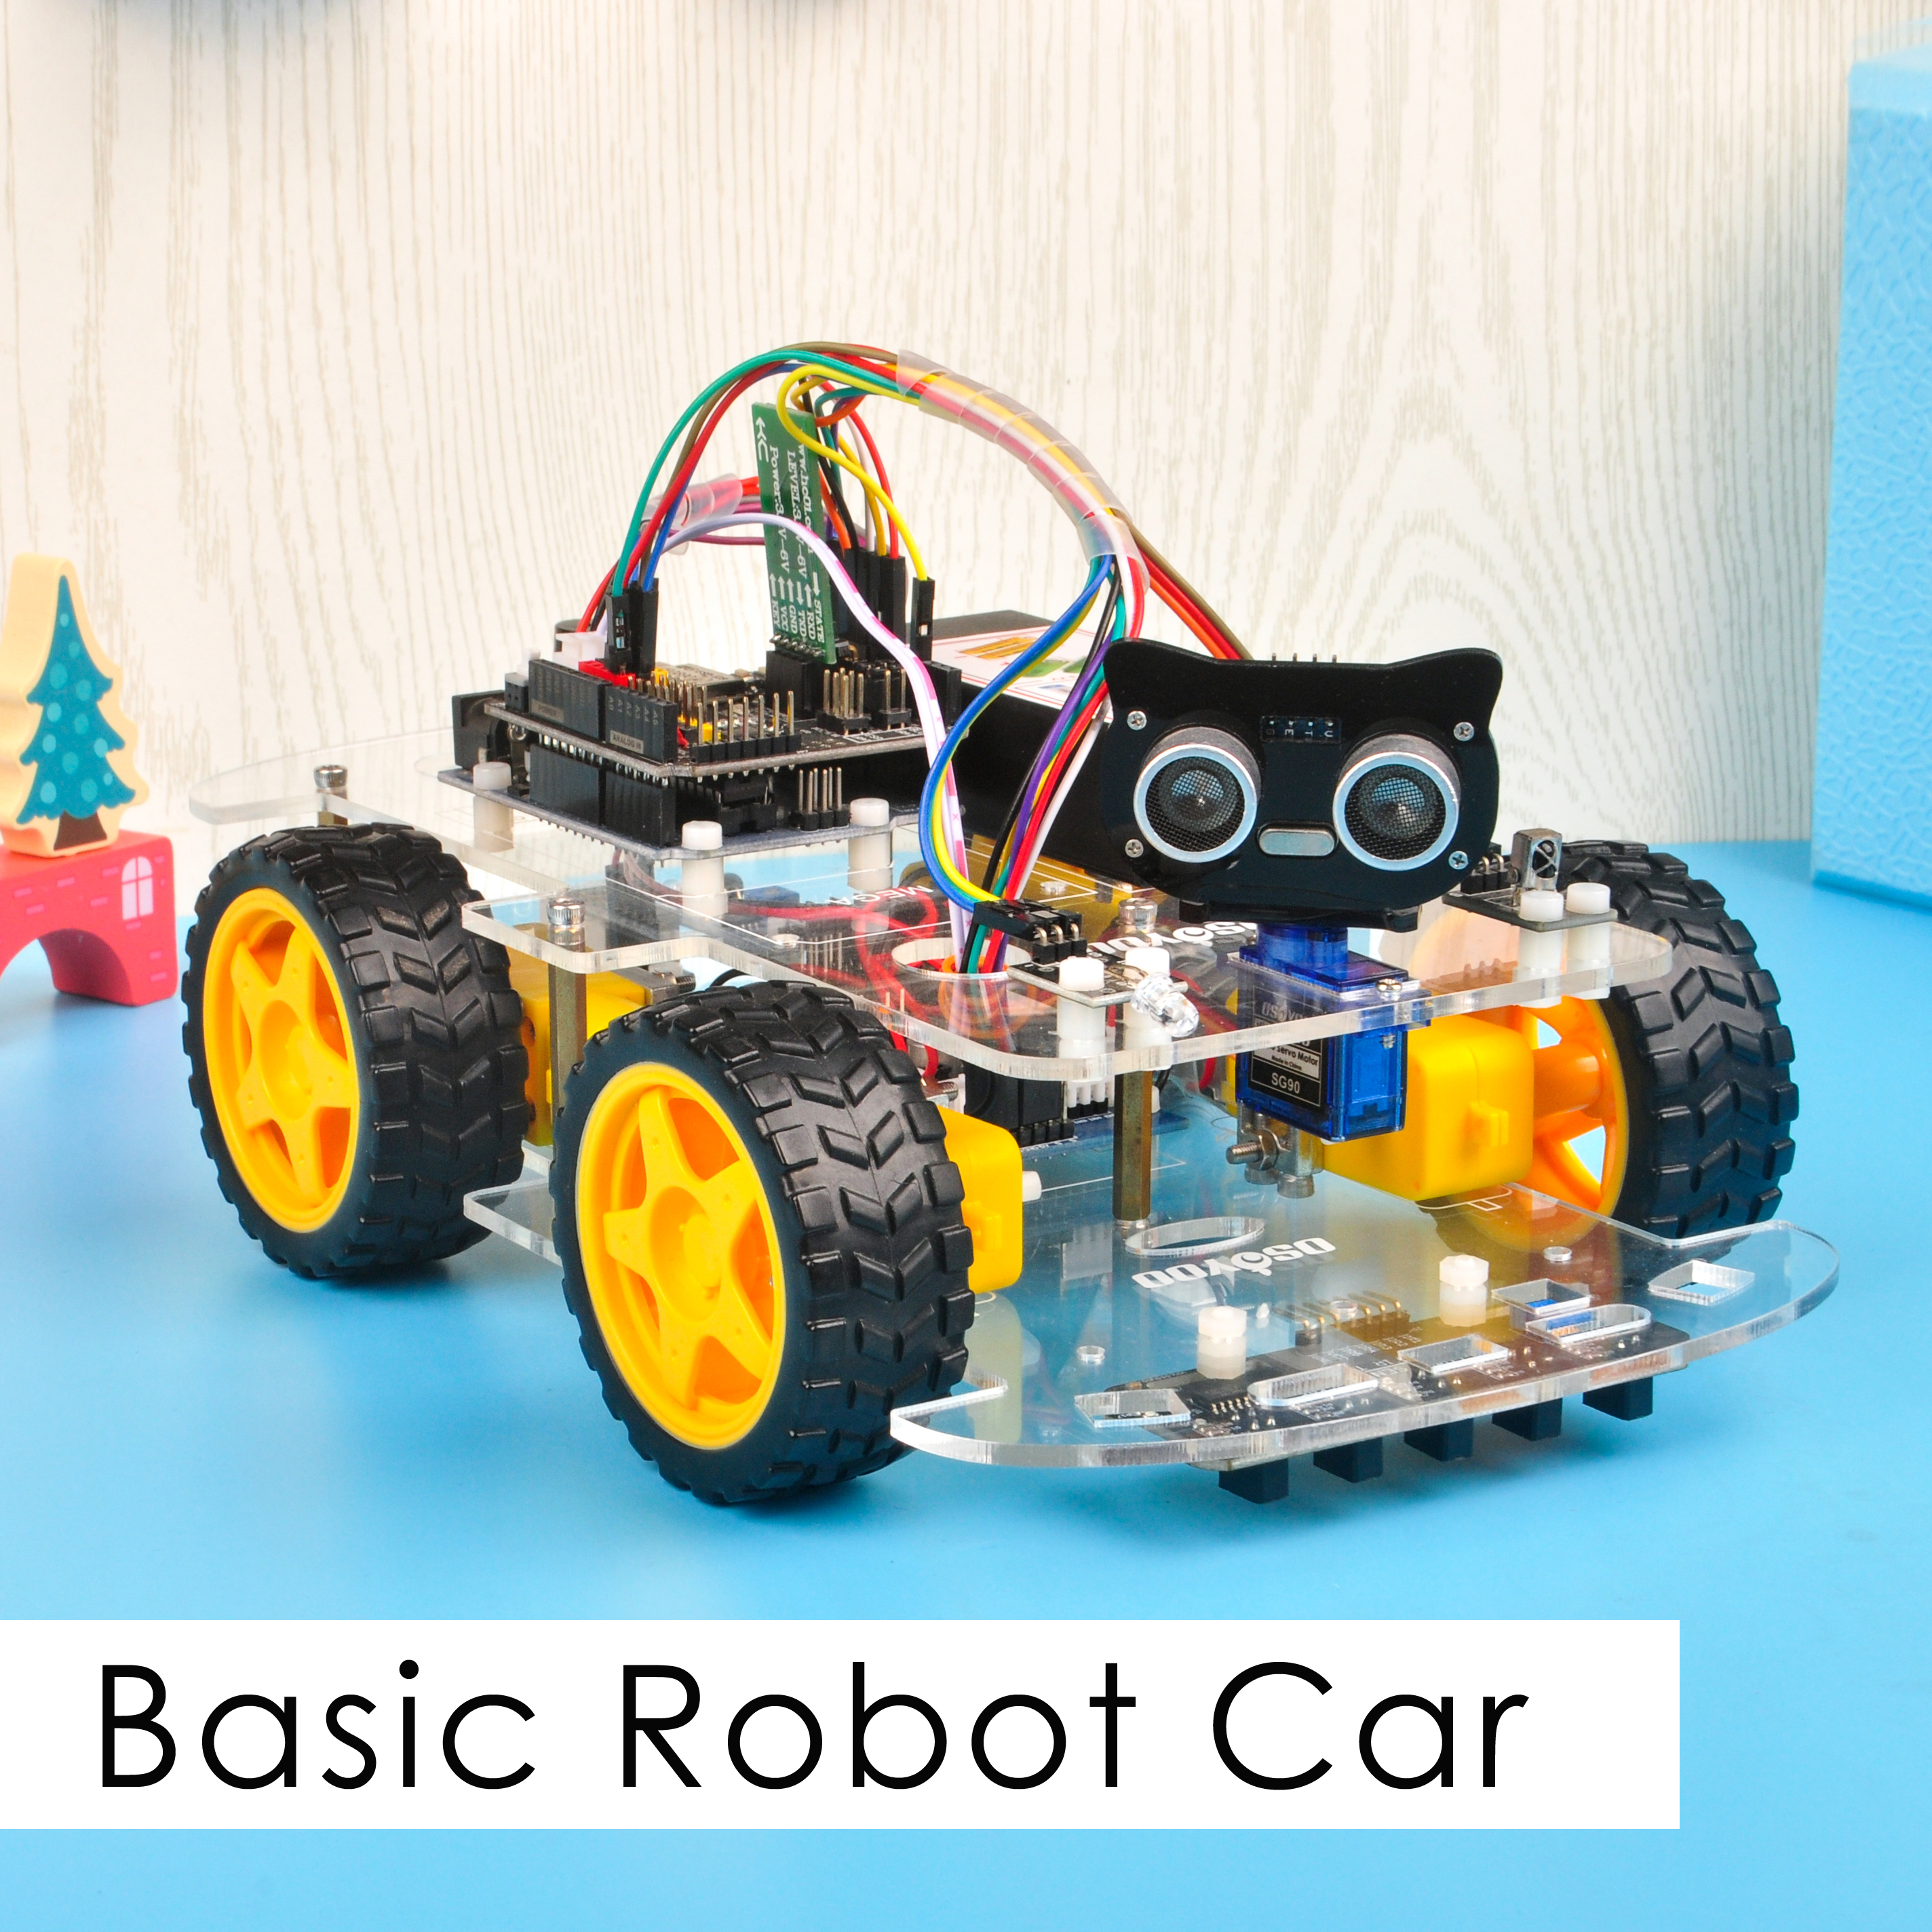
🤖 Pronto a costruire questa auto robot?
OSOYOO V2.1 Robot Car Kit — Kit Tutorial Ufficiale
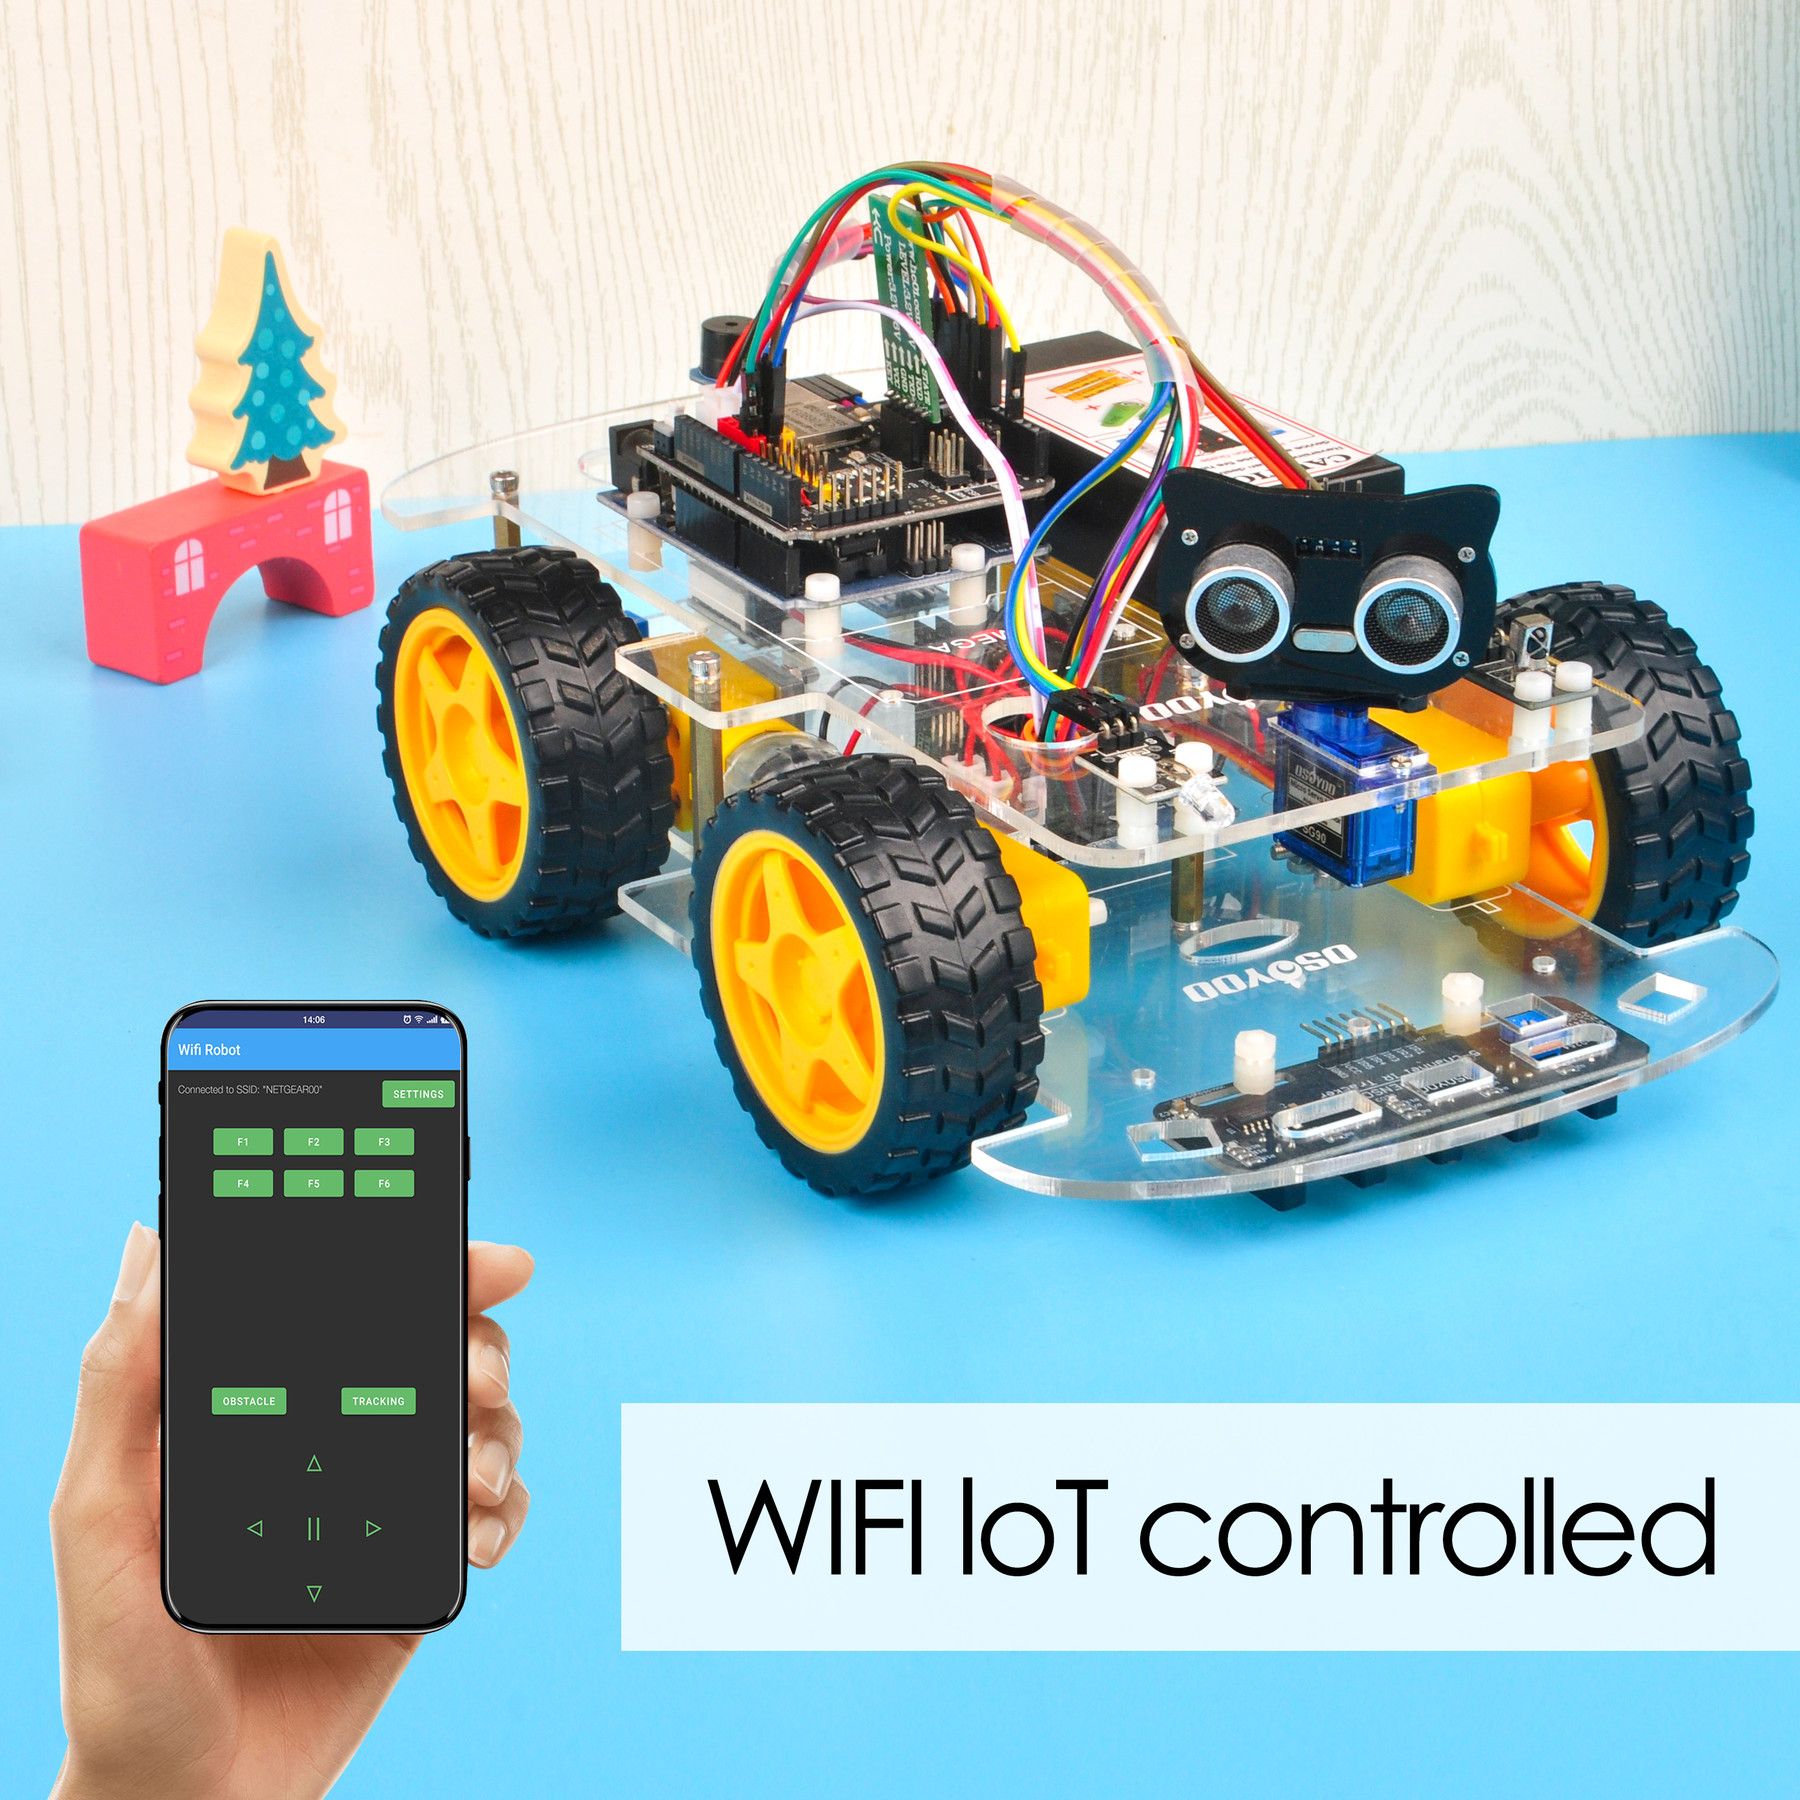
WiFi · Bluetooth · Inseguimento Linea · Evitamento Ostacoli · 8 Lezioni · App iOS/Android — tutto ciò che copre questo tutorial, in una sola confezione
Descrizione:
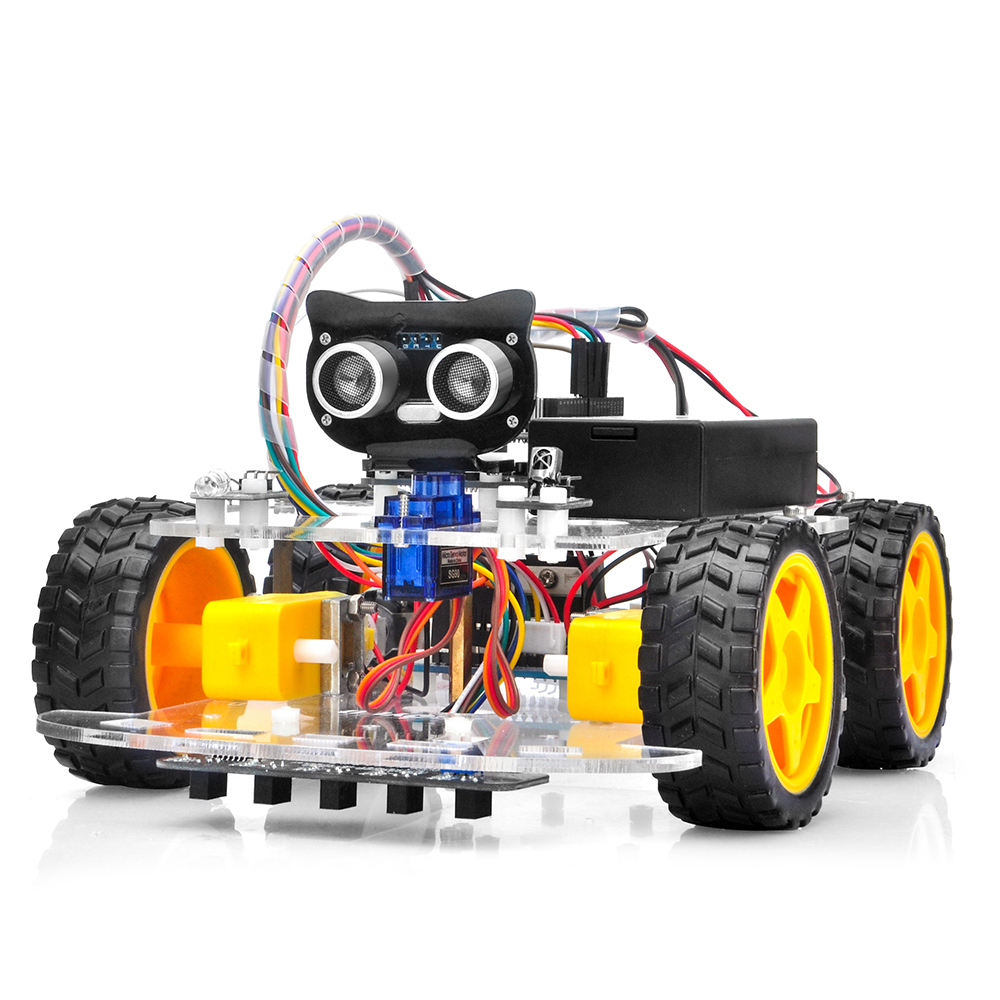
Il kit per auto robot OSOYOO è pensato per i principianti che vogliono imparare la programmazione Arduino e acquisire esperienza pratica nel design e nell’assemblaggio di robot.
Abbiamo sviluppato un tutorial passo dopo passo che parte da una semplice auto senza alcun controllo e arriva a un’auto robot multifunzione controllata da un’app mobile.
Ogni lezione include codice di esempio dettagliato con commenti, schema del circuito, istruzioni di assemblaggio e video. Anche senza esperienza di programmazione, puoi seguire le istruzioni passo dopo passo e diventare gradualmente un esperto.
Il nostro robot è 100% open source. Se sei un utente intermedio e hai tempo di leggere i commenti nel codice, puoi personalizzare facilmente questa auto robot per realizzare il tuo progetto: per una fiera scientifica, un compito universitario o anche per applicazioni commerciali.
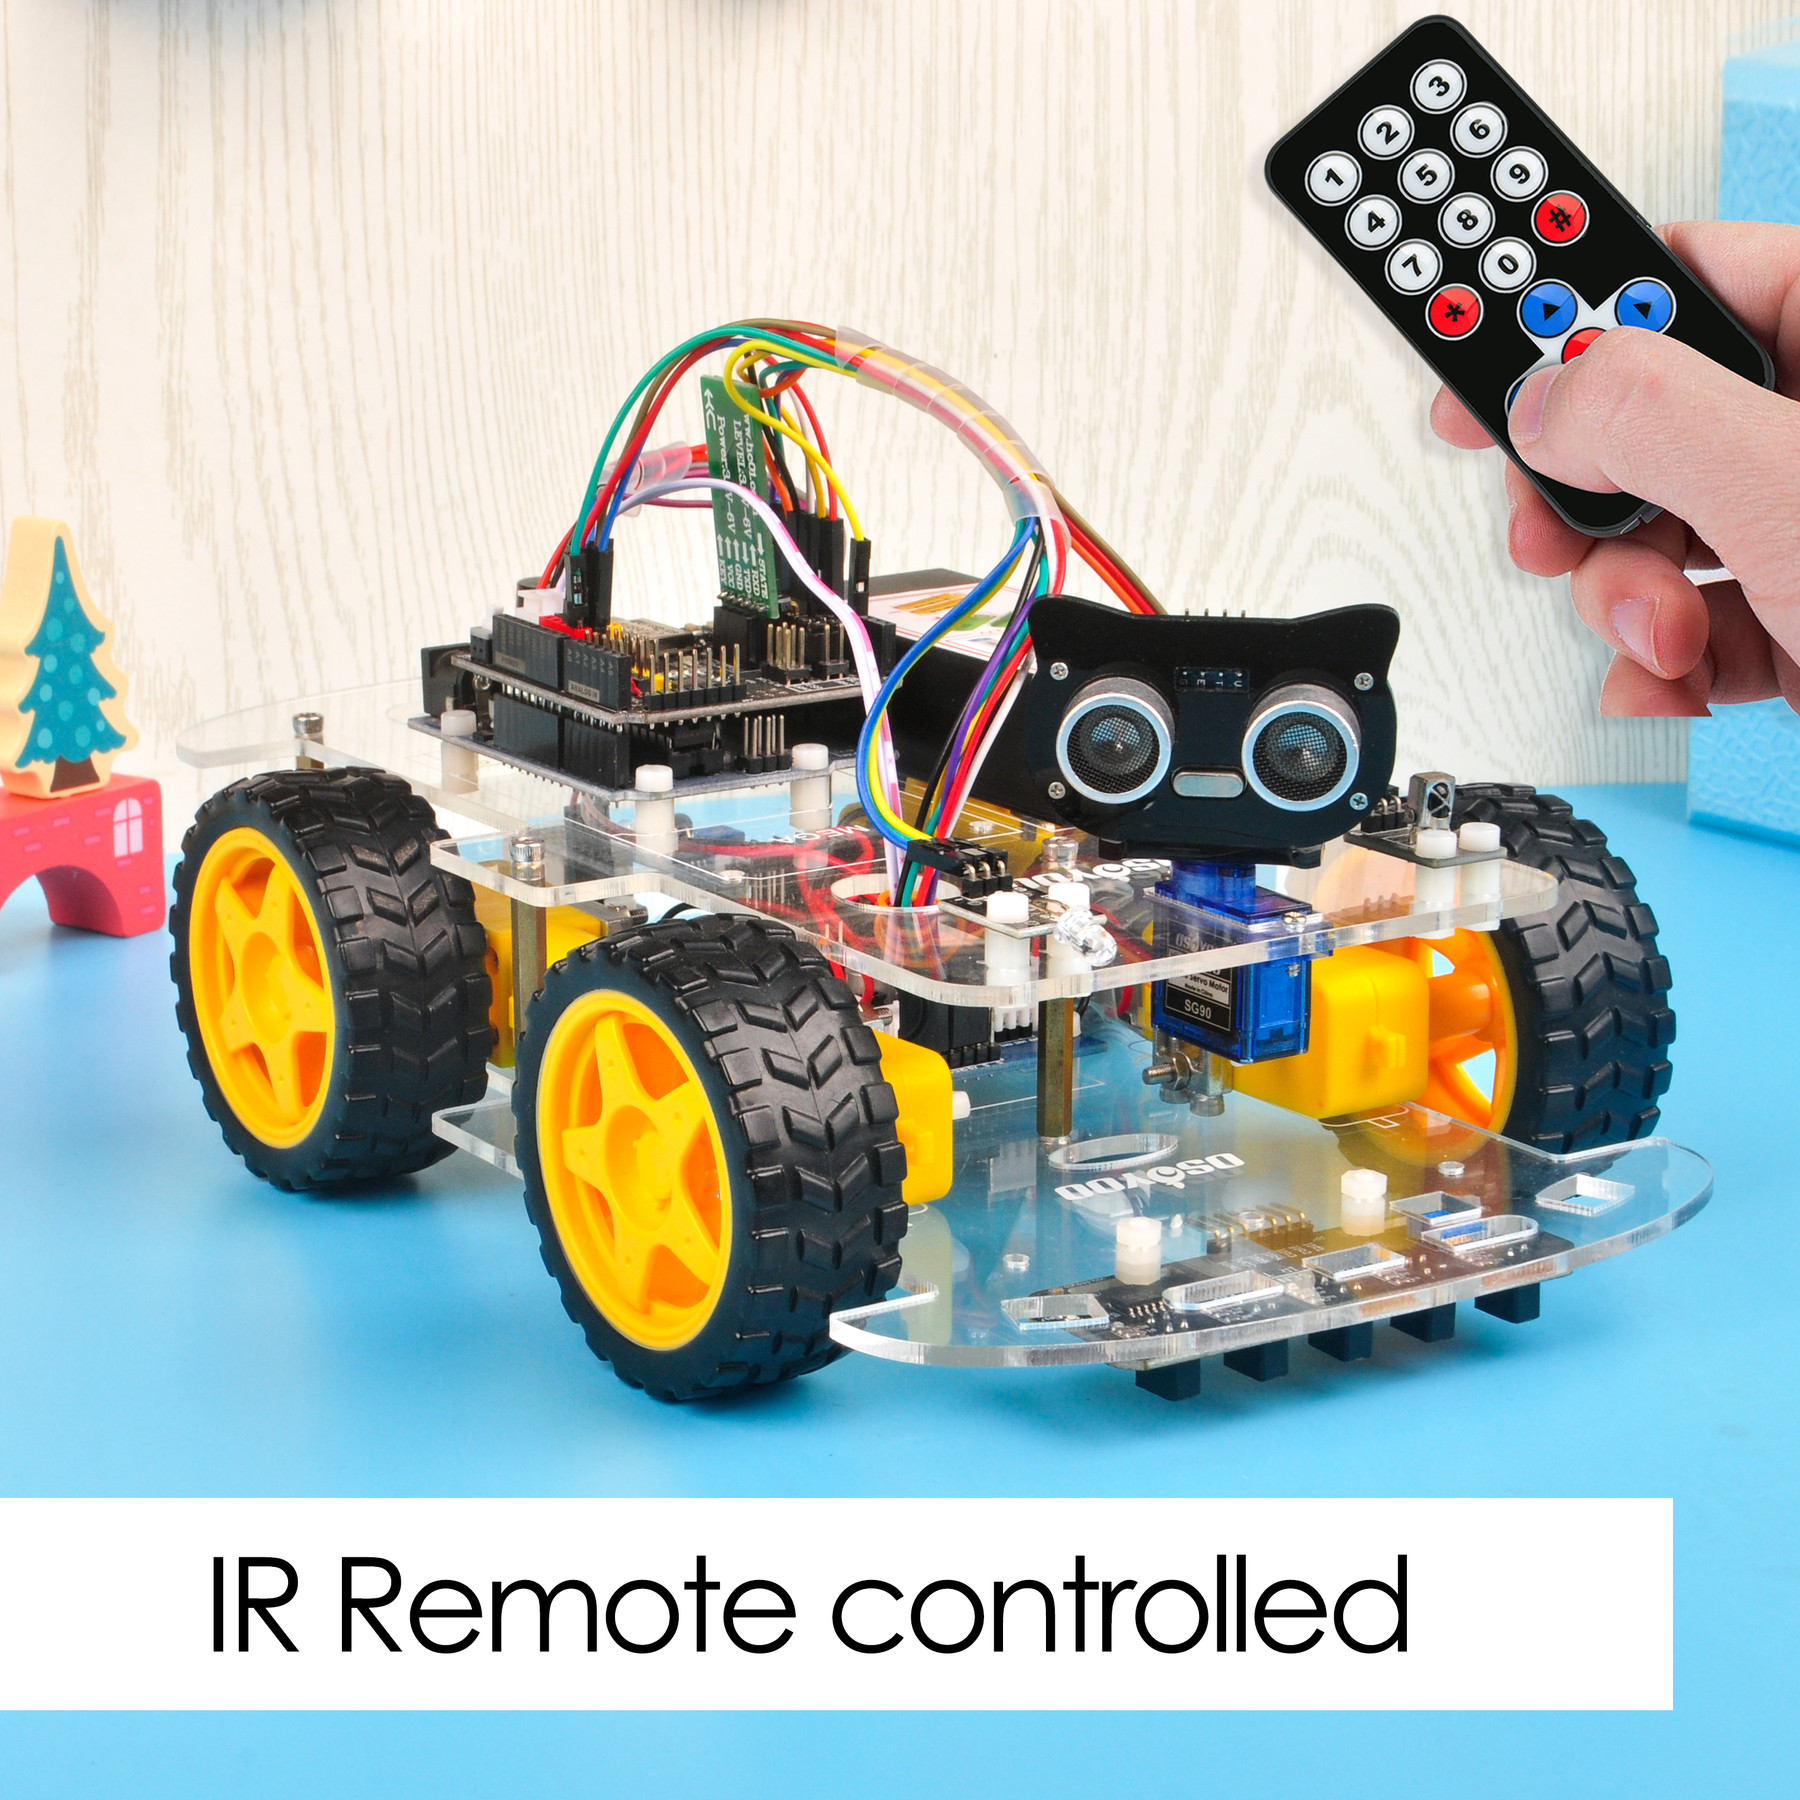
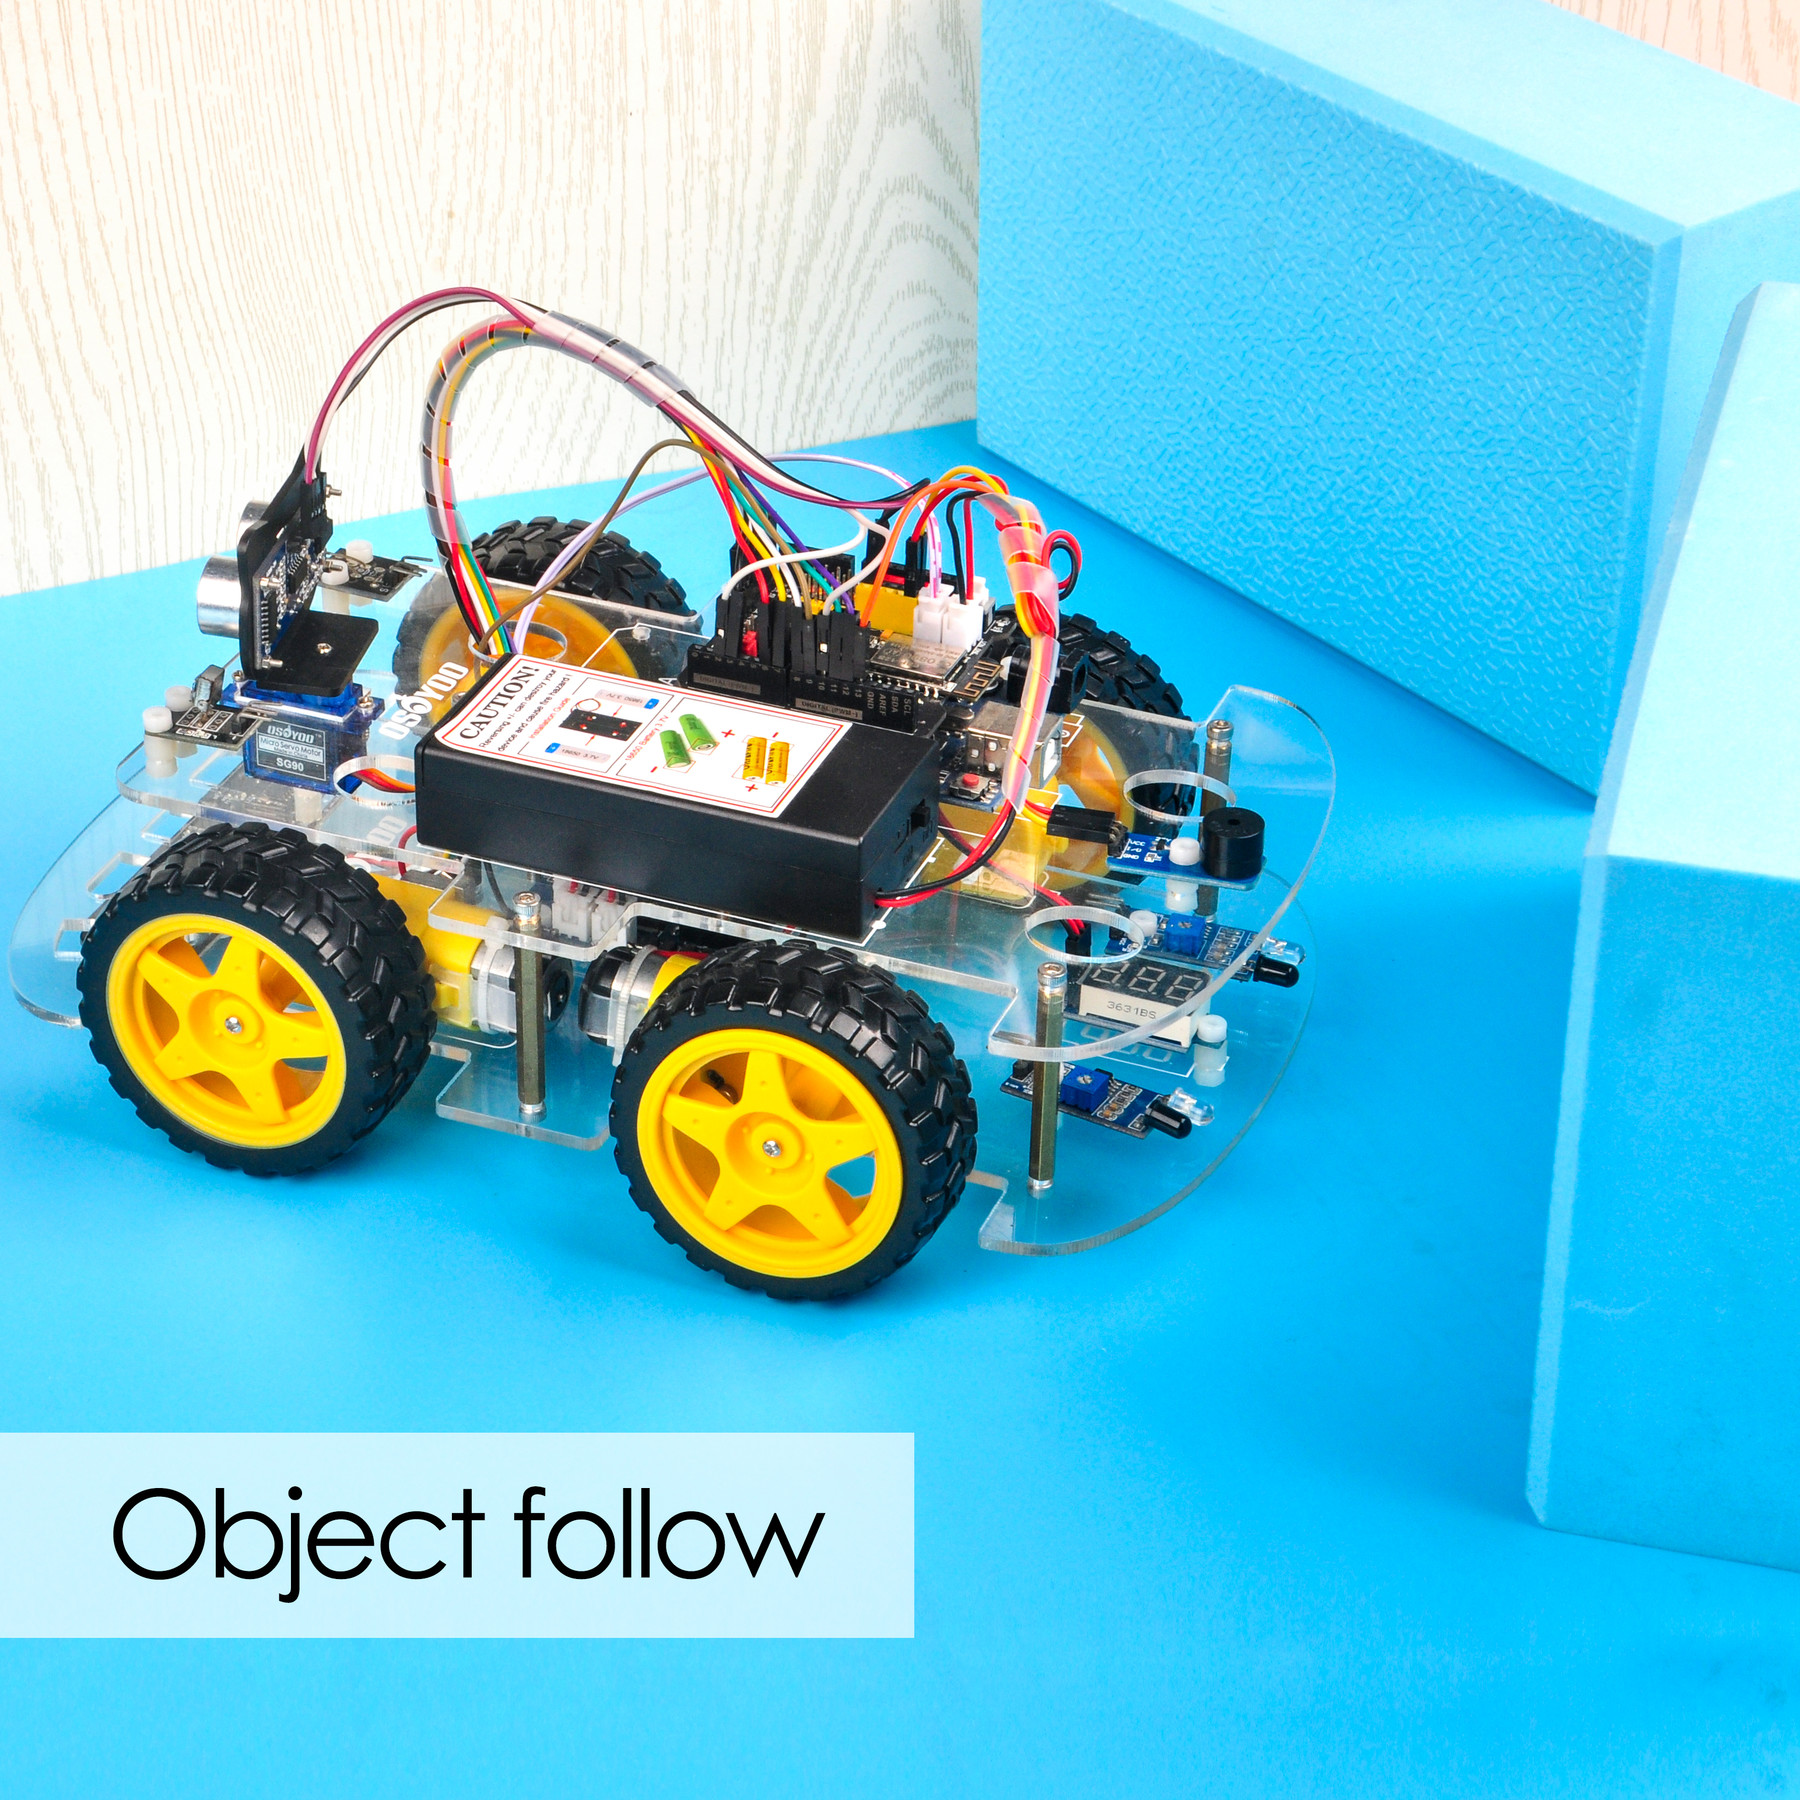
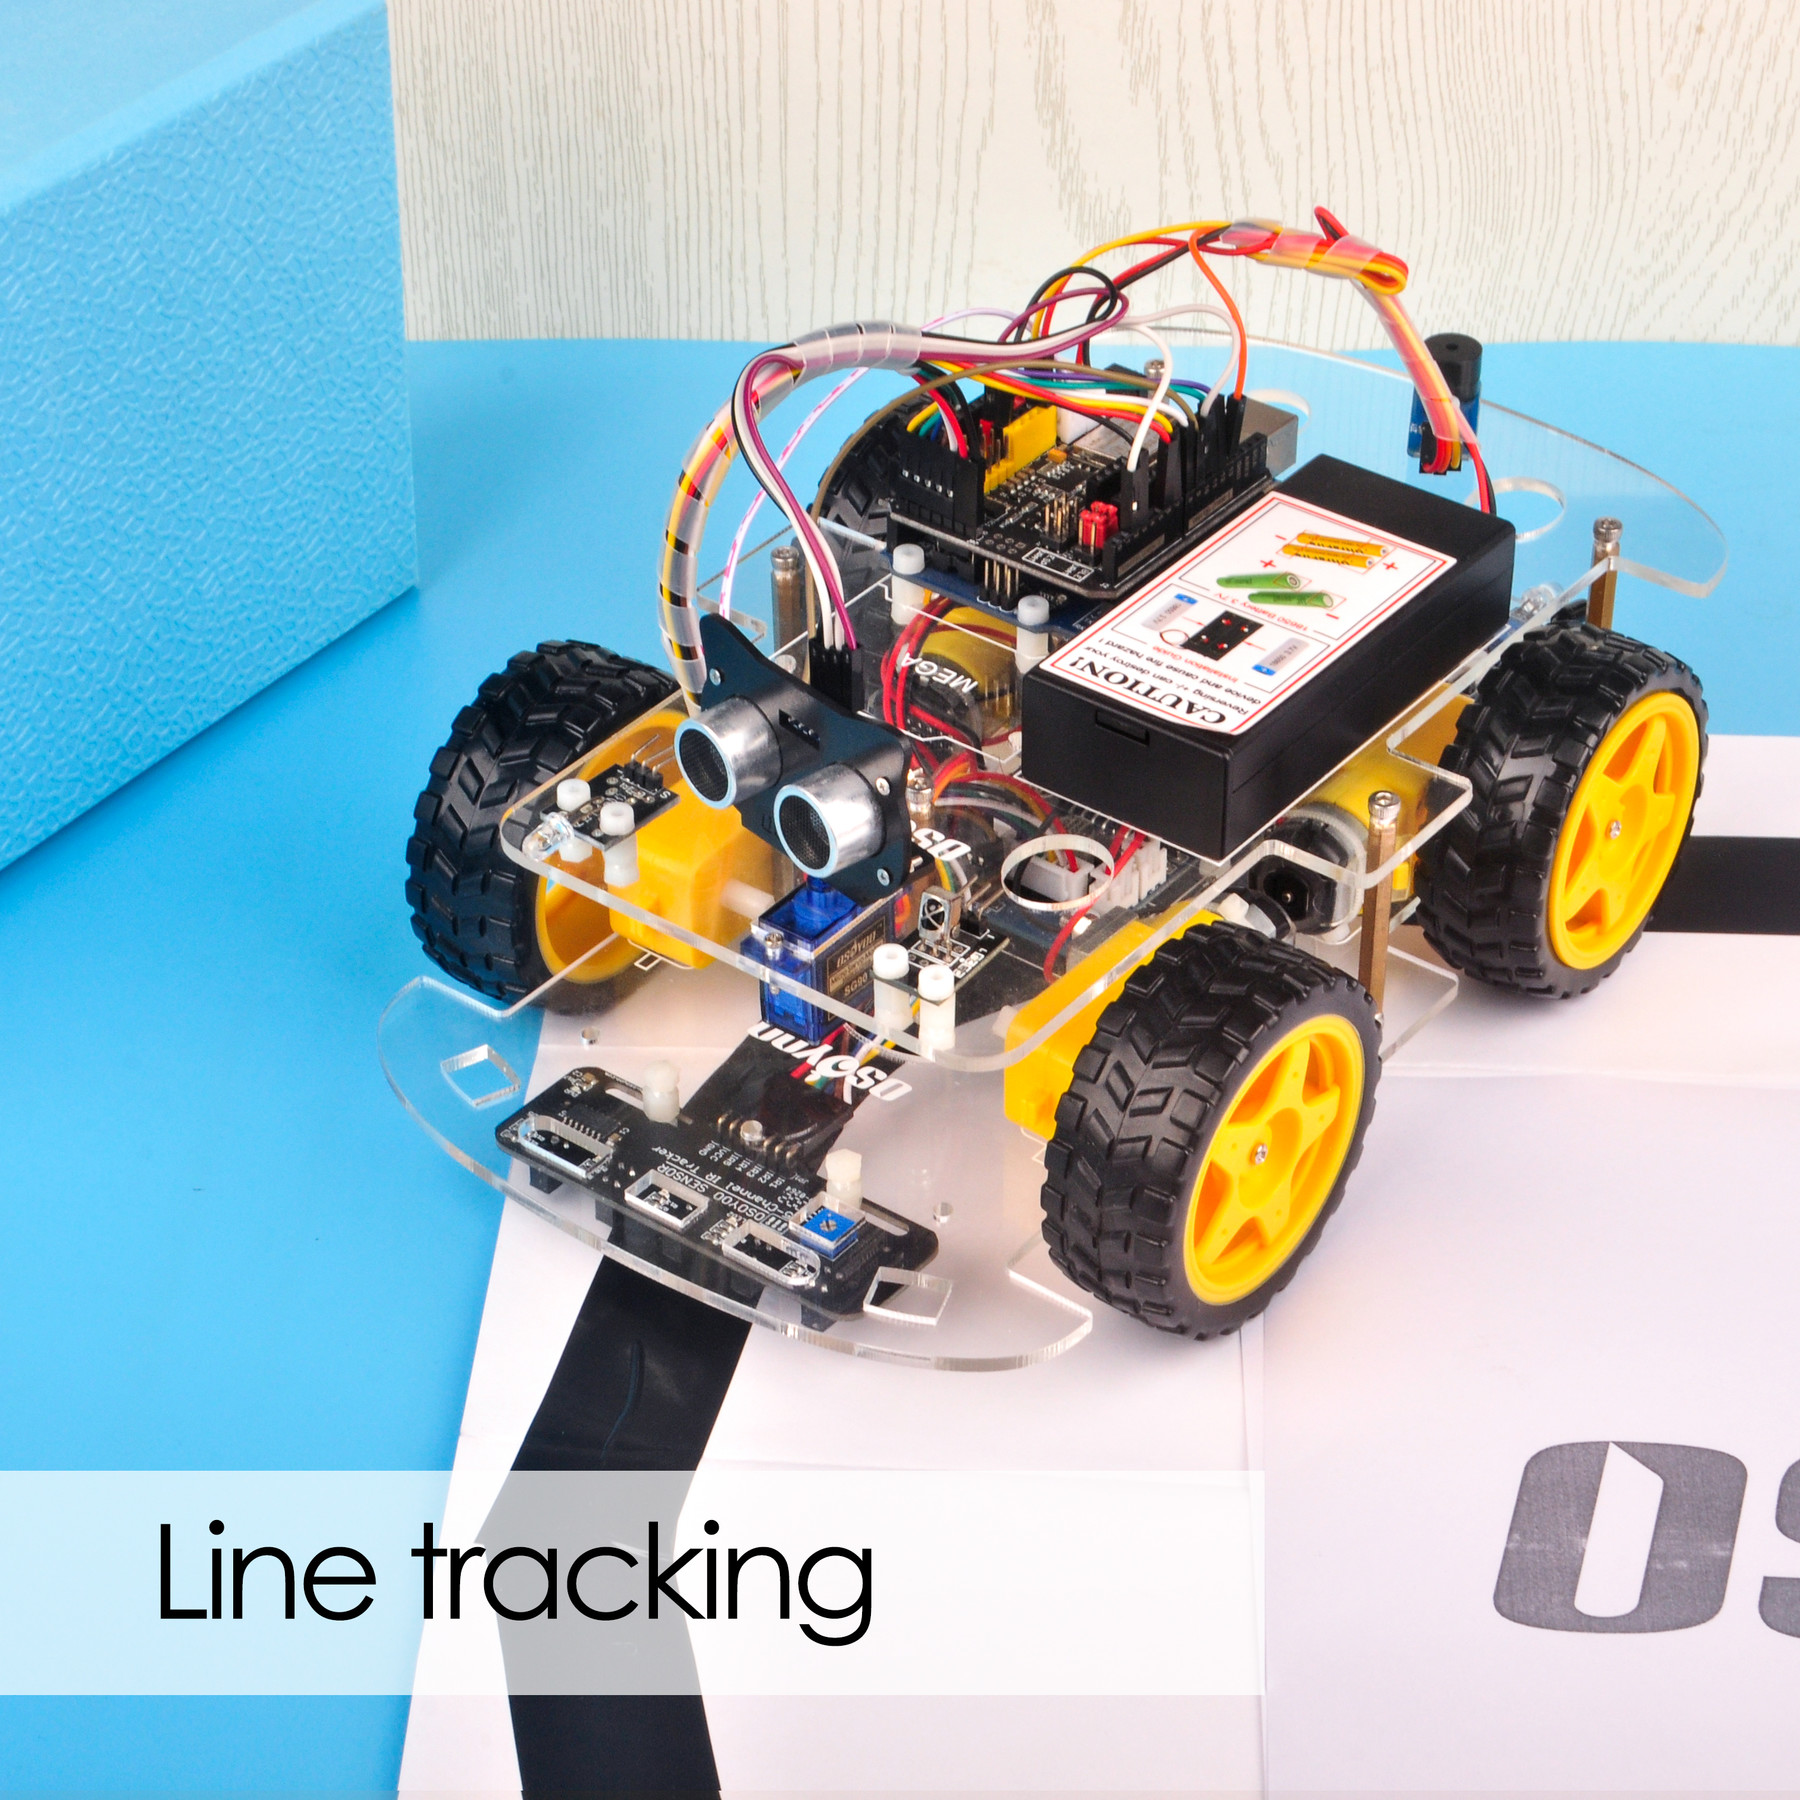
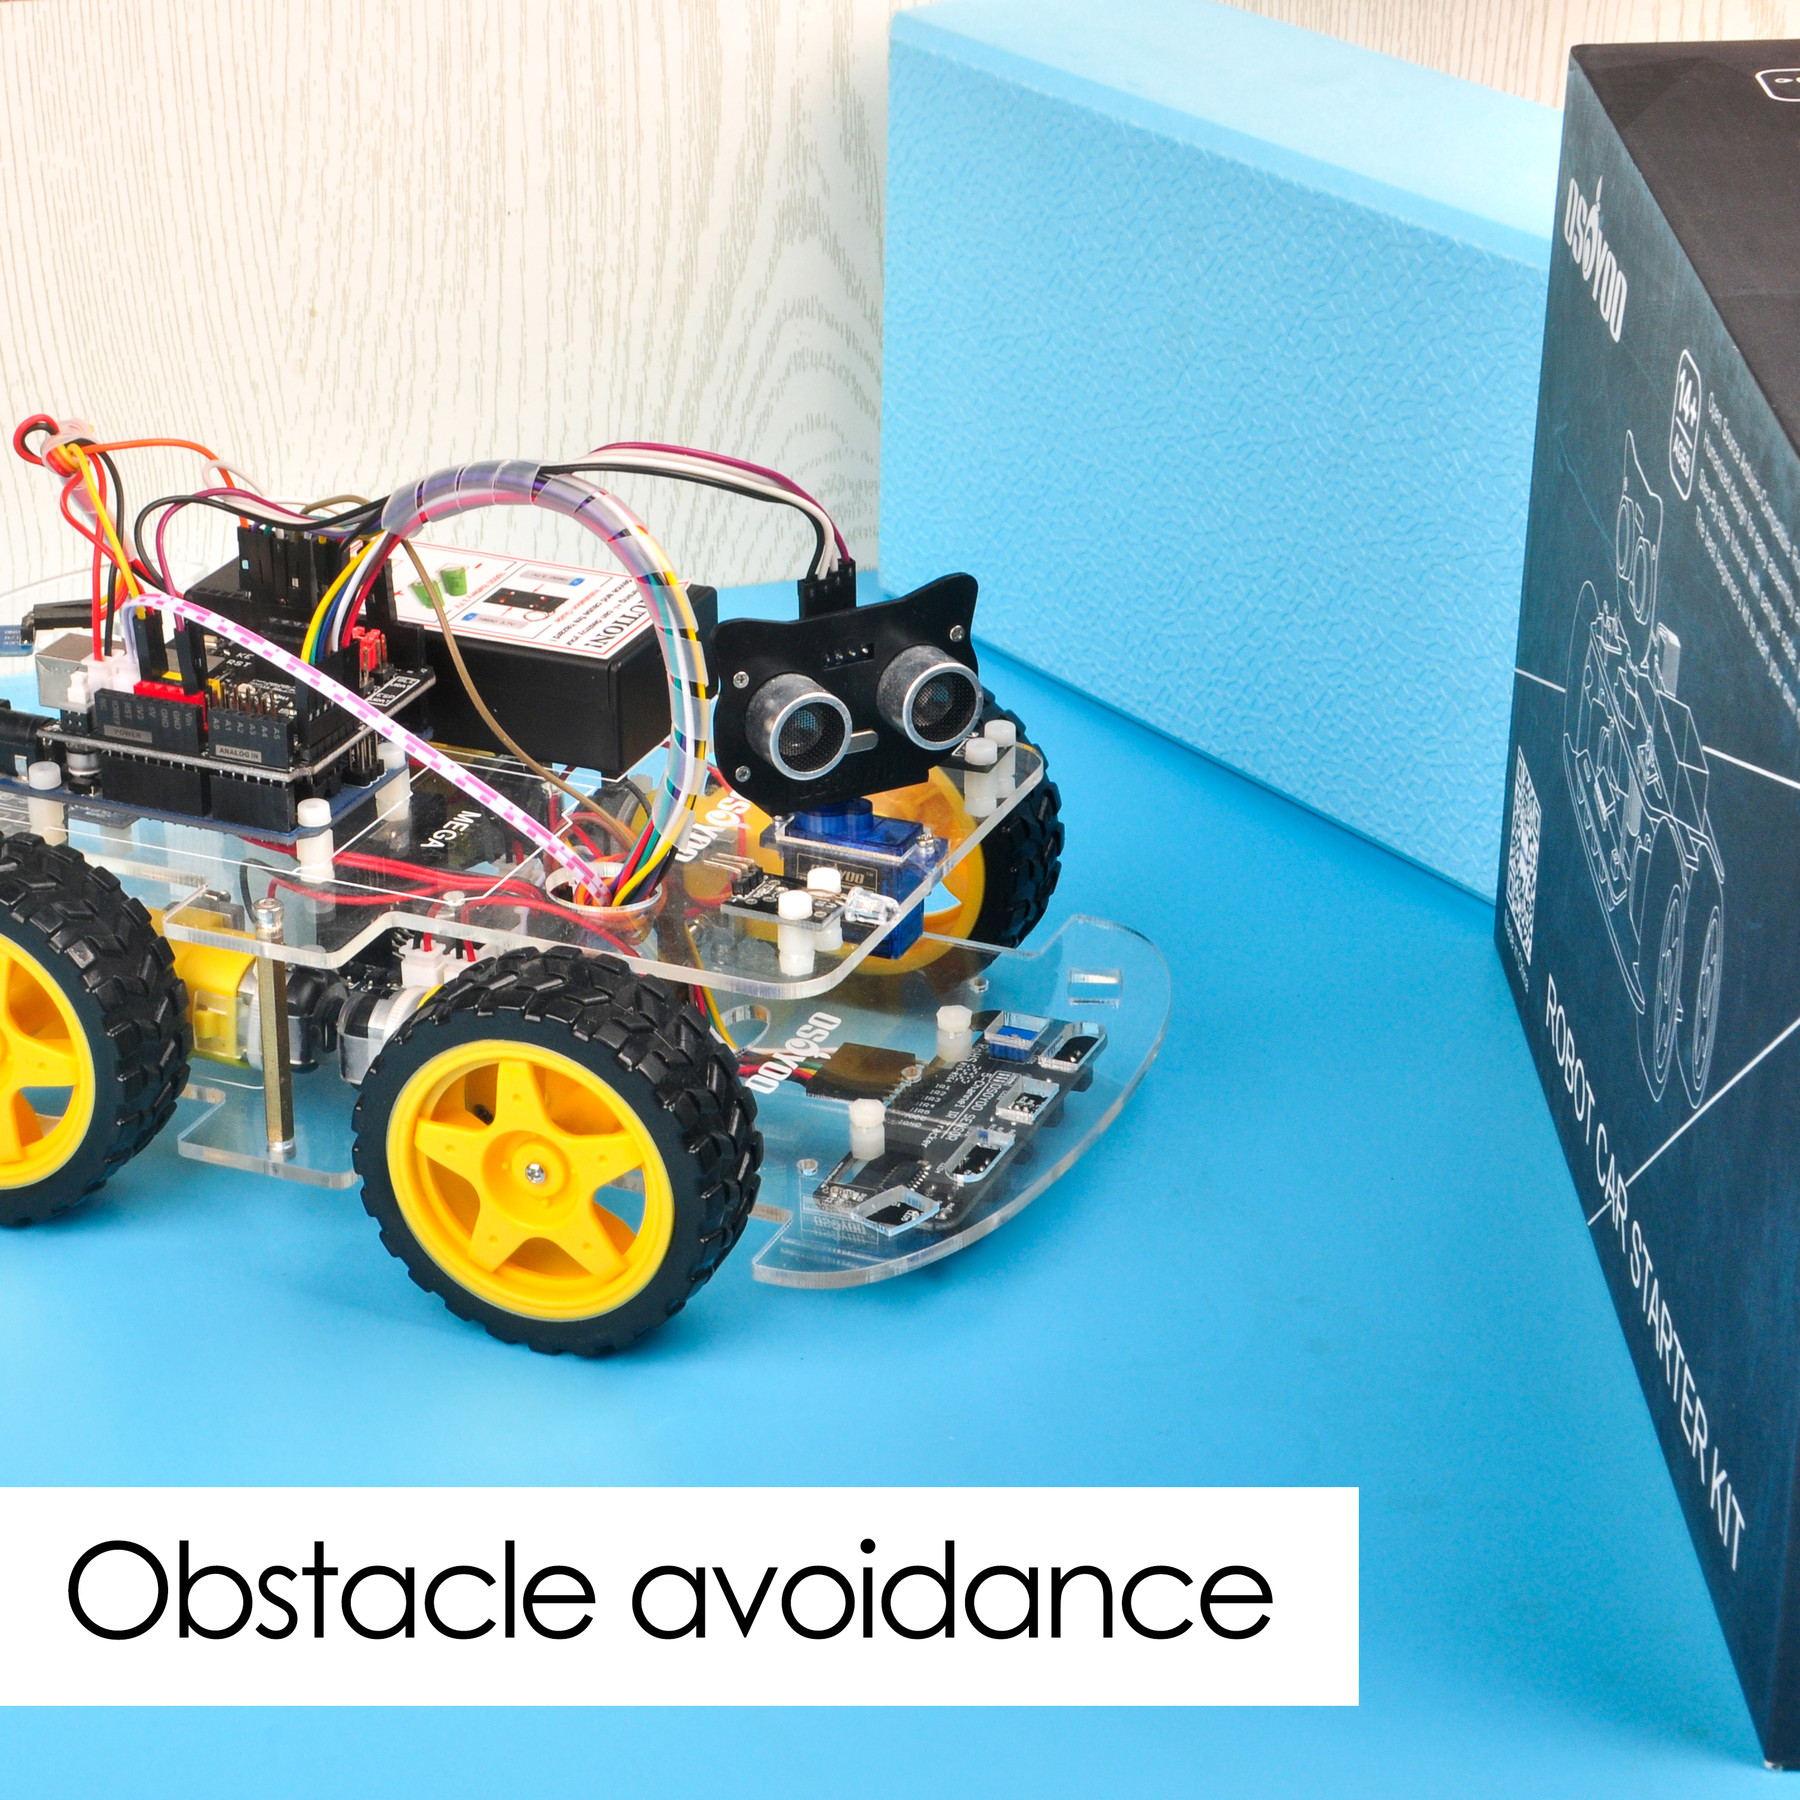
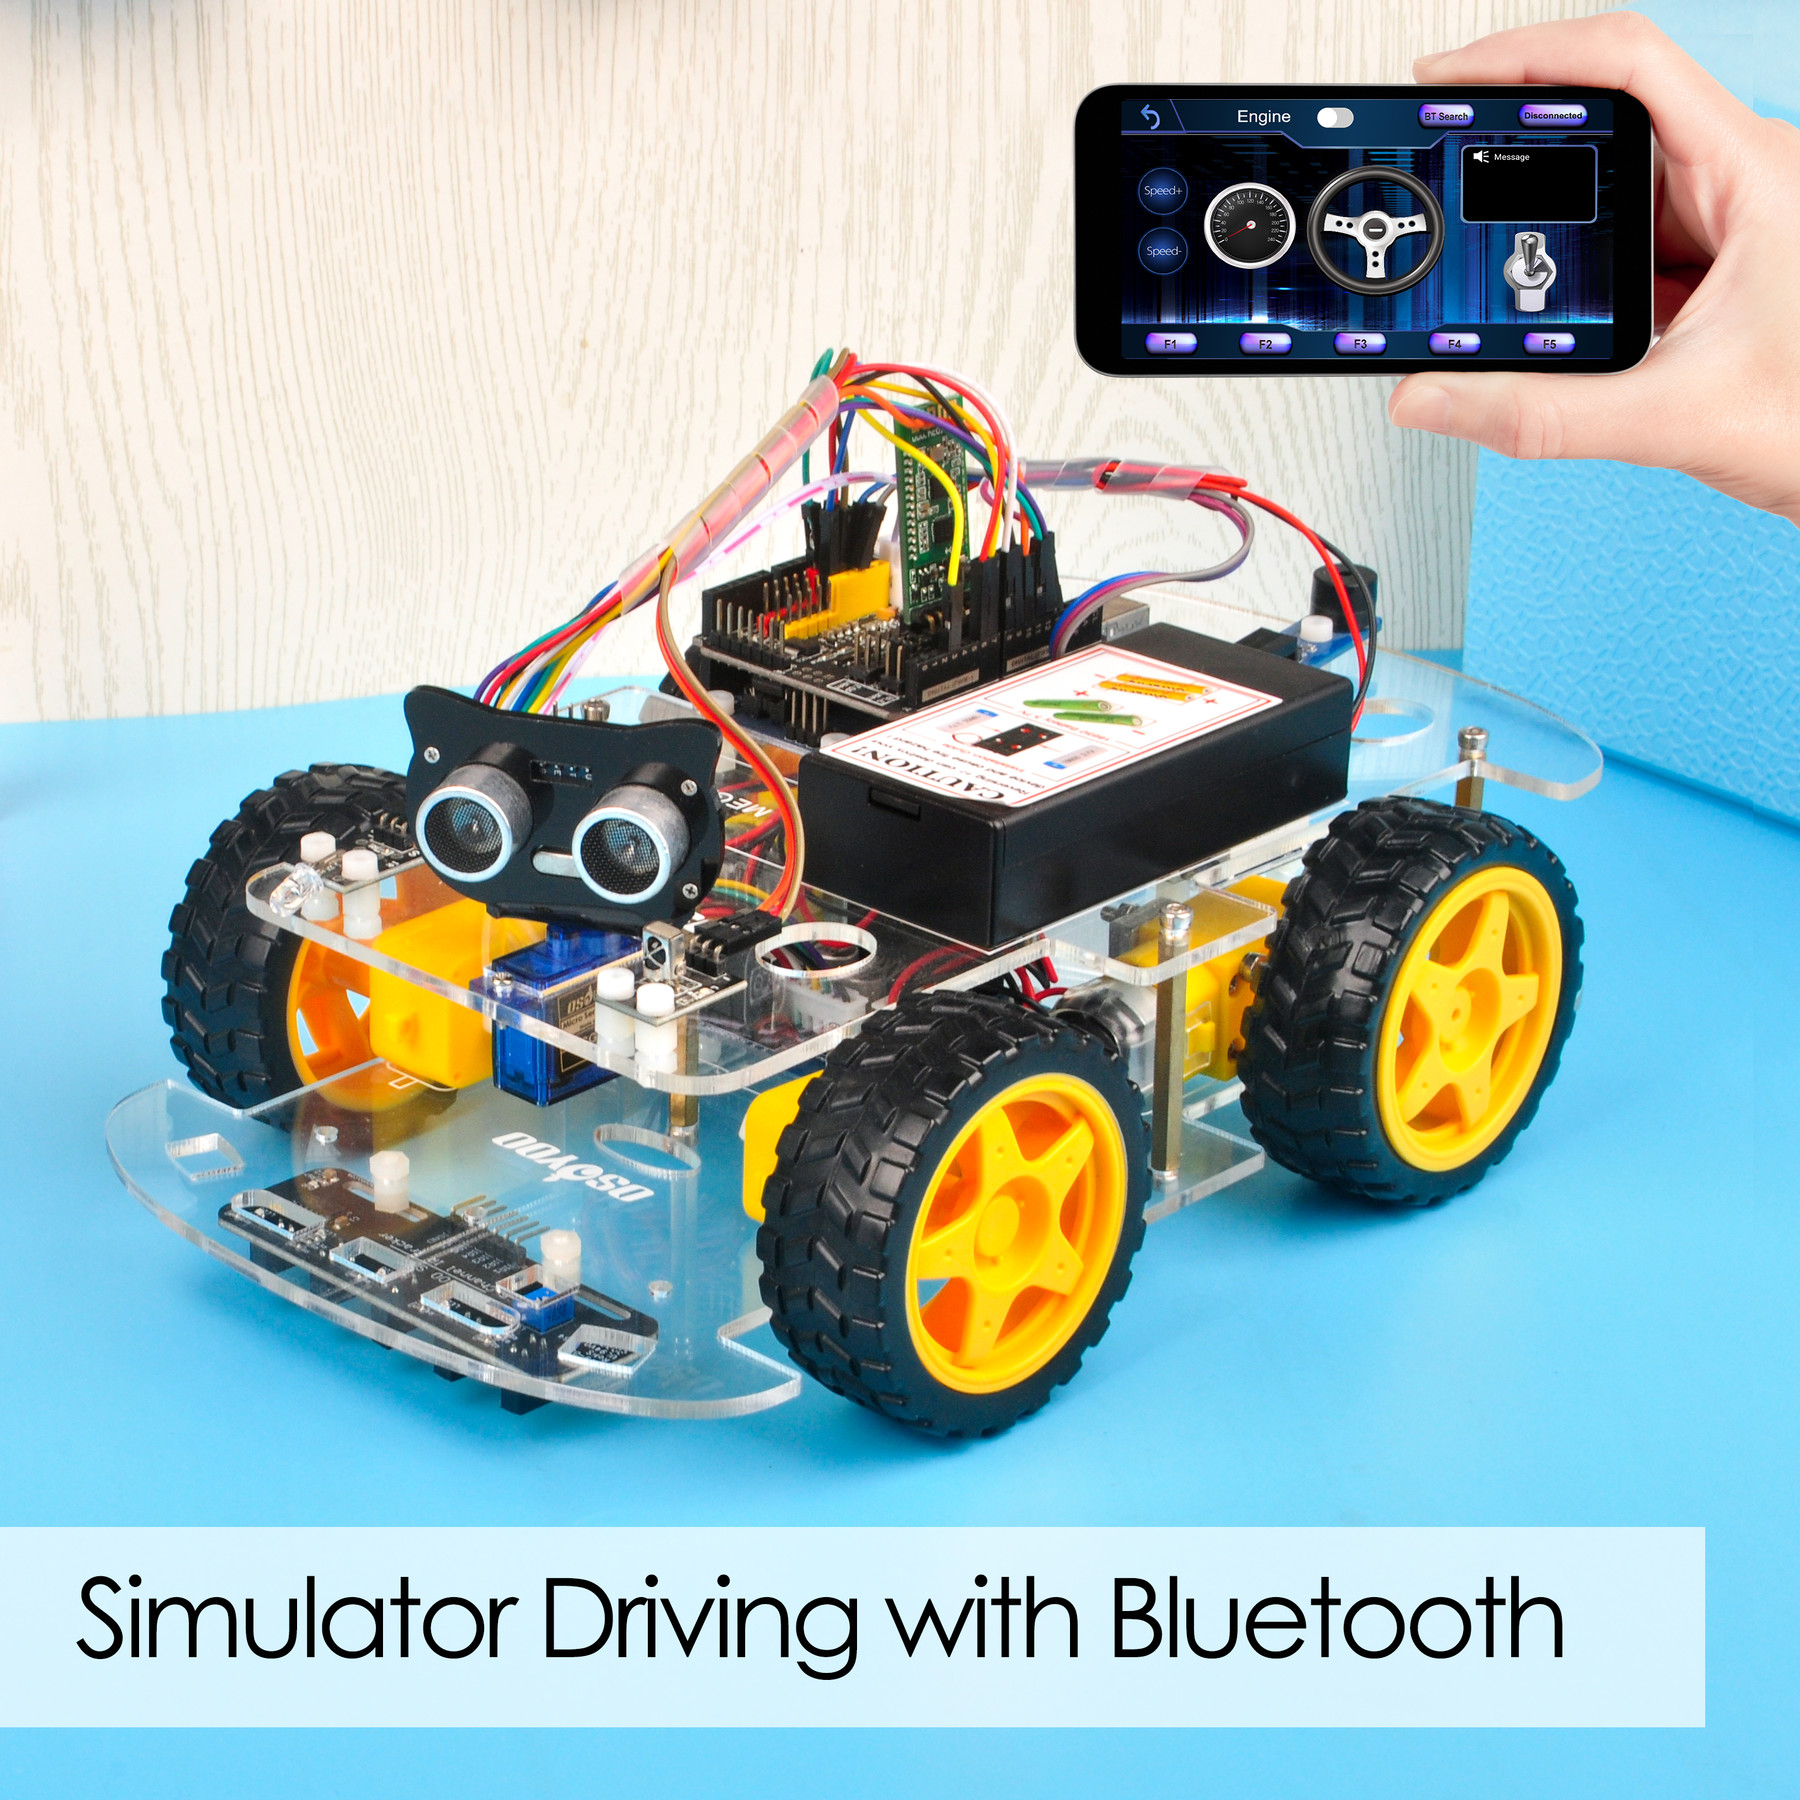
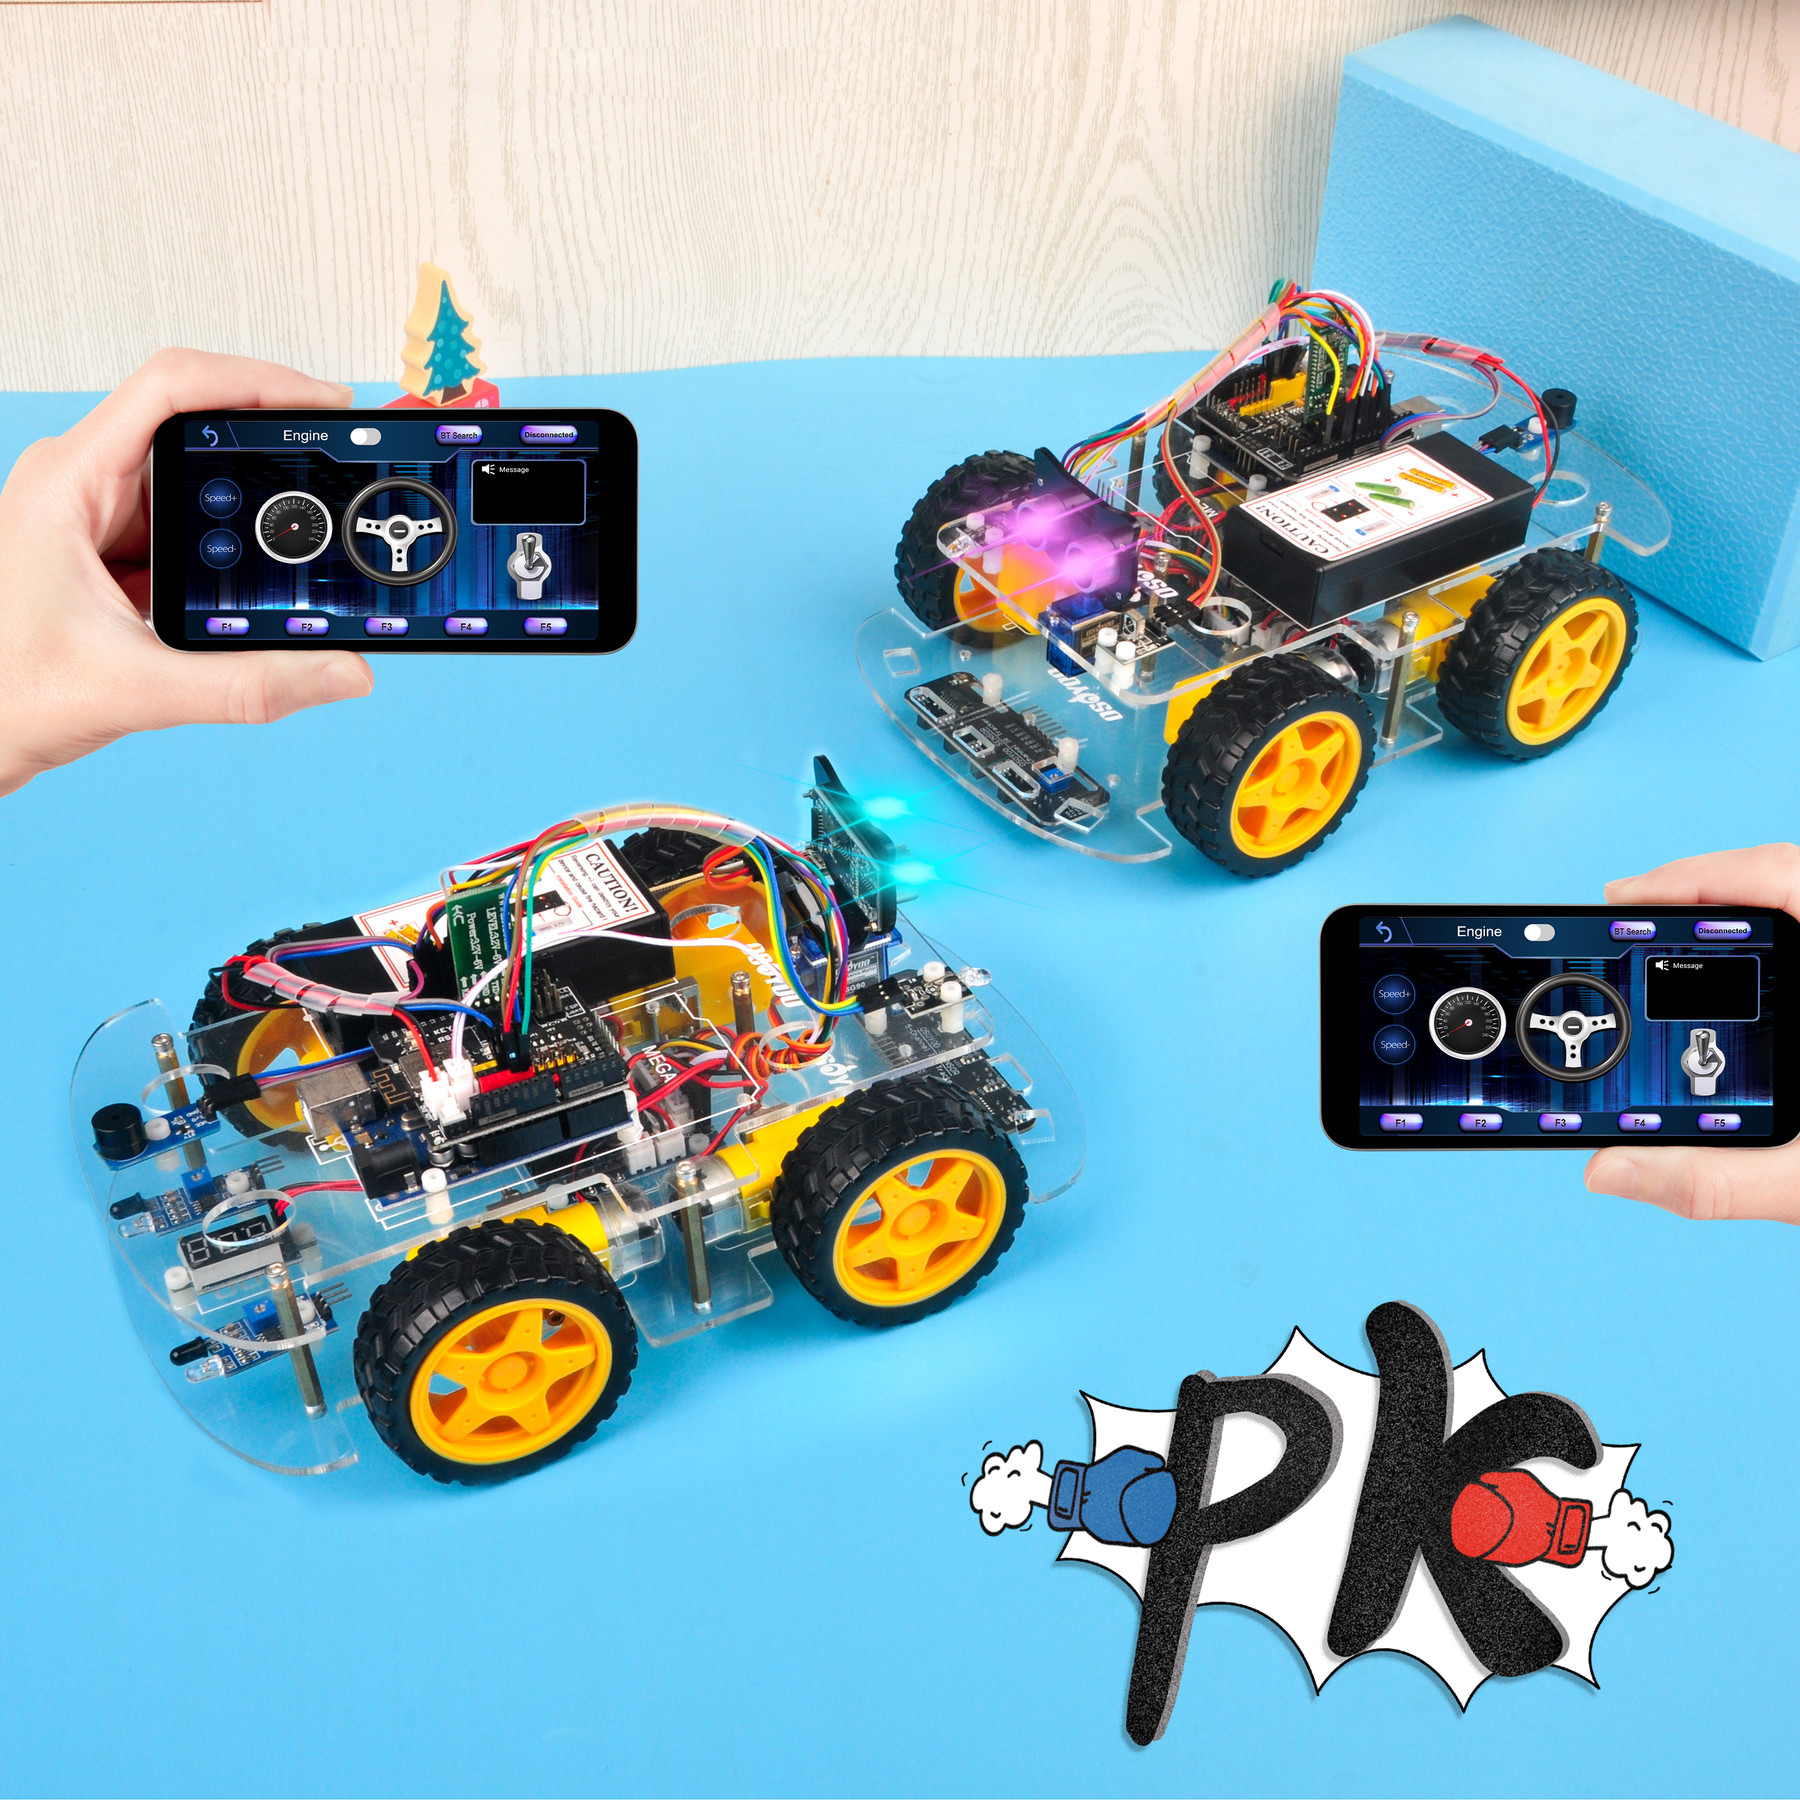
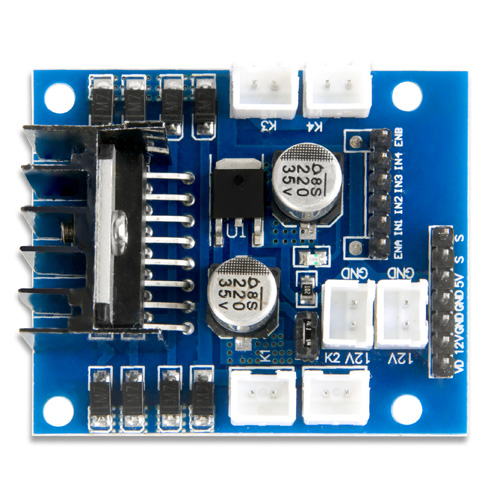
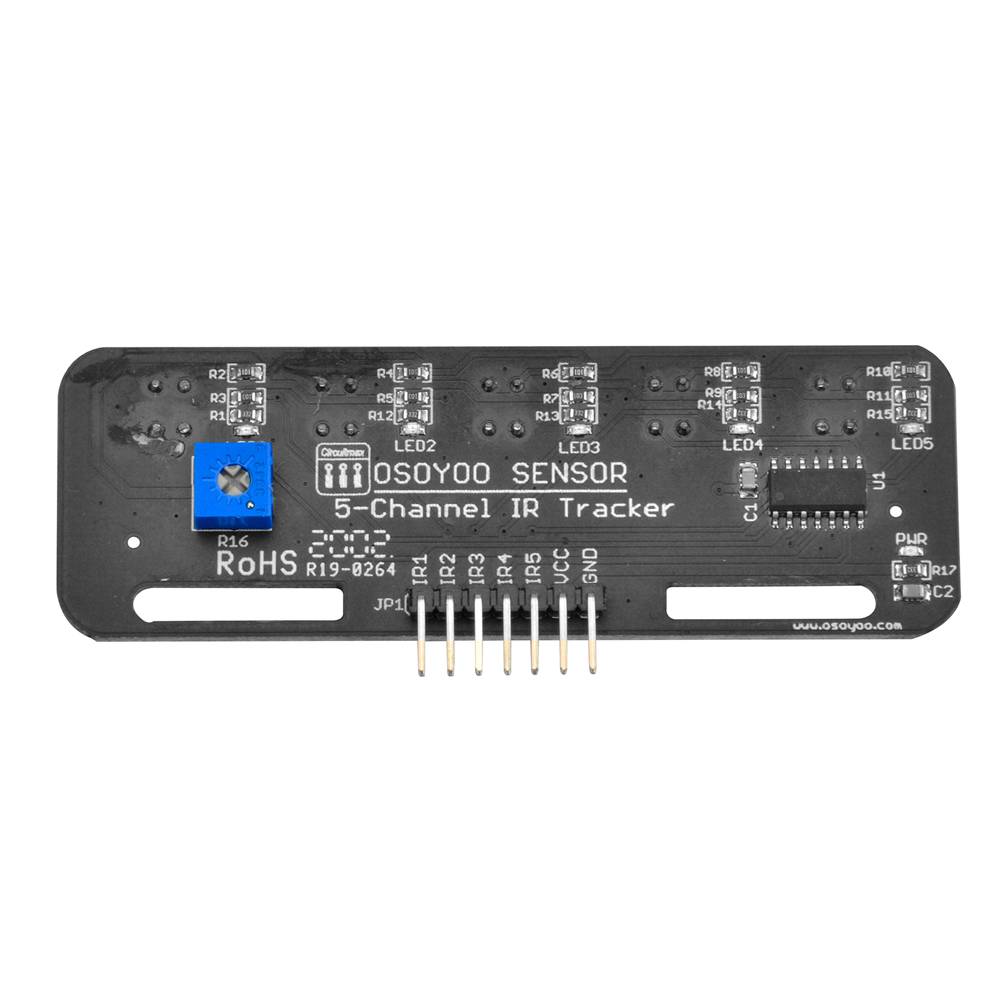
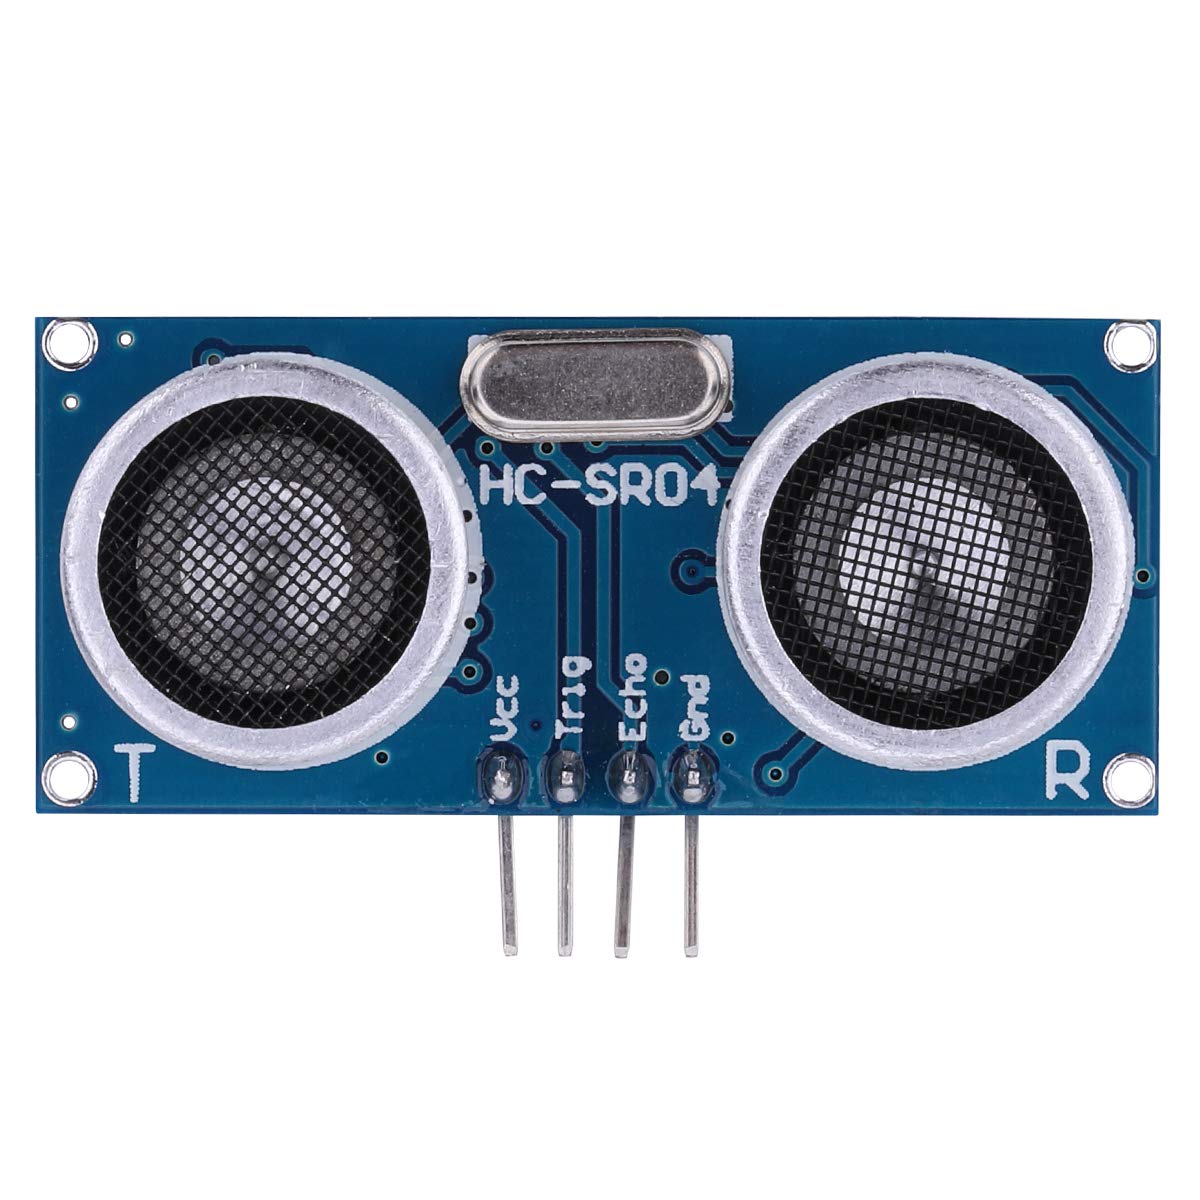
Questo kit contiene moduli tra cui il modulo driver motore OSOYOO MODEL X (*), il modulo sensore a ultrasuoni, il modulo di inseguimento, il telecomando a infrarossi, il modulo Bluetooth e lo shield Wi-Fi ESP8266, ecc. Grazie a questi moduli, l’auto robot può funzionare in più modalità: guida autonoma, controllo a infrarossi, evitamento ostacoli e inseguimento di linea. Puoi usare la nostra app Android per cambiare la modalità di funzionamento tramite Wi-Fi o Bluetooth.
*Il modulo driver motore OSOYOO MODEL X è una versione migliorata del modulo L298N, con nuovi connettori cablati appositamente progettati che semplificano notevolmente la procedura di assemblaggio e la stabilità dei collegamenti.
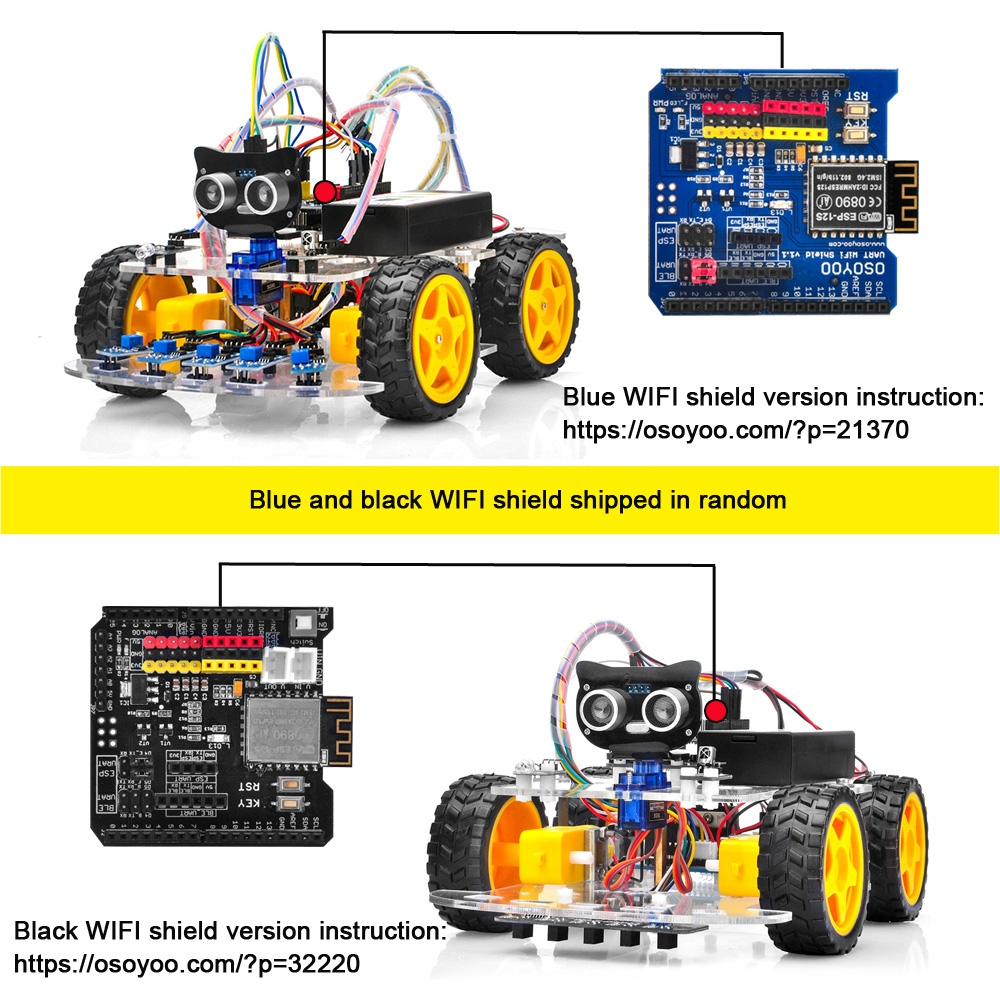
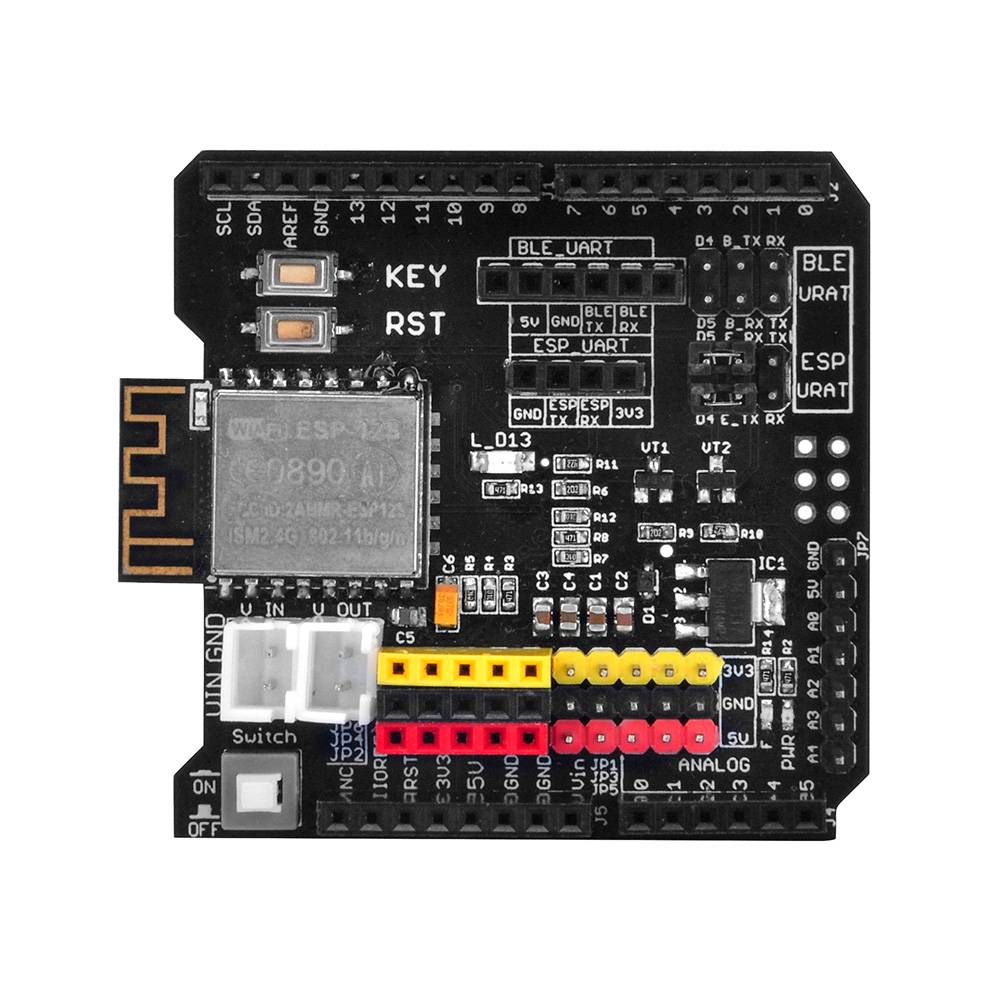
Esistono due versioni dello shield Wi-Fi. Gli shield Wi-Fi blu e nero vengono spediti in modo casuale.
Se ricevi lo shield Wi-Fi blu, segui queste istruzioni: https://osoyoo.com/?p=21370.
Se ricevi lo shield Wi-Fi nero, segui queste istruzioni: https://osoyoo.com/?p=32220.
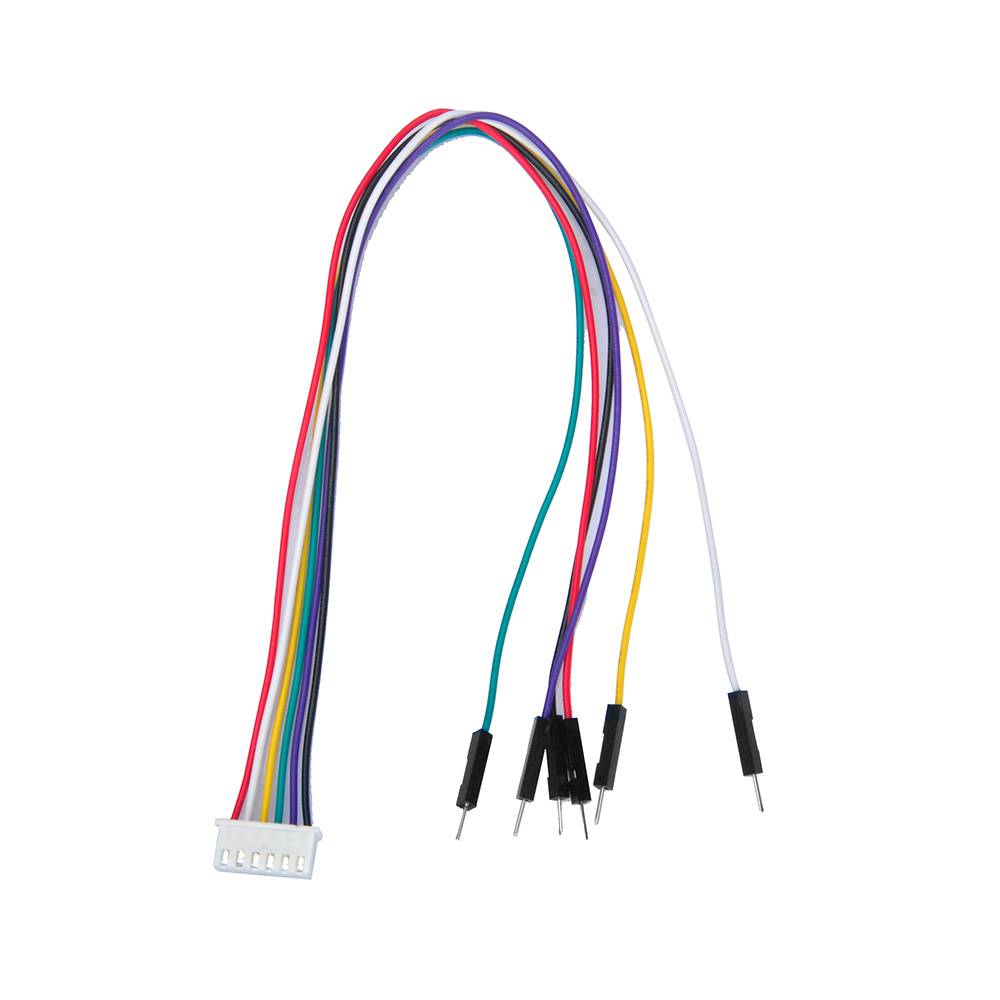
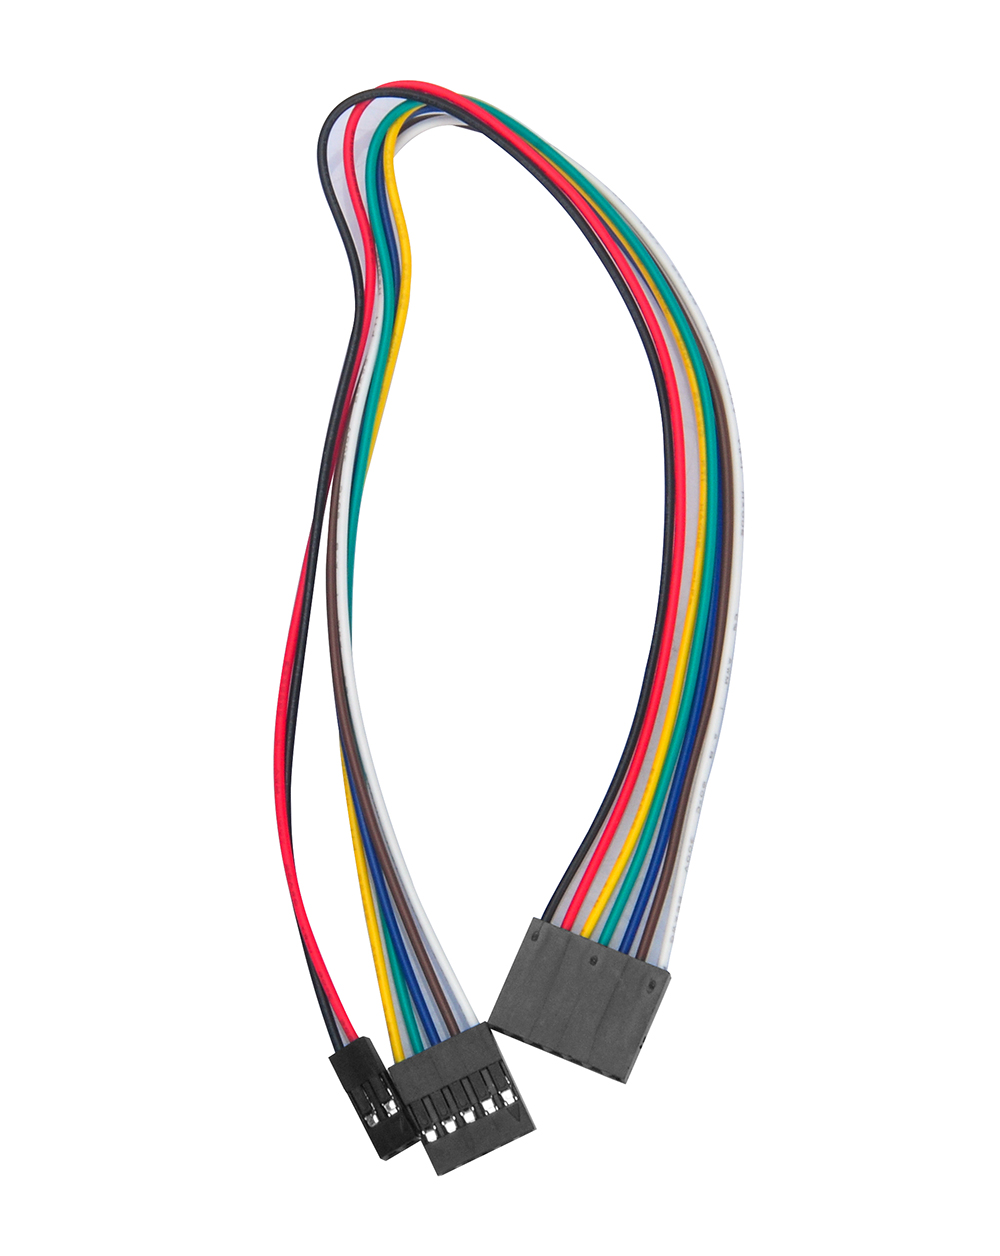
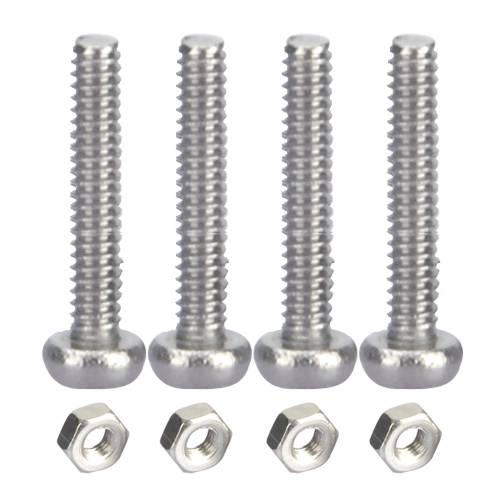
Lista dei componenti:
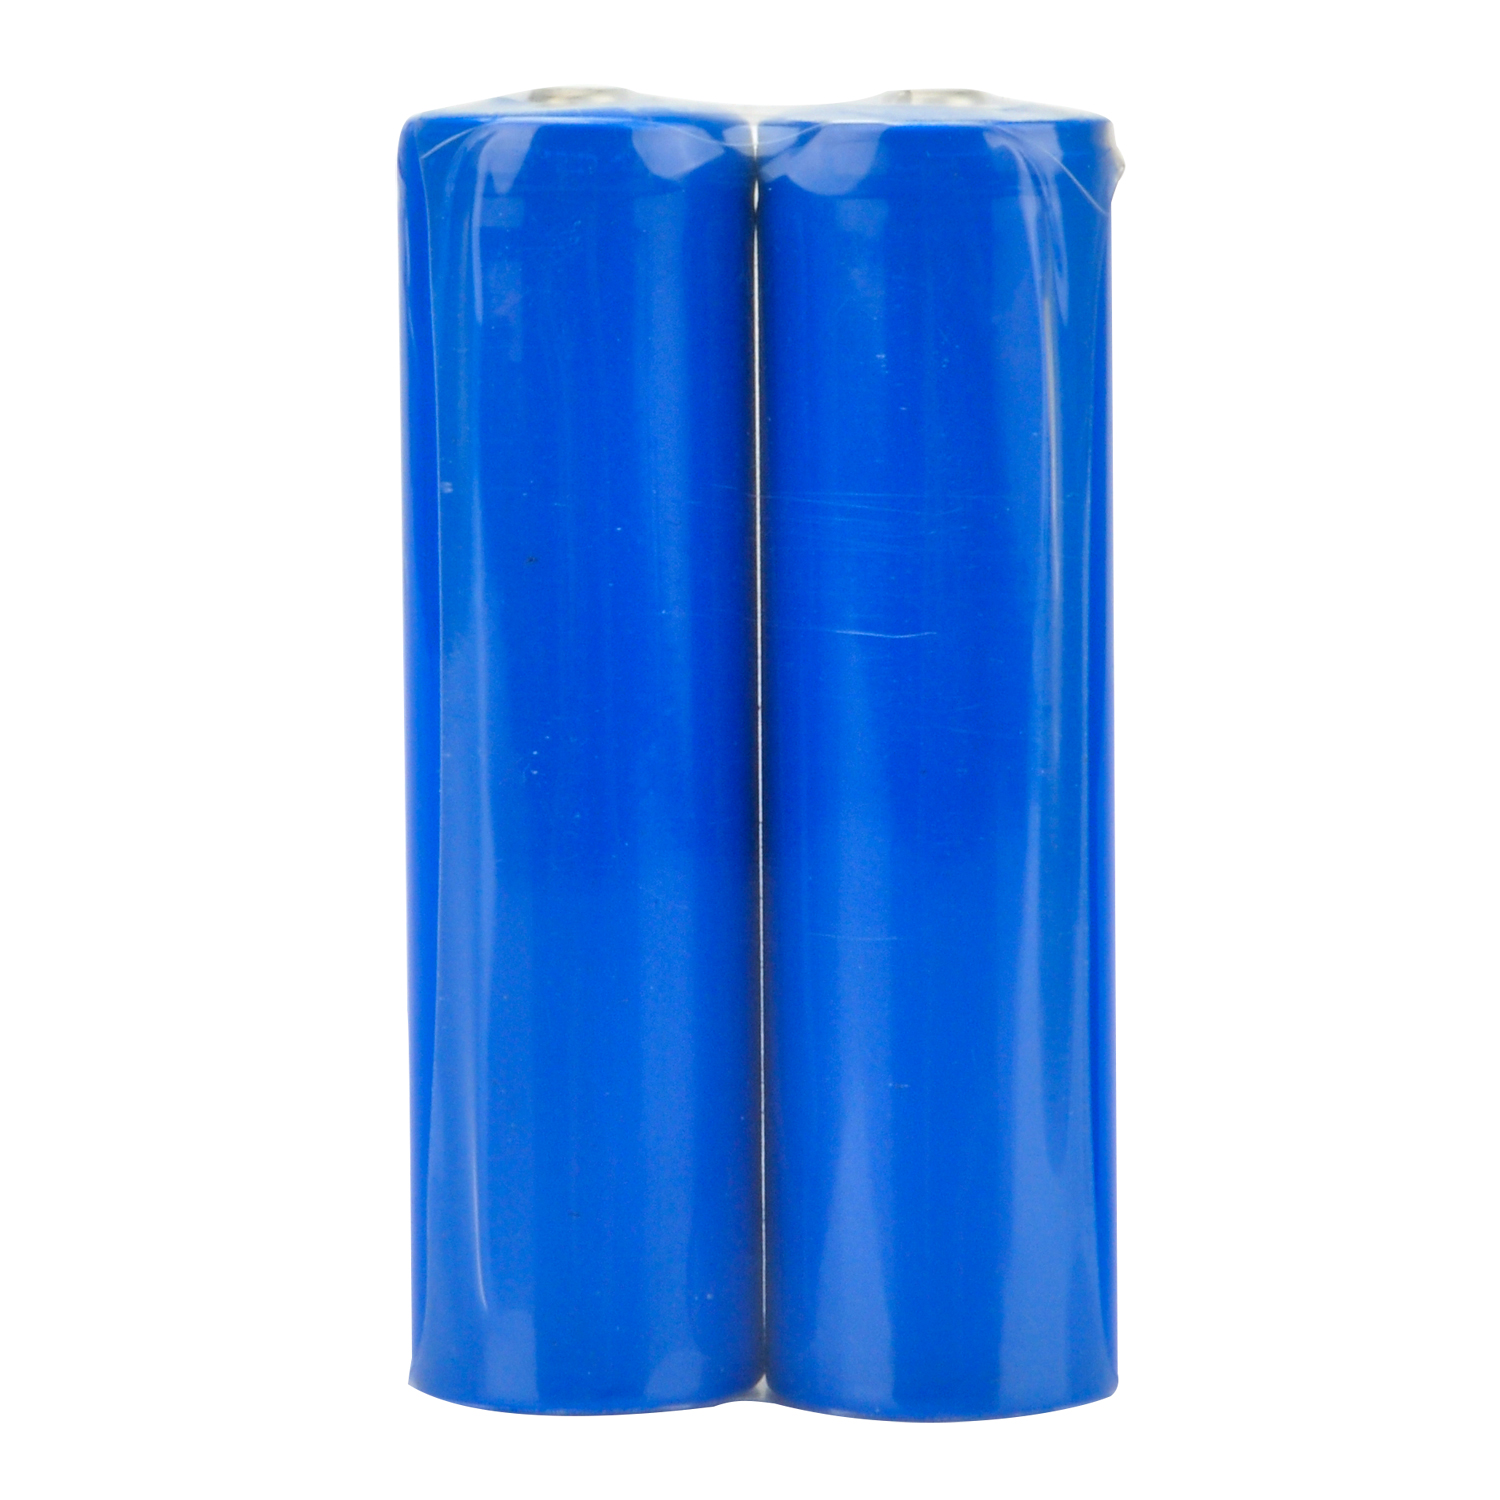
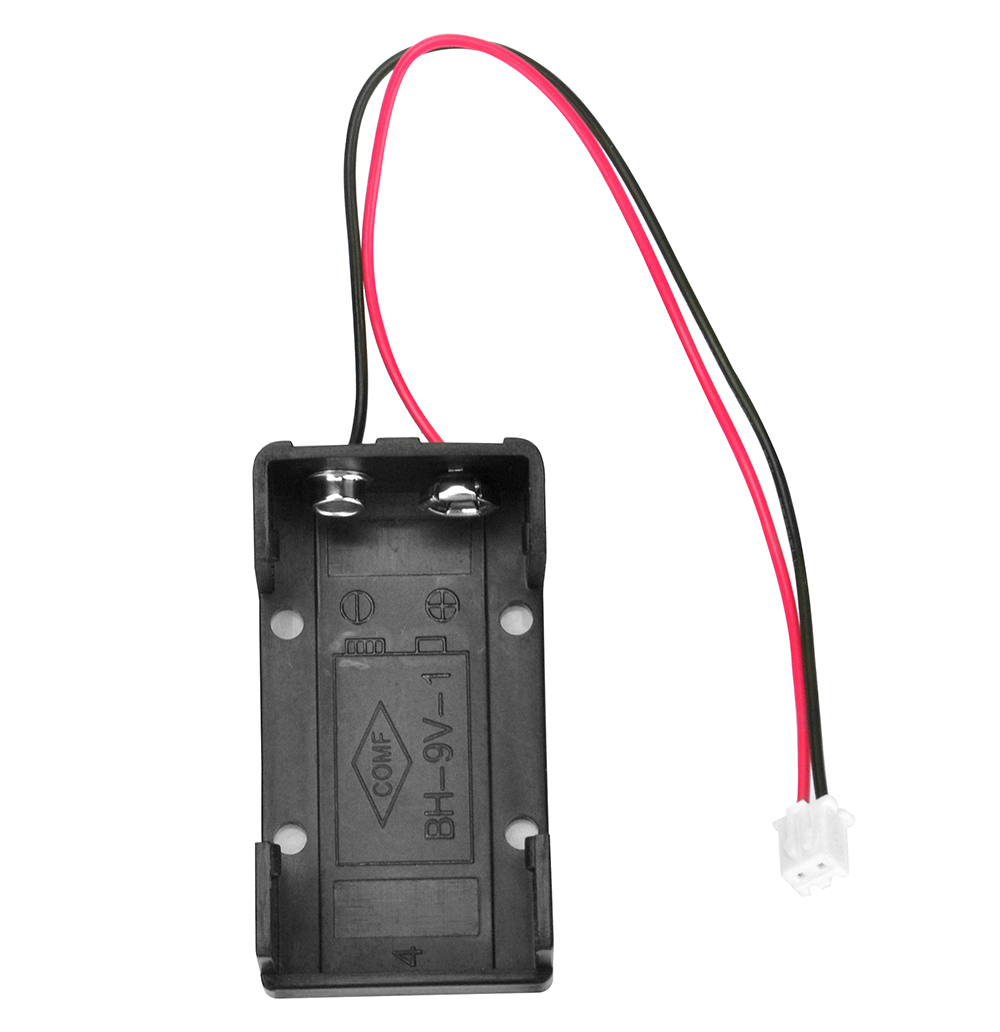
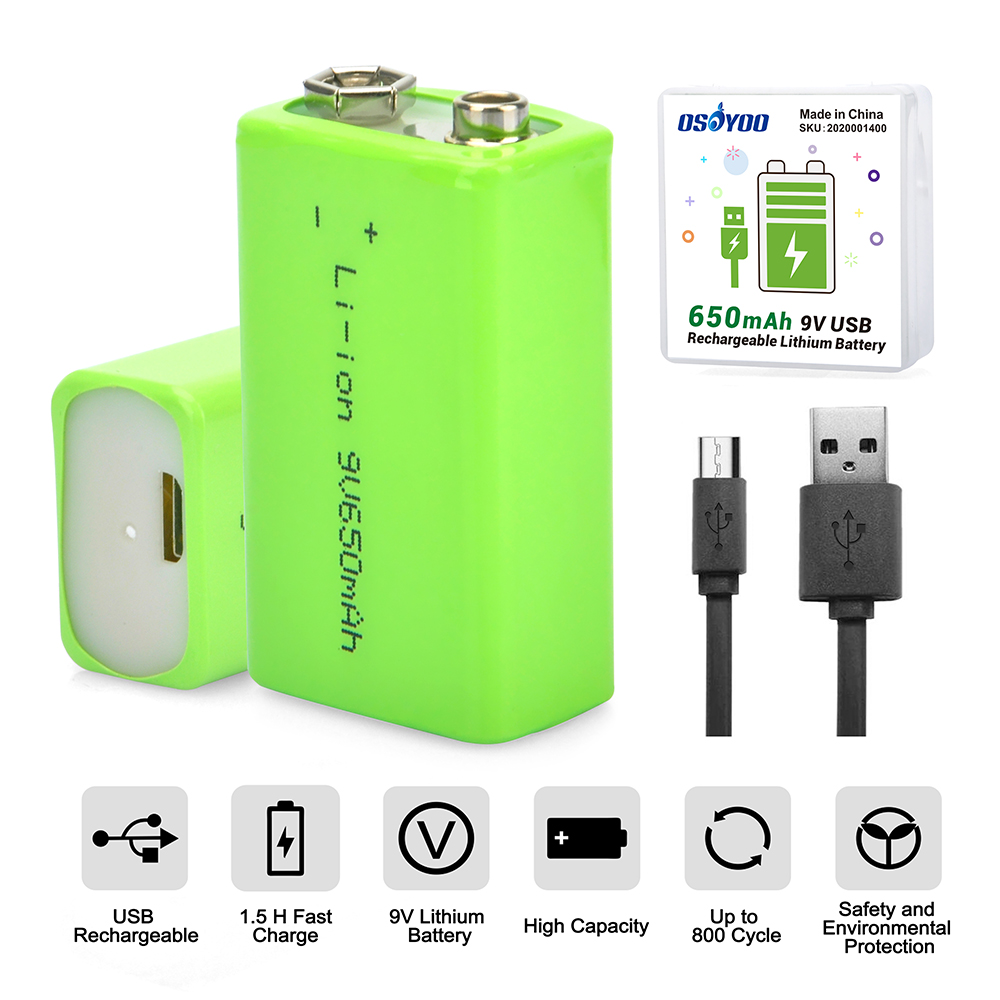
Offriamo due versioni del kit per auto robot. Una include 2 portabatterie (portabatterie 18650 e portabatterie 9V), l’altra include 1 coppia di batterie 18650 e il caricatore.
La seguente lista è per la versione con 2 portabatterie
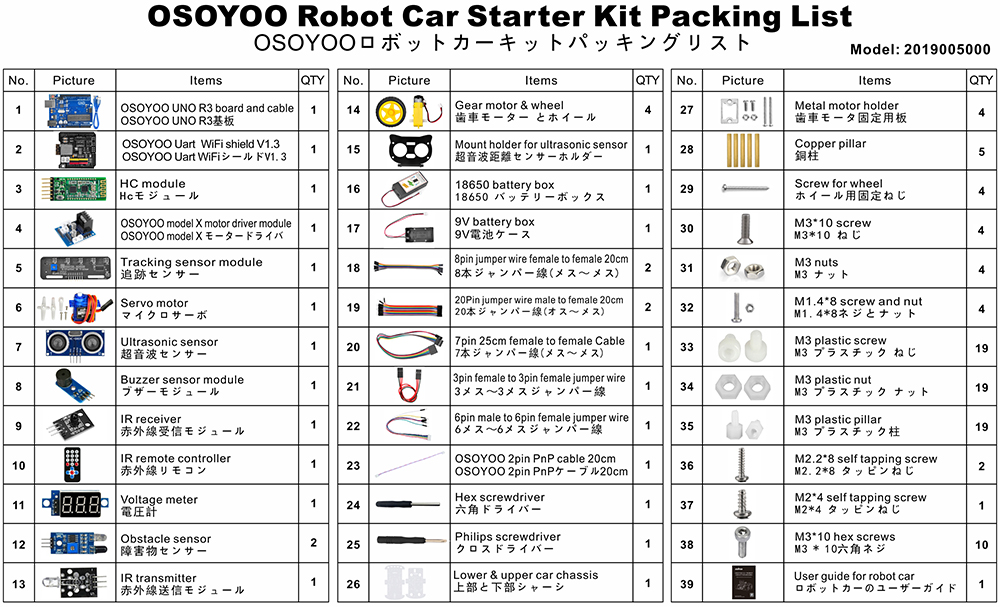
La seguente lista è per la versione con batteria e caricatore
Per ulteriori dettagli su ogni parte e dispositivo, clicca qui
✅ Questo tutorial è stato scritto per il Kit OSOYOO V2.1 Robot Car
Tutte le 8 lezioni, il codice di esempio e gli schemi dei circuiti in questa pagina sono progettati specificamente per questo kit.
Acquista direttamente dallo Store OSOYOO e risparmia il 10% — più spedizione gratuita per ordini superiori a $70.

OSOYOO V2.1 Robot Car Kit
🔋 Con batteria & caricatore:
$61.02
$67.80
— codice ROBOTCAR10
📦 Senza batteria: usa lo stesso codice per il 10% di sconto
Tutorial di base
Abbiamo preparato alcuni tutorial di base per i principianti che non conoscono ancora Arduino. Questa sezione spiega cos’è Arduino e mostra come iniziare con semplici progetti Arduino. Arduino è la più grande piattaforma hardware open source al mondo e offre infinite possibilità con semplici prodotti basati su microcontrollore. Imparare a programmare sulla piattaforma Arduino è un percorso che non smette mai di crescere.
Con questo supporto hardware e software, diventerai presto un programmatore esperto. Prendi il kit e inizia il tuo progetto oggi!
Tutorial e progetti di esempio
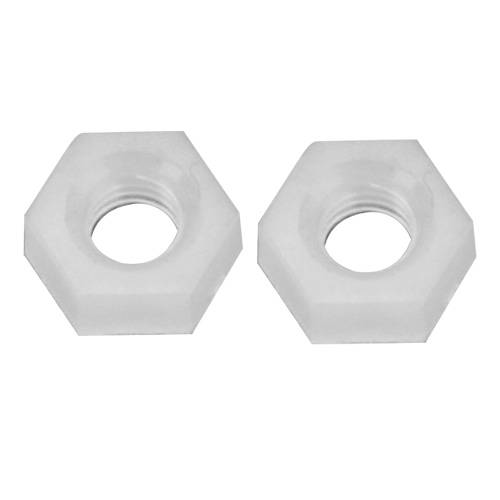
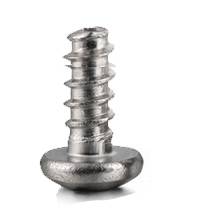
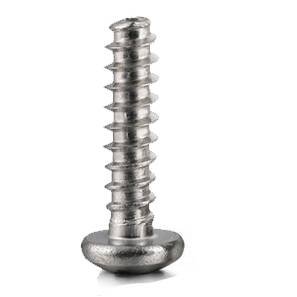
Parti e dispositivi
🤖 Inizia a costruire la tua V2.1 Robot Car oggi
Kit ufficiale per questo tutorial · WiFi + Bluetooth + 8 lezioni di progetto incluse
Usa il codice esclusivo per lettori ROBOTCAR10 per il 10% di sconto — acquista direttamente e risparmia rispetto ad Amazon
🇺🇸 Clienti USA:
Versione ricondizionata Open Box disponibile a uno sconto maggiore →


Could you help me to change some lines in the code, more speed when its following the line, to folow a withe line, and dected some object and stop when this happends. please help
Please open the codes which you want to revise, and find the lines:
#define FAST_SPEED 150
#define MID_SPEED 140
#define SLOW_SPEED 130
you can change the value from 0 ~ 255.
done, thanks,it works.
Could you help me to change the code to follow a white line?
For line tracking mode, the value “1” means the tracking sensor is on black line, the value “0” means the tracking sensor is on white line.
Please find the following lines of the lesson 4 code and exchange black line value to white line value:
void auto_tracking(){
String sensorval= read_sensor_values();
Serial.println(sensorval);
if ( sensorval==”10000″ )
{
//The black line is in the left of the car, need left turn
go_Left(); //Turn left
set_Motorspeed(FAST_SPEED,FAST_SPEED);
}
if (sensorval==”10100″ || sensorval==”01000″ || sensorval==”01100″ || sensorval==”11100″ || sensorval==”10010″ || sensorval==”11010″)
{
go_Advance(); //Turn slight left
set_Motorspeed(0,FAST_SPEED);
}
if ( sensorval==”00001″ ){ //The black line is on the right of the car, need right turn
go_Right(); //Turn right
set_Motorspeed(FAST_SPEED,FAST_SPEED);
}
if (sensorval==”00011″ || sensorval==”00010″ || sensorval==”00101″ || sensorval==”00110″ || sensorval==”00111″ || sensorval==”01101″ || sensorval==”01111″ || sensorval==”01011″ || sensorval==”01001″)
{
go_Advance(); //Turn slight right
set_Motorspeed( FAST_SPEED,0);
}
if (sensorval==”11111″){
stop_Stop(); //The car front touch stop line, need stop
set_Motorspeed(0,0);
}
For example, the value of “sensorval==”01100″” mean the left 2 and left 3 tracking sensors are on black line and the other tracking sensors are on white line. if the left 2 and left 3 tracking sensors are on white line and the other tracking sensors are on black line, the code value is “sensorval==”10011″”
hope these will help you.
Ok, so i have to change all the values, like that? (code bellow) i change al the “1” for “0”
void auto_tracking(){
String sensorval= read_sensor_values();
Serial.println(sensorval);
if ( sensorval==”01111″ )
{
//The black line is in the left of the car, need left turn
go_Left(); //Turn left
set_Motorspeed(FAST_SPEED,FAST_SPEED);
}
if (sensorval==”01011″ || sensorval==”10111″ || sensorval==”10011″ || sensorval==”00011″ || sensorval==”01101″ || sensorval==”00101″)
{
go_Advance(); //Turn slight left
set_Motorspeed(0,FAST_SPEED);
}
if ( sensorval==”11110″ ){ //The black line is on the right of the car, need right turn
go_Right(); //Turn right
set_Motorspeed(FAST_SPEED,FAST_SPEED);
}
if (sensorval==”11100″ || sensorval==”11101″ || sensorval==”11010″ || sensorval==”11001″ || sensorval==”11000″ || sensorval==”10010″ || sensorval==”10000″ || sensorval==”10100″ || sensorval==”10110″)
{
go_Advance(); //Turn slight right
set_Motorspeed( FAST_SPEED,0);
}
if (sensorval==”00000″){
stop_Stop(); //The car front touch stop line, need stop
set_Motorspeed(0,0);
}
Yes, please have a try.
Hola me puedes ayudar por favor no soy capaz de encontrar el software para el osoyoo 2.1 que debería ser la versión 1.8.8 soy nuevo en esto y me estoy volviendo loco seri de gran ayuda para mi
buenos dias e adquirido un osoyoo 2.1 y no soy capaz de descargarme el software necesito ayuda ya que soy nuevo en este mundo
no soy capad de encontrar la version 1.8.8 no se si an sacado alguna actualizacion
Do you mean you want to download the Arduino IDE V1.8.8?
Please visit the link: https://www.arduino.cc/en/software/OldSoftwareReleases
Si muchas gracias por que no avía manera de encontrar la esa versión ya te comentaré el resultado
ciao come faccio ad eliminare i tempi di fermo rover quando non ha ostacoli vicino?
Grazie
Please can you help me with a code that will make mine go round circles? I have tried several means, but not working, please
I am not so clear? Make the robot turn in place? Due to changes in current or uneven ground, the robot’s trajectory may change
I am working on a project that would make this car go round a circles of a particular radius
Please I am having issue trying to write a code that uses both obstacle avoidance sensor the IR sensor all in the same code or program. Please can you help me out please.
Please I am having issue trying to write a code that uses both obstacle avoidance sensor the IR sensor all in the same code or program. Please can you help me out please.
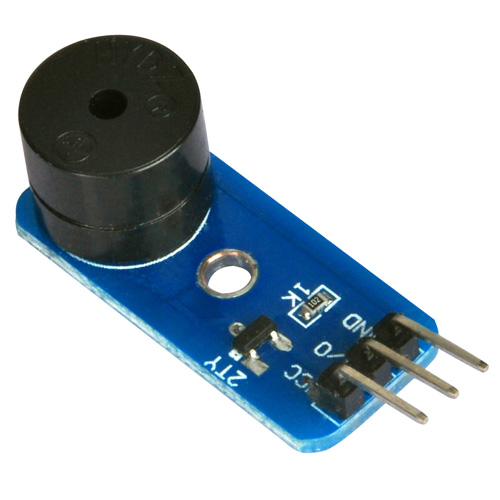
In Lesson 7 there are several unused custom buttons. I would like to use the custom button F2 to make the buzzer sound. What letter in the Uart_Date stream corresponds to F2 (also what letter corresponds to F4)?
Nevermind F2 is G and F4 is I (too tired to think of monitoring the UART_Date variable on the Serial Monitor when I posted)
Hello. Voltage seems to be alright at 7.30 but whenever I turn on the car it’s just constantly turning left.
How may one establish a connection between a servo motor and an Arduino microcontroller? The servo motor is equipped with a female connector. However, the provided kit solely comprises male-to-female and female-to-female connectors. What course of action is recommended to address this situation?
hey, so I am trying to modify the code from lesson one. I am trying to make the robot go around in a circle of a 3m diameter after going forward for 2 seconds. Could you please help me with a code that makes the robot go around in a circle of a particular diameter?
I was building the remote control car and when I was going to use the remote, the car would not move at all. I checked to see if the battery was in the remote and to see if it was in the right way, and it was. I was wondering what was wrong. Thank you
Ich habe das Auto fertiggestellt. Es zeigt die gemessene Entfernung zum Hindernis im seriellen Monitor richtig an, fährt aber nur rückwärts oder dreht sich im Kreis, obwohl vorne ausreichend Abstand zur Verfügung steht. Es fährt nicht nach vorwärts auf das Hindernis zu, so wie es erwartet würde. Wo liegt der Fehler?
Woher wissen Sie „Es zeigt die gemessene Entfernung zum Hindernis im seriellen Monitor richtig an“?
how do you know “It correctly displays the measured distance to the obstacle in the serial monitor”?
I installed the Driving app from the Apple Store on my iPad (iOS 16.6.1), but the motion sensor isn’t working and I can’t control the left and right. What should I do?
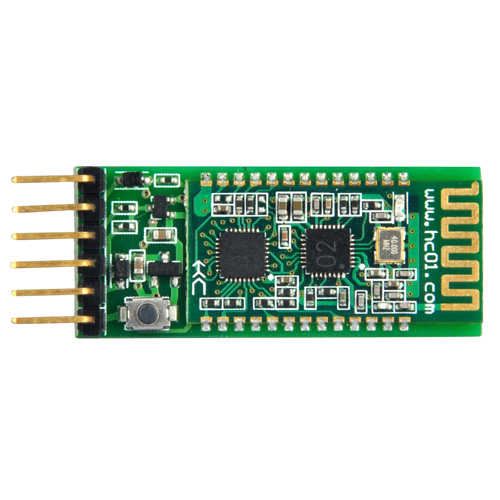
Are you talking about the lesson 7 immitation driving bluetooth APP?
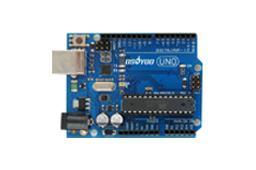
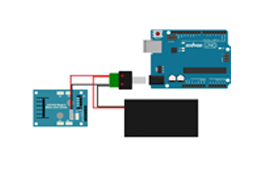
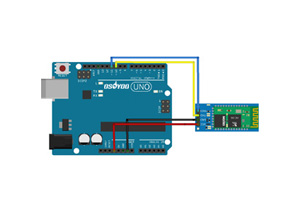
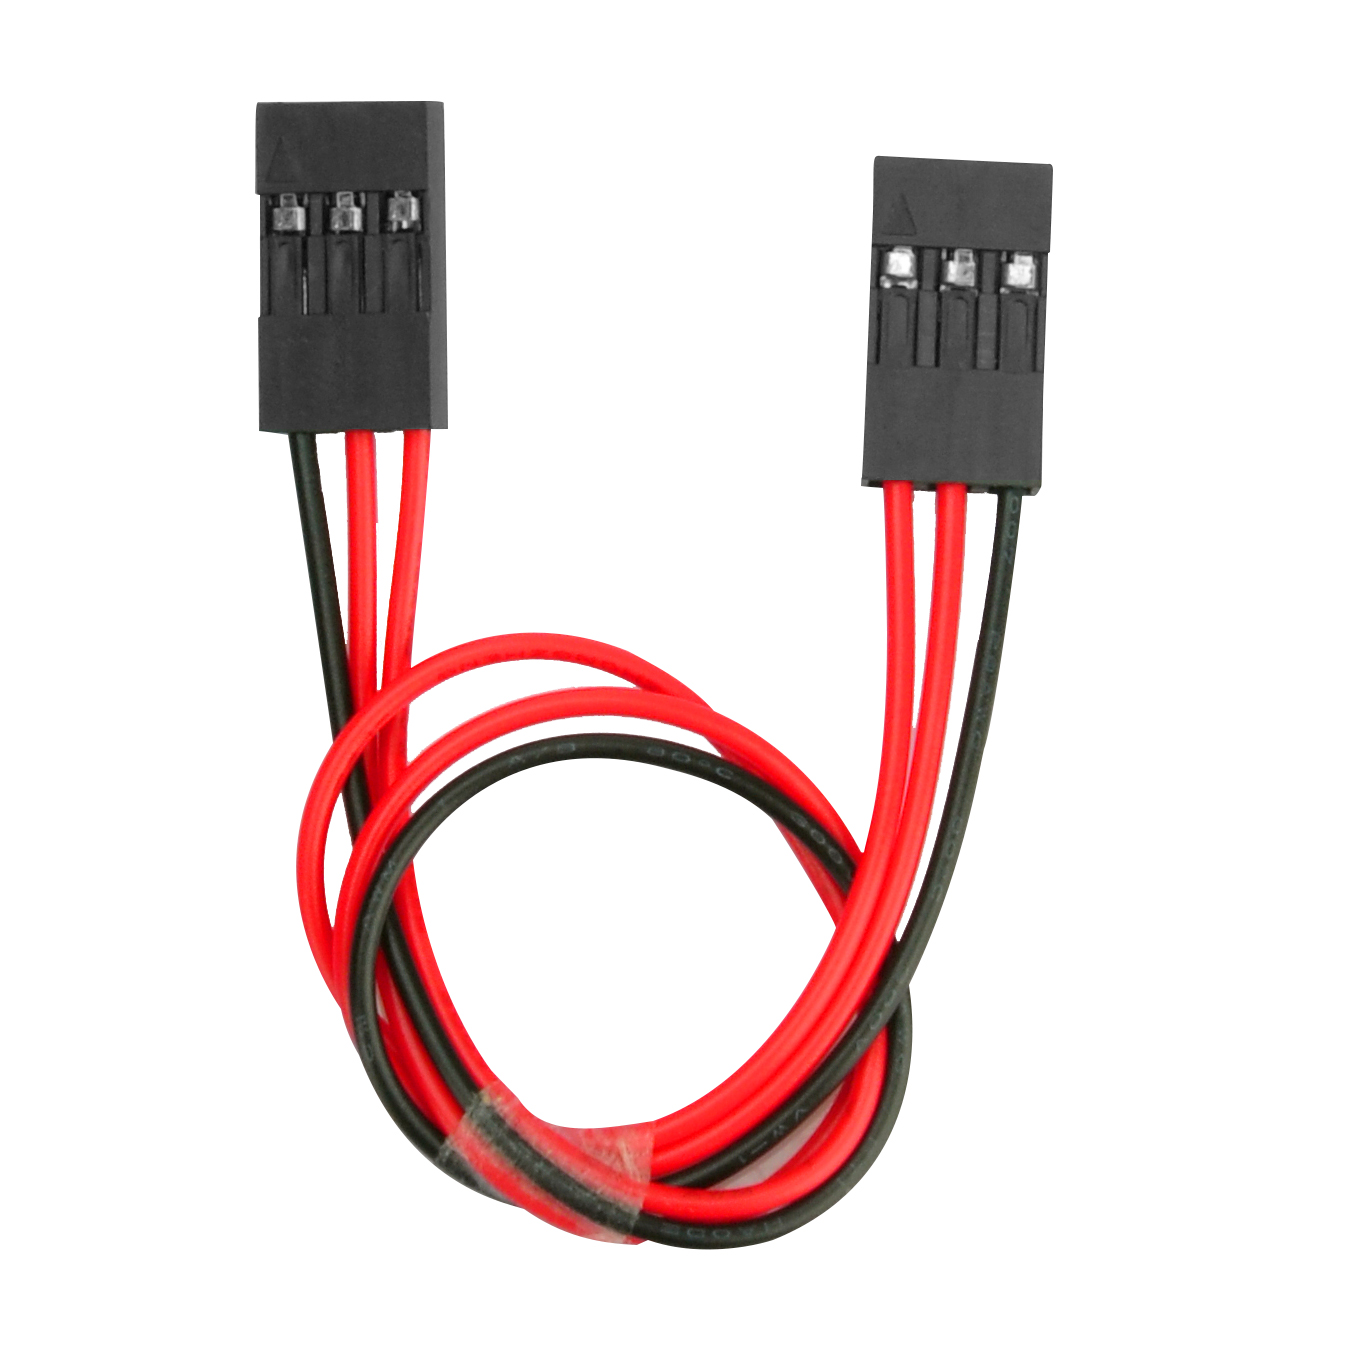
please make sure that you have correctly connected the B_TX to D4 and B_RX to D5 using jumper caps, see following picture.
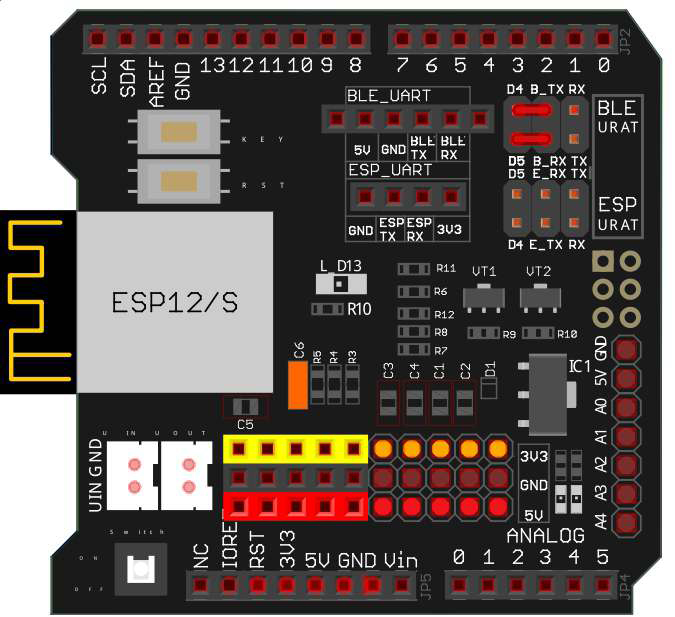
Some people put the jumper caps in the lower location(E_TX to D4 and E_RX to D5), that is WRONG and your Arduino can not get signal from Bluetooth chip.
Thank you for your comment.
Other iOS apps work without changing the hardware settings, so I don’t think it’s a problem with the robot’s hardware.
Did you enable the bluetooth sensor and motion sensor in you iPad? Can you connect the HC-02 bluetooth device?