V2.1 ロボットカープラスキット(18650バッテリーおよびUSB充電器付き)は、以下のリンクからご購入いただけます:
| OSOYOOで購入 |
米国で購入 |
英国で購入 |
ドイツで購入 |
イタリアで購入 |
フランスで購入 |
スペインで購入 |
日本で購入 |
 |
 |
 |
 |
 |
 |
 |
 |
バッテリーと充電器なしのV2.1 ロボットカーを購入する:
| OSOYOOで購入 |
米国で購入 |
英国で購入 |
ドイツで購入 |
イタリアで購入 |
フランスで購入 |
スペインで購入 |
日本で購入 |
|
|
|
|
|
|
|
|

🤖 このロボットカーを作ってみませんか?
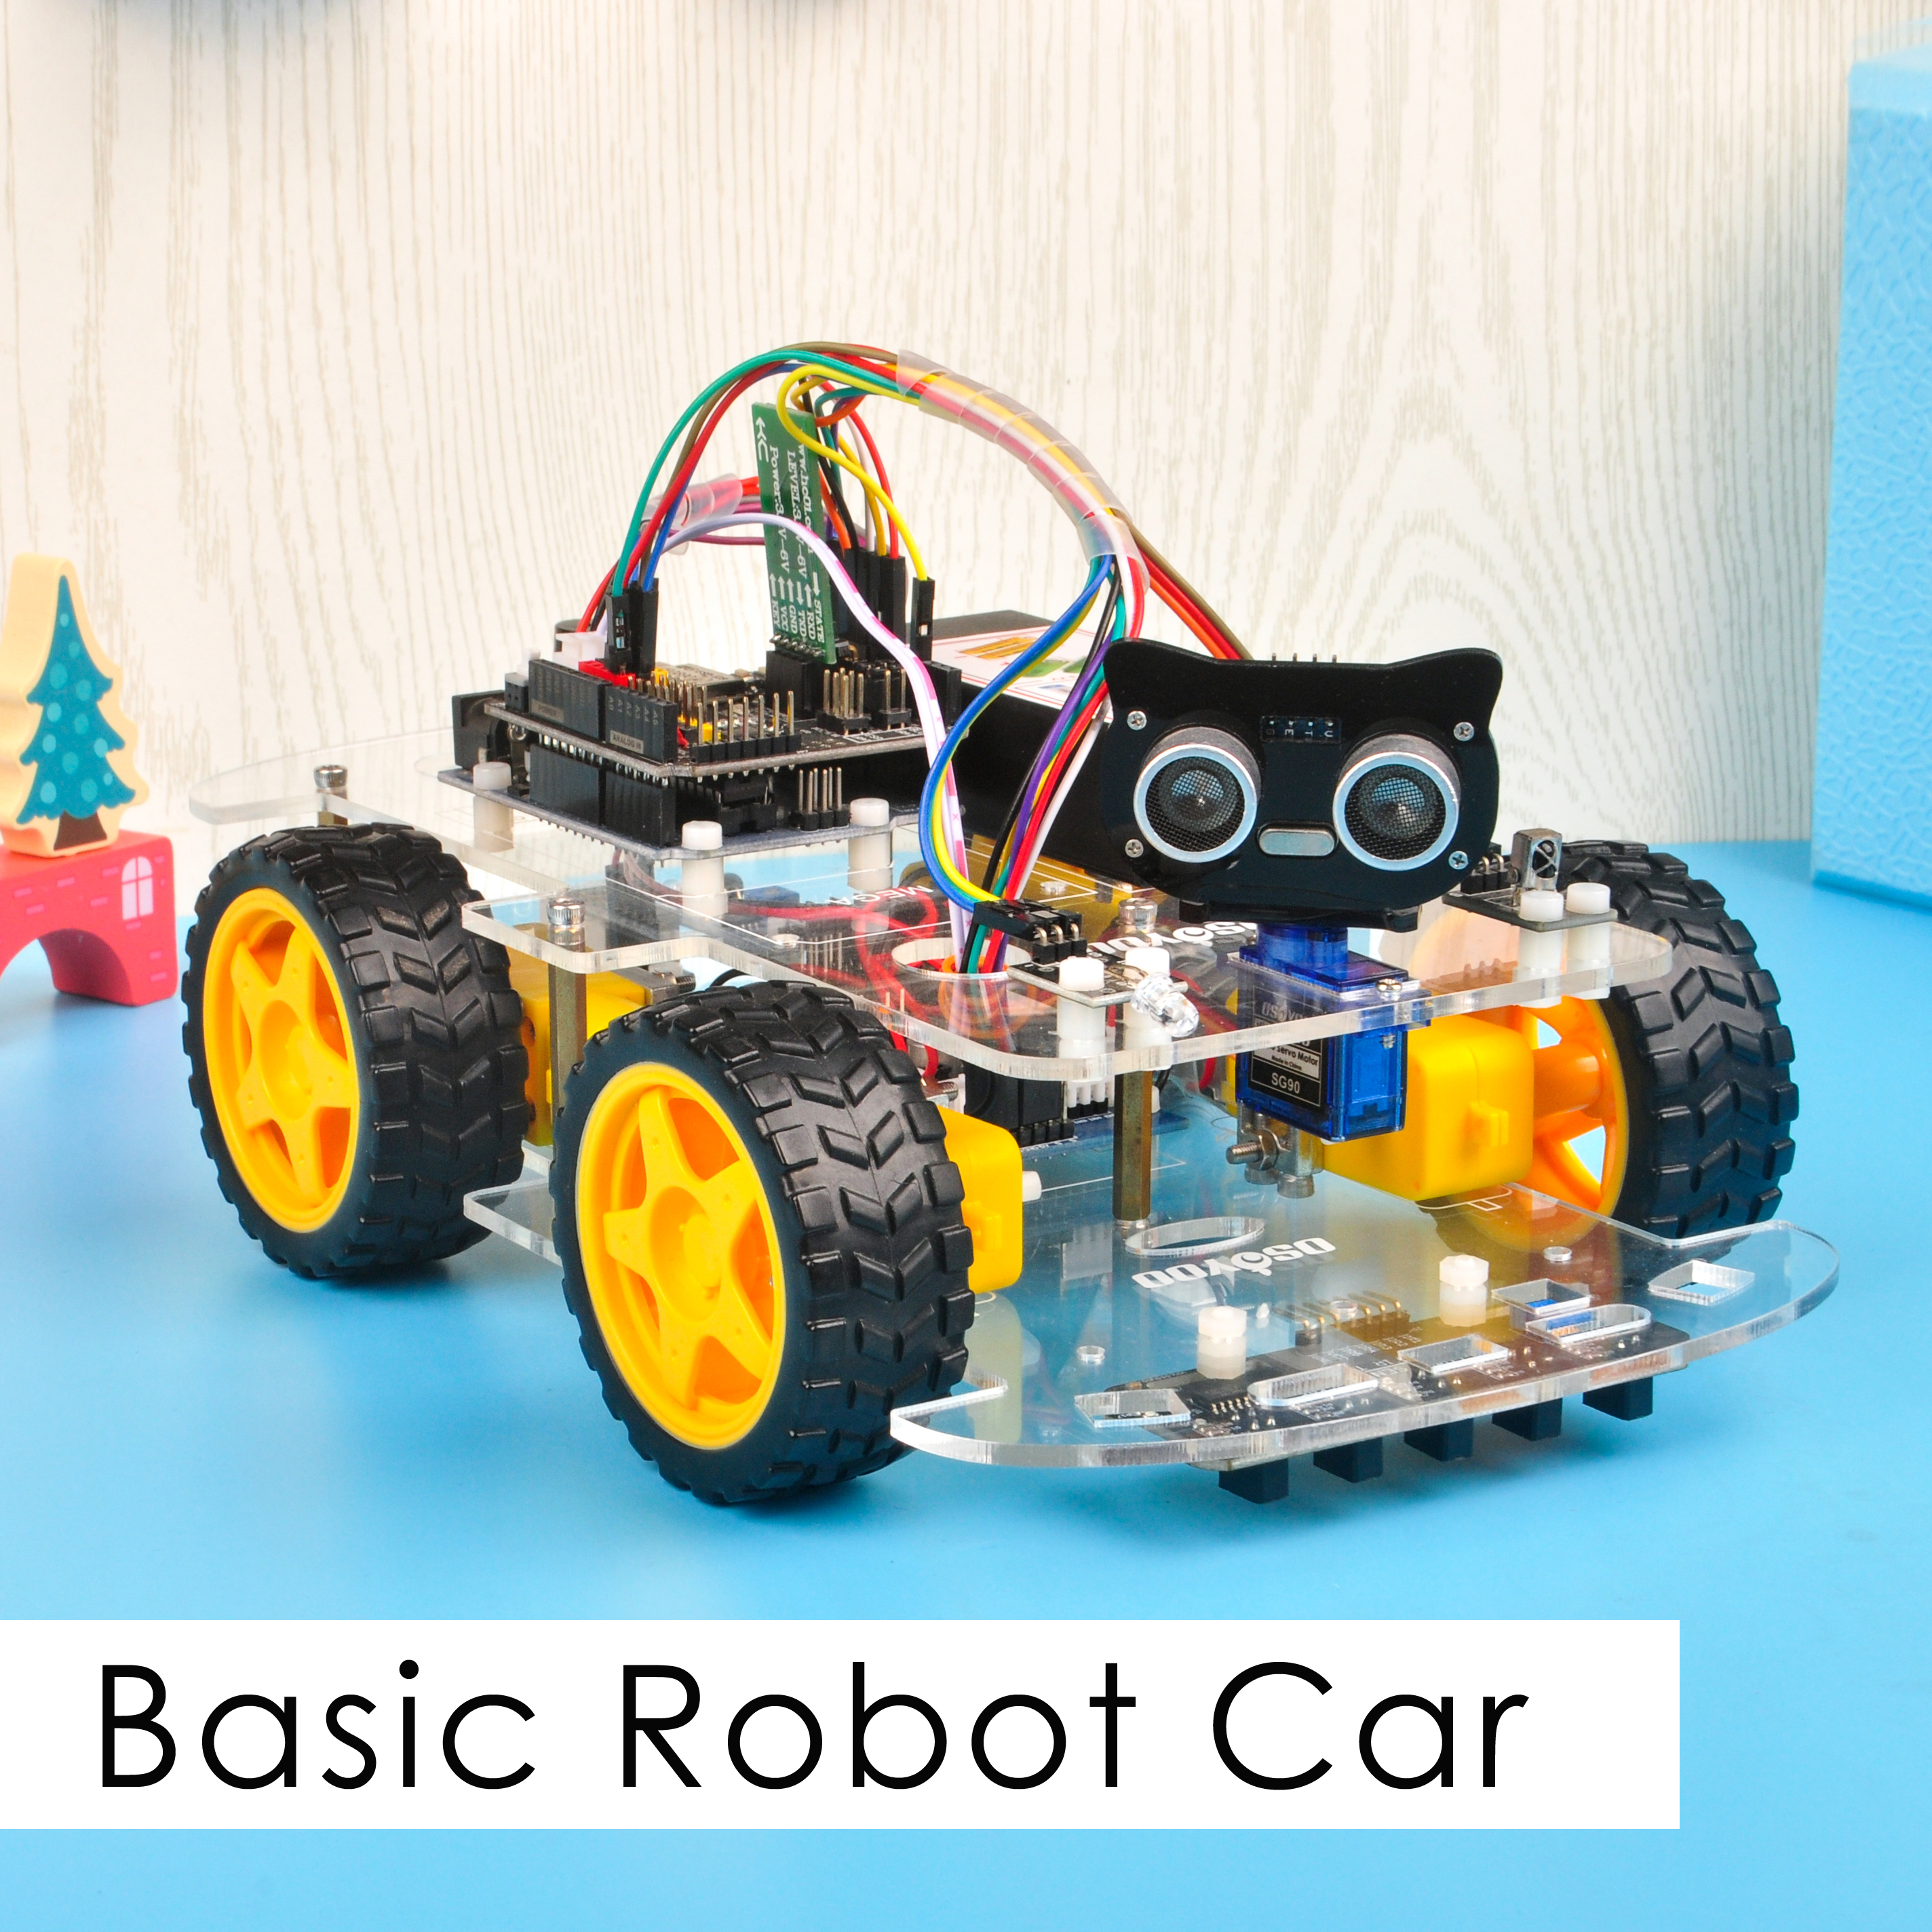
OSOYOO V2.1 ロボットカーキット — 公式チュートリアルキット
Wi-Fi・Bluetooth・ライントラッキング・障害物回避・8レッスン・iOS/Android APP — このチュートリアルで必要なものがすべて1箱に入っています
製品説明:
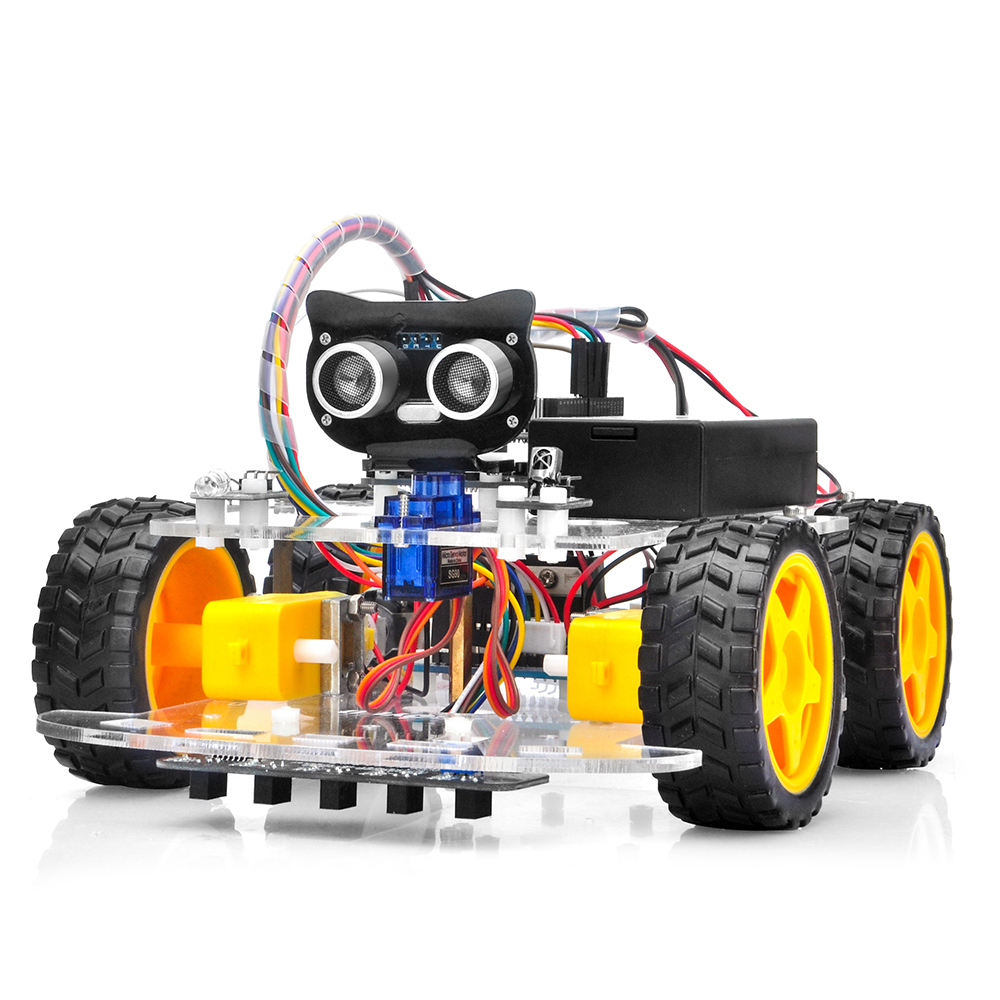
OSOYOO ロボットカー学習キットは、Arduino プログラミングを学びながら、ロボットの設計と組み立てを体験したい初心者向けに設計されています。
制御なしのシンプルなカーから、モバイルアプリで操作する多機能ロボットカーへと段階的に発展するステップバイステップのチュートリアルを用意しました。
各レッスンには、コメント付きのサンプルコード、回路図、組み立て説明書、動画が含まれています。プログラミング経験がなくても、手順に沿って進めることで少しずつ上達できます。
このロボットカーは100%オープンソースです。中級者の方がコードのコメントを読めば、科学展や大学の課題、さらには商業利用向けのオリジナルプロジェクトに簡単にカスタマイズできます。
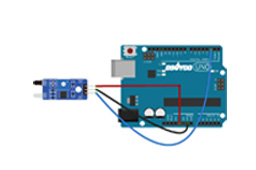
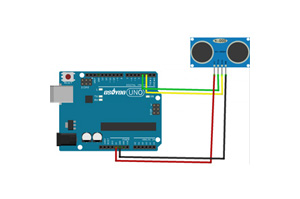
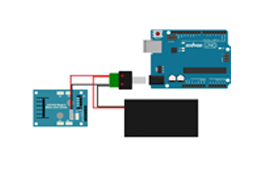
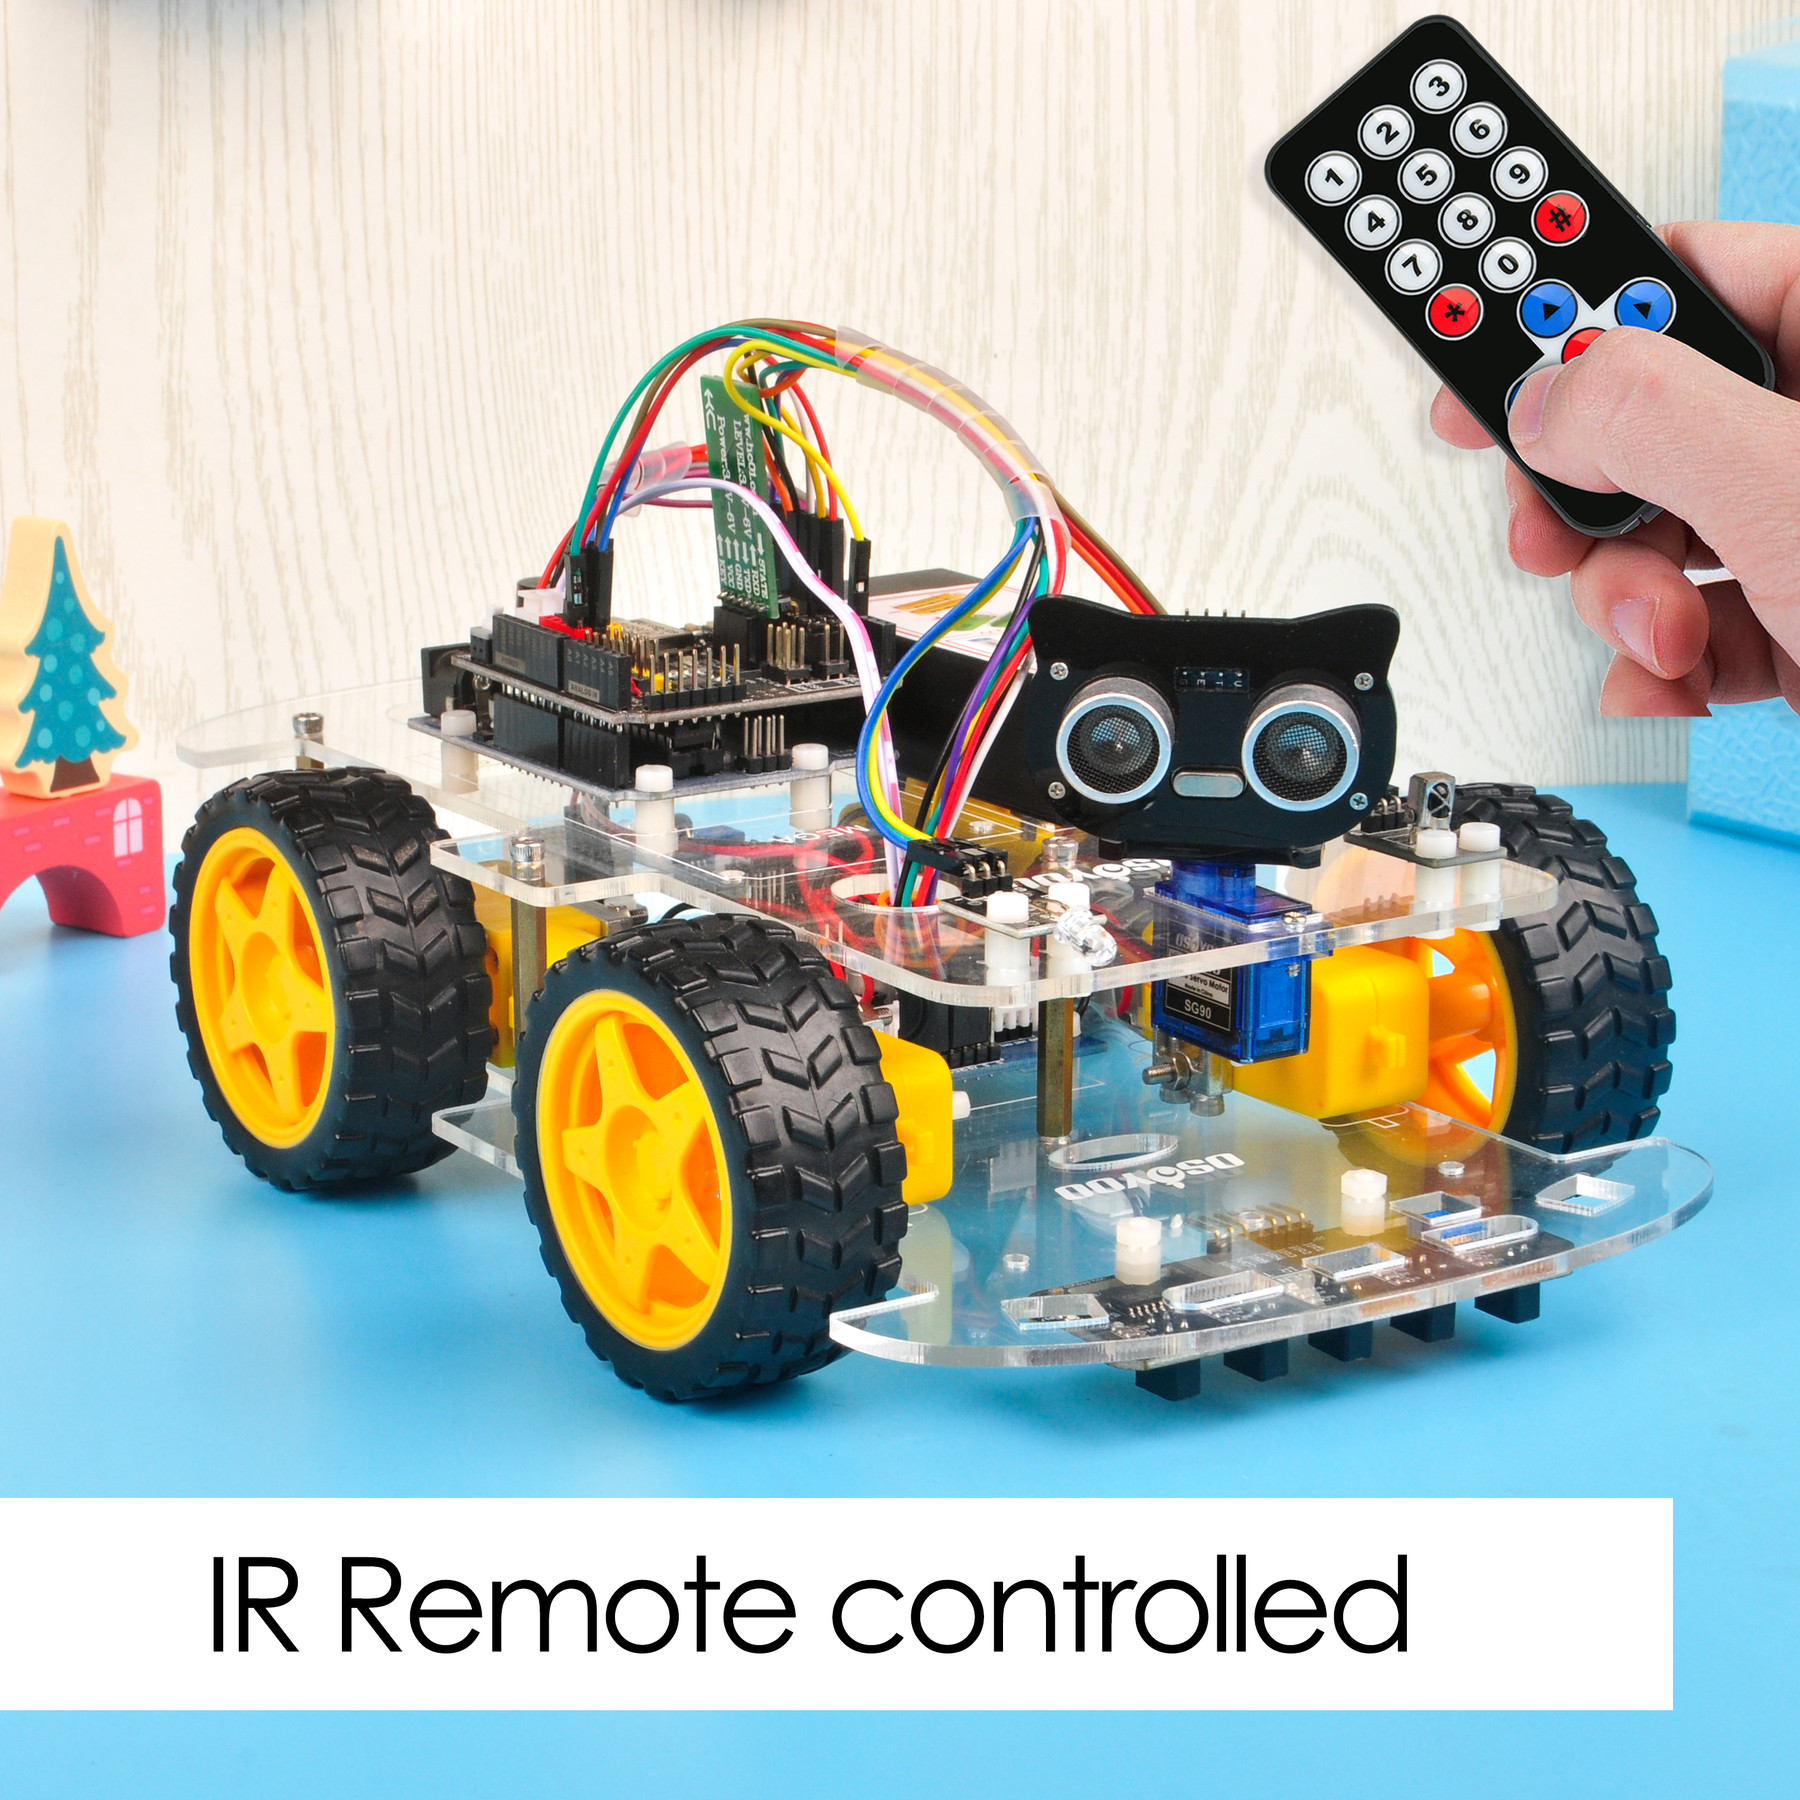
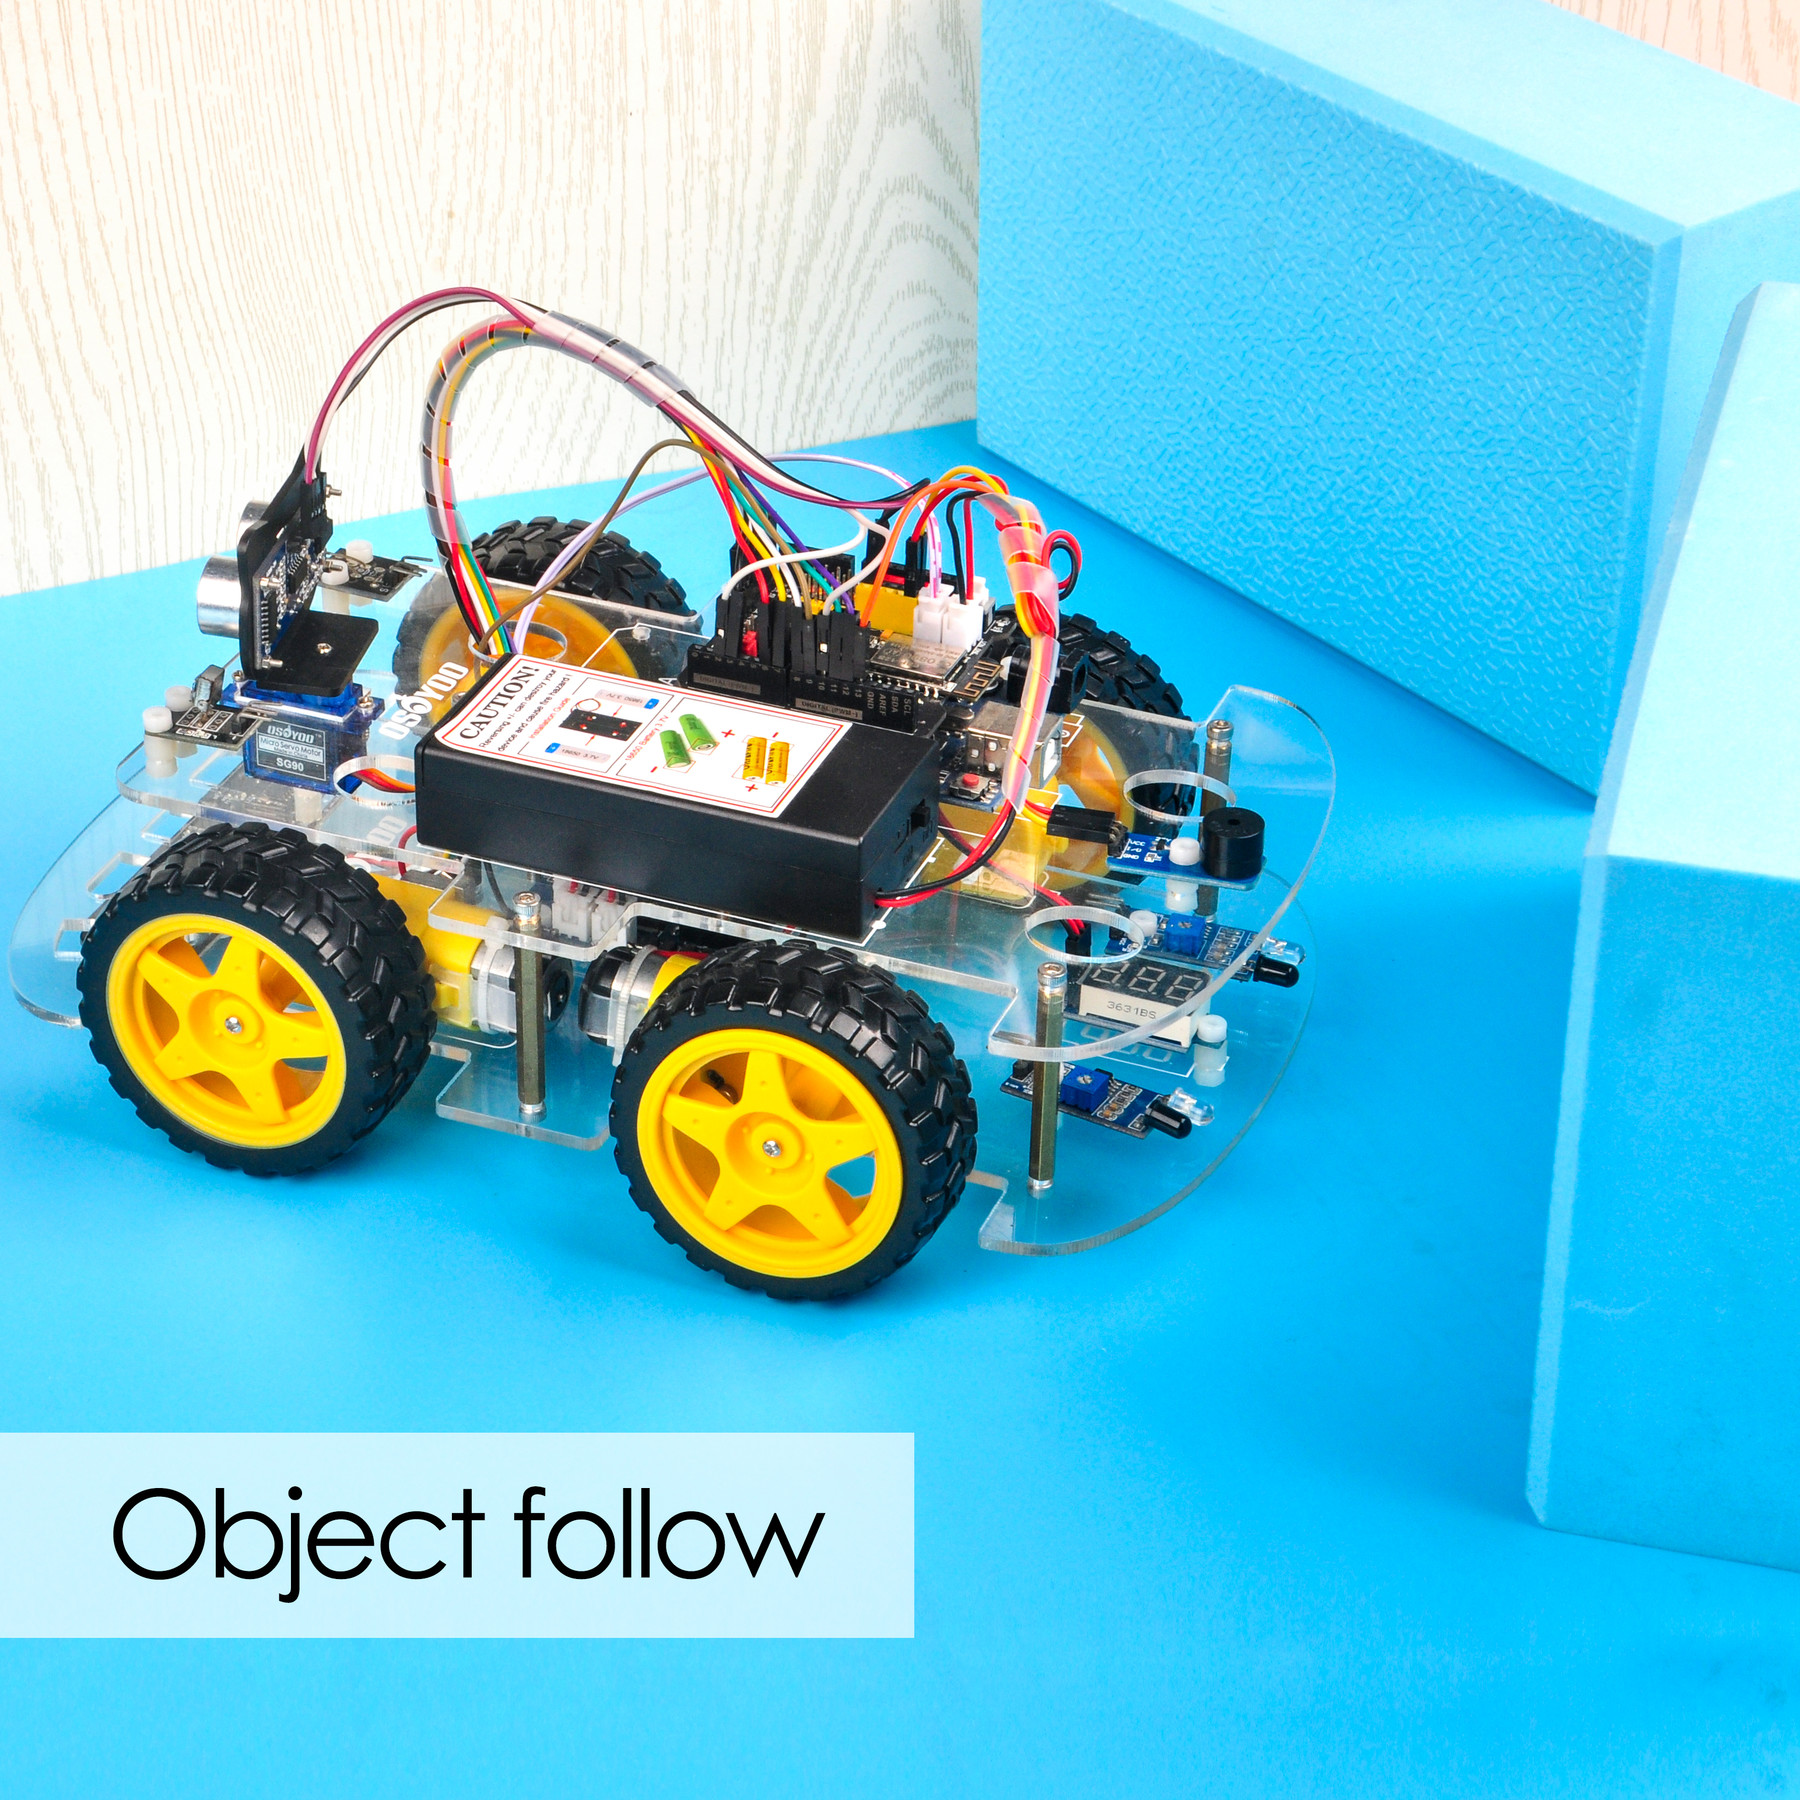
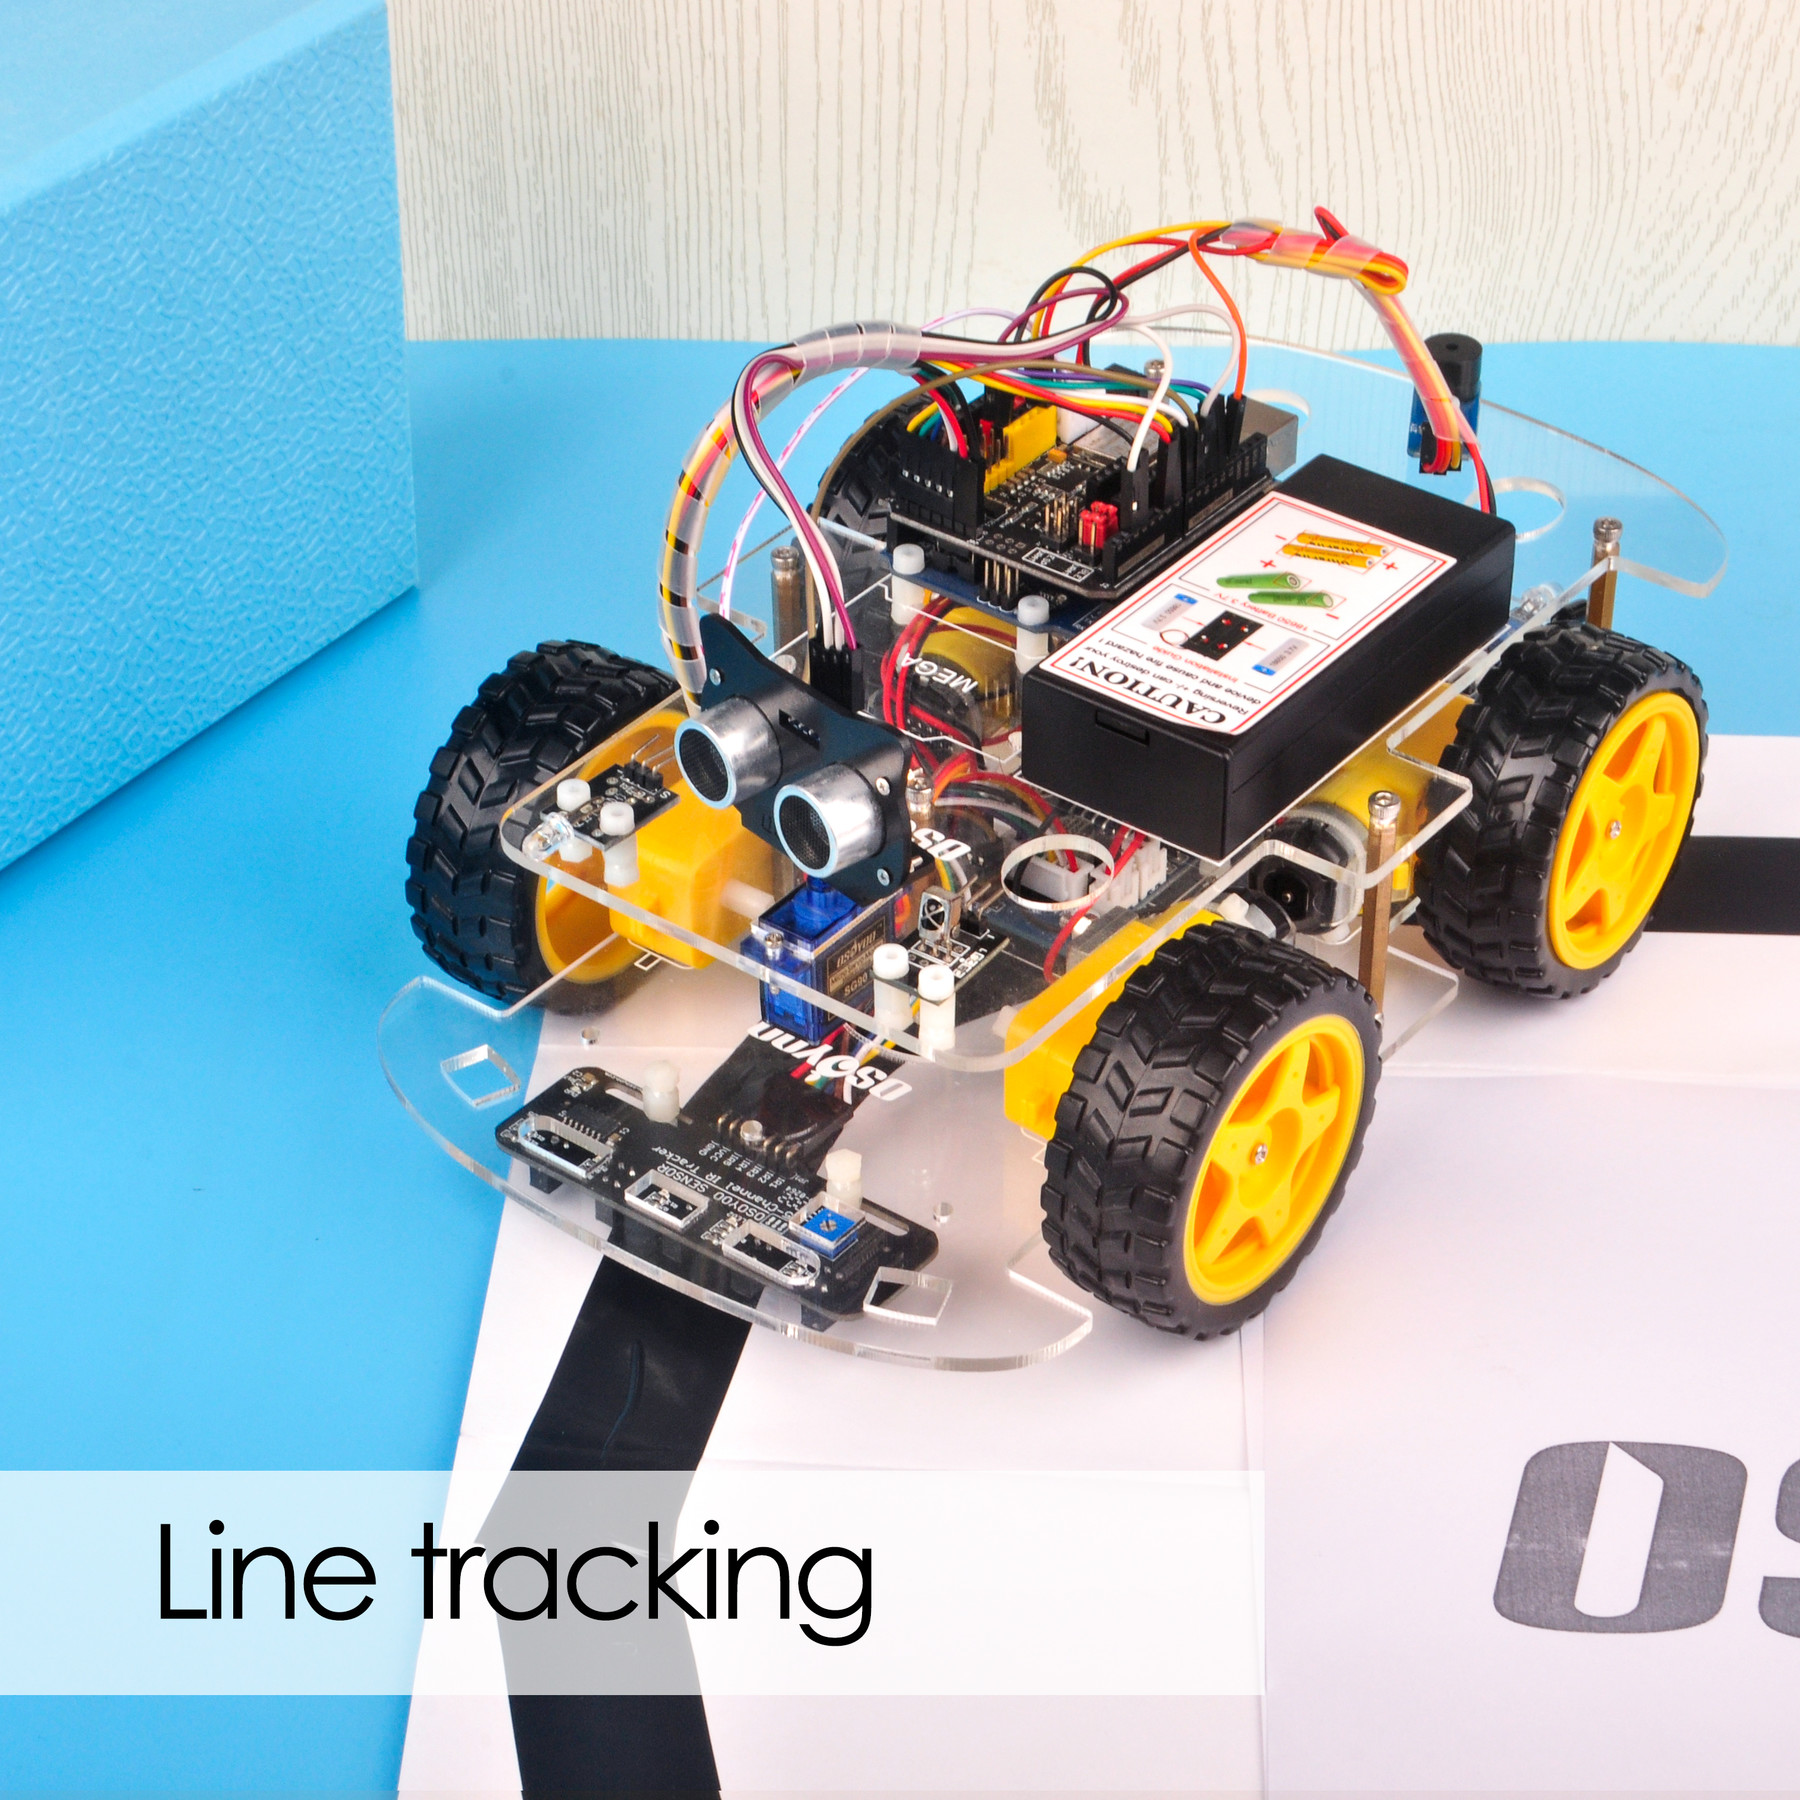
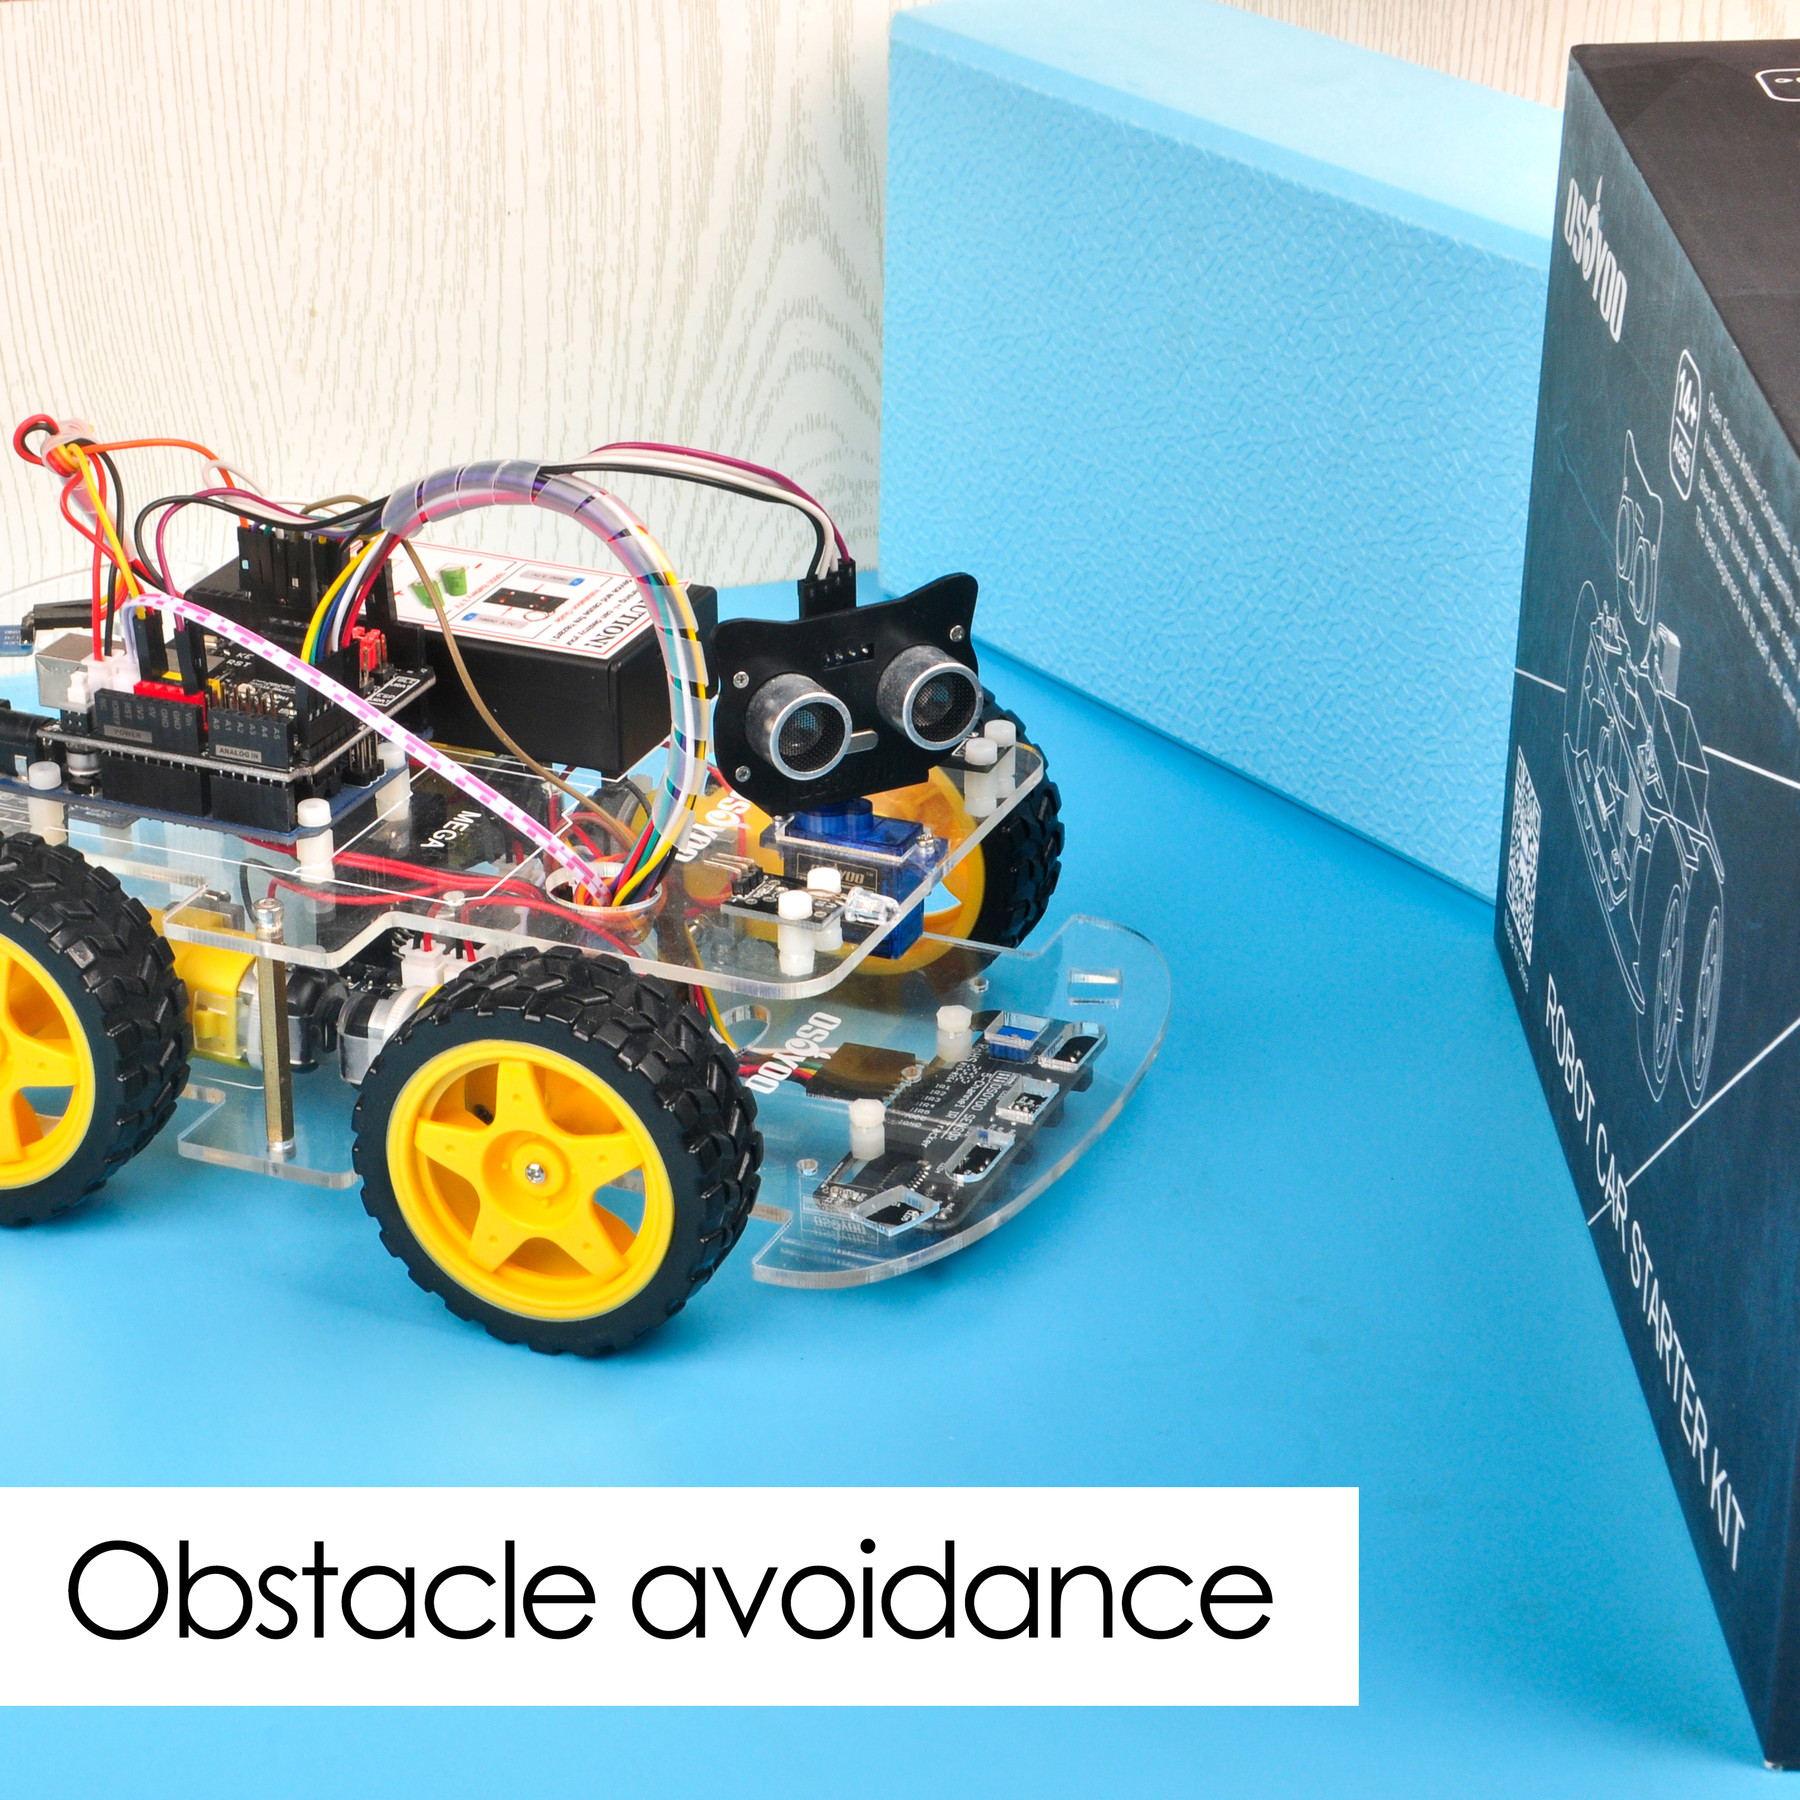
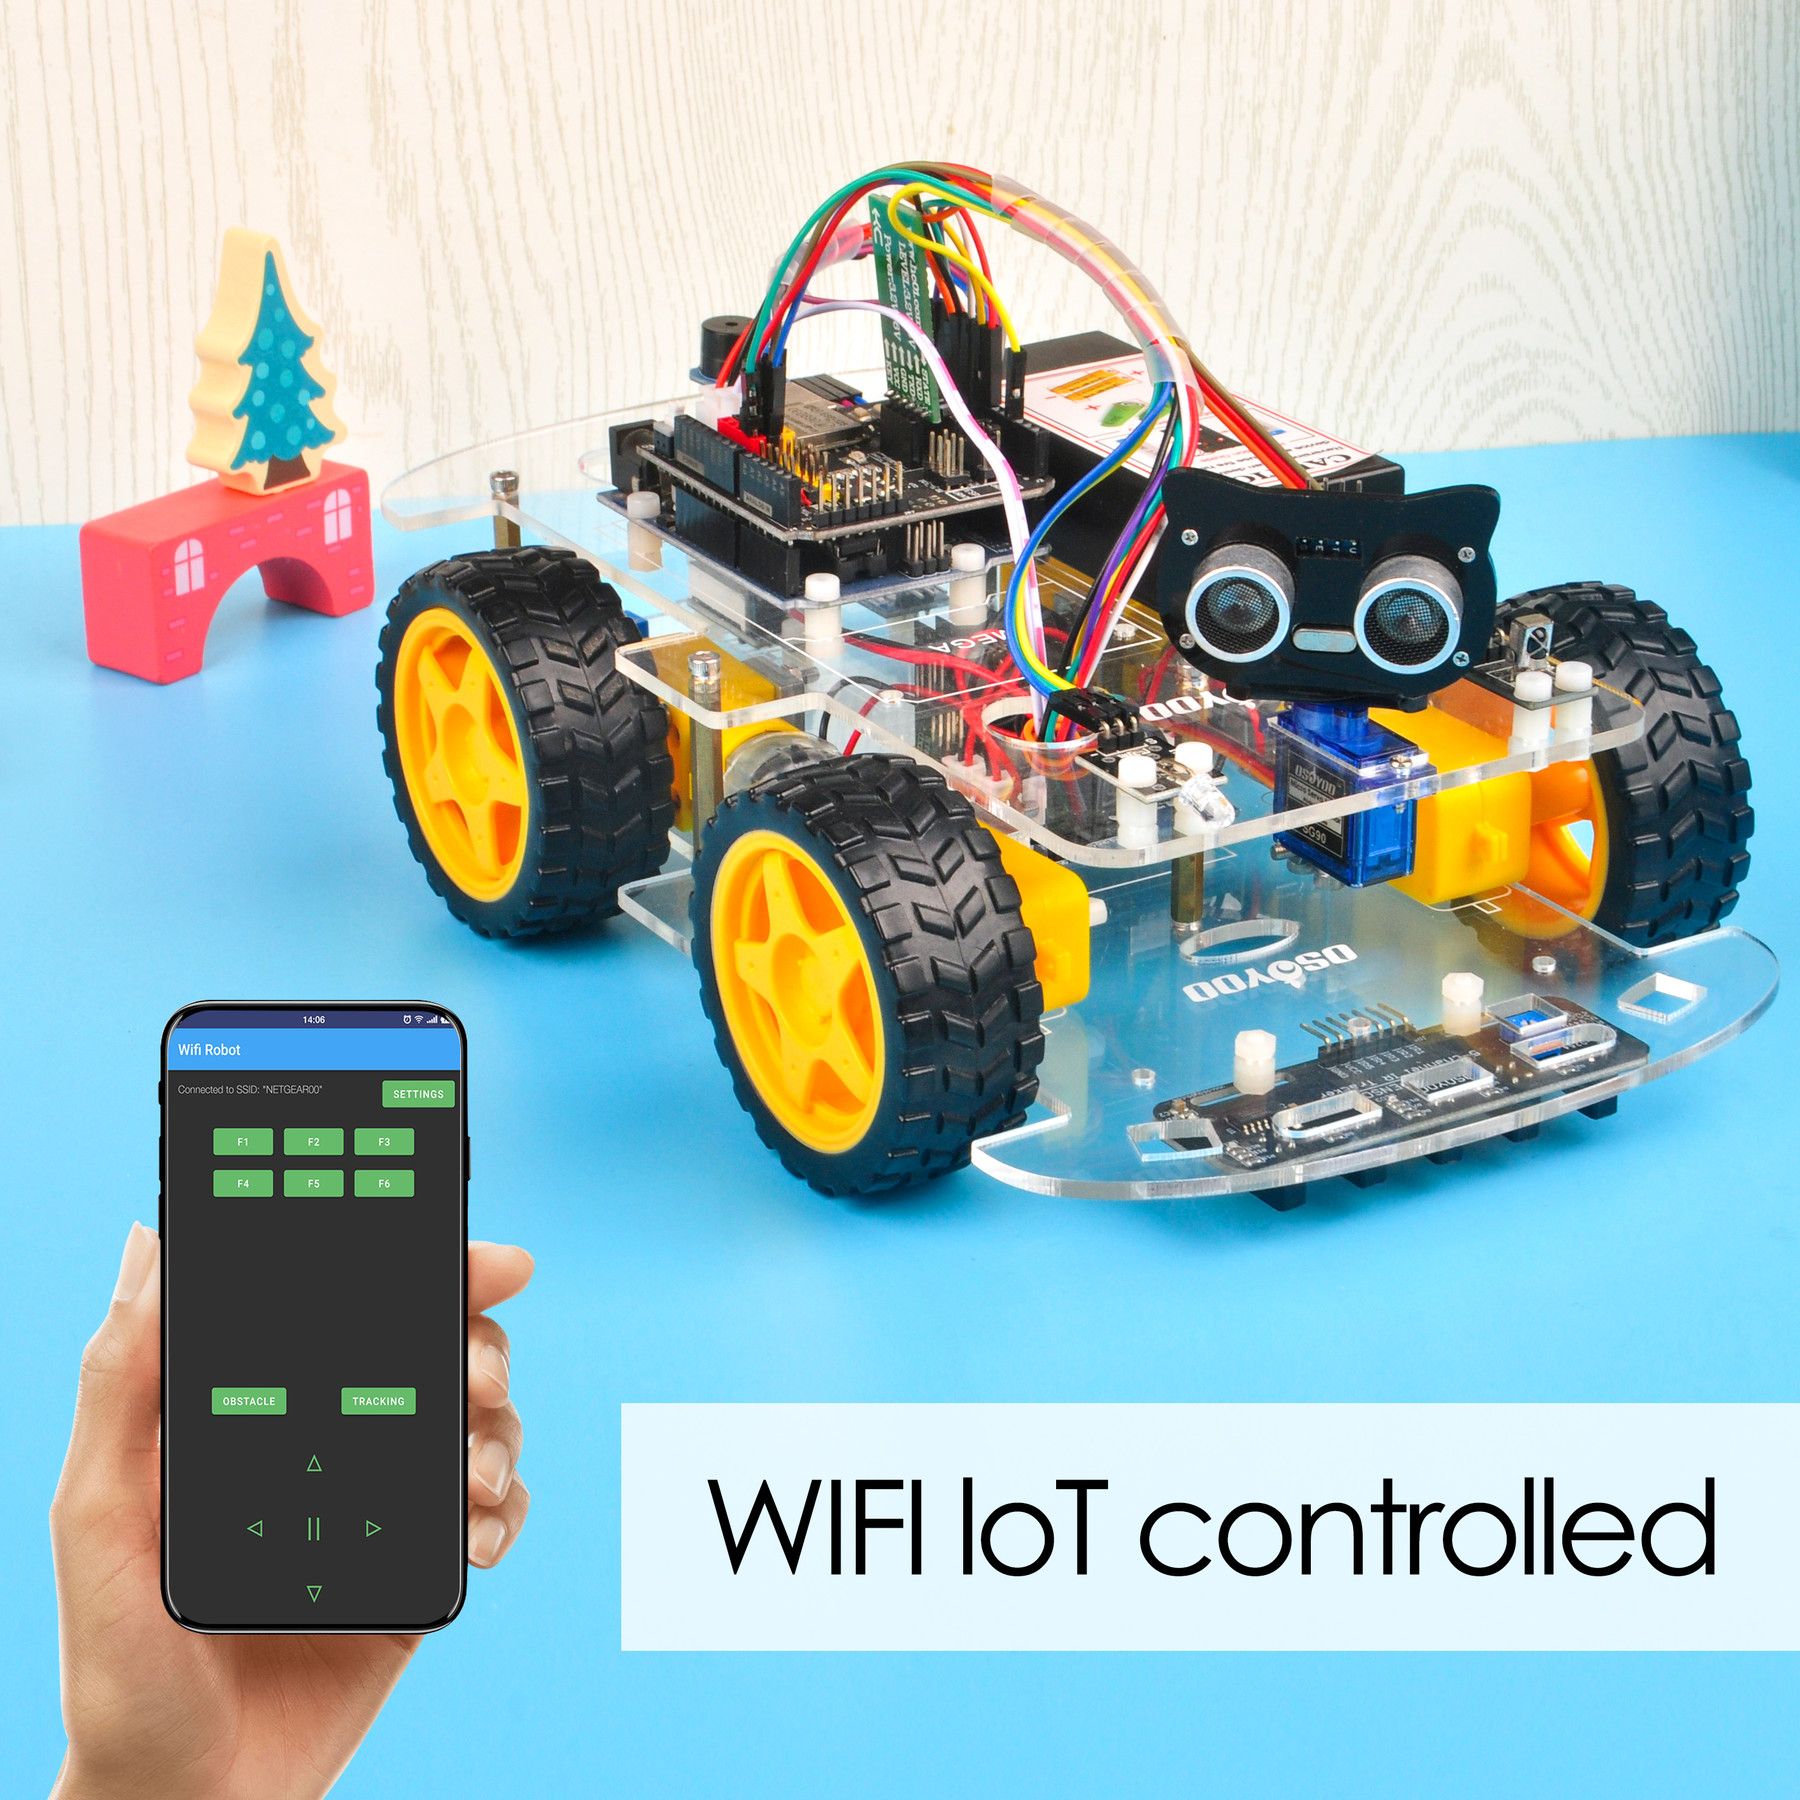
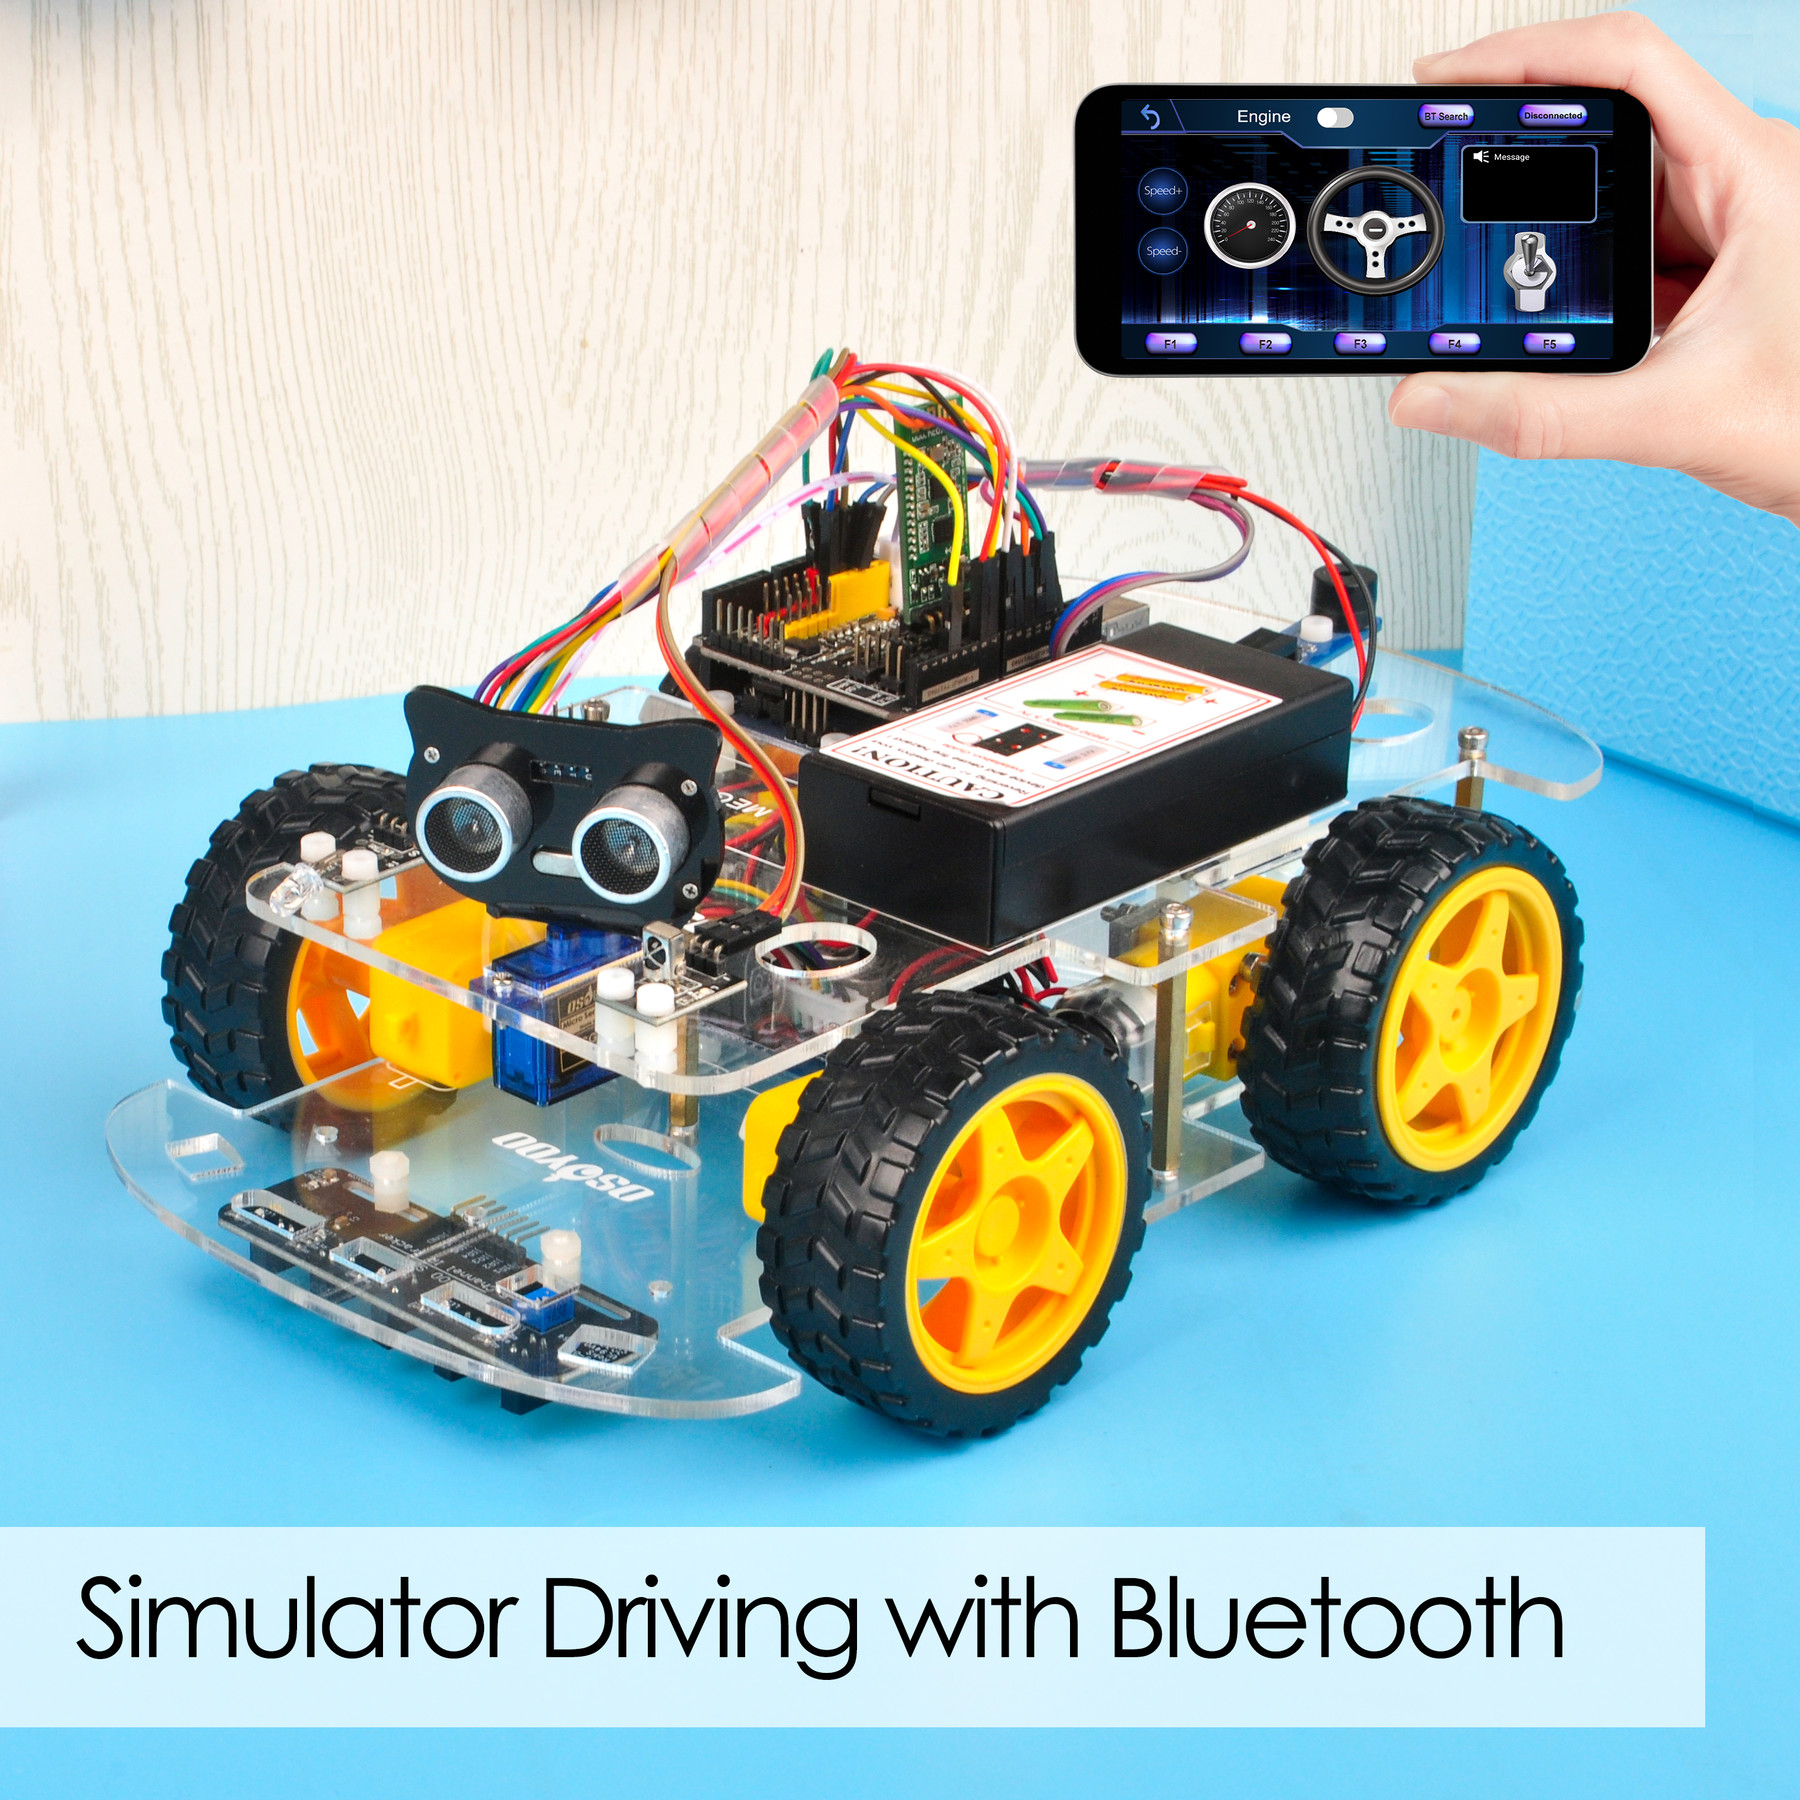
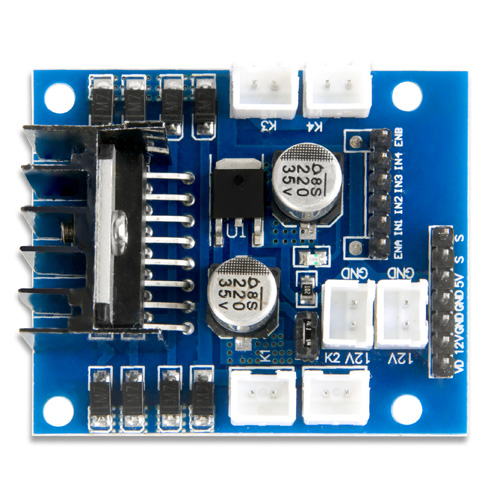
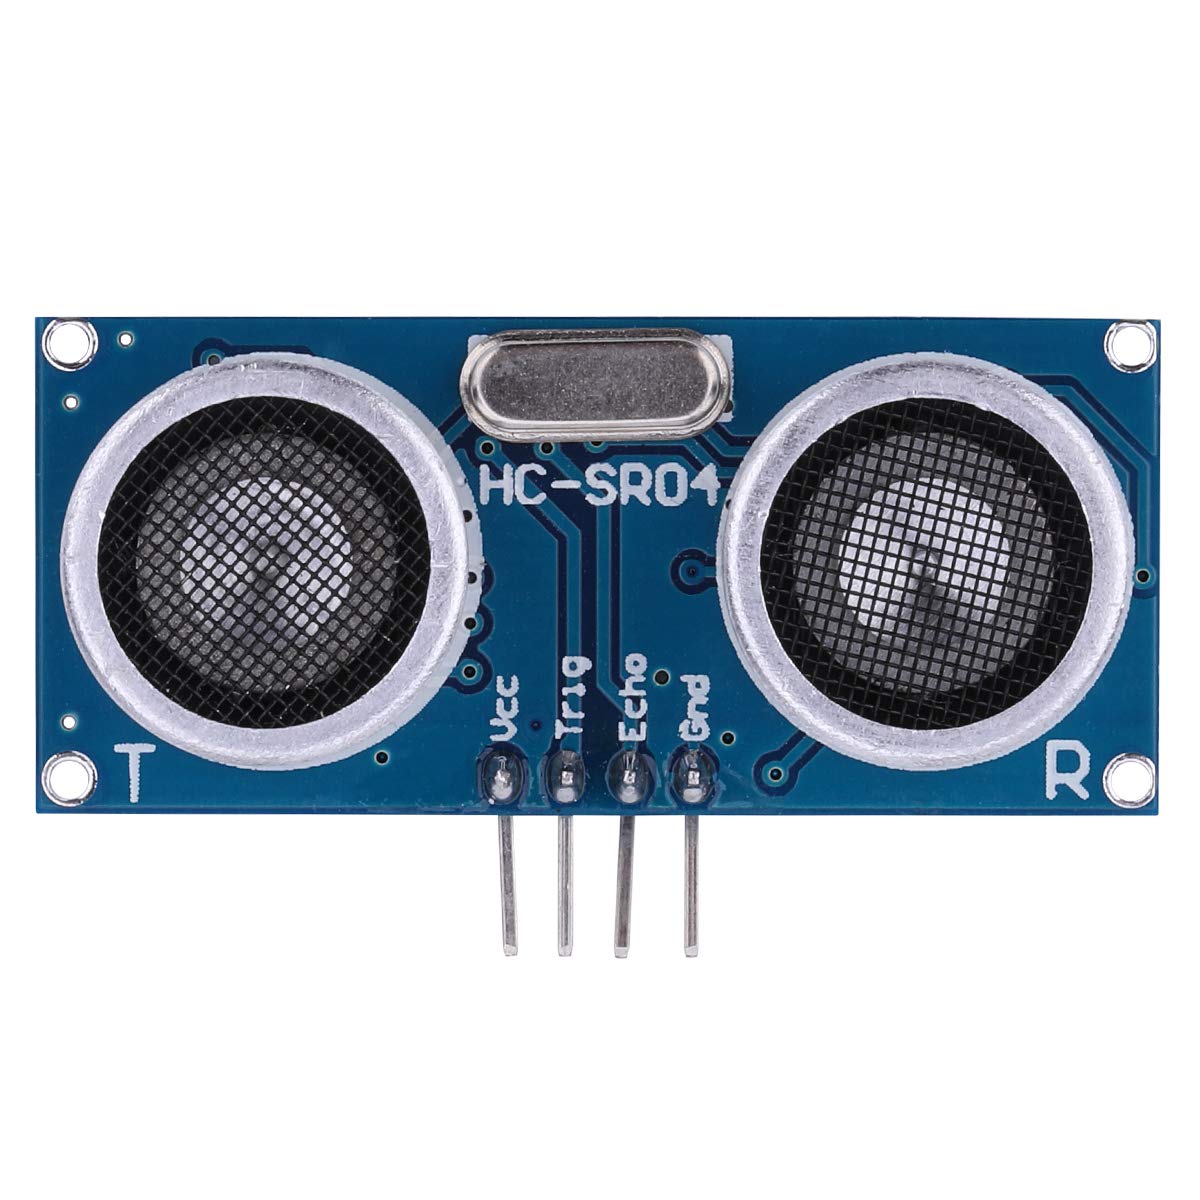
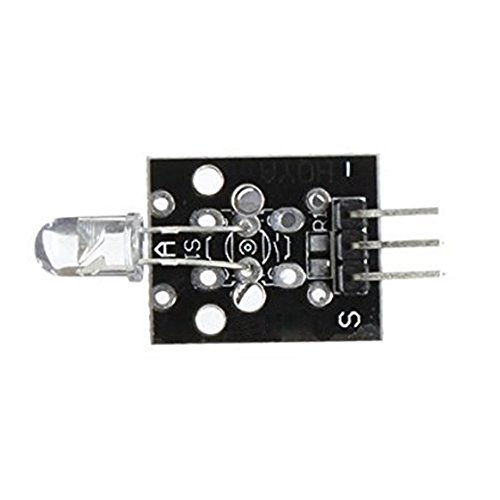
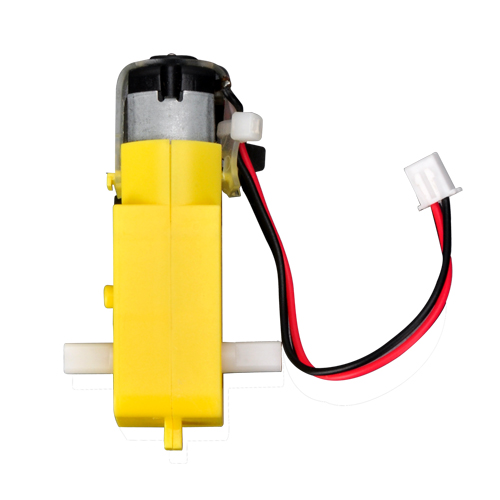
本キットには、OSOYOO MODEL X モータードライバーモジュール(*)、超音波センサーモジュール、トラッキングモジュール、赤外線リモコン、Bluetooth モジュール、ESP8266 Wi-Fi シールドなどが含まれています。これらのモジュールにより、自動走行・赤外線制御・障害物回避・ライン追跡など複数のモードで動作します。Android APP を使って Wi-Fi または Bluetooth で動作モードを切り替えることができます。
*OSOYOO MODEL X モータードライバーモジュールは、改良版 L298N モジュールです。新設計の配線ソケットにより、組み立て手順と配線の安定性が大幅に向上しています。
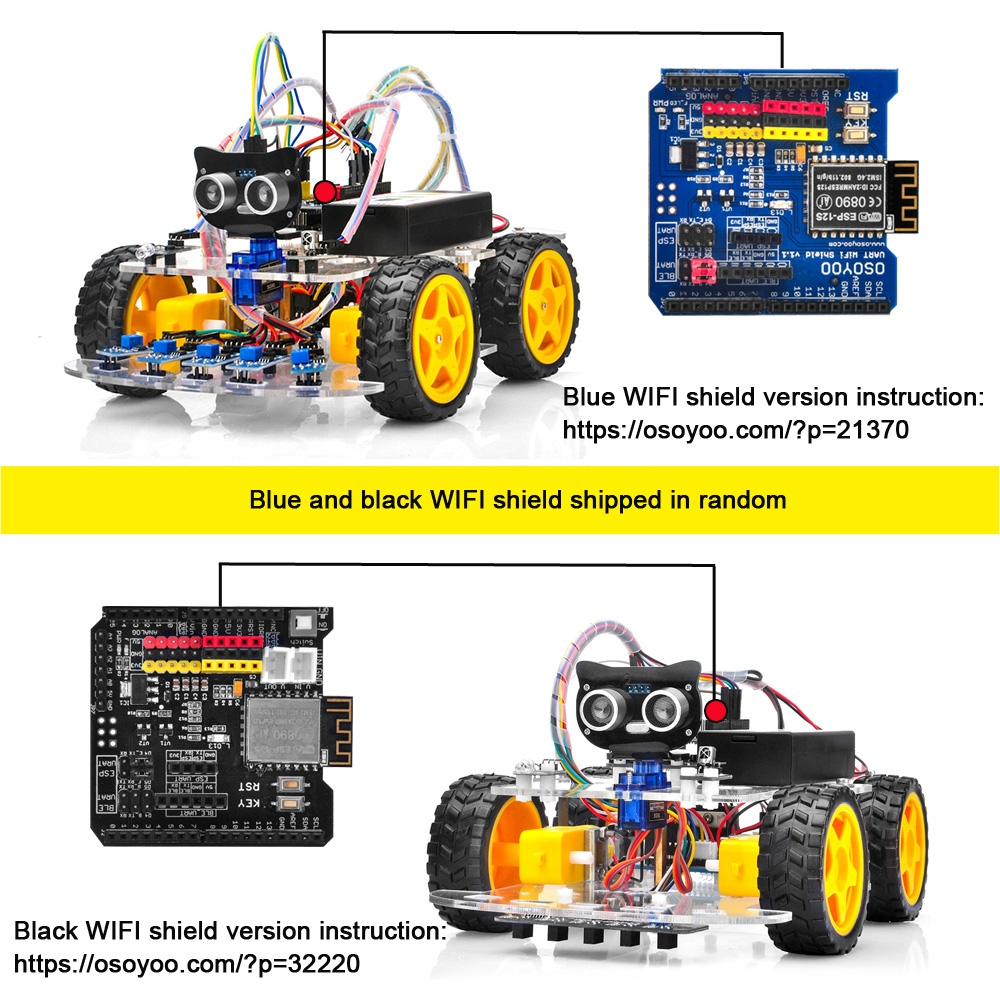
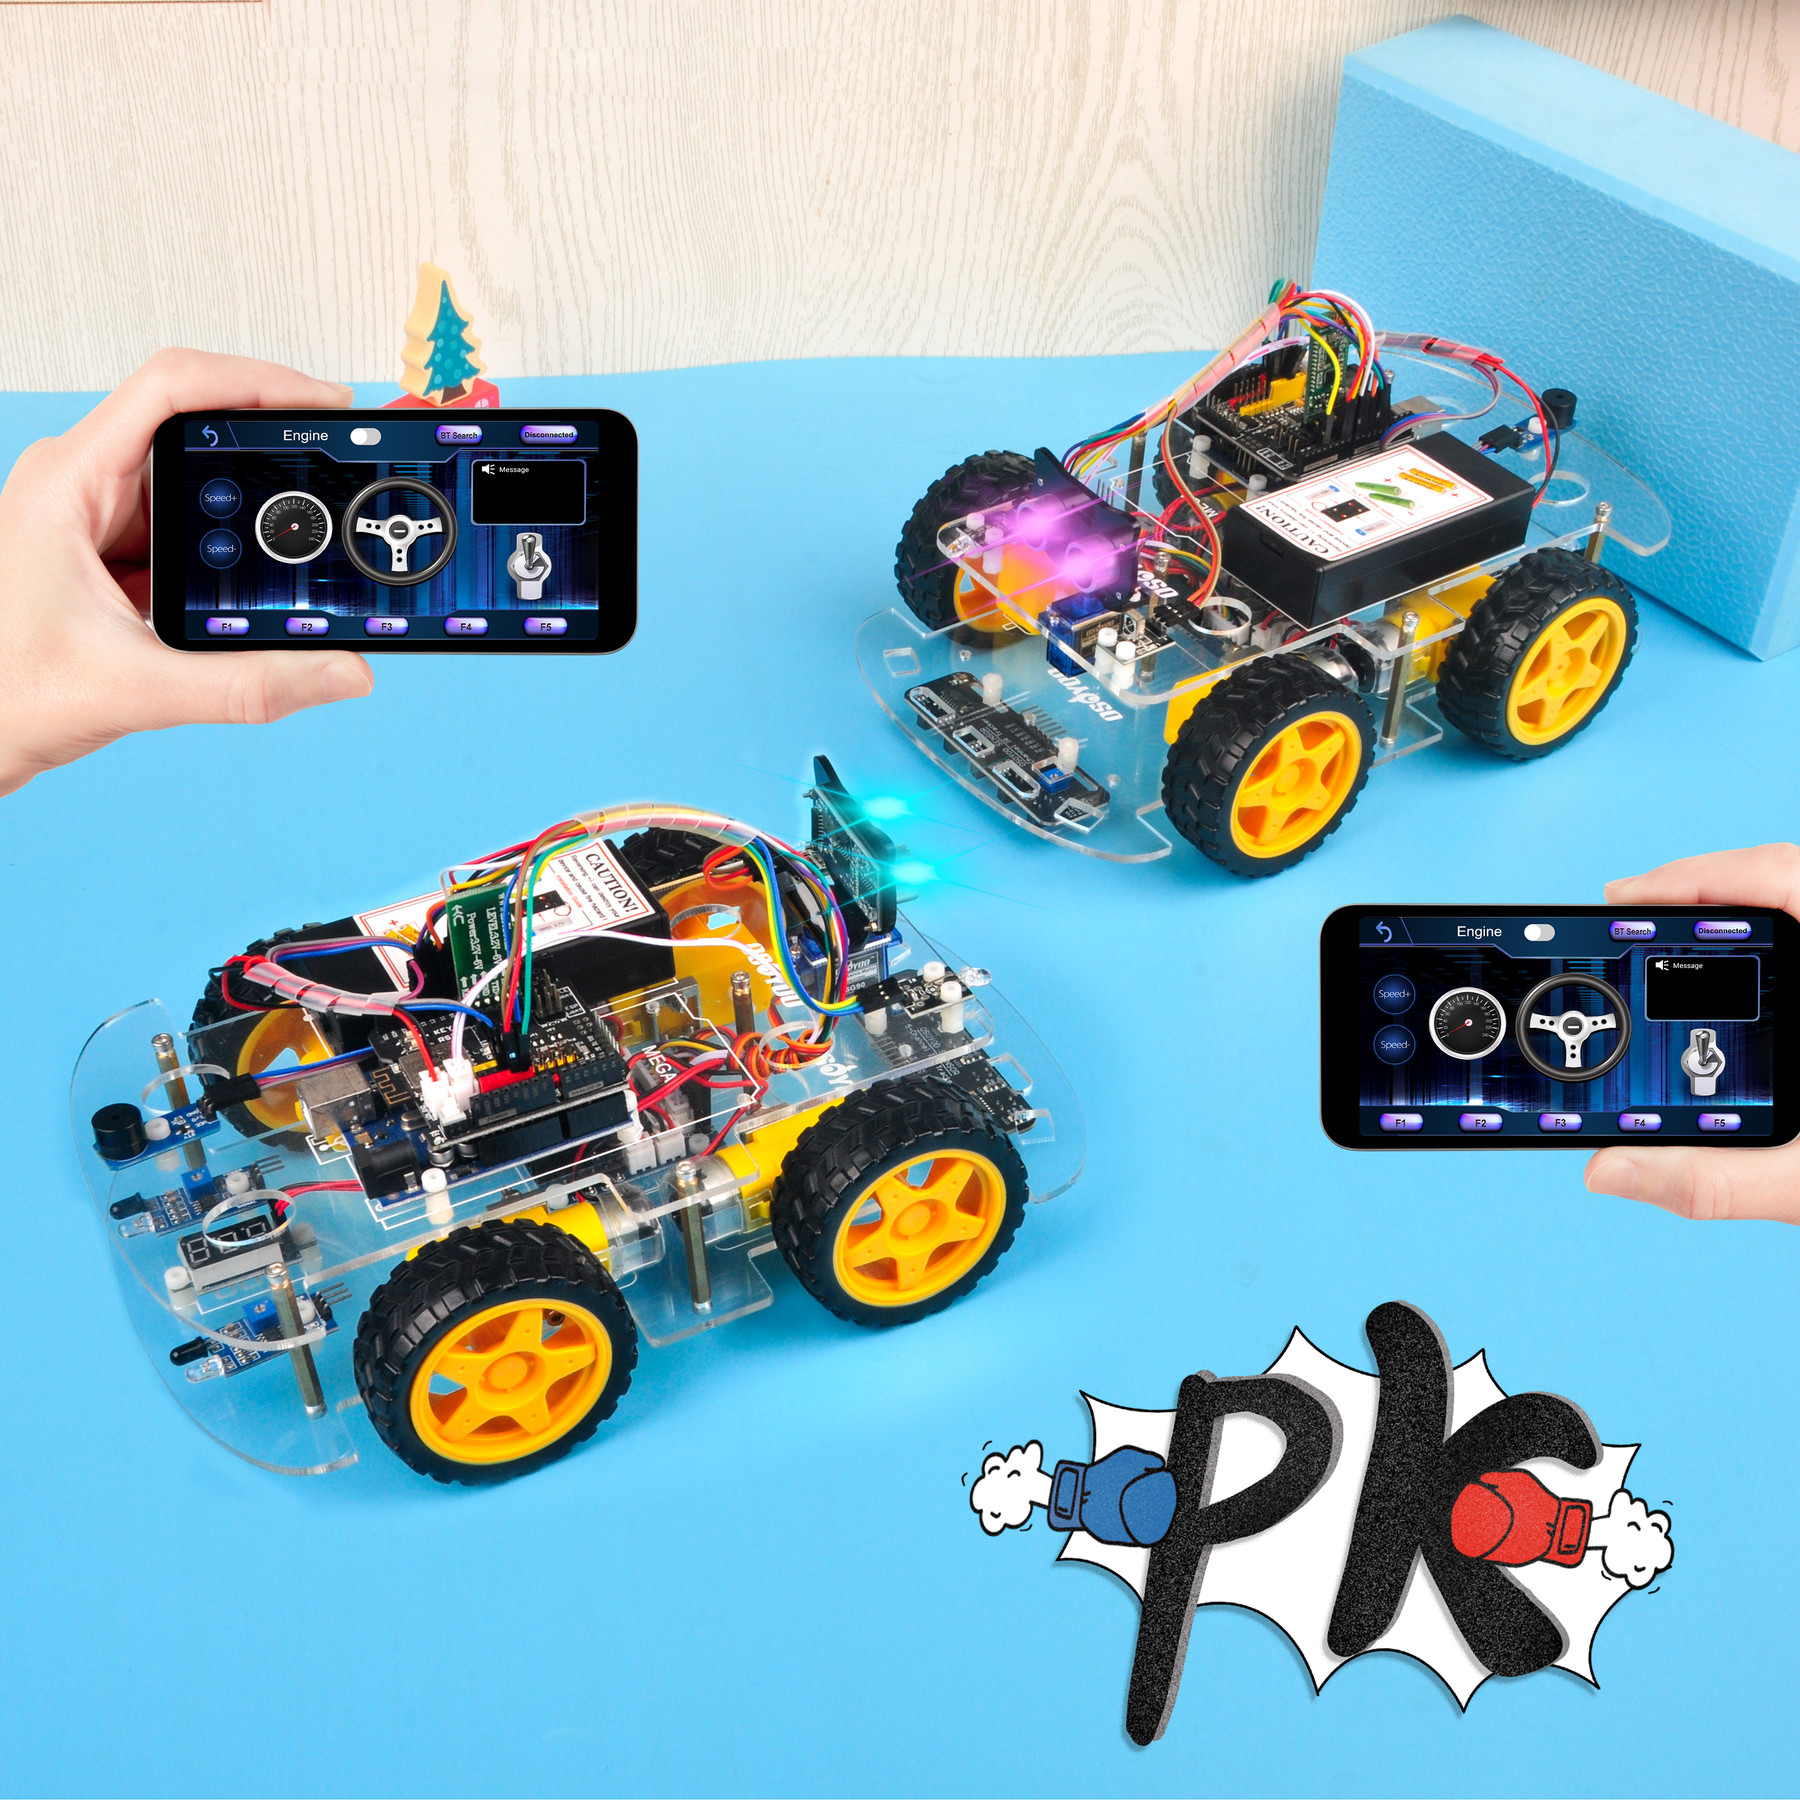
Wi-Fi シールドは青と黒の2種類を在庫しており、ランダムに発送されます。
青い Wi-Fi シールドが届いた場合は、こちらの手順に従ってください:https://osoyoo.com/?p=21370
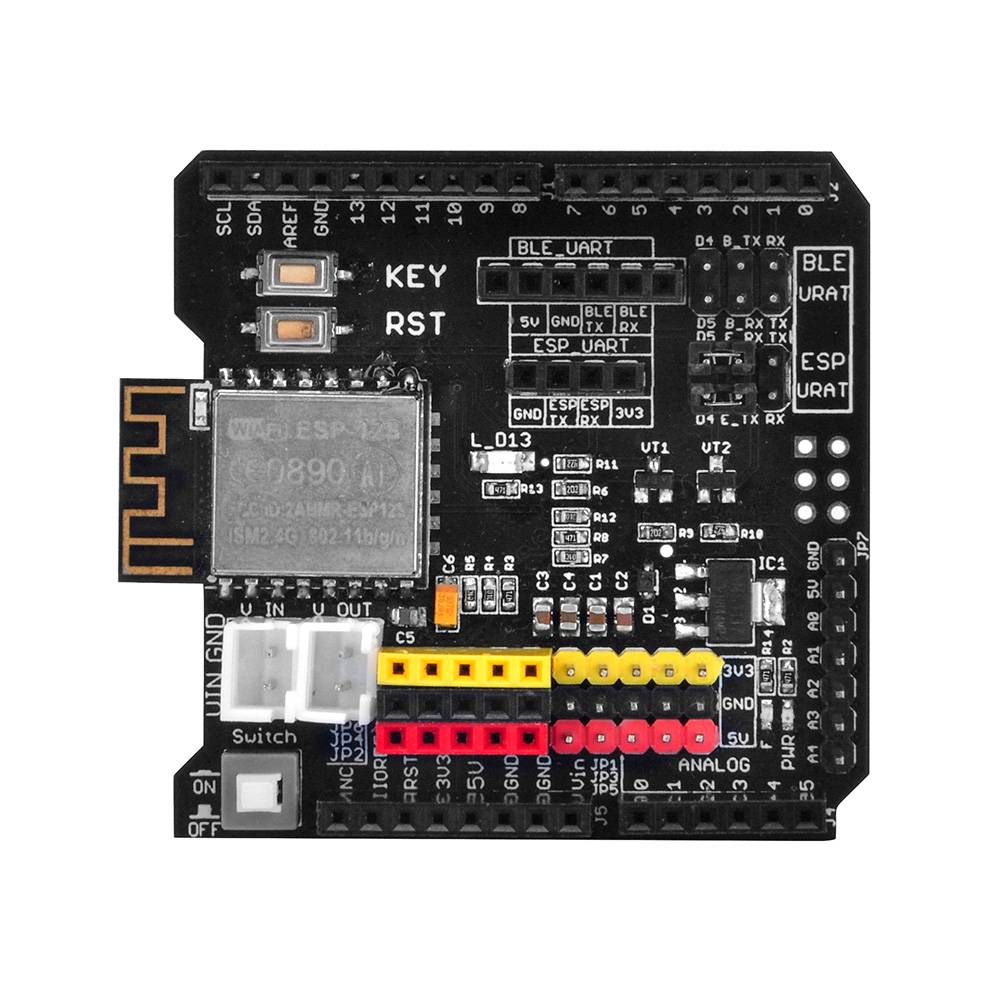
黒い Wi-Fi シールドが届いた場合は、こちらの手順に従ってください:https://osoyoo.com/?p=32220
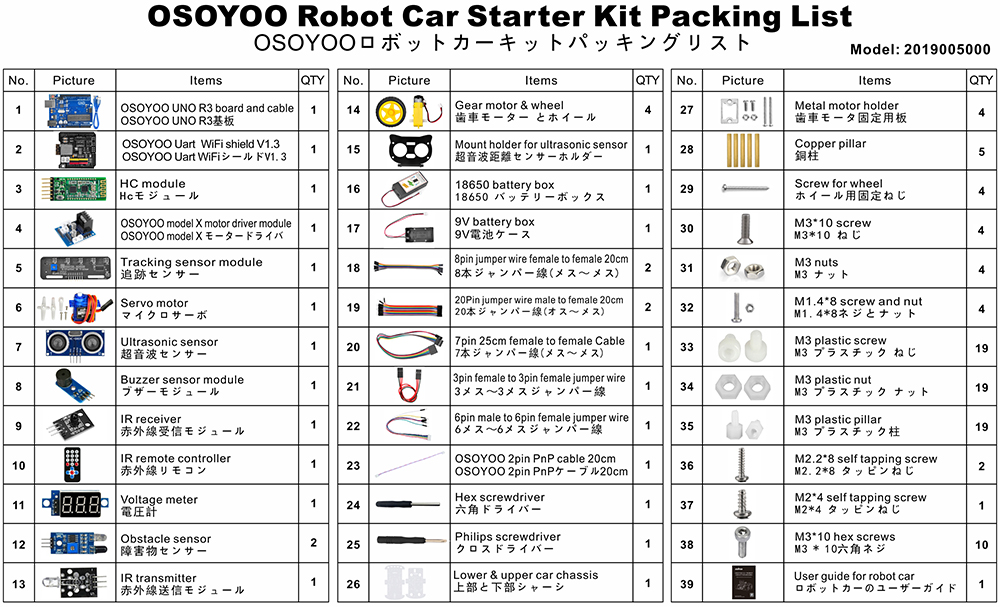
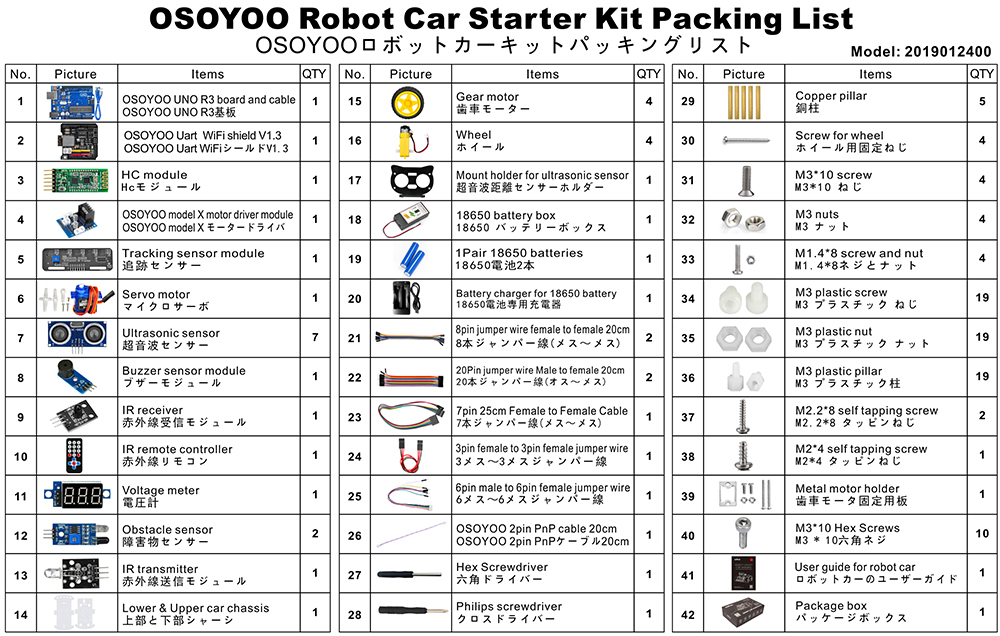
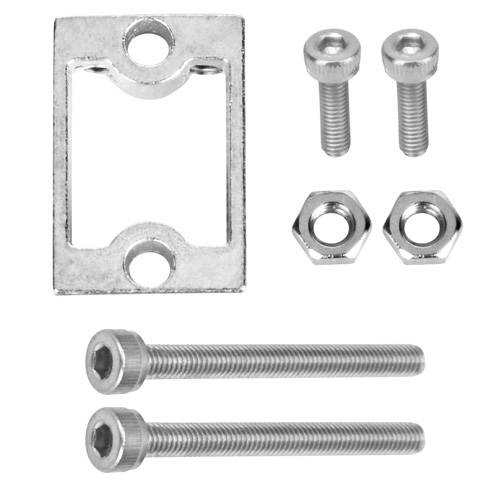
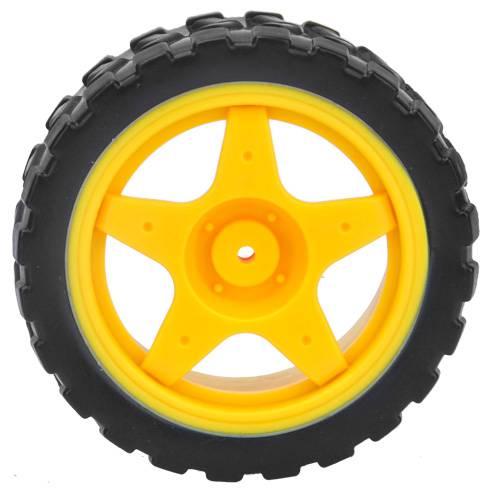
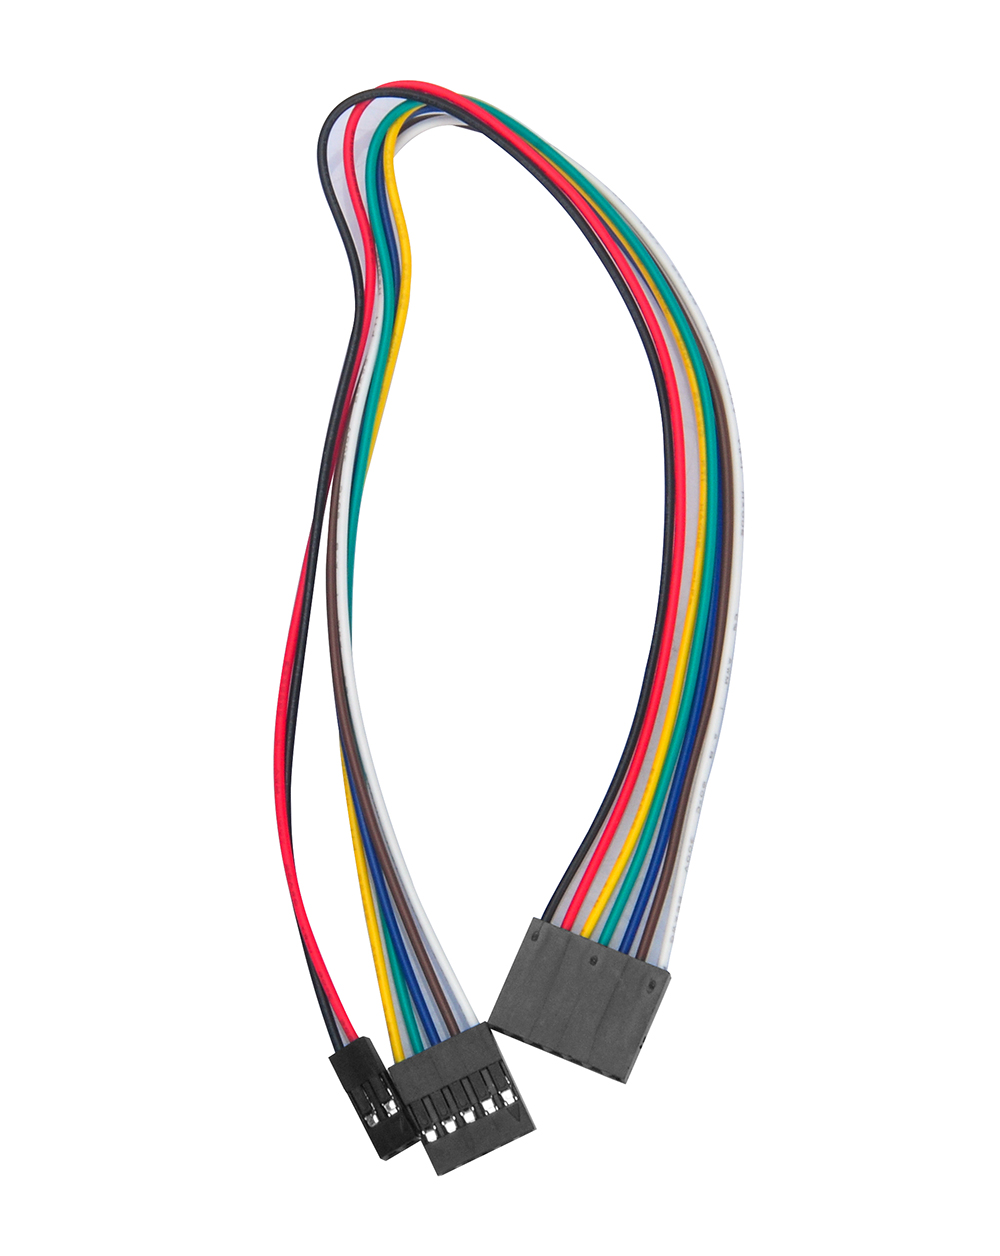
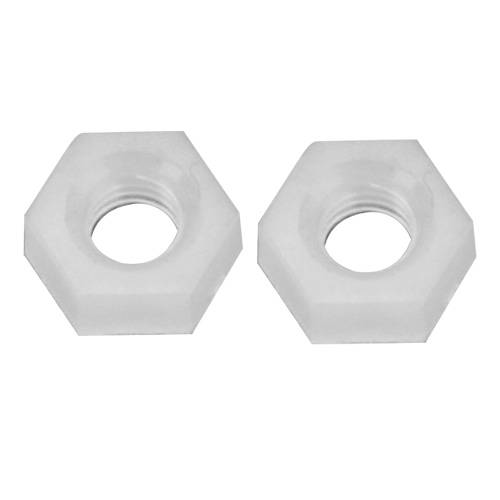
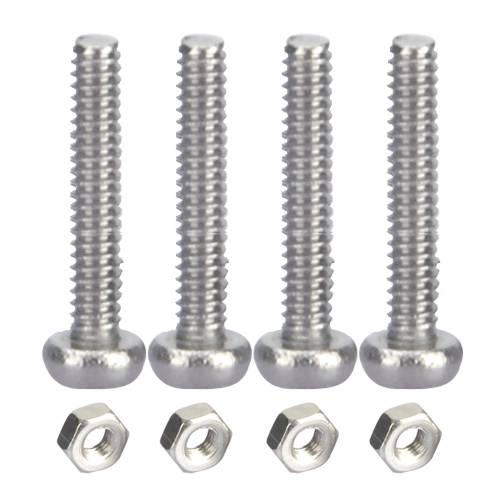
同梱品リスト:
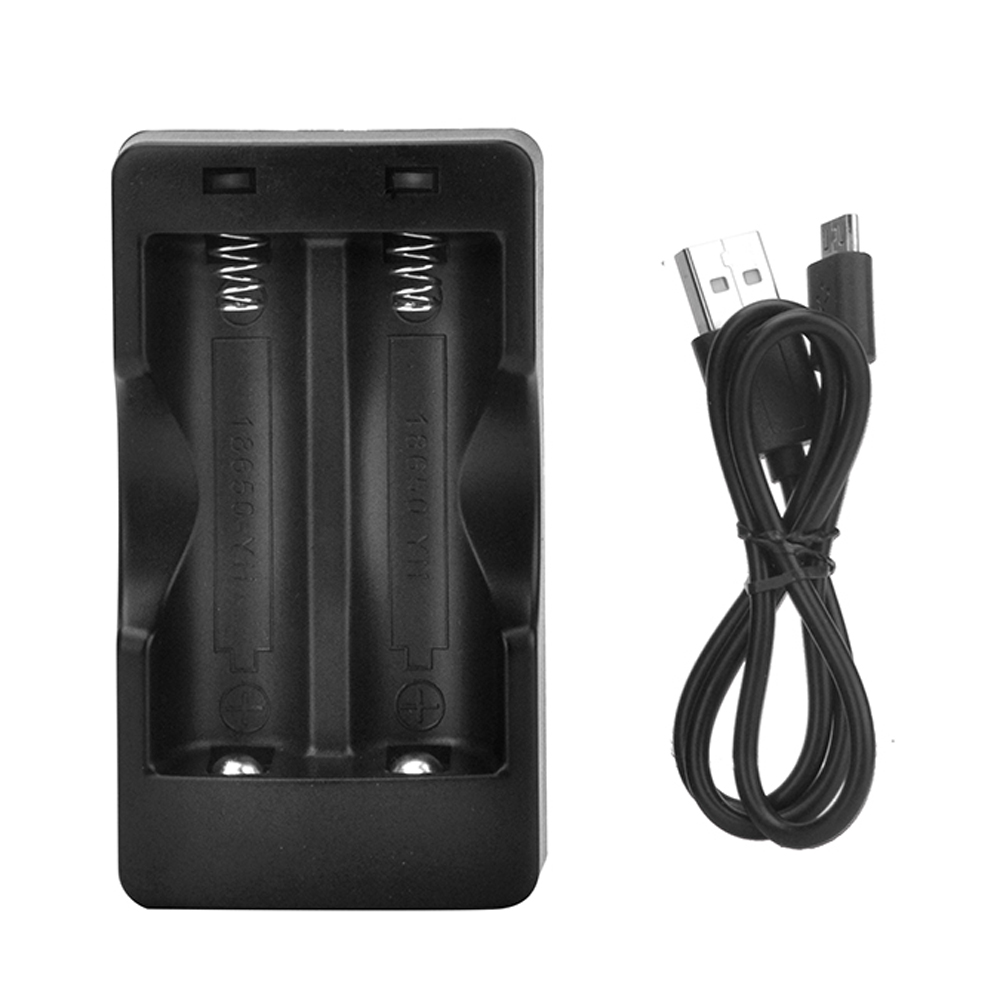
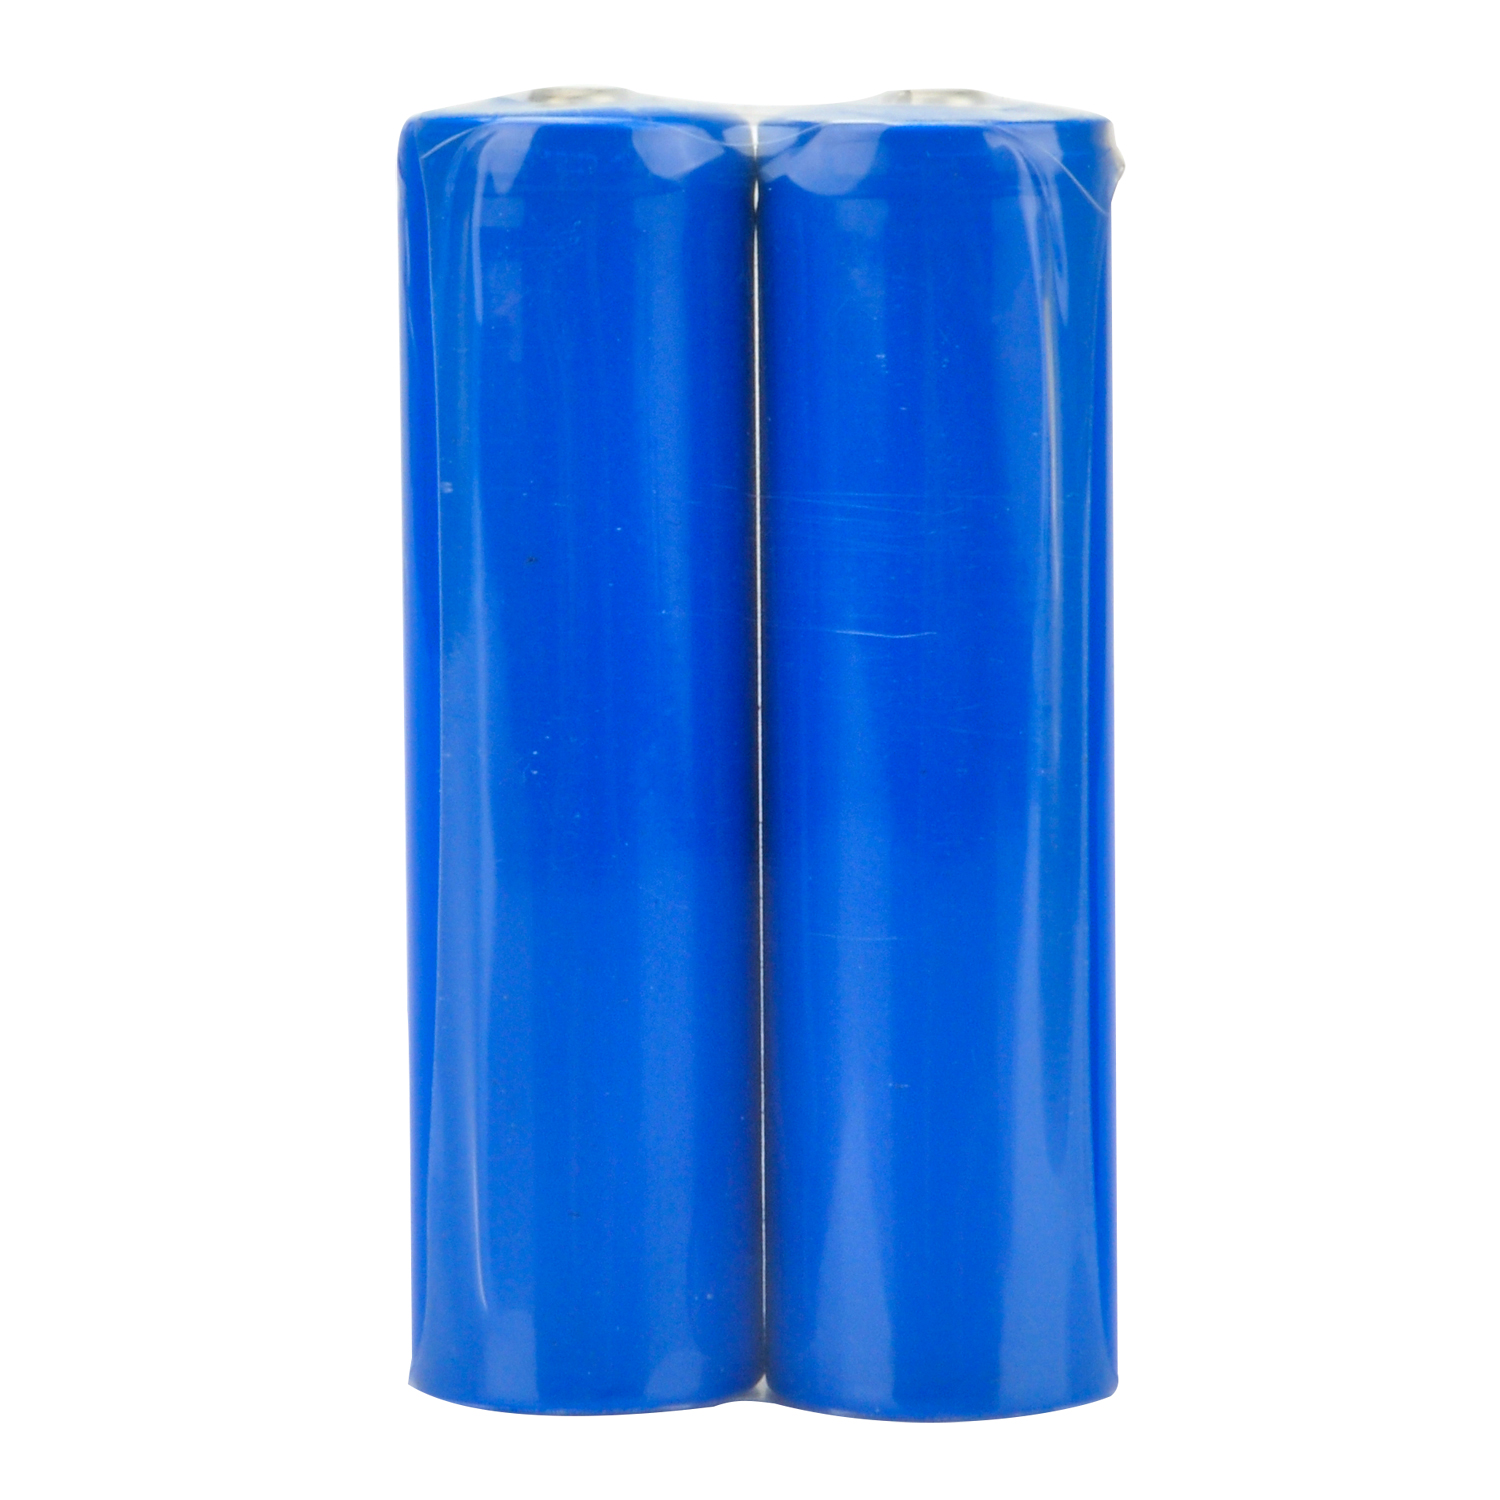
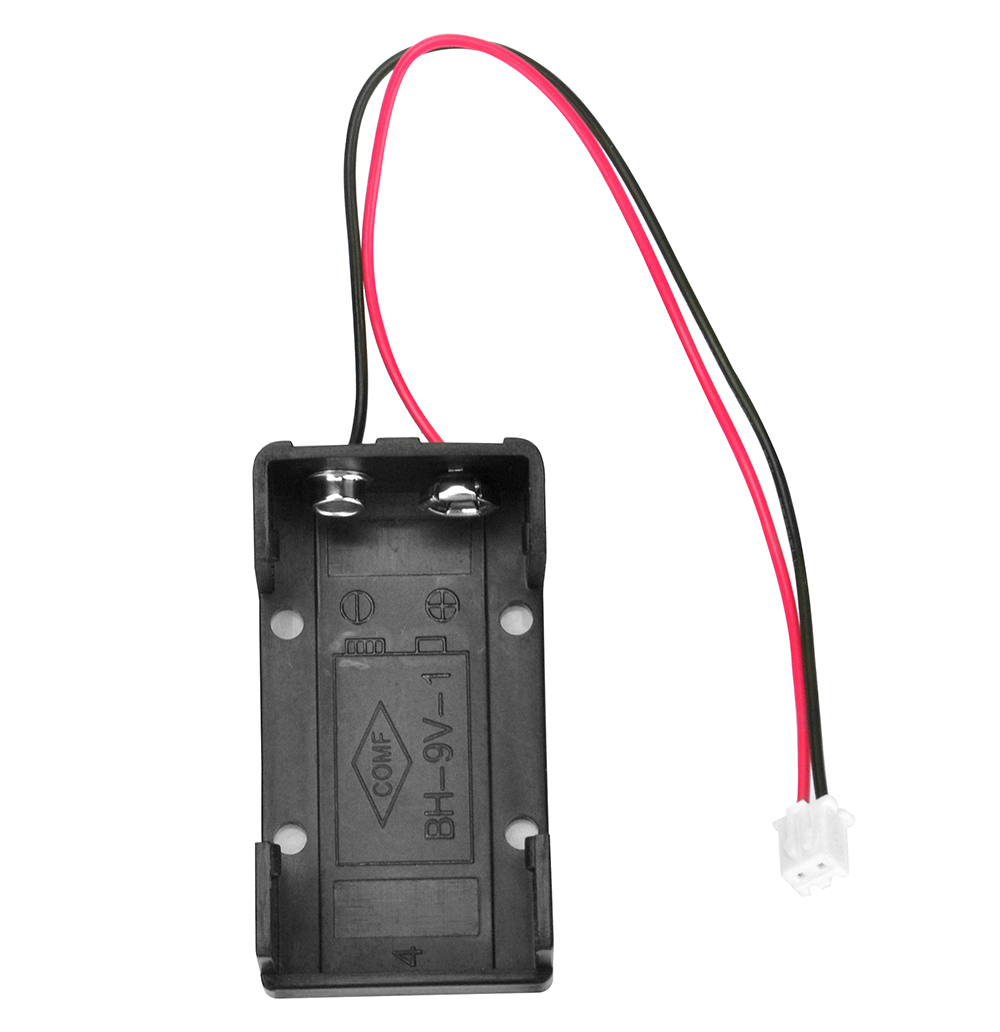
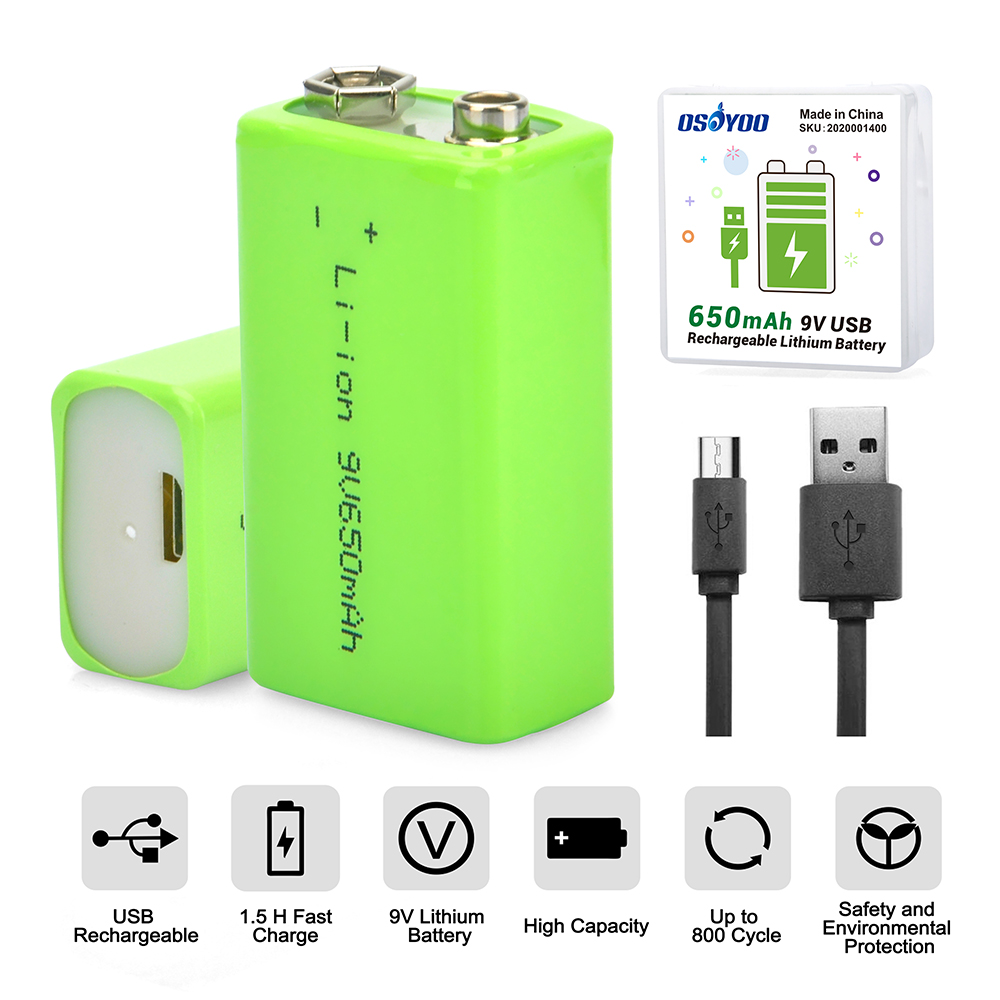
ロボットカーセットは2種類ご用意しています。1つは電池ボックス2個(18650電池ボックスと9V電池ボックス)付きのセット、もう1つは18650バッテリー1ペアと充電器付きのセットです。
以下の同梱品リストは、電池ボックス2個付きセットのものです。
以下の同梱品リストは、バッテリーと充電器付きセットのものです。
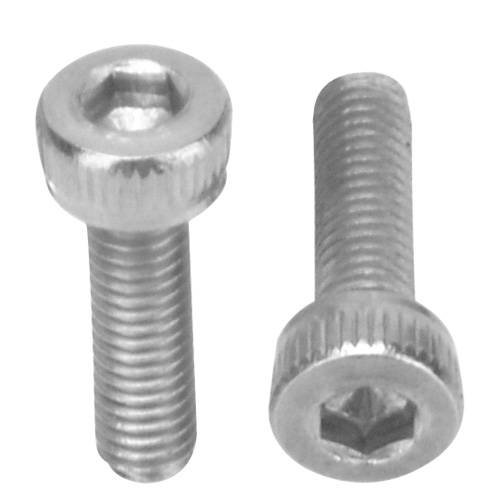
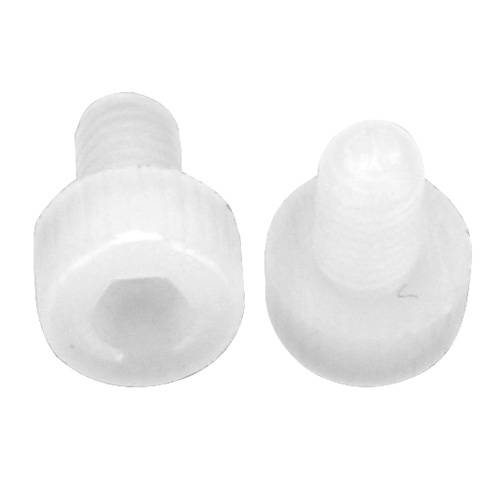
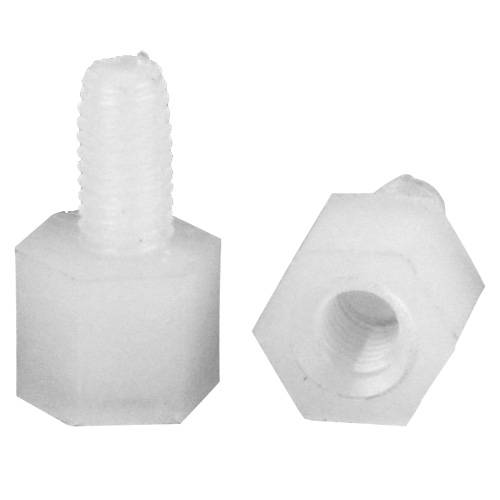
各パーツと部品の詳細については、こちらをクリックしてください。
✅ このチュートリアルは OSOYOO V2.1 ロボットカーキット用です
このページの8つのレッスン、サンプルコード、回路図はすべてこのキット専用に設計されています。
OSOYOO ストアで直接購入すると10%割引になります。さらに$70以上のご注文で送料無料です。

OSOYOO V2.1 ロボットカーキット
🔋 バッテリー・充電器付き:
$61.02
$67.80
— コード ROBOTCAR10
📦 バッテリーなし:同じコードで10%オフ
基本チュートリアル
Arduino に慣れていない初心者の方のために、基本チュートリアルをまとめました。このセクションでは、Arduino とは何かを説明し、シンプルな Arduino プロジェクトの始め方をご紹介します。Arduino は世界最大のオープンソースハードウェアプラットフォームであり、シンプルなマイコンベースの製品で無限の可能性を提供します。Arduino プラットフォームでのプログラミング学習は、成長し続ける旅です。
このハードウェアとソフトウェアのサポートがあれば、すぐにプログラミングの専門家への道を歩み始めることができます。キットを手に入れて、今日からプロジェクトを始めましょう!
チュートリアルとサンプルプロジェクト
パーツと部品
🤖 今すぐ V2.1 ロボットカーを組み立てましょう
このチュートリアル公式キット · Wi-Fi + Bluetooth + 8つのプロジェクトレッスン付き
限定リーダーコード ROBOTCAR10 で10%オフ — 直接購入でAmazonよりお得
🇺🇸 米国のお客様:
オープンボックス再生品版もさらに大きな割引でご購入いただけます →


Could you help me to change some lines in the code, more speed when its following the line, to folow a withe line, and dected some object and stop when this happends. please help
Please open the codes which you want to revise, and find the lines:
#define FAST_SPEED 150
#define MID_SPEED 140
#define SLOW_SPEED 130
you can change the value from 0 ~ 255.
done, thanks,it works.
Could you help me to change the code to follow a white line?
For line tracking mode, the value “1” means the tracking sensor is on black line, the value “0” means the tracking sensor is on white line.
Please find the following lines of the lesson 4 code and exchange black line value to white line value:
void auto_tracking(){
String sensorval= read_sensor_values();
Serial.println(sensorval);
if ( sensorval==”10000″ )
{
//The black line is in the left of the car, need left turn
go_Left(); //Turn left
set_Motorspeed(FAST_SPEED,FAST_SPEED);
}
if (sensorval==”10100″ || sensorval==”01000″ || sensorval==”01100″ || sensorval==”11100″ || sensorval==”10010″ || sensorval==”11010″)
{
go_Advance(); //Turn slight left
set_Motorspeed(0,FAST_SPEED);
}
if ( sensorval==”00001″ ){ //The black line is on the right of the car, need right turn
go_Right(); //Turn right
set_Motorspeed(FAST_SPEED,FAST_SPEED);
}
if (sensorval==”00011″ || sensorval==”00010″ || sensorval==”00101″ || sensorval==”00110″ || sensorval==”00111″ || sensorval==”01101″ || sensorval==”01111″ || sensorval==”01011″ || sensorval==”01001″)
{
go_Advance(); //Turn slight right
set_Motorspeed( FAST_SPEED,0);
}
if (sensorval==”11111″){
stop_Stop(); //The car front touch stop line, need stop
set_Motorspeed(0,0);
}
For example, the value of “sensorval==”01100″” mean the left 2 and left 3 tracking sensors are on black line and the other tracking sensors are on white line. if the left 2 and left 3 tracking sensors are on white line and the other tracking sensors are on black line, the code value is “sensorval==”10011″”
hope these will help you.
Ok, so i have to change all the values, like that? (code bellow) i change al the “1” for “0”
void auto_tracking(){
String sensorval= read_sensor_values();
Serial.println(sensorval);
if ( sensorval==”01111″ )
{
//The black line is in the left of the car, need left turn
go_Left(); //Turn left
set_Motorspeed(FAST_SPEED,FAST_SPEED);
}
if (sensorval==”01011″ || sensorval==”10111″ || sensorval==”10011″ || sensorval==”00011″ || sensorval==”01101″ || sensorval==”00101″)
{
go_Advance(); //Turn slight left
set_Motorspeed(0,FAST_SPEED);
}
if ( sensorval==”11110″ ){ //The black line is on the right of the car, need right turn
go_Right(); //Turn right
set_Motorspeed(FAST_SPEED,FAST_SPEED);
}
if (sensorval==”11100″ || sensorval==”11101″ || sensorval==”11010″ || sensorval==”11001″ || sensorval==”11000″ || sensorval==”10010″ || sensorval==”10000″ || sensorval==”10100″ || sensorval==”10110″)
{
go_Advance(); //Turn slight right
set_Motorspeed( FAST_SPEED,0);
}
if (sensorval==”00000″){
stop_Stop(); //The car front touch stop line, need stop
set_Motorspeed(0,0);
}
Yes, please have a try.
Hola me puedes ayudar por favor no soy capaz de encontrar el software para el osoyoo 2.1 que debería ser la versión 1.8.8 soy nuevo en esto y me estoy volviendo loco seri de gran ayuda para mi
buenos dias e adquirido un osoyoo 2.1 y no soy capaz de descargarme el software necesito ayuda ya que soy nuevo en este mundo
no soy capad de encontrar la version 1.8.8 no se si an sacado alguna actualizacion
Do you mean you want to download the Arduino IDE V1.8.8?
Please visit the link: https://www.arduino.cc/en/software/OldSoftwareReleases
Si muchas gracias por que no avía manera de encontrar la esa versión ya te comentaré el resultado
ciao come faccio ad eliminare i tempi di fermo rover quando non ha ostacoli vicino?
Grazie
Please can you help me with a code that will make mine go round circles? I have tried several means, but not working, please
I am not so clear? Make the robot turn in place? Due to changes in current or uneven ground, the robot’s trajectory may change
I am working on a project that would make this car go round a circles of a particular radius
Please I am having issue trying to write a code that uses both obstacle avoidance sensor the IR sensor all in the same code or program. Please can you help me out please.
Please I am having issue trying to write a code that uses both obstacle avoidance sensor the IR sensor all in the same code or program. Please can you help me out please.
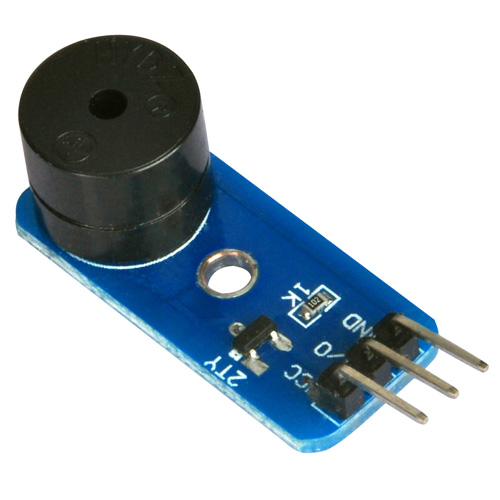
In Lesson 7 there are several unused custom buttons. I would like to use the custom button F2 to make the buzzer sound. What letter in the Uart_Date stream corresponds to F2 (also what letter corresponds to F4)?
Nevermind F2 is G and F4 is I (too tired to think of monitoring the UART_Date variable on the Serial Monitor when I posted)
Hello. Voltage seems to be alright at 7.30 but whenever I turn on the car it’s just constantly turning left.
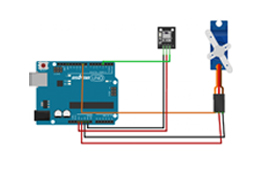
How may one establish a connection between a servo motor and an Arduino microcontroller? The servo motor is equipped with a female connector. However, the provided kit solely comprises male-to-female and female-to-female connectors. What course of action is recommended to address this situation?
hey, so I am trying to modify the code from lesson one. I am trying to make the robot go around in a circle of a 3m diameter after going forward for 2 seconds. Could you please help me with a code that makes the robot go around in a circle of a particular diameter?
I was building the remote control car and when I was going to use the remote, the car would not move at all. I checked to see if the battery was in the remote and to see if it was in the right way, and it was. I was wondering what was wrong. Thank you
Ich habe das Auto fertiggestellt. Es zeigt die gemessene Entfernung zum Hindernis im seriellen Monitor richtig an, fährt aber nur rückwärts oder dreht sich im Kreis, obwohl vorne ausreichend Abstand zur Verfügung steht. Es fährt nicht nach vorwärts auf das Hindernis zu, so wie es erwartet würde. Wo liegt der Fehler?
Woher wissen Sie „Es zeigt die gemessene Entfernung zum Hindernis im seriellen Monitor richtig an“?
how do you know “It correctly displays the measured distance to the obstacle in the serial monitor”?
I installed the Driving app from the Apple Store on my iPad (iOS 16.6.1), but the motion sensor isn’t working and I can’t control the left and right. What should I do?
Are you talking about the lesson 7 immitation driving bluetooth APP?
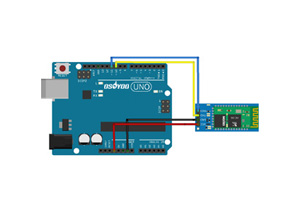
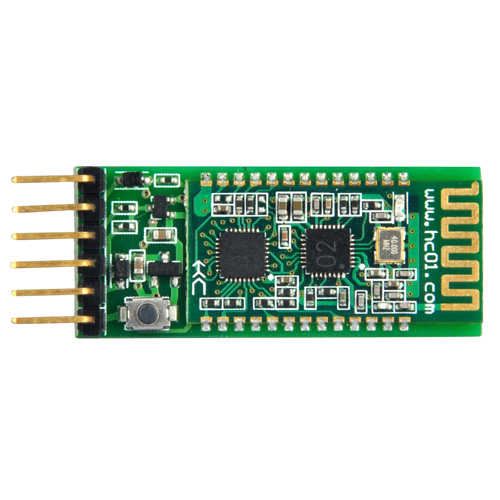
please make sure that you have correctly connected the B_TX to D4 and B_RX to D5 using jumper caps, see following picture.
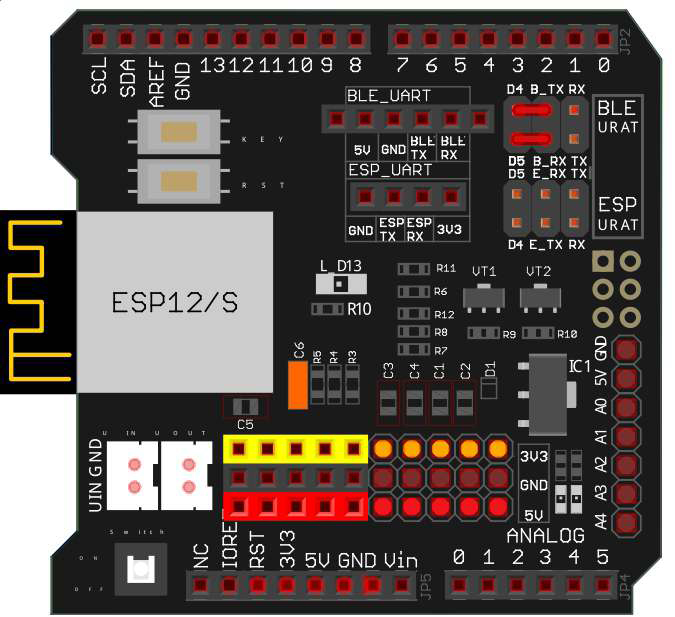
Some people put the jumper caps in the lower location(E_TX to D4 and E_RX to D5), that is WRONG and your Arduino can not get signal from Bluetooth chip.
Thank you for your comment.
Other iOS apps work without changing the hardware settings, so I don’t think it’s a problem with the robot’s hardware.
Did you enable the bluetooth sensor and motion sensor in you iPad? Can you connect the HC-02 bluetooth device?