Kaufen Sie das V2.1 Robot Car Plus Kit (inklusive 18650-Akkus und USB-Ladegerät) über folgenden Link:
| Bei OSOYOO kaufen |
In den USA kaufen |
In UK kaufen |
In DE kaufen |
In IT kaufen |
In FR kaufen |
In ES kaufen |
In JP kaufen |
 |
 |
 |
 |
 |
 |
 |
 |
V2.1 Robot Car ohne Akku und Ladegerät kaufen:
| Bei OSOYOO kaufen |
In den USA kaufen |
In UK kaufen |
In DE kaufen |
In IT kaufen |
In FR kaufen |
In ES kaufen |
In JP kaufen |
|
|
|
|
|
|
|
|
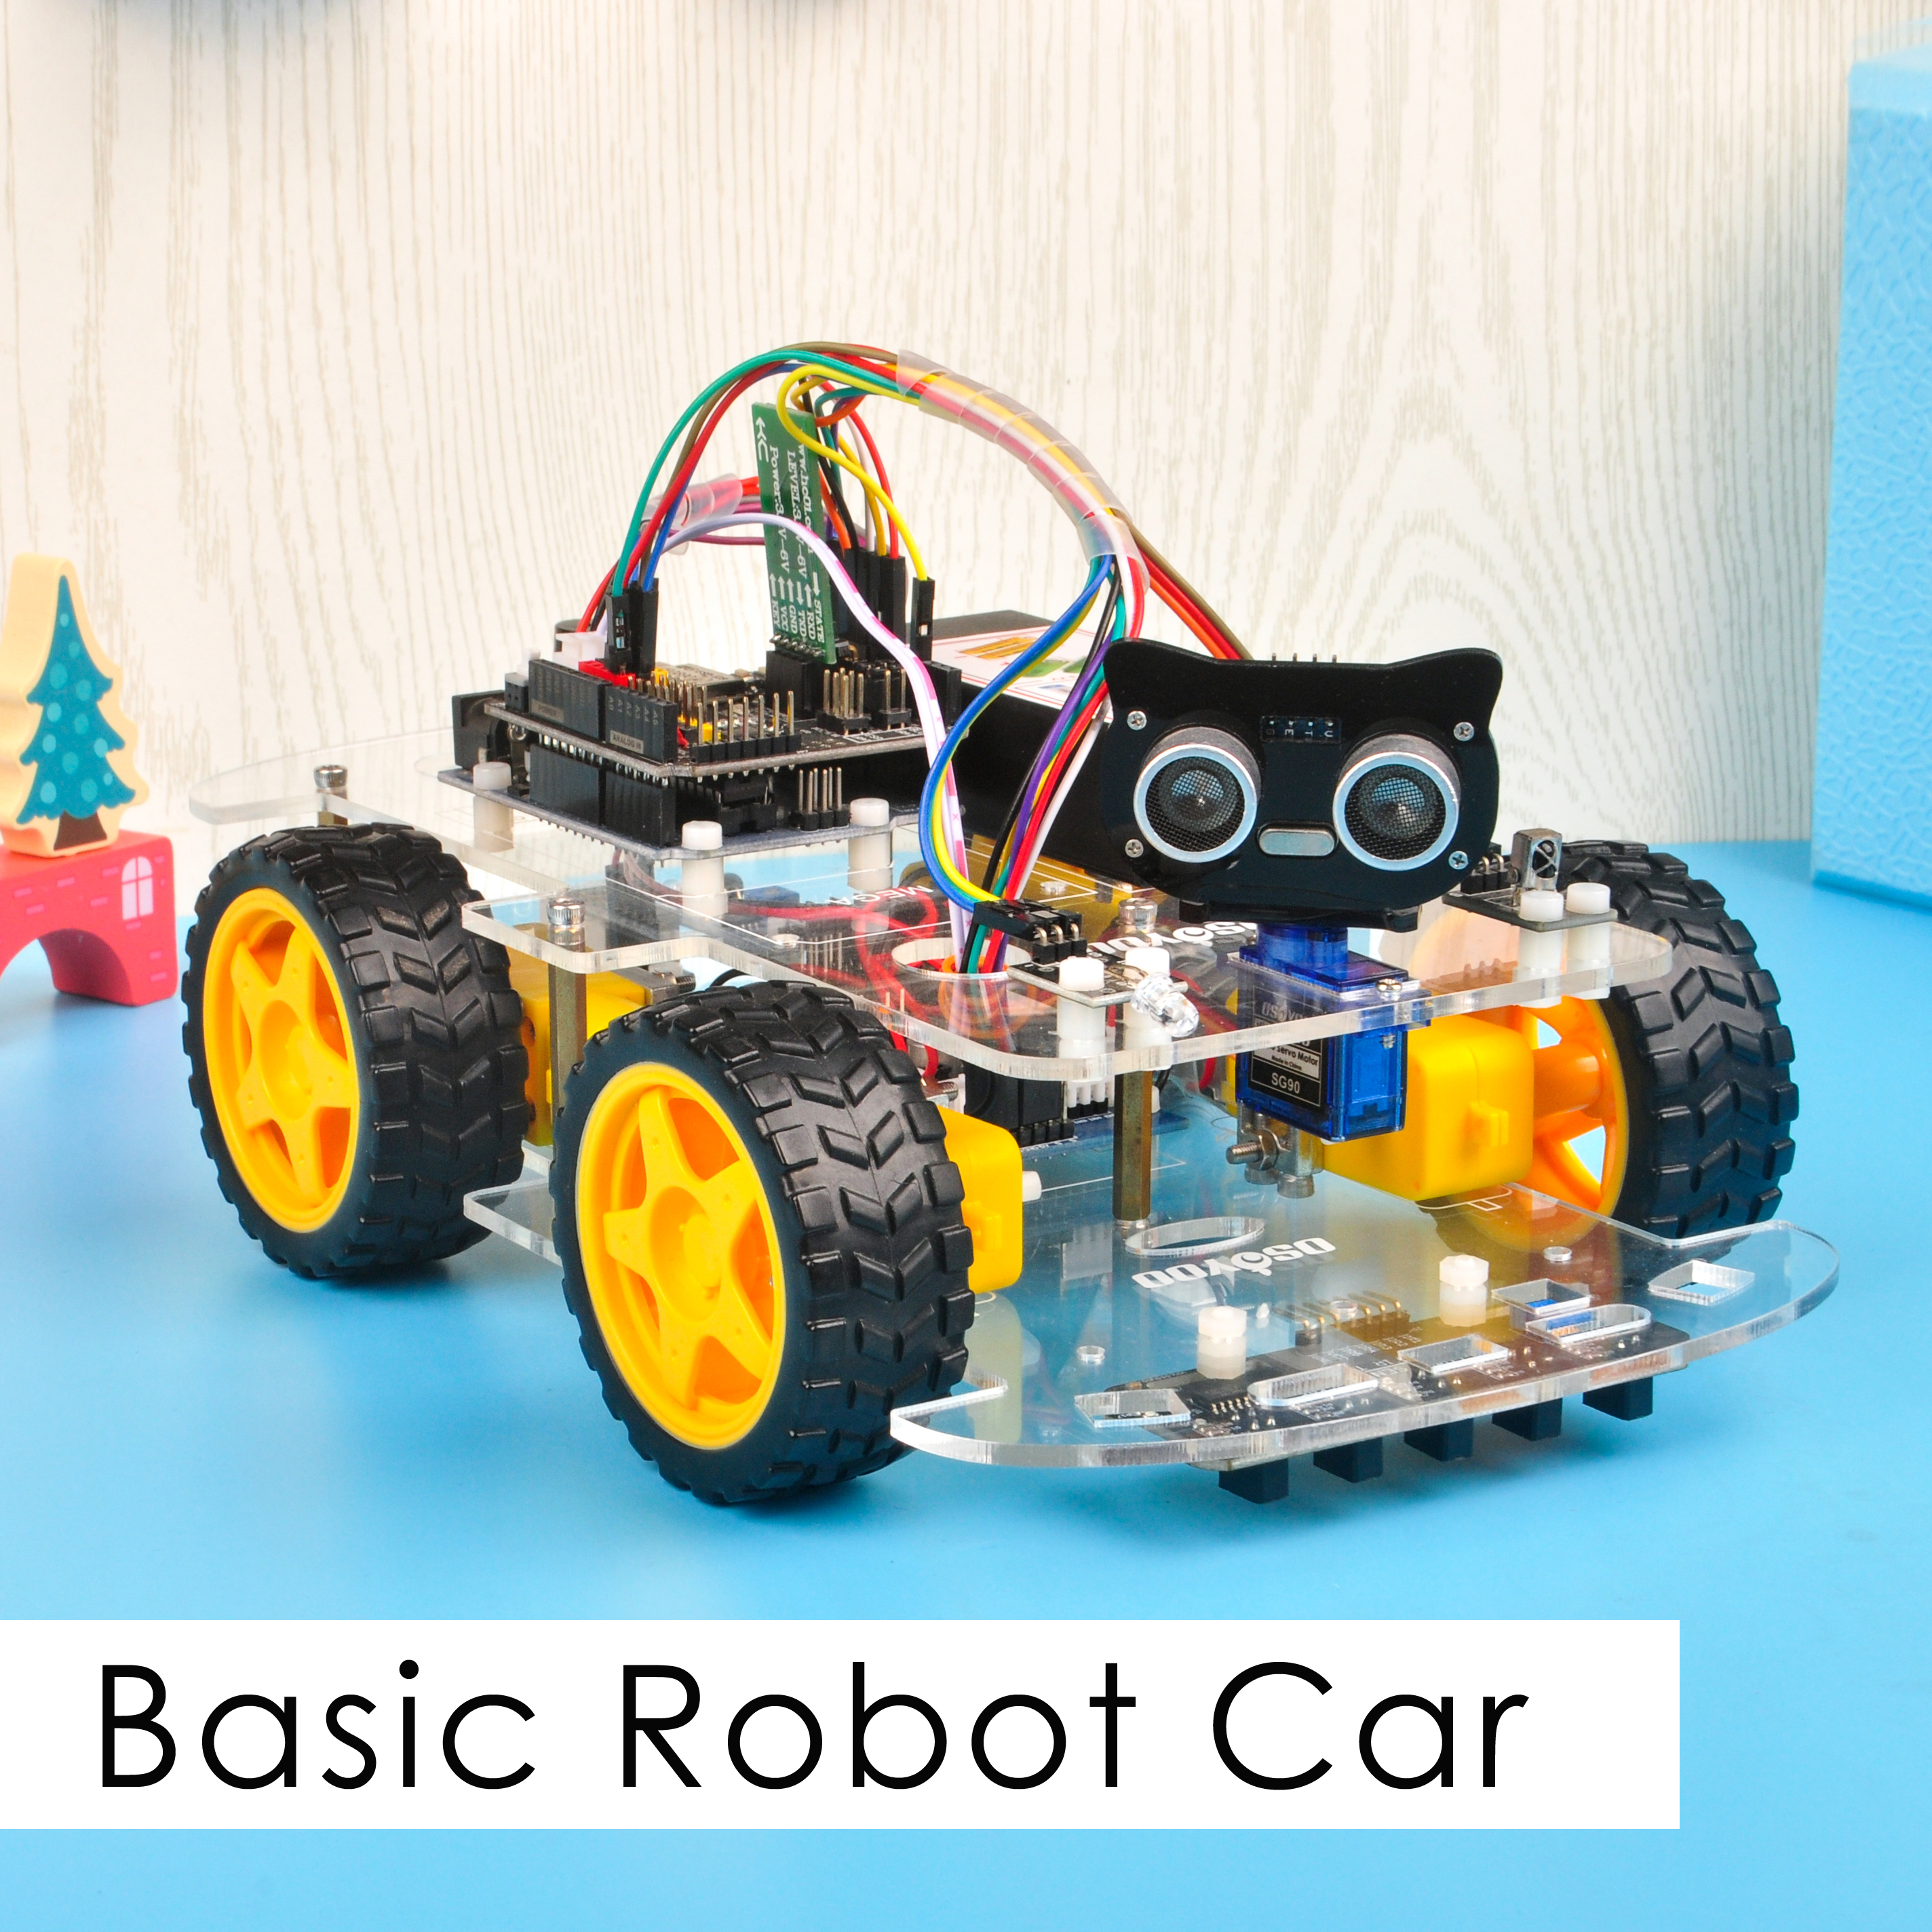
🤖 Bereit, dieses Roboterfahrzeug zu bauen?
OSOYOO V2.1 Robot Car Kit — Offizielles Tutorial-Kit
WiFi · Bluetooth · Linienverfolgung · Hindernisumfahrung · 8 Lektionen · iOS/Android-APP — alles, was dieses Tutorial abdeckt, in einer Box
Beschreibung:
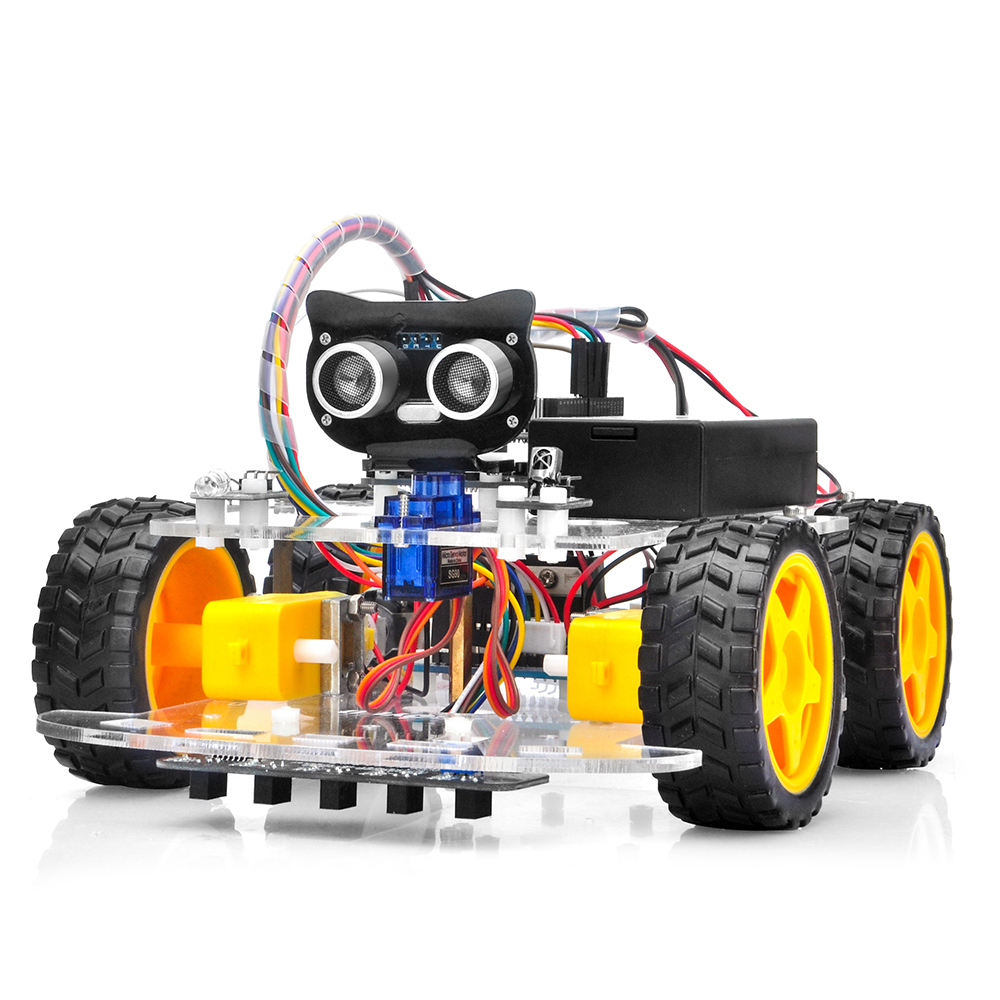
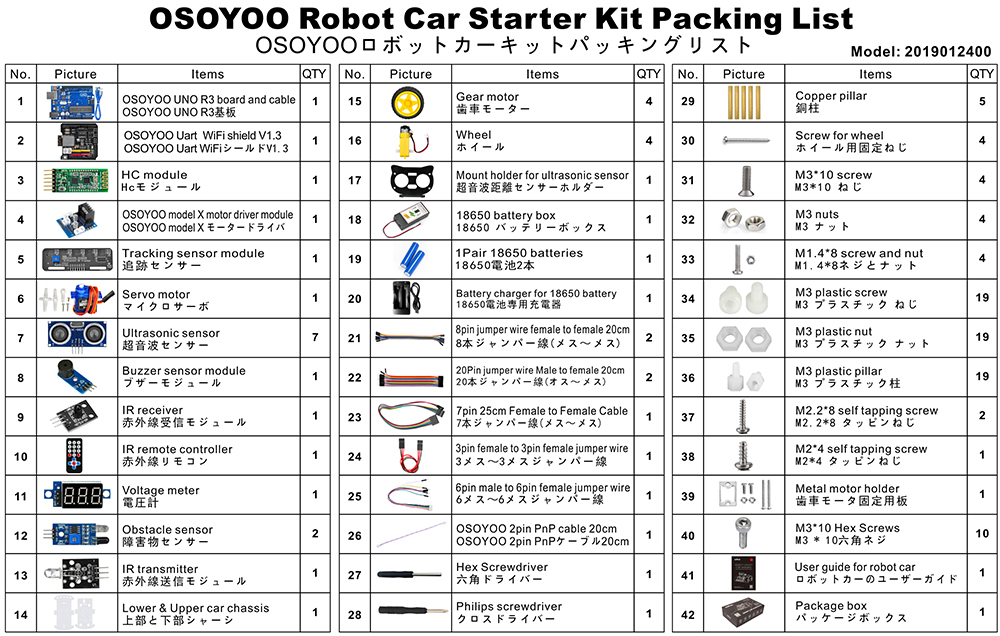
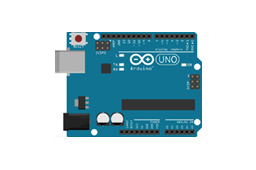
Das OSOYOO Roboterfahrzeug-Lernkit ist für Einsteiger konzipiert. Sie lernen damit Arduino-Programmierung und sammeln praktische Erfahrung im Roboterdesign und -zusammenbau.
Wir haben ein schrittweises Tutorial entwickelt. Es beginnt mit einem einfachen Fahrzeug ohne Steuerung und führt bis zum Mehrfunktions-Roboterfahrzeug, das per App gesteuert wird.
Jede Lektion enthält detaillierten Beispielcode mit Kommentaren, Schaltpläne, Montageanleitungen und Videos. Auch ohne Programmiererfahrung können Sie den Schritt-für-Schritt-Anleitungen folgen und werden nach und nach zum Experten.
Unser Roboterfahrzeug ist zu 100 % Open Source. Wenn Sie bereits Erfahrung haben und unsere Code-Kommentare lesen, können Sie das Fahrzeug leicht anpassen – für Schulmessen, Hausaufgabenprojekte oder sogar kommerzielle Anwendungen.
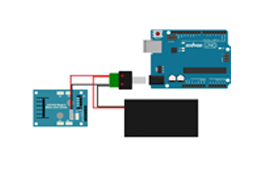
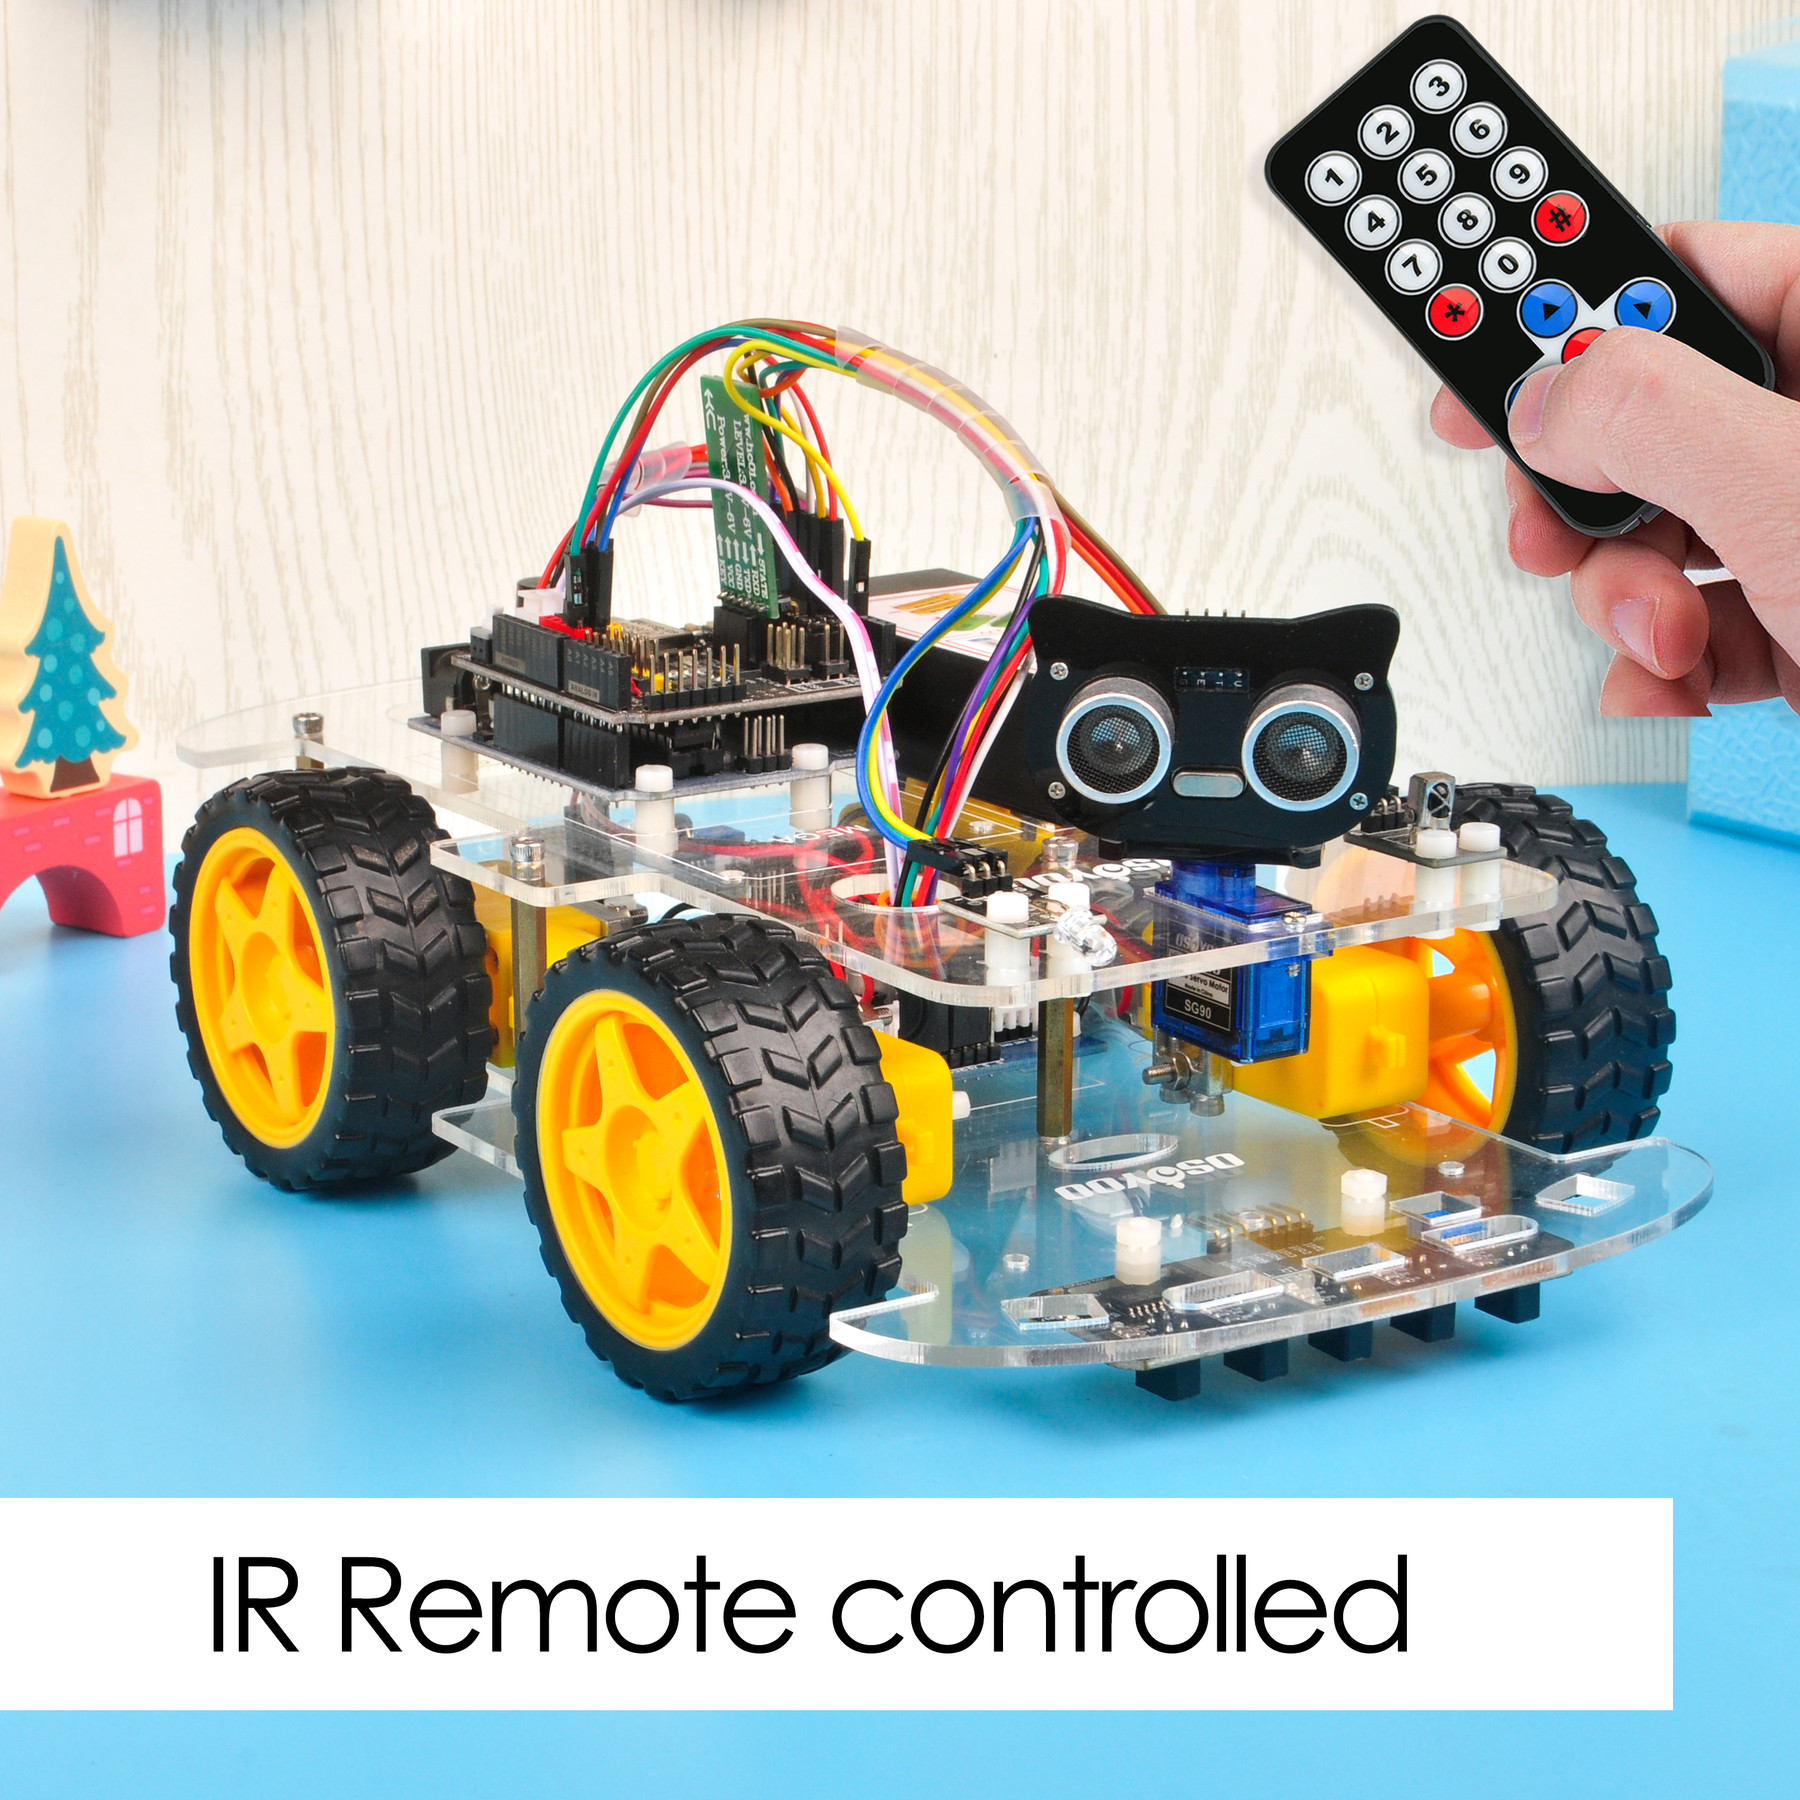
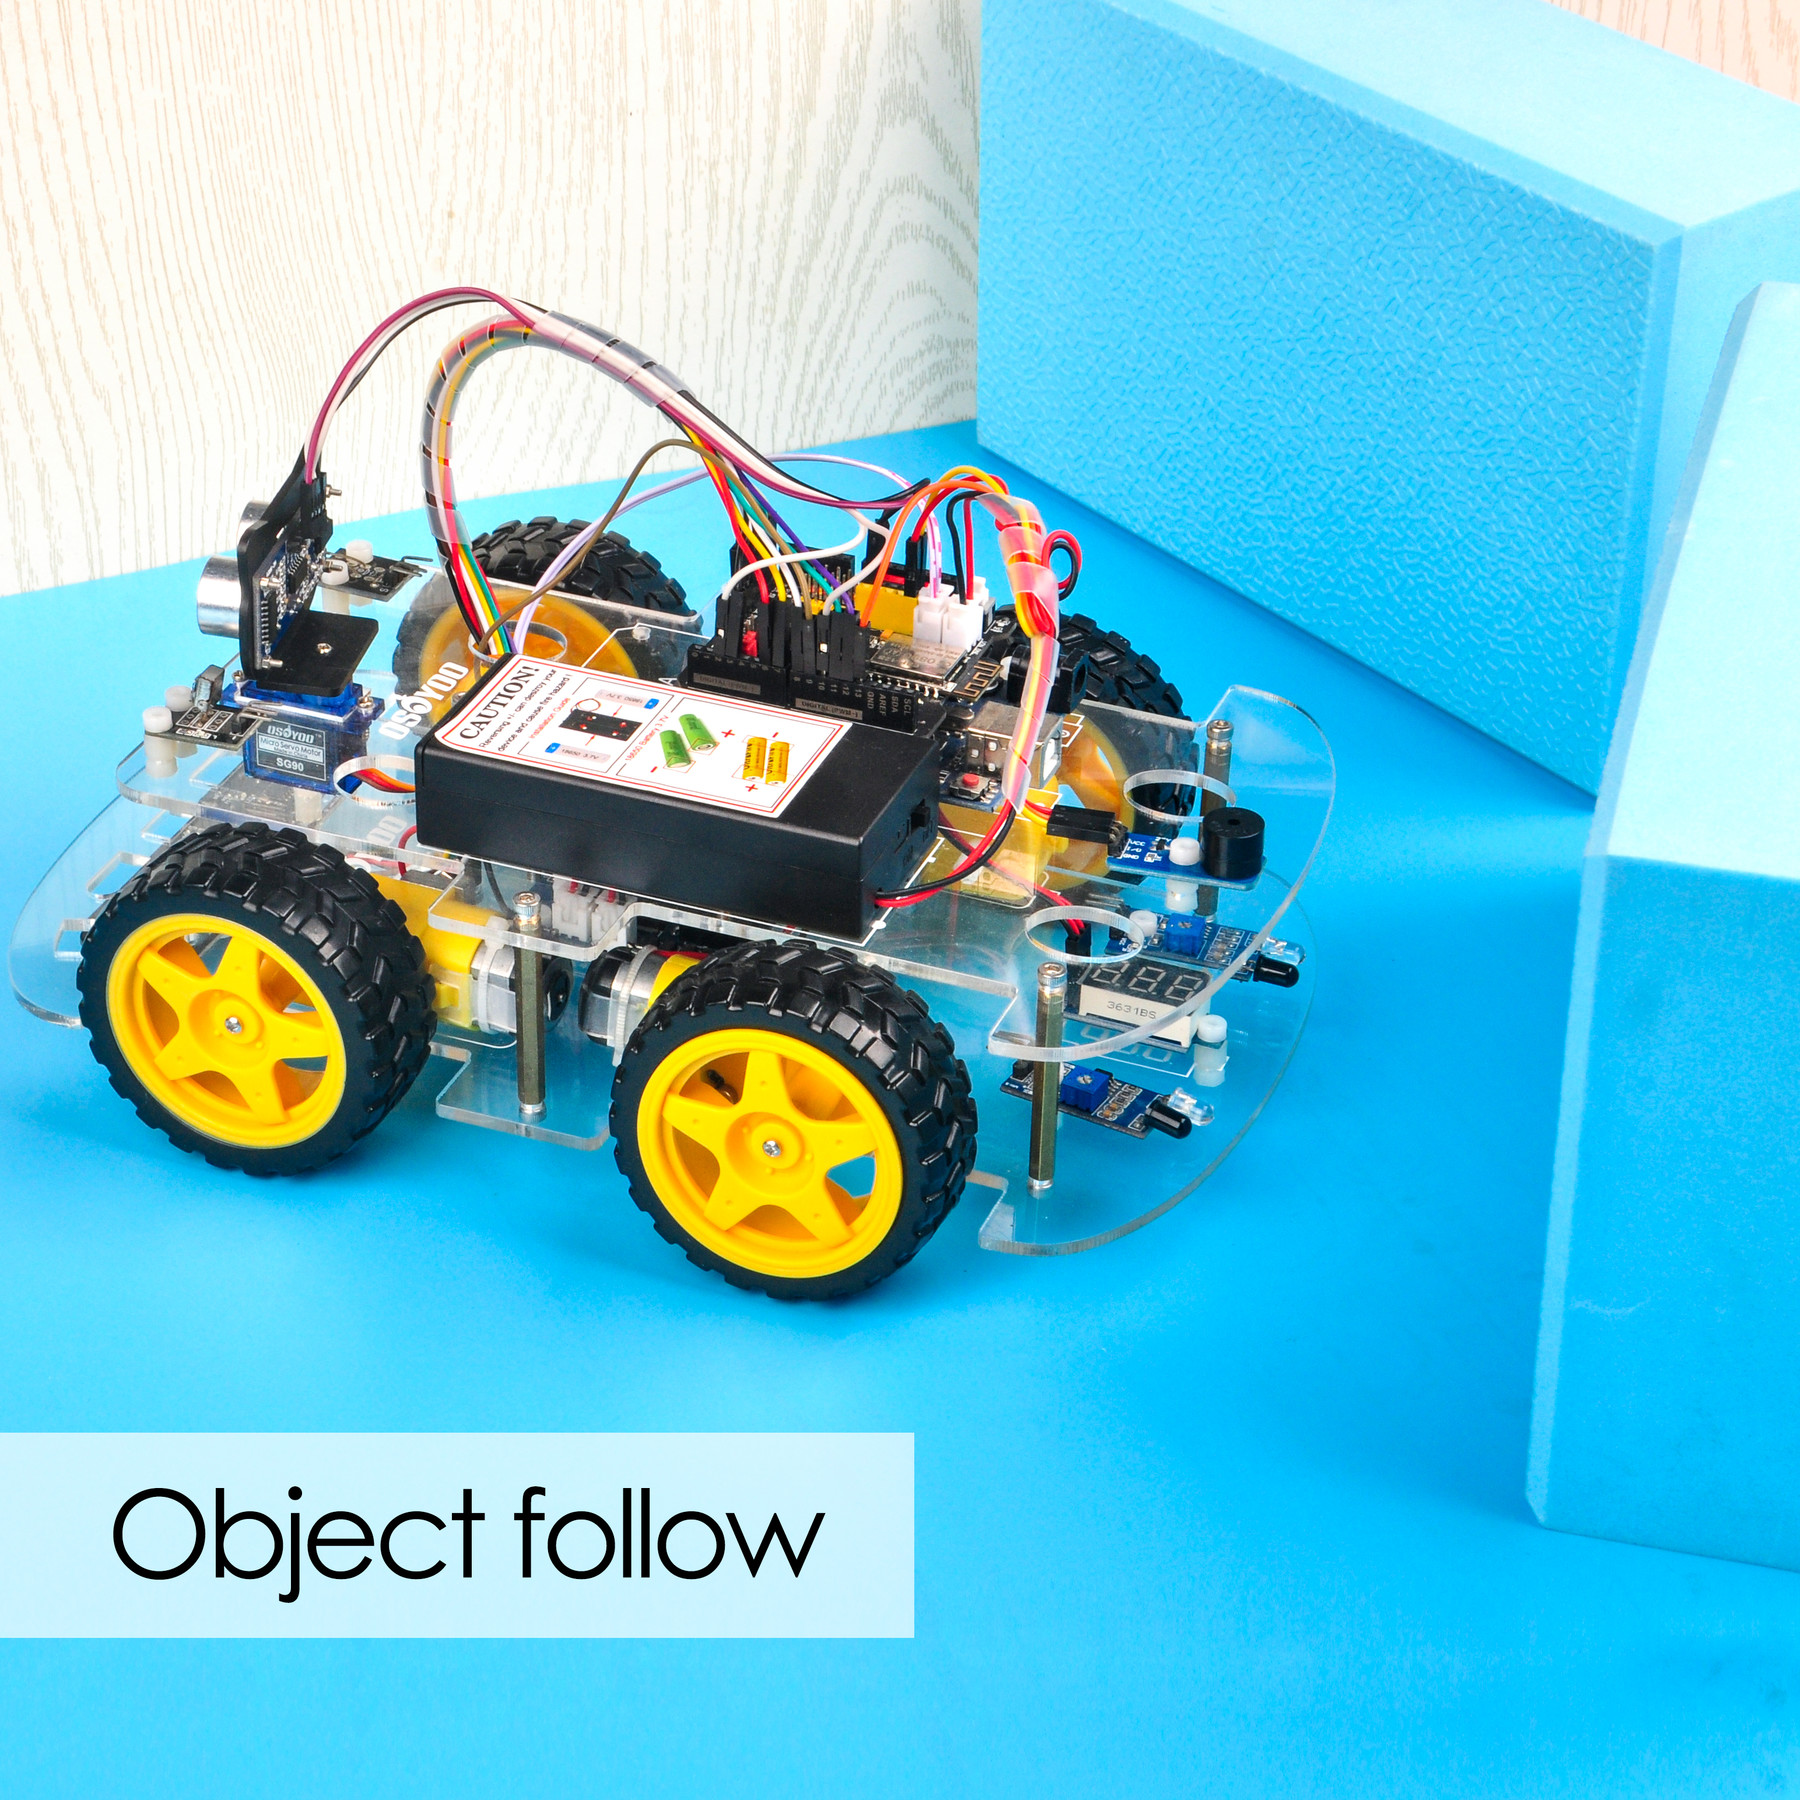
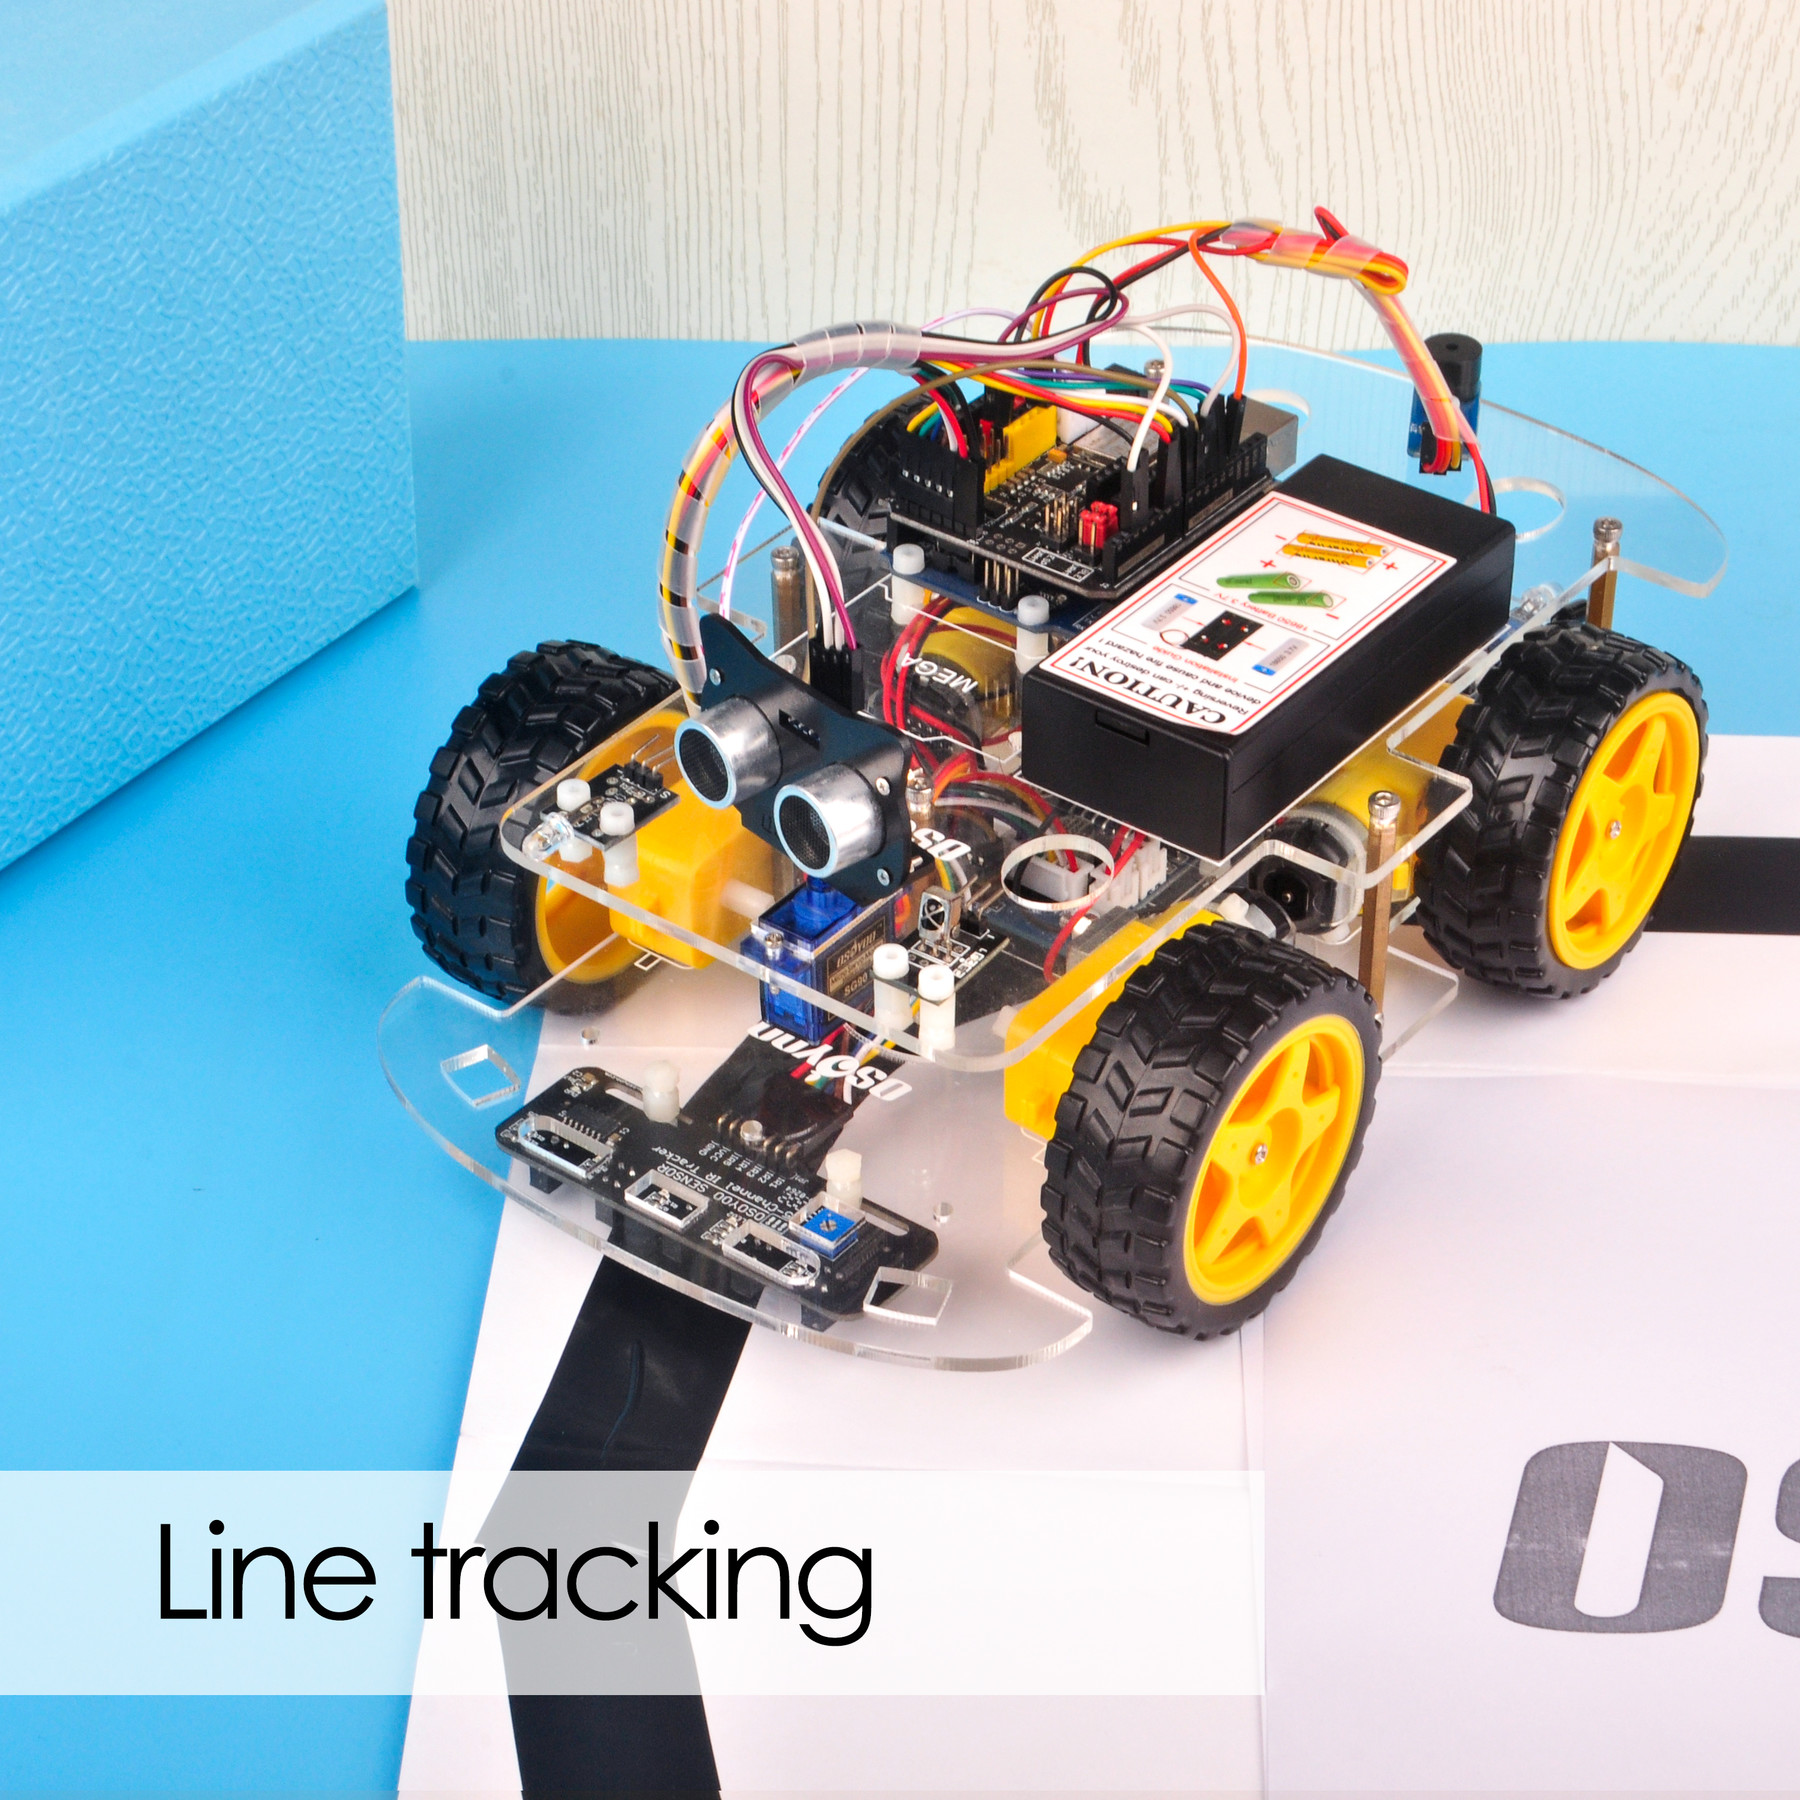
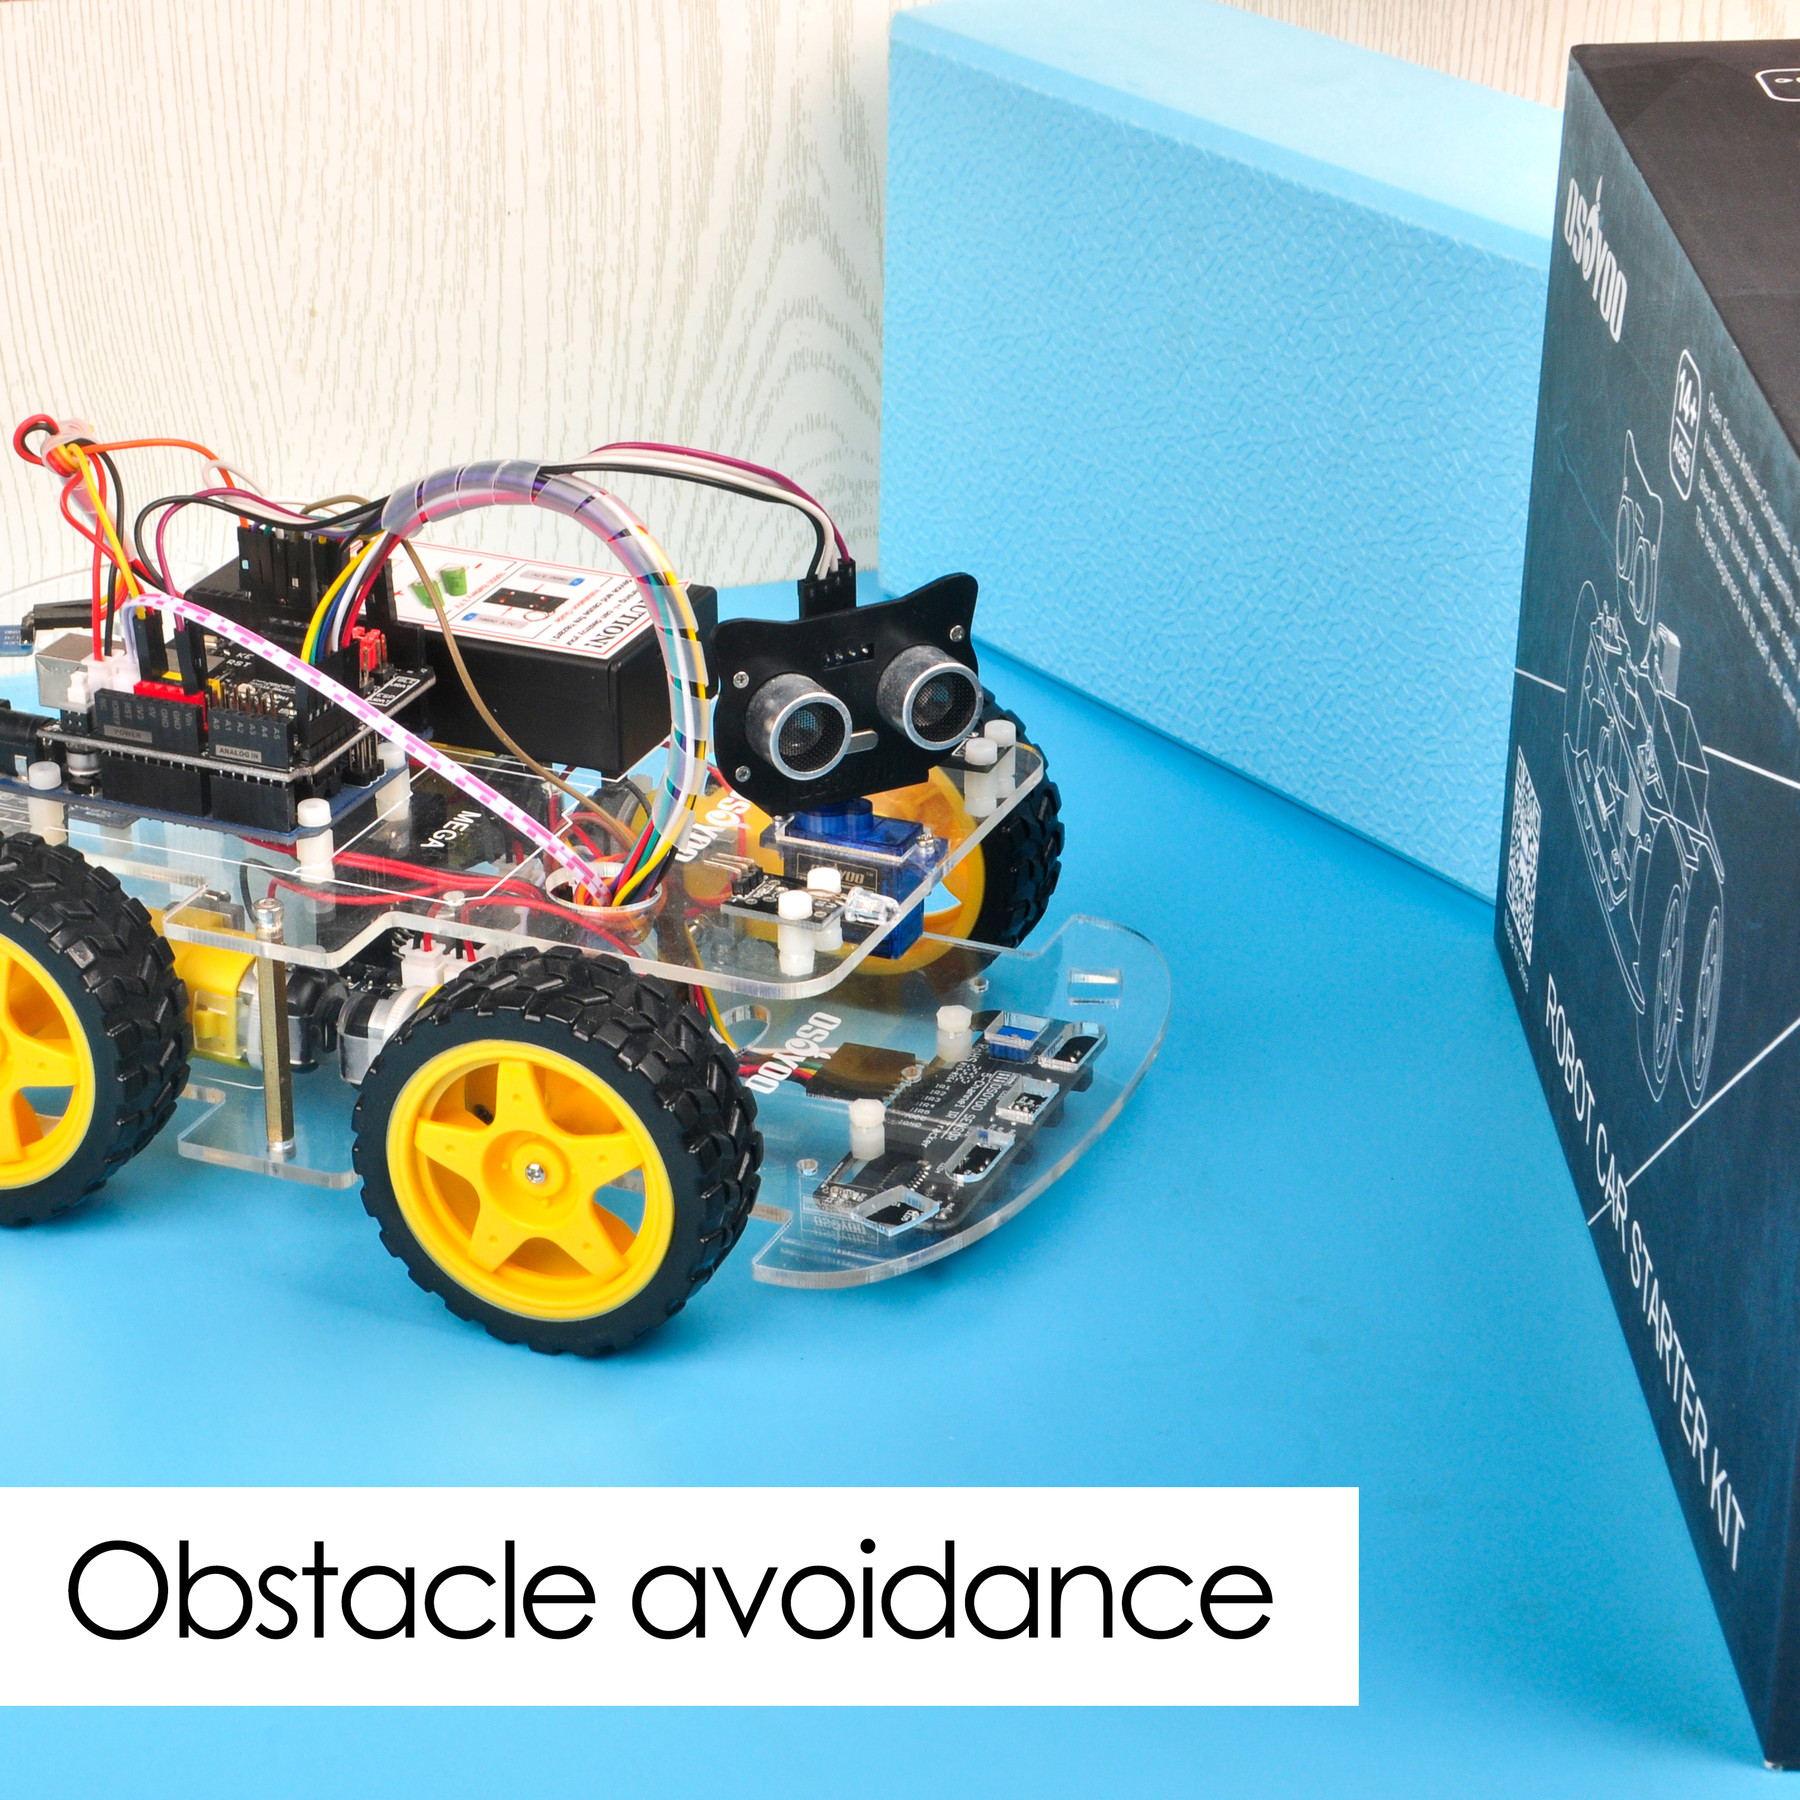
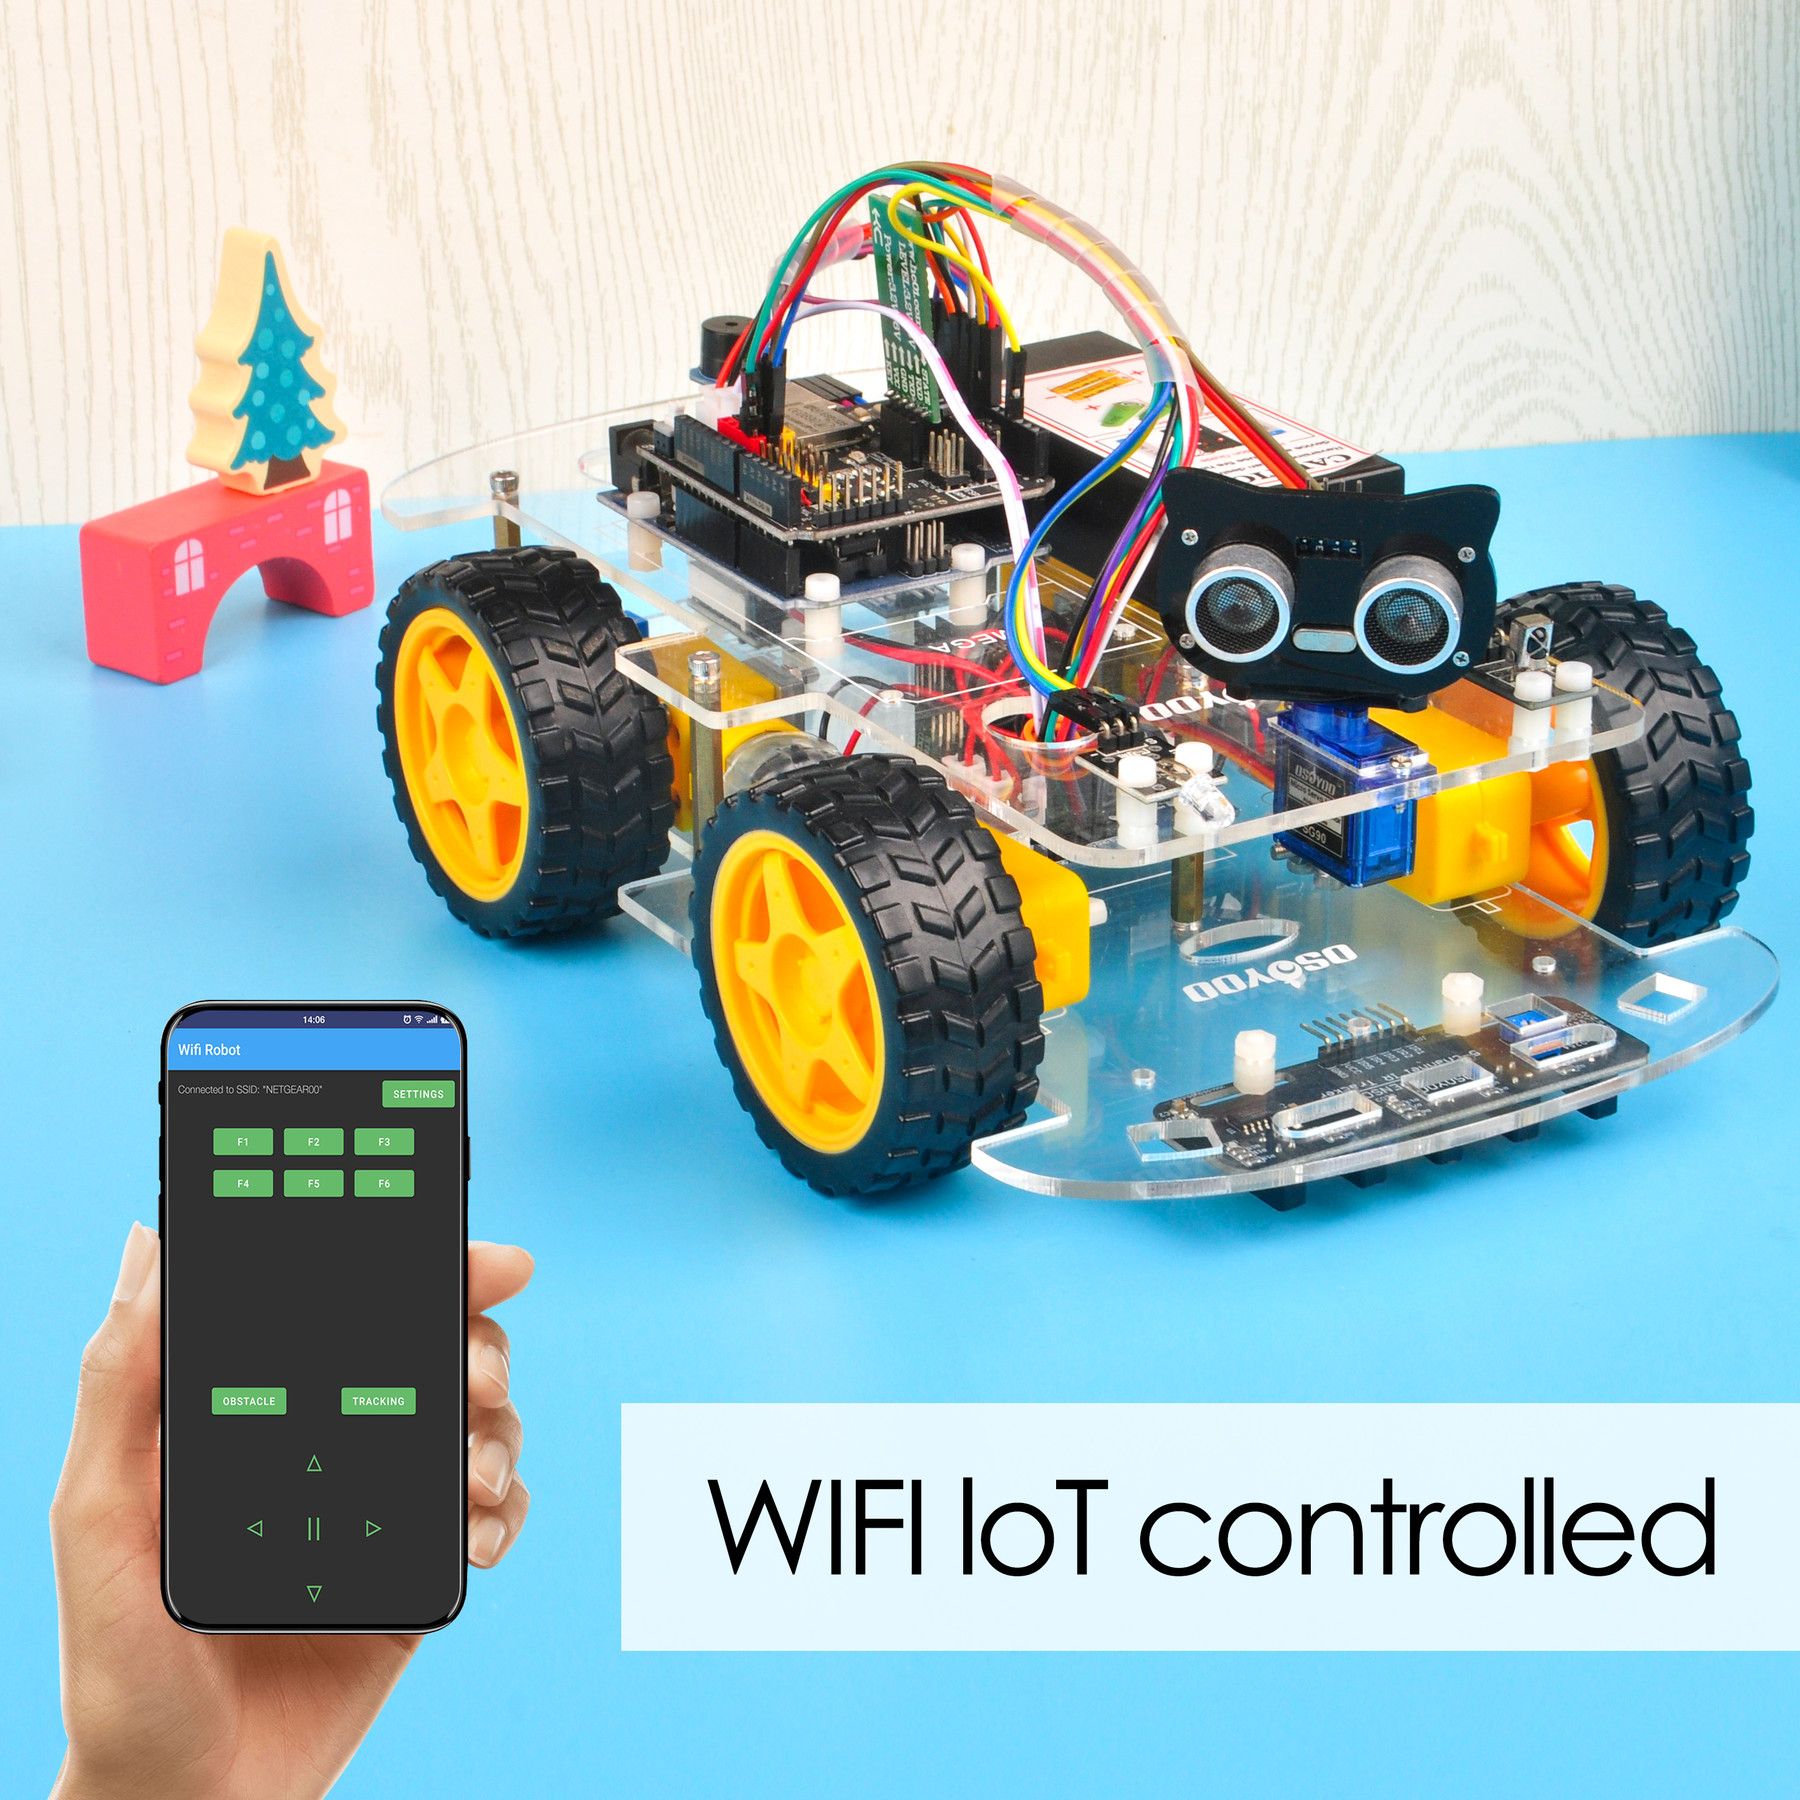
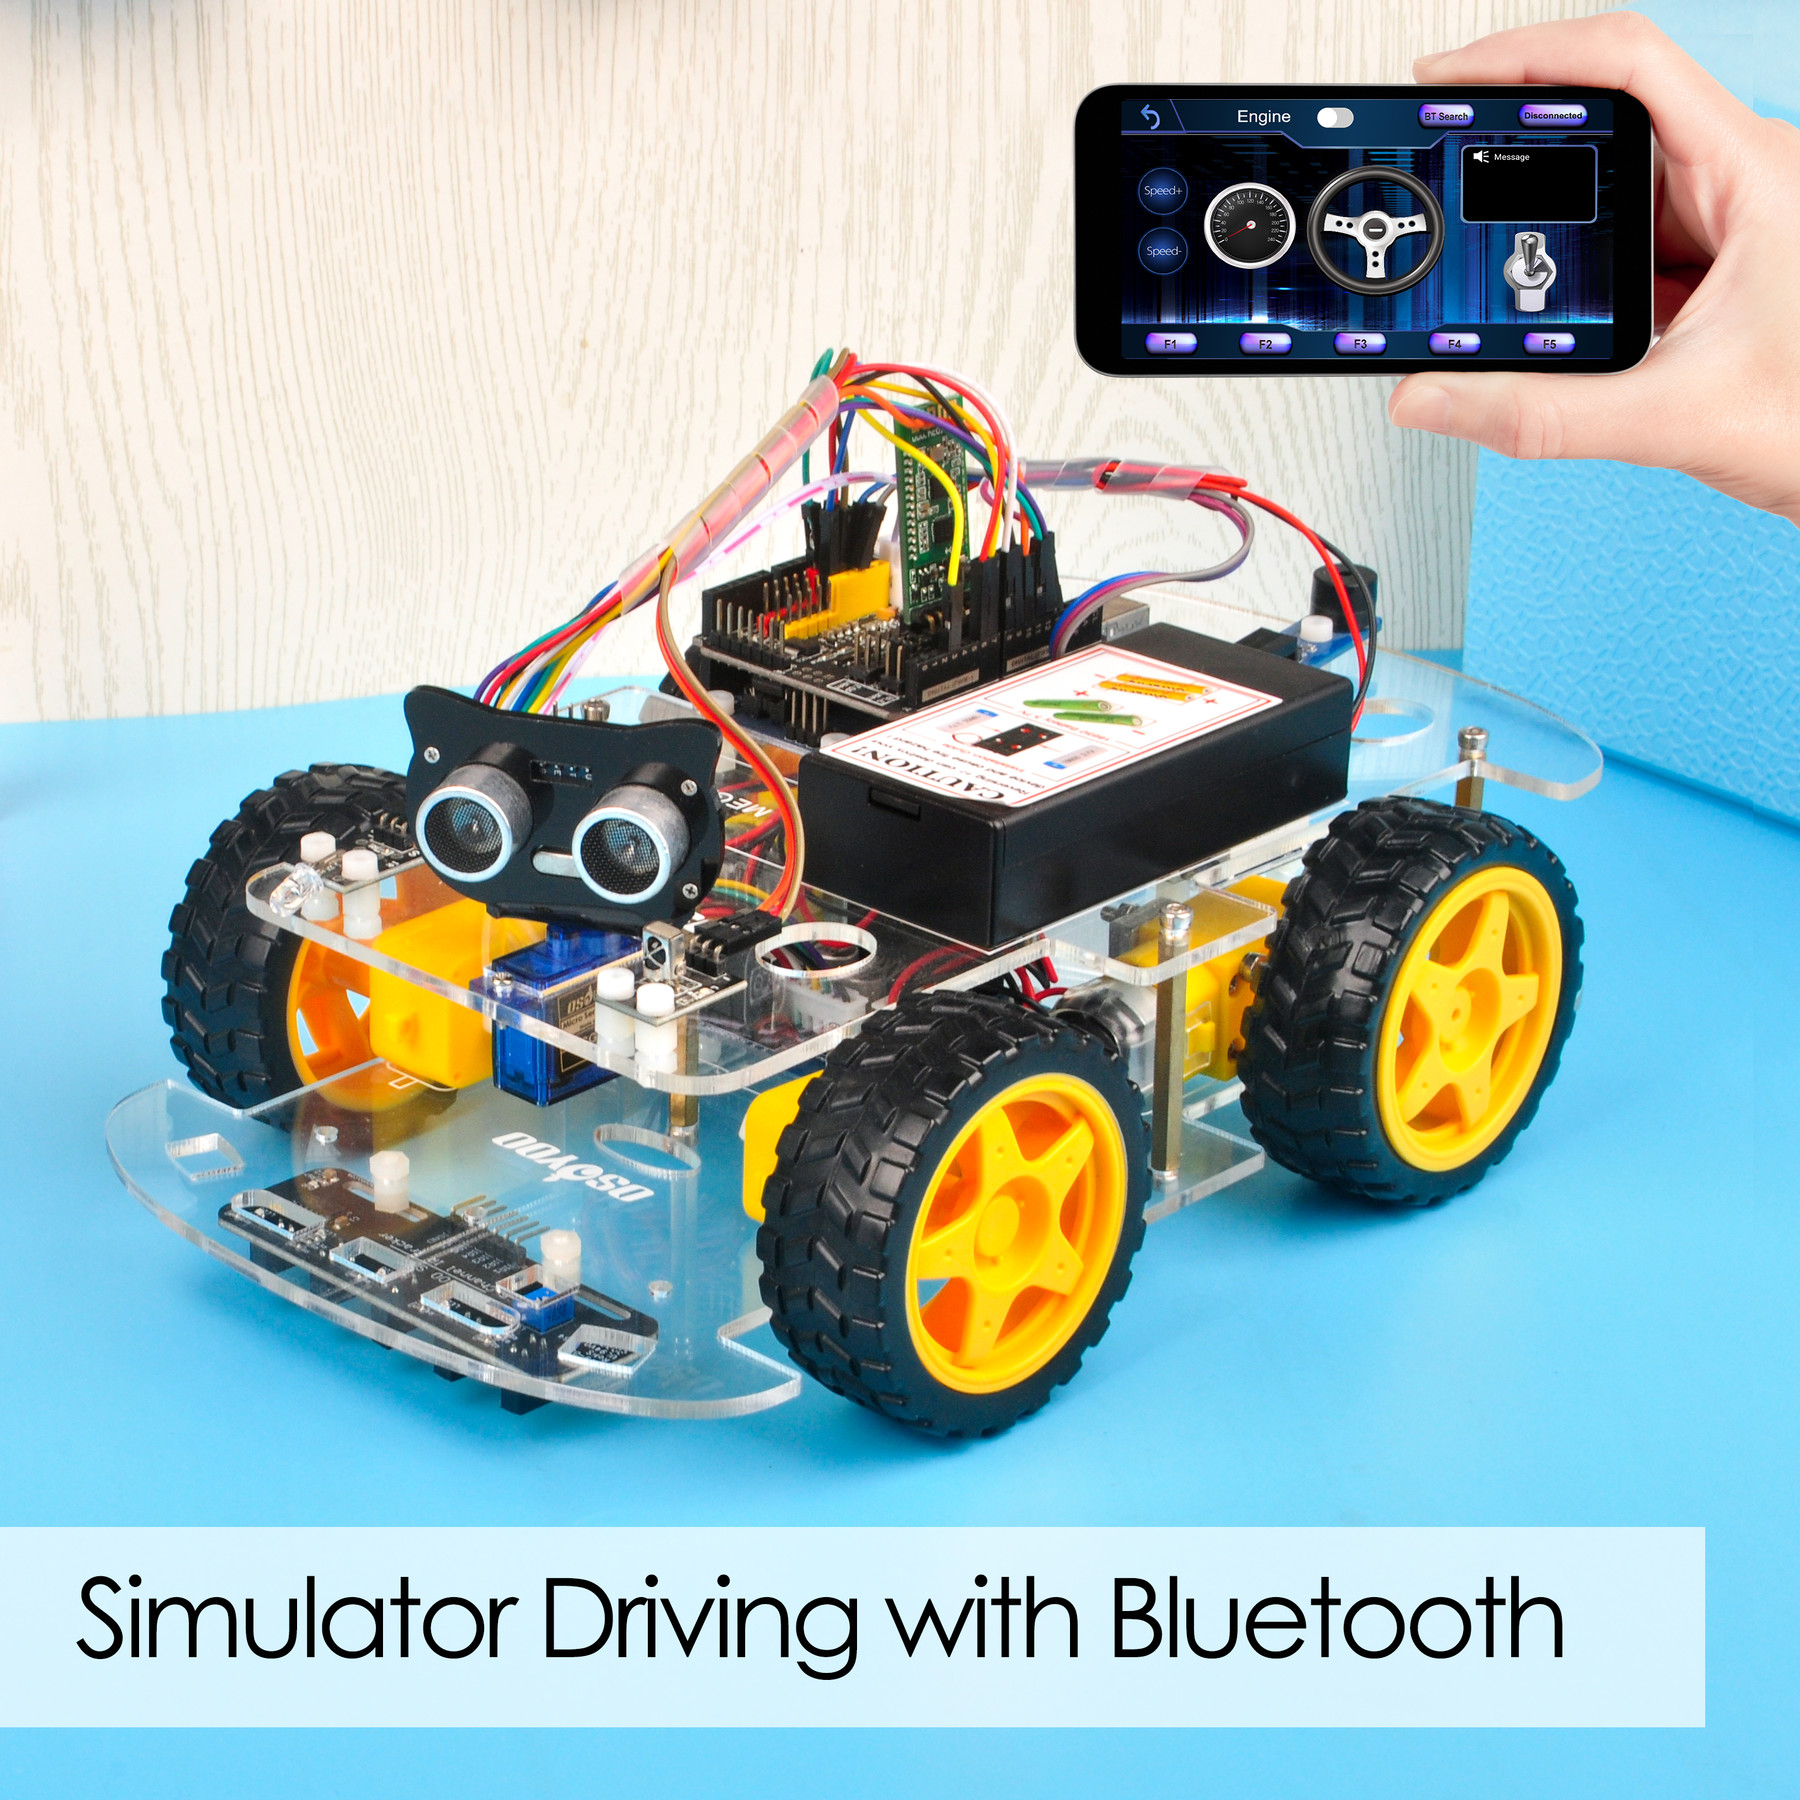
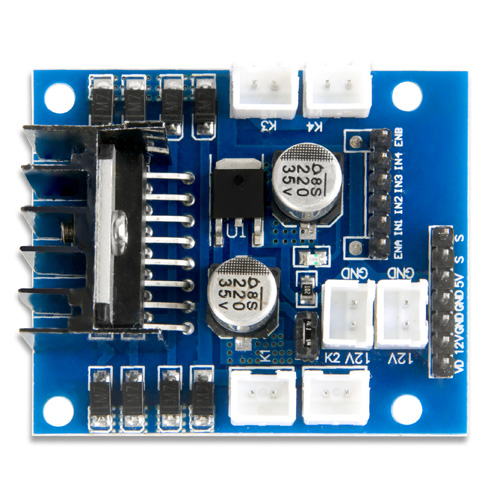
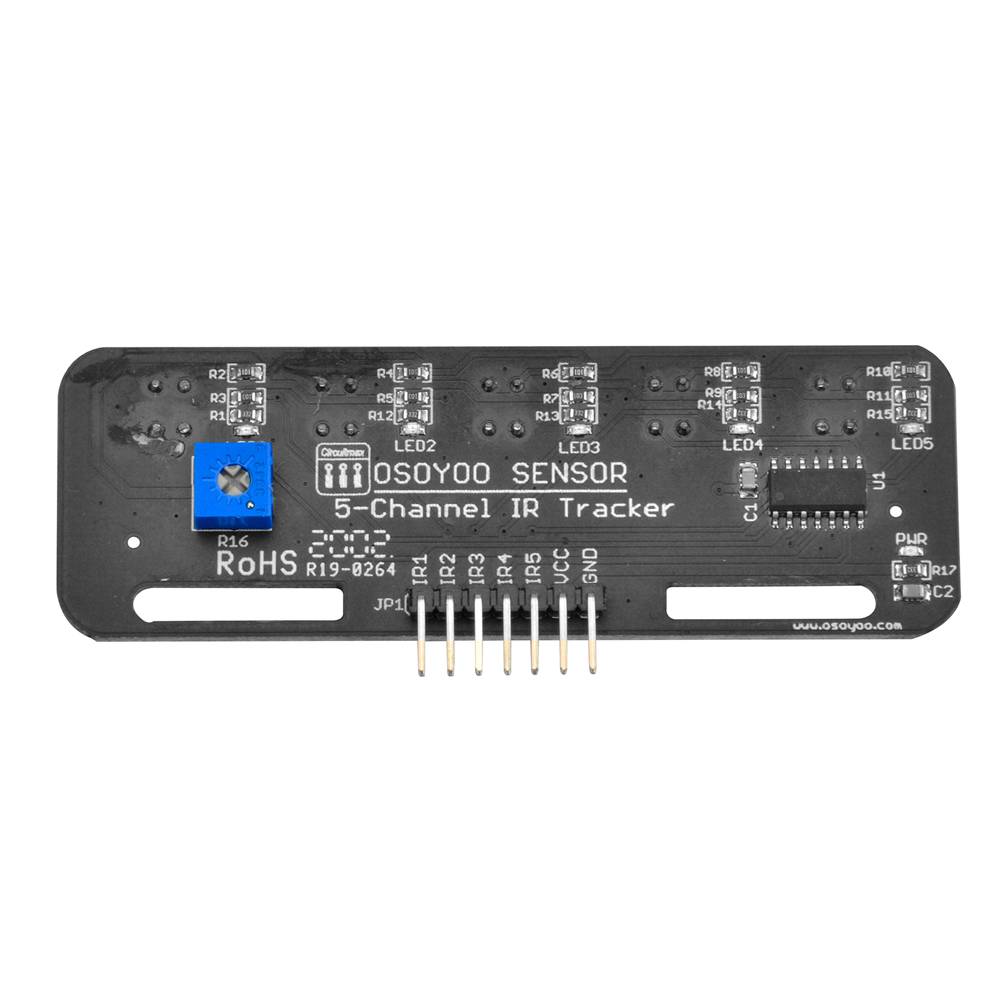
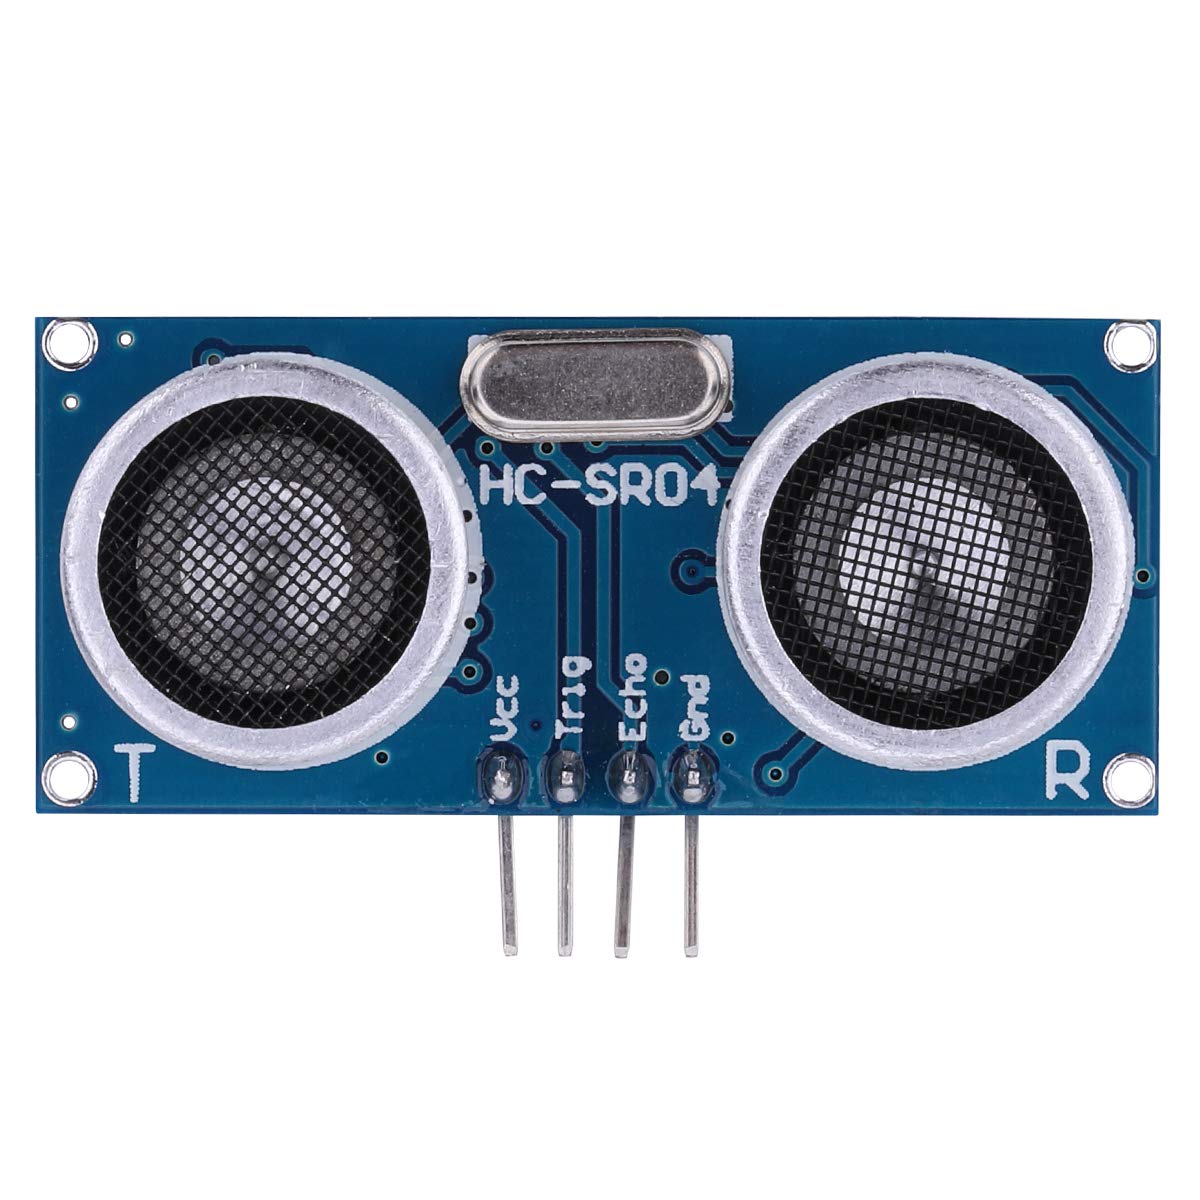
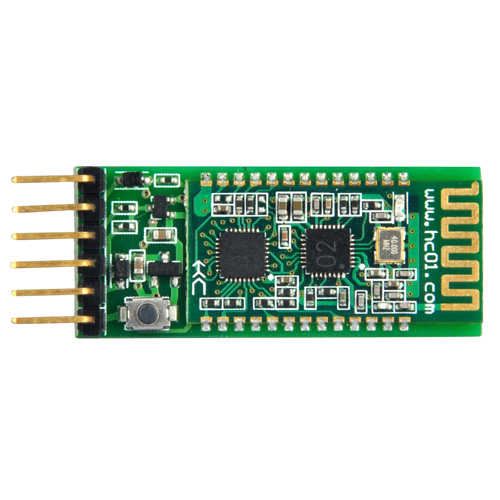
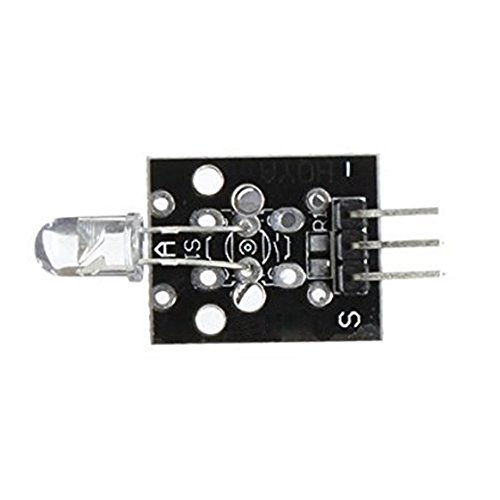
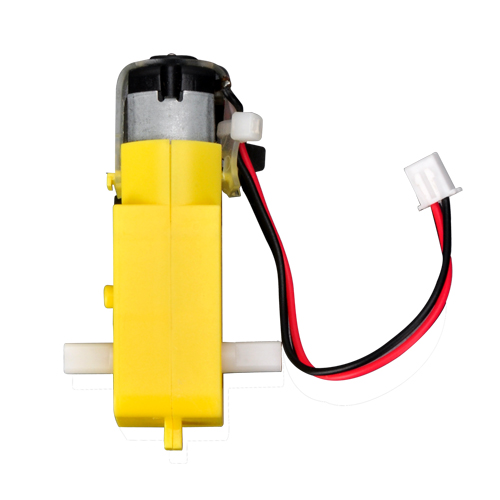
Dieses Kit enthält Modulteile wie das OSOYOO MODEL X Motortreibermodul(*), ein Ultraschallsensormodul, ein Spurverfolgungsmodul, eine Infrarot-Fernbedienung, ein Bluetooth-Modul und einen ESP8266 Wi-Fi-Shield usw. Mit diesen Modulen kann das Roboterfahrzeug in mehreren Modi betrieben werden: automatisches Fahren, Infrarotsteuerung, Hindernisumfahrung und Linienverfolgung. Über unsere Android-App können Sie den Betriebsmodus per Wi-Fi oder Bluetooth wechseln.
*Das OSOYOO MODEL X Motortreibermodul ist ein verbessertes L298N-Modul mit neu gestalteten Anschlussbuchsen. Es vereinfacht die Montage erheblich und sorgt für stabilere Kabelverbindungen.
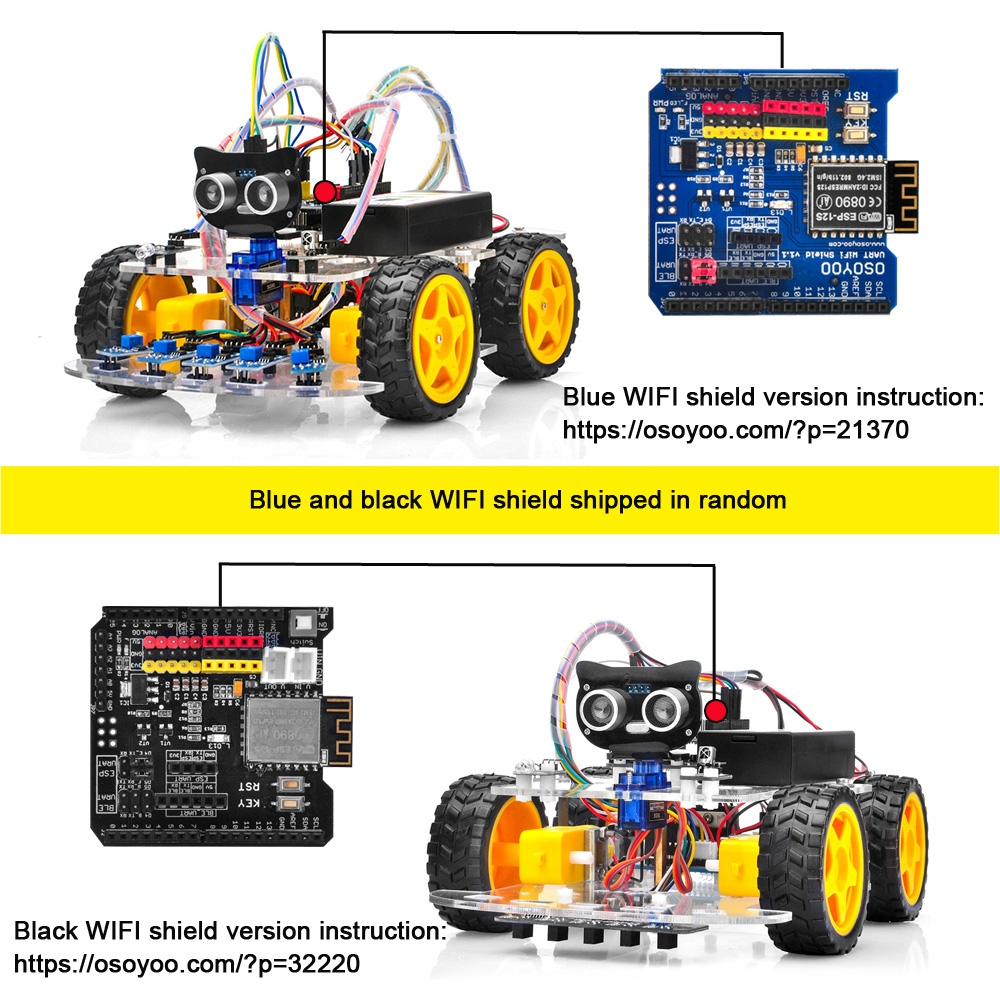
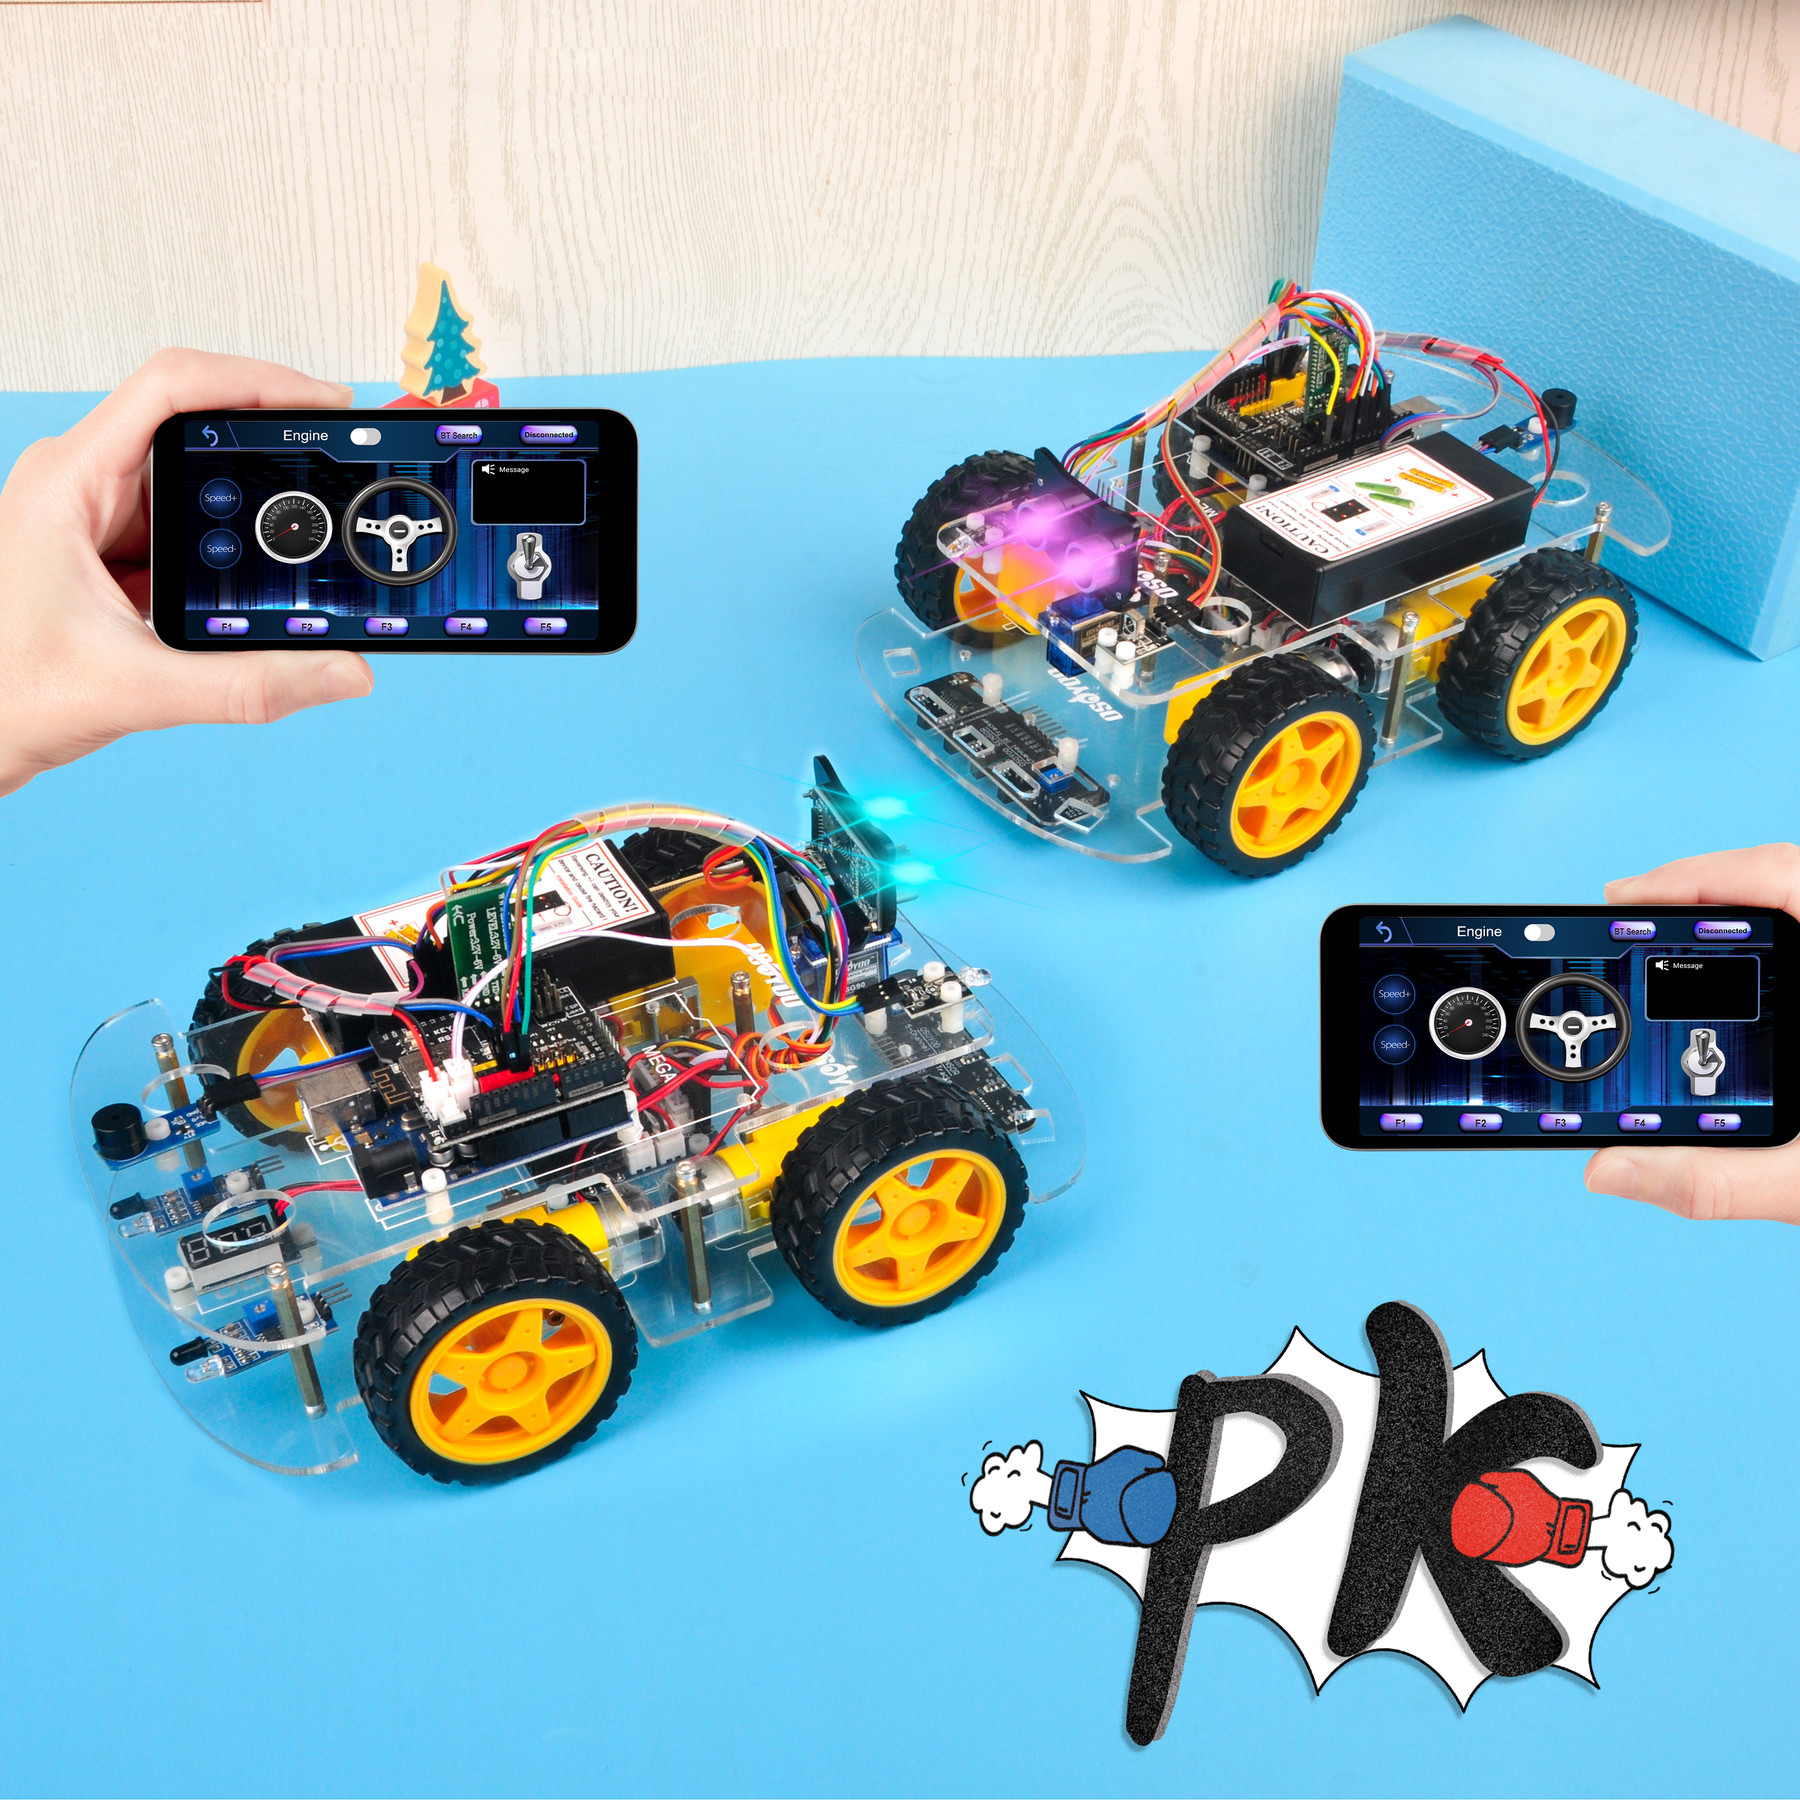
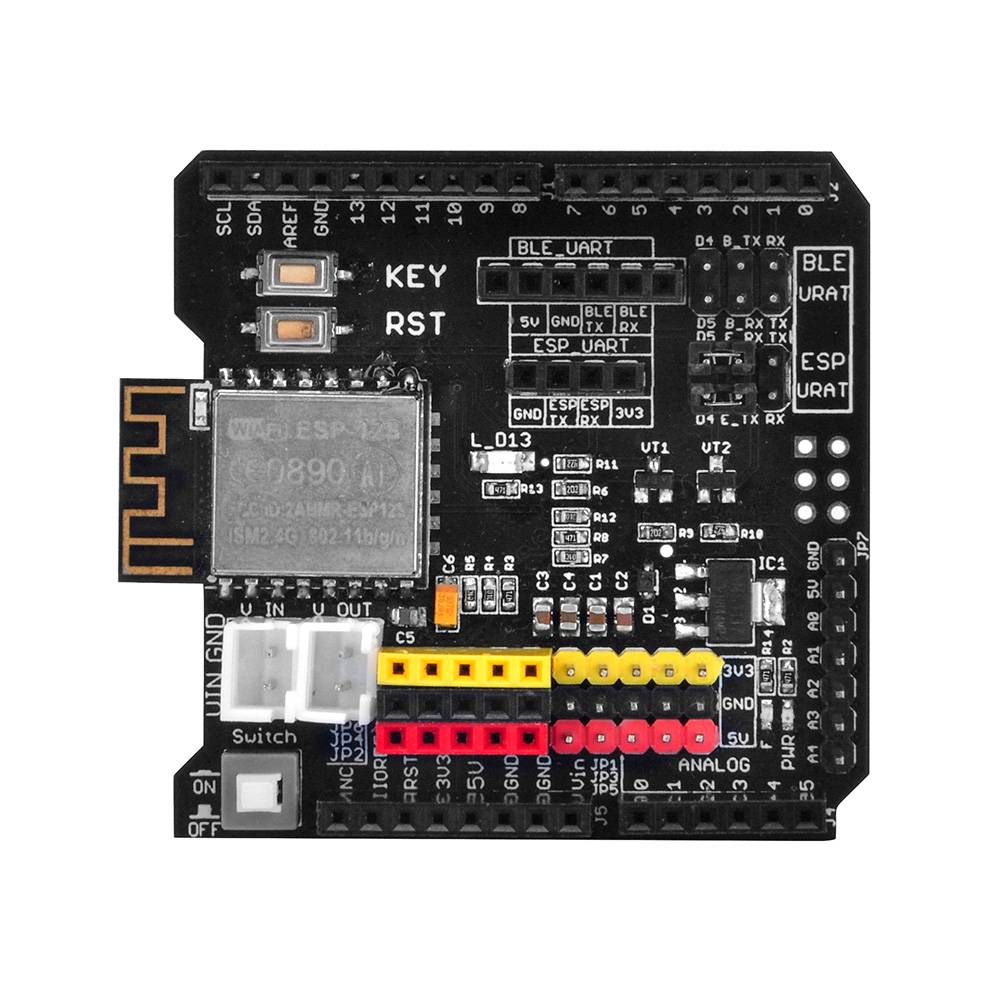
Wir führen zwei Versionen des Wi-Fi-Shields. Blaue und schwarze Wi-Fi-Shields werden nach Verfügbarkeit versandt.
Wenn Sie einen blauen Wi-Fi-Shield erhalten haben, befolgen Sie bitte diese Anleitung: https://osoyoo.com/?p=21370.
Wenn Sie einen schwarzen Wi-Fi-Shield erhalten haben, befolgen Sie bitte diese Anleitung: https://osoyoo.com/?p=32220.
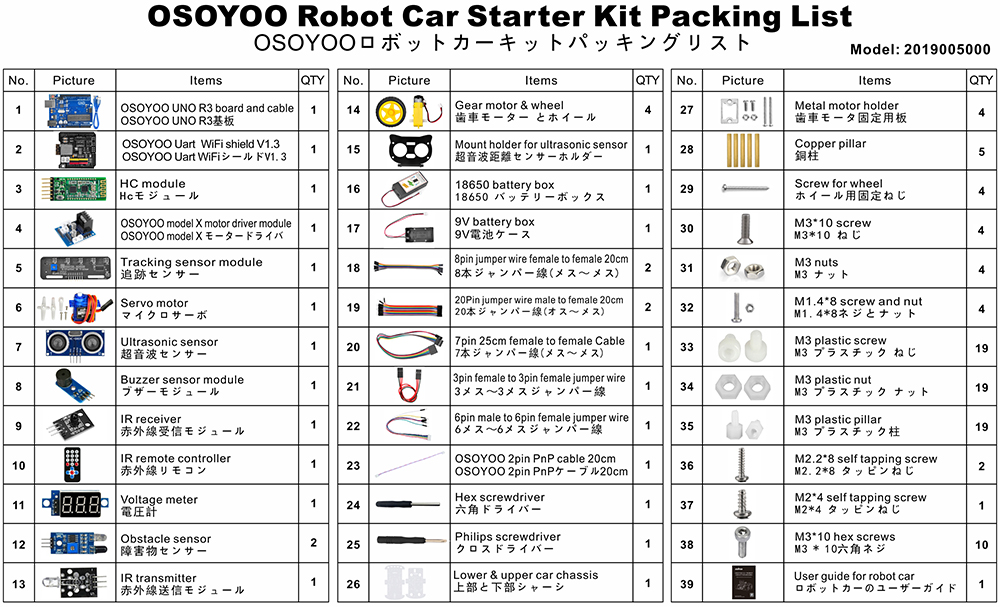
Lieferumfang:
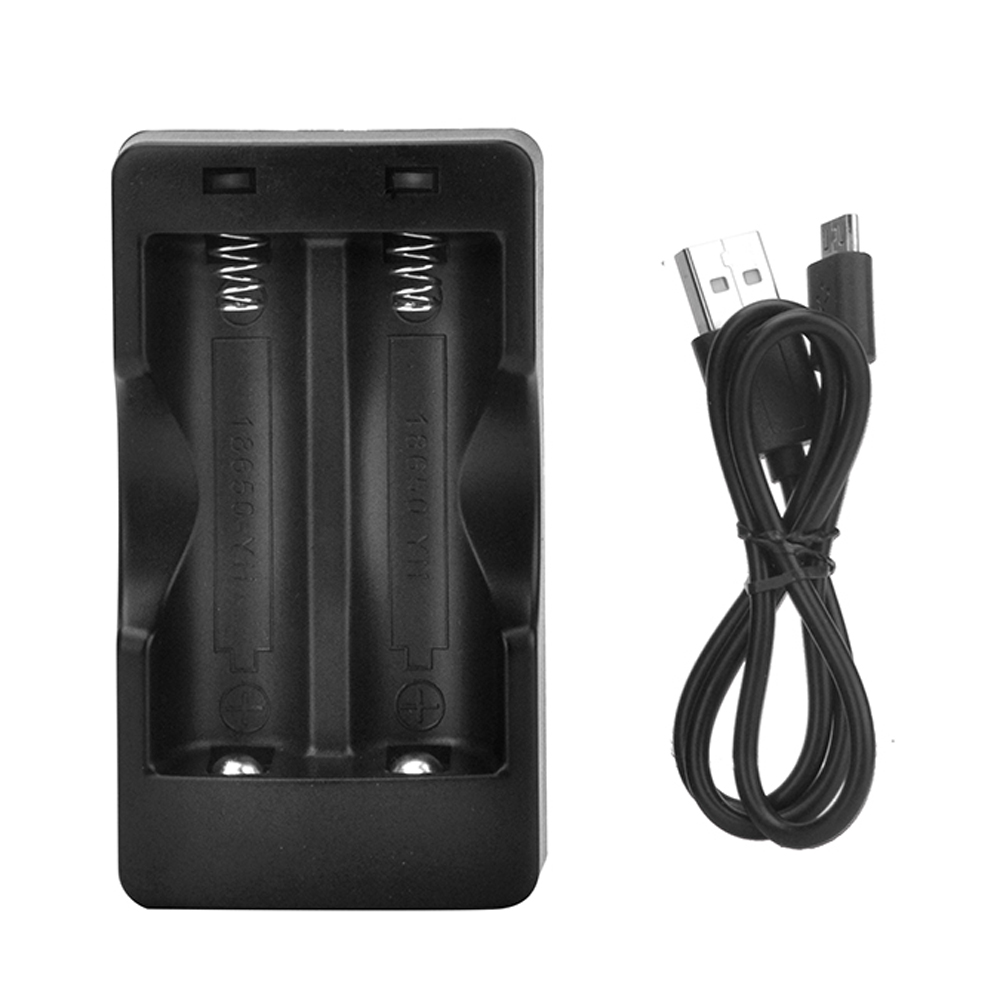
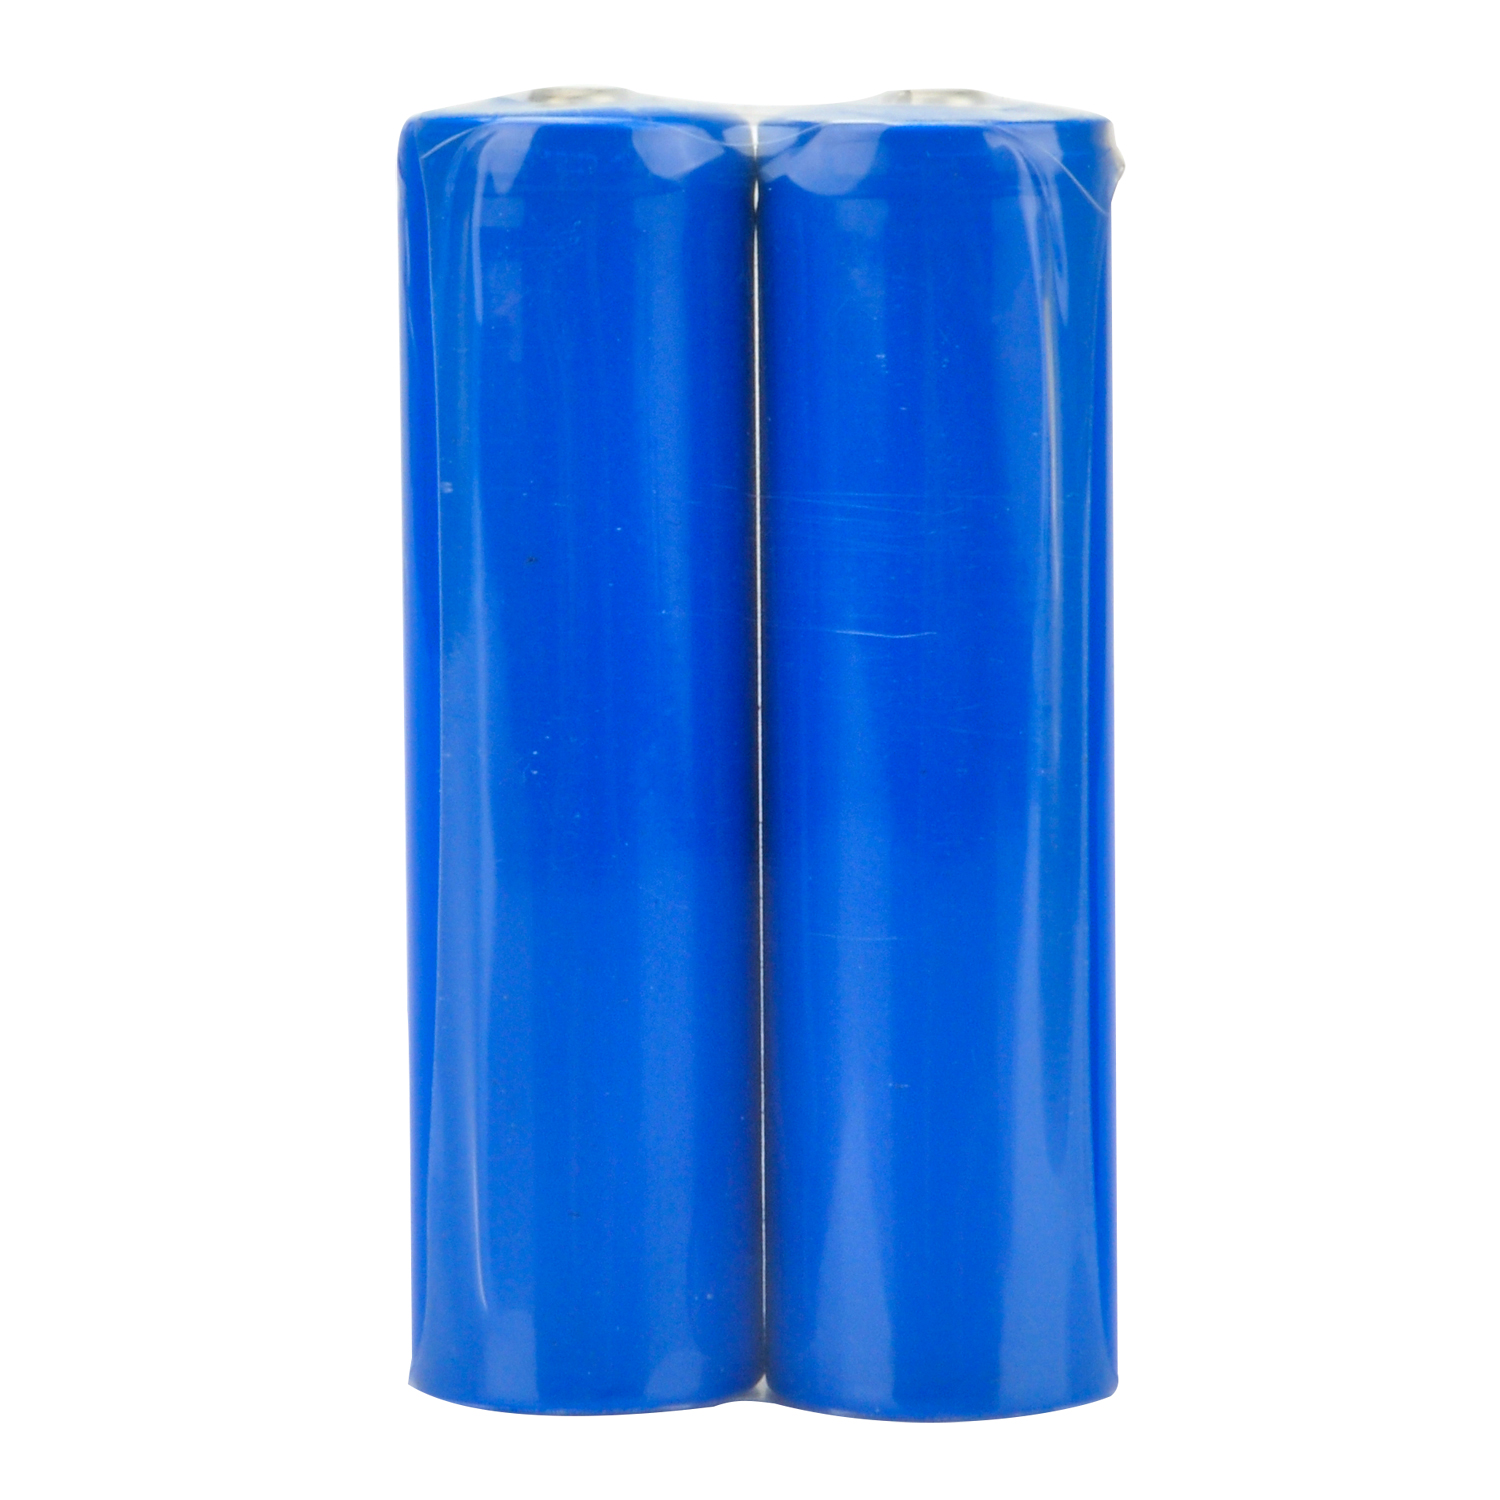
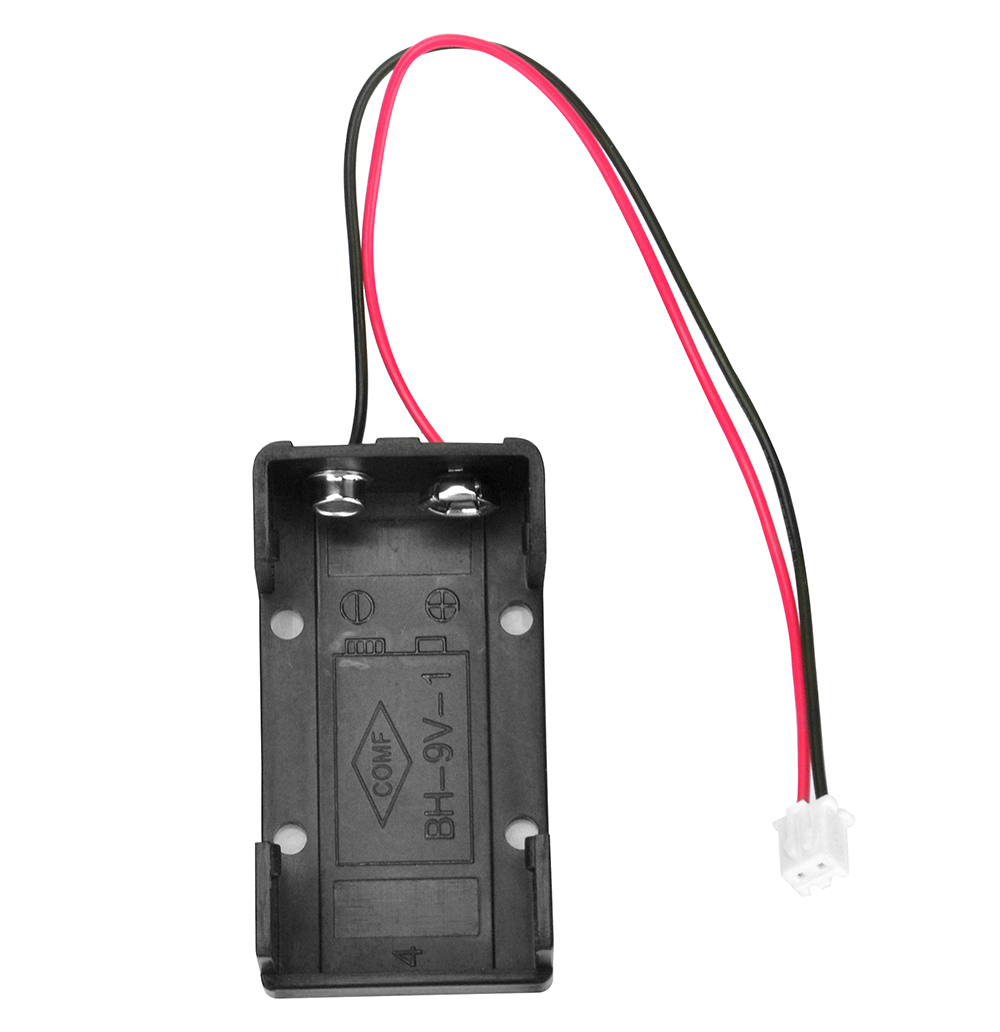
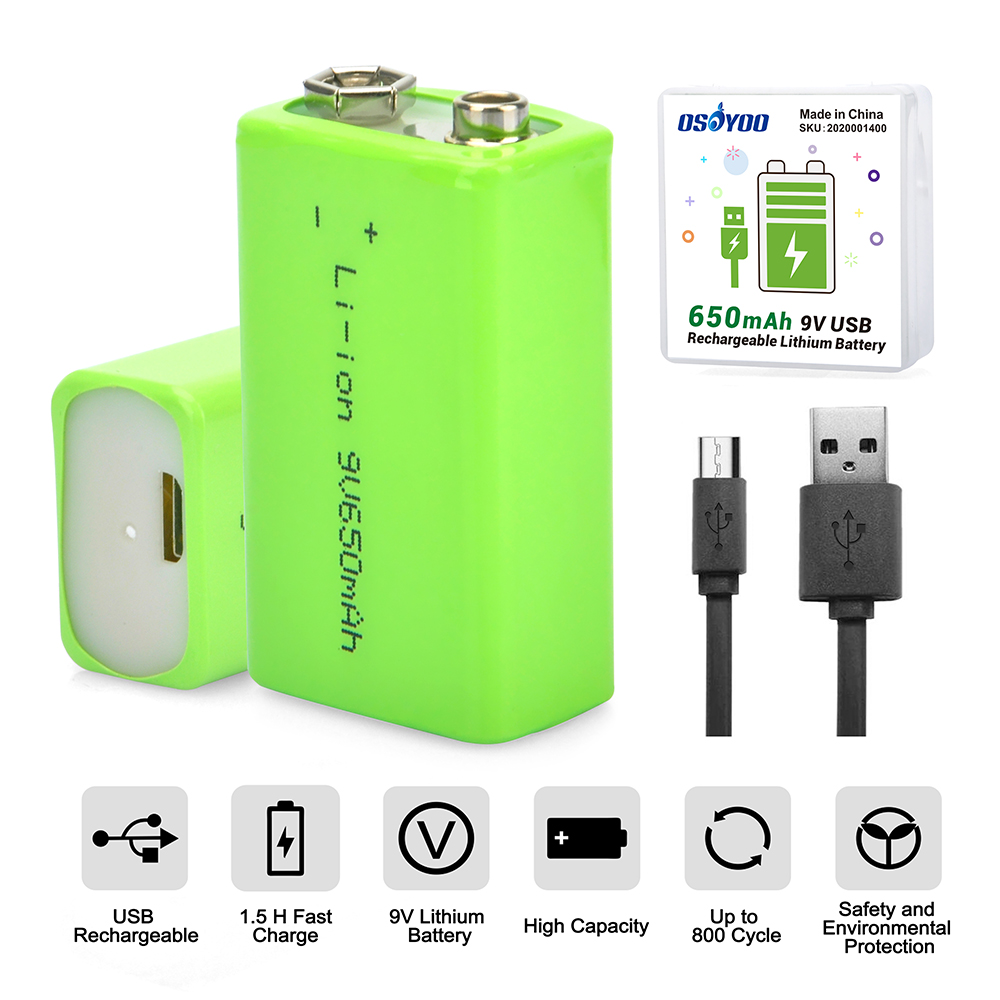
Wir bieten zwei Varianten des Roboterfahrzeug-Sets an. Eine Version enthält 2 Akkuboxen (18650-Akkubox und 9V-Akkubox), die andere enthält 1 Paar 18650-Akkus und ein Ladegerät.
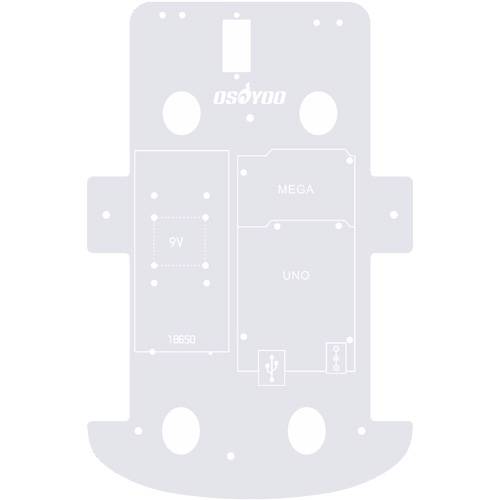
Der folgende Lieferumfang gilt für das Set mit 2 Akkuboxen
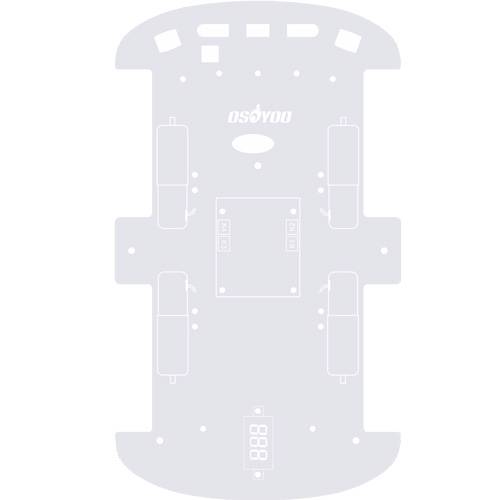
Der folgende Lieferumfang gilt für das Set mit Akku und Ladegerät
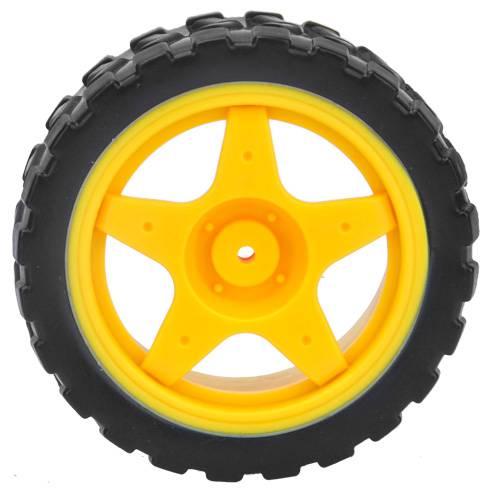
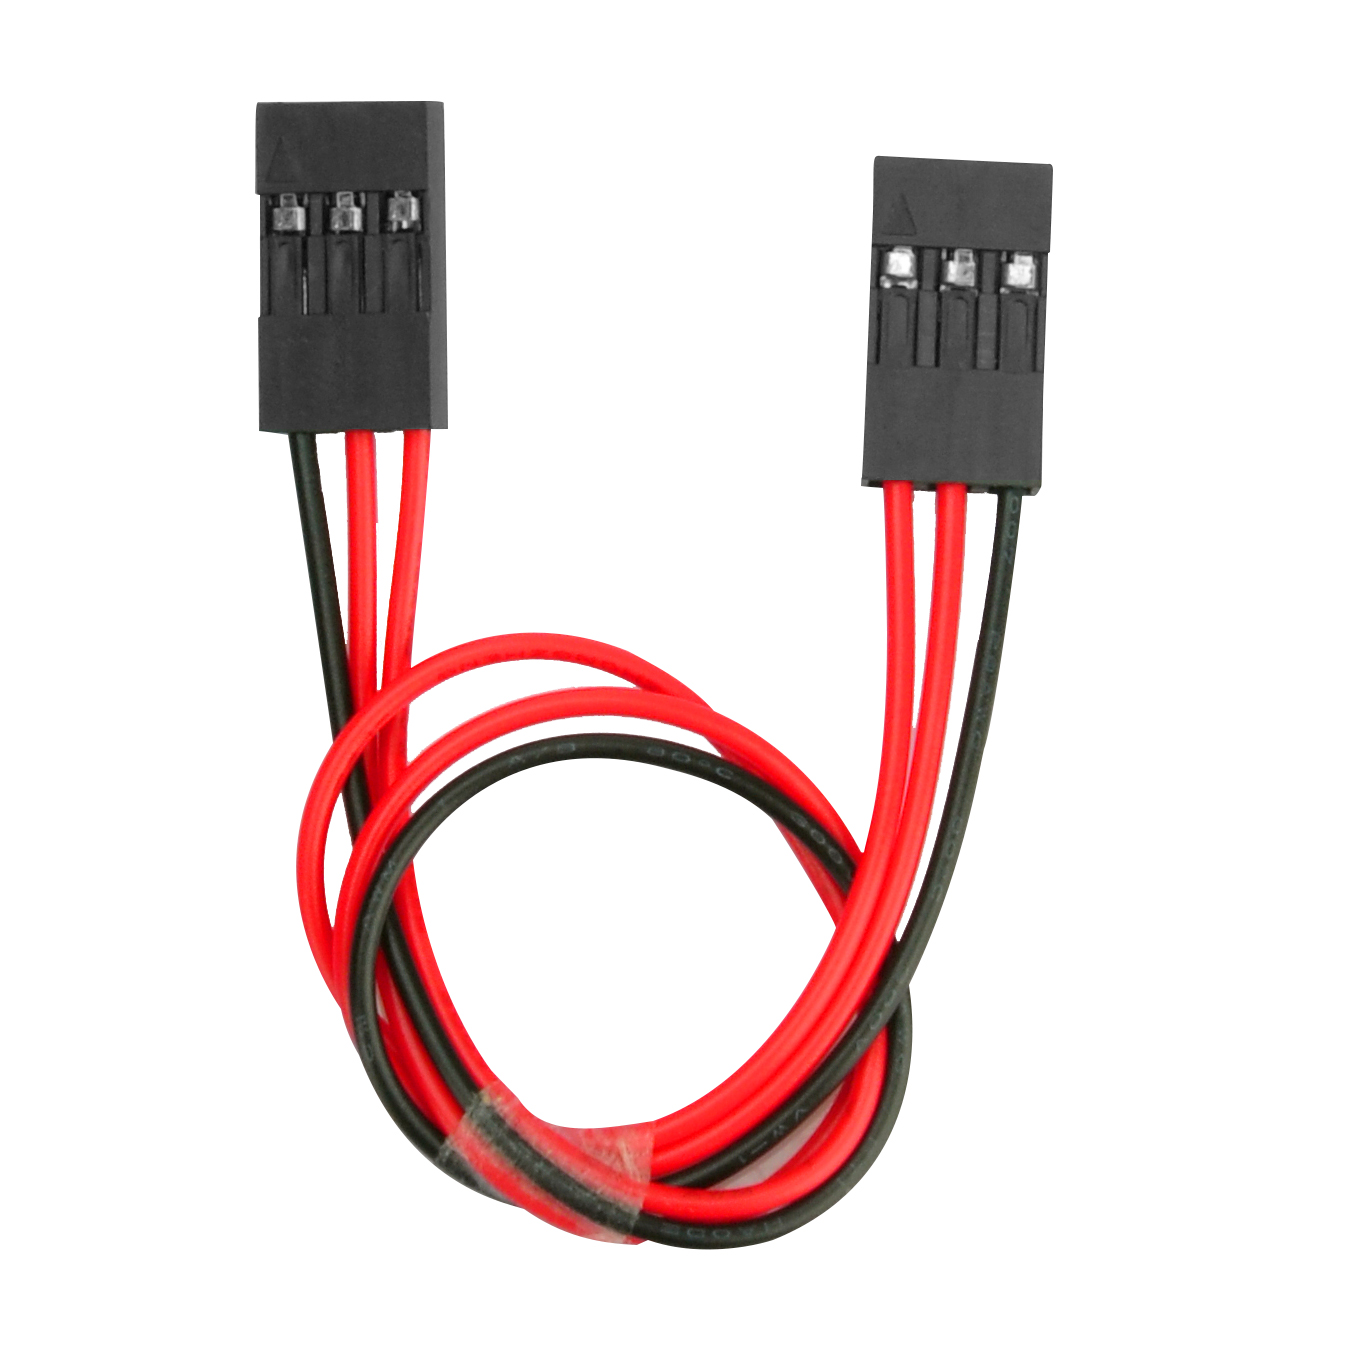
Weitere Details zu den einzelnen Teilen und Komponenten finden Sie hier
✅ Dieses Tutorial wurde für das OSOYOO V2.1 Robot Car Kit erstellt
Alle 8 Lektionen, Beispielcodes und Schaltpläne auf dieser Seite sind speziell für dieses Kit konzipiert.
Kaufen Sie direkt im OSOYOO Store und sparen Sie 10 % – plus kostenloser Versand bei Bestellungen über 70 $.

OSOYOO V2.1 Robot Car Kit
🔋 Mit Akku & Ladegerät:
$61.02
$67.80
— Code ROBOTCAR10
📦 Ohne Akku: gleichen Code für 10 % Rabatt verwenden
Grundlegende Tutorials
Wir haben einige grundlegende Tutorials für Einsteiger zusammengestellt, die noch nicht mit Arduino vertraut sind. Dieser Abschnitt erklärt, was Arduino ist, und zeigt, wie Sie einfache Arduino-Projekte starten. Arduino ist die weltweit größte Open-Source-Hardware-Plattform und bietet mit einfachen Mikrocontroller-Produkten endlose Möglichkeiten. Das Programmieren auf der Arduino-Plattform ist eine Reise, die nie aufhört zu wachsen.
Mit dieser Hardware- und Software-Unterstützung sind Sie schnell auf dem Weg, ein erfahrener Programmierer zu werden. Holen Sie sich das Kit und starten Sie noch heute Ihr Projekt!
Tutorial und Beispielprojekte
Teile und Komponenten


Could you help me to change some lines in the code, more speed when its following the line, to folow a withe line, and dected some object and stop when this happends. please help
Please open the codes which you want to revise, and find the lines:
#define FAST_SPEED 150
#define MID_SPEED 140
#define SLOW_SPEED 130
you can change the value from 0 ~ 255.
done, thanks,it works.
Could you help me to change the code to follow a white line?
For line tracking mode, the value “1” means the tracking sensor is on black line, the value “0” means the tracking sensor is on white line.
Please find the following lines of the lesson 4 code and exchange black line value to white line value:
void auto_tracking(){
String sensorval= read_sensor_values();
Serial.println(sensorval);
if ( sensorval==”10000″ )
{
//The black line is in the left of the car, need left turn
go_Left(); //Turn left
set_Motorspeed(FAST_SPEED,FAST_SPEED);
}
if (sensorval==”10100″ || sensorval==”01000″ || sensorval==”01100″ || sensorval==”11100″ || sensorval==”10010″ || sensorval==”11010″)
{
go_Advance(); //Turn slight left
set_Motorspeed(0,FAST_SPEED);
}
if ( sensorval==”00001″ ){ //The black line is on the right of the car, need right turn
go_Right(); //Turn right
set_Motorspeed(FAST_SPEED,FAST_SPEED);
}
if (sensorval==”00011″ || sensorval==”00010″ || sensorval==”00101″ || sensorval==”00110″ || sensorval==”00111″ || sensorval==”01101″ || sensorval==”01111″ || sensorval==”01011″ || sensorval==”01001″)
{
go_Advance(); //Turn slight right
set_Motorspeed( FAST_SPEED,0);
}
if (sensorval==”11111″){
stop_Stop(); //The car front touch stop line, need stop
set_Motorspeed(0,0);
}
For example, the value of “sensorval==”01100″” mean the left 2 and left 3 tracking sensors are on black line and the other tracking sensors are on white line. if the left 2 and left 3 tracking sensors are on white line and the other tracking sensors are on black line, the code value is “sensorval==”10011″”
hope these will help you.
Ok, so i have to change all the values, like that? (code bellow) i change al the “1” for “0”
void auto_tracking(){
String sensorval= read_sensor_values();
Serial.println(sensorval);
if ( sensorval==”01111″ )
{
//The black line is in the left of the car, need left turn
go_Left(); //Turn left
set_Motorspeed(FAST_SPEED,FAST_SPEED);
}
if (sensorval==”01011″ || sensorval==”10111″ || sensorval==”10011″ || sensorval==”00011″ || sensorval==”01101″ || sensorval==”00101″)
{
go_Advance(); //Turn slight left
set_Motorspeed(0,FAST_SPEED);
}
if ( sensorval==”11110″ ){ //The black line is on the right of the car, need right turn
go_Right(); //Turn right
set_Motorspeed(FAST_SPEED,FAST_SPEED);
}
if (sensorval==”11100″ || sensorval==”11101″ || sensorval==”11010″ || sensorval==”11001″ || sensorval==”11000″ || sensorval==”10010″ || sensorval==”10000″ || sensorval==”10100″ || sensorval==”10110″)
{
go_Advance(); //Turn slight right
set_Motorspeed( FAST_SPEED,0);
}
if (sensorval==”00000″){
stop_Stop(); //The car front touch stop line, need stop
set_Motorspeed(0,0);
}
Yes, please have a try.
Hola me puedes ayudar por favor no soy capaz de encontrar el software para el osoyoo 2.1 que debería ser la versión 1.8.8 soy nuevo en esto y me estoy volviendo loco seri de gran ayuda para mi
buenos dias e adquirido un osoyoo 2.1 y no soy capaz de descargarme el software necesito ayuda ya que soy nuevo en este mundo
no soy capad de encontrar la version 1.8.8 no se si an sacado alguna actualizacion
Do you mean you want to download the Arduino IDE V1.8.8?
Please visit the link: https://www.arduino.cc/en/software/OldSoftwareReleases
Si muchas gracias por que no avía manera de encontrar la esa versión ya te comentaré el resultado
ciao come faccio ad eliminare i tempi di fermo rover quando non ha ostacoli vicino?
Grazie
Please can you help me with a code that will make mine go round circles? I have tried several means, but not working, please
I am not so clear? Make the robot turn in place? Due to changes in current or uneven ground, the robot’s trajectory may change
I am working on a project that would make this car go round a circles of a particular radius
Please I am having issue trying to write a code that uses both obstacle avoidance sensor the IR sensor all in the same code or program. Please can you help me out please.
Please I am having issue trying to write a code that uses both obstacle avoidance sensor the IR sensor all in the same code or program. Please can you help me out please.
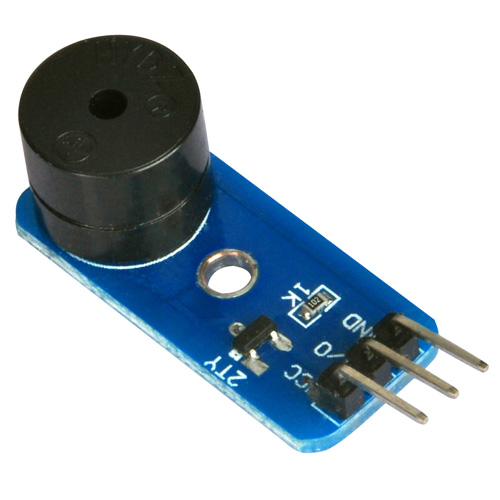
In Lesson 7 there are several unused custom buttons. I would like to use the custom button F2 to make the buzzer sound. What letter in the Uart_Date stream corresponds to F2 (also what letter corresponds to F4)?
Nevermind F2 is G and F4 is I (too tired to think of monitoring the UART_Date variable on the Serial Monitor when I posted)
Hello. Voltage seems to be alright at 7.30 but whenever I turn on the car it’s just constantly turning left.
How may one establish a connection between a servo motor and an Arduino microcontroller? The servo motor is equipped with a female connector. However, the provided kit solely comprises male-to-female and female-to-female connectors. What course of action is recommended to address this situation?
hey, so I am trying to modify the code from lesson one. I am trying to make the robot go around in a circle of a 3m diameter after going forward for 2 seconds. Could you please help me with a code that makes the robot go around in a circle of a particular diameter?
I was building the remote control car and when I was going to use the remote, the car would not move at all. I checked to see if the battery was in the remote and to see if it was in the right way, and it was. I was wondering what was wrong. Thank you
Ich habe das Auto fertiggestellt. Es zeigt die gemessene Entfernung zum Hindernis im seriellen Monitor richtig an, fährt aber nur rückwärts oder dreht sich im Kreis, obwohl vorne ausreichend Abstand zur Verfügung steht. Es fährt nicht nach vorwärts auf das Hindernis zu, so wie es erwartet würde. Wo liegt der Fehler?
Woher wissen Sie „Es zeigt die gemessene Entfernung zum Hindernis im seriellen Monitor richtig an“?
how do you know “It correctly displays the measured distance to the obstacle in the serial monitor”?
I installed the Driving app from the Apple Store on my iPad (iOS 16.6.1), but the motion sensor isn’t working and I can’t control the left and right. What should I do?
Are you talking about the lesson 7 immitation driving bluetooth APP?
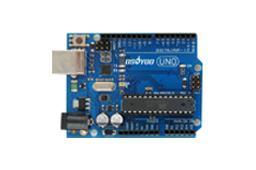
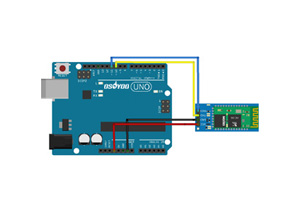
please make sure that you have correctly connected the B_TX to D4 and B_RX to D5 using jumper caps, see following picture.
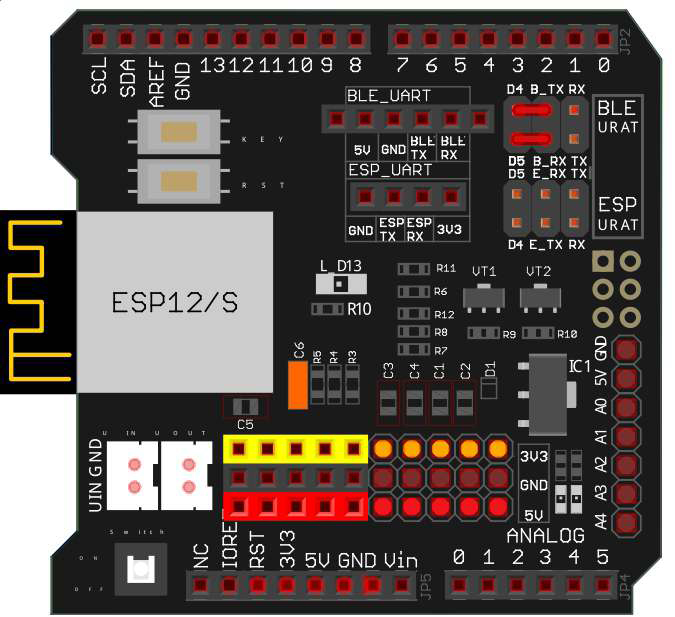
Some people put the jumper caps in the lower location(E_TX to D4 and E_RX to D5), that is WRONG and your Arduino can not get signal from Bluetooth chip.
Thank you for your comment.
Other iOS apps work without changing the hardware settings, so I don’t think it’s a problem with the robot’s hardware.
Did you enable the bluetooth sensor and motion sensor in you iPad? Can you connect the HC-02 bluetooth device?