注意:Arduino用のOSOYOO製品はすべて、Arduinoと完全に互換性のあるサードパーティボードです
インストール動画:
認定オンライン販売店
| OSOYOOから購入 |
Amazonから購入 |
 |
 |
説明
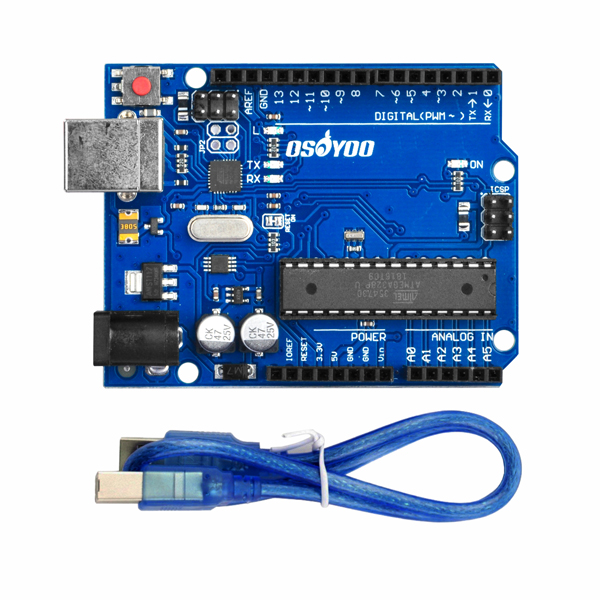
Arduino用OSOYOO FlexiRoverロボット組み立てキットは、15歳以上の方、特にArduinoロボティクスの経験がある方向けに設計された、カスタマイズ可能で多用途なロボットシャーシです。 このキットは Arduinoボードは含まれていませんが、様々なArduinoモデルと互換性があり、ユーザーは自分のニーズに最適なコントローラーを選択できます。
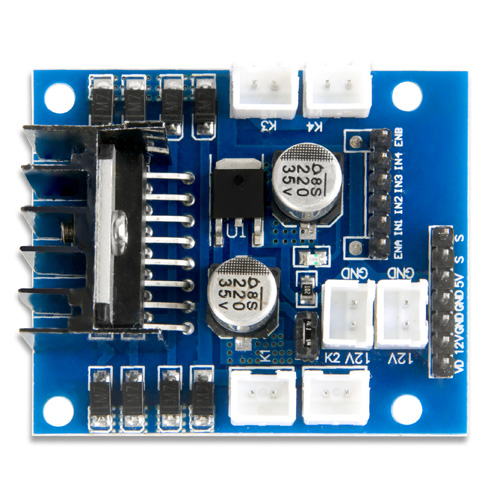
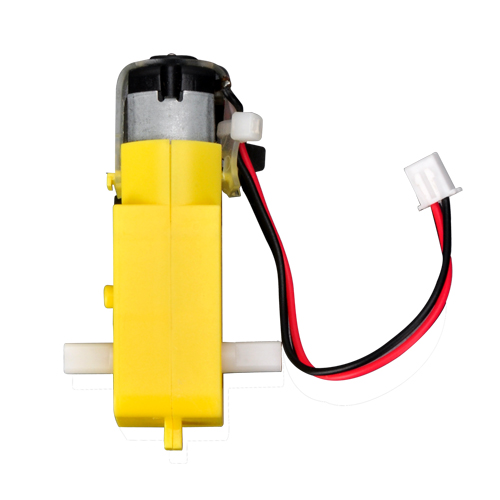
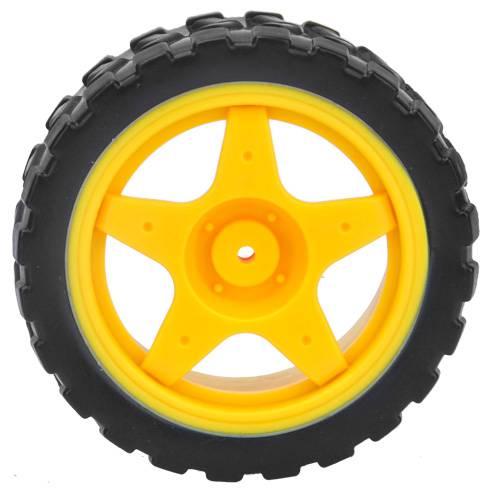
キットには、簡単なセットアップのために事前に配線されたTTモーター4個と、異なる表面での滑らかで信頼性の高い動きを保証する耐久性のあるホイール4個が含まれています。 モーターは便利なプラグアンドプレイモータードライバーボードに接続され、セットアップ過程を簡素化し、複雑な配線に時間を費やすことなく、プログラミングと開発作業に集中できます。
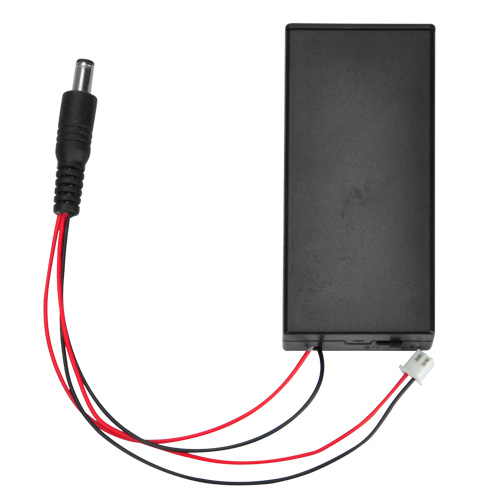
キットには、18650バッテリー用に設計された統合オン/オフスイッチ付きバッテリーホルダーも含まれています(バッテリー含まれていません)、長時間の動作中に電力管理が効率的で信頼性があることを保証します。
FlexiRoverを際立たせるのは、そのカスタマイズ可能なシャーシです。 複数の事前に開けられた穴を特徴とするシャーシは、ユーザーが様々なセンサー、カメラ、機械アーム、その他のアドオンを簡単に取り付けることを可能にし、幅広いロボティクス用途に柔軟性を提供します。 これにより、このキットは実験、教育プロジェクト、またはより高度なロボットシステムの構築に理想的です。
このキットを使用して、ユーザーは特定のニーズやプロジェクトに合わせたユニークでカスタマイズ可能なロボットを作成することで、ロボティクスのスキルを探求し、拡張することができます。


主要ポイント
- Arduinoボード未付属 – 様々なArduinoボードと互換性があり、ユーザーは好みのコントローラーを選択できます。
- TTモーター4個とホイール付属 – 滑らかな動きと簡単な統合のための事前配線済みモーター。
- プラグアンドプレイモータードライバー – モーター制御を簡素化し、配線の複雑さを軽減します。
- スイッチ付きバッテリーホルダー – 信頼性の高い長期動作のための効率的な電力管理を保証します。
- カスタマイズ可能なシャーシ – 事前に開けられた穴により、センサーやアドオンの簡単な取り付けが可能で、様々なロボティクスプロジェクトに対してキットを多用途にします。


仕様


極めて拡張性の高いシャーシ

色
|
名前
|
対応機種
|
 |
青丸 |
- 37mmメタルモーターホルダー – JGB37-550/545/520など超高トルクモーターと互換性あり。
- 25mm金属製モーターホルダー —— JGB25-370/310などの高トルクモーターに対応
- TT金属製モーターホルダー —— TTモーターに対応
|
 |
赤丸 |
OSOYOO Model Yモータードライバー/Model Xモータードライバー/L298Nモータードライバー用 |
 |
緑丸 |
SG90/MG995/MG996サーボモーター用 |
 |
黄丸 |
18650電池ボックス/9V電池ボックスなどに対応 |
 |
ピンク紫丸 |
ライントラッキングセンサー/OSOYOO 5チャンネルトラッキングセンサー/IR障害物センサー/IR受信機・送信機などに対応 |
 |
紫丸 |
- Arduino UNO R3/UNO R4/UNO WIFIなどに対応
- Arduino Mega2560/Arduino DUEにも対応
|
 |
濃青丸 |
Raspberry Pi 5/4/3B/3A+/3B+/2B用 |

パッケージ内容


ハードウェアの取り付け手順
デバイスの取り付け
1) 以下のように、金属製モーターホルダーを使って TT motors 4つを事前に取り付けてください。

2) 金属製車体の1層目に、M3*10六角ネジ (金属製モーターホルダーのパッケージに含まれています)を使用して、モーター4つを取り付けます。

3) モーターにホイールを取り付け、専用のネジで固定します。

4) 車体を裏返し、1層目の反対側にOSOYOO MODEL X motor driver module を取り付けます。4本のM2.5プラスチックネジ、プラスチック支柱、ナットを使用してください。


5) 今回のサンプルプロジェクトではUNOボードを使用します。 OSOYOO基本ボード for UNO を上部車体に取り付けます. (4本のM2.5プラスチックネジ、支柱、ナットを使用) ※正しい向きに取り付けてください。

6) 18650用DCコネクタ付き電池ボックスを上部シャーシに、M3 x 10のネジ4本とM3ナットで取り付けます。


配線接続
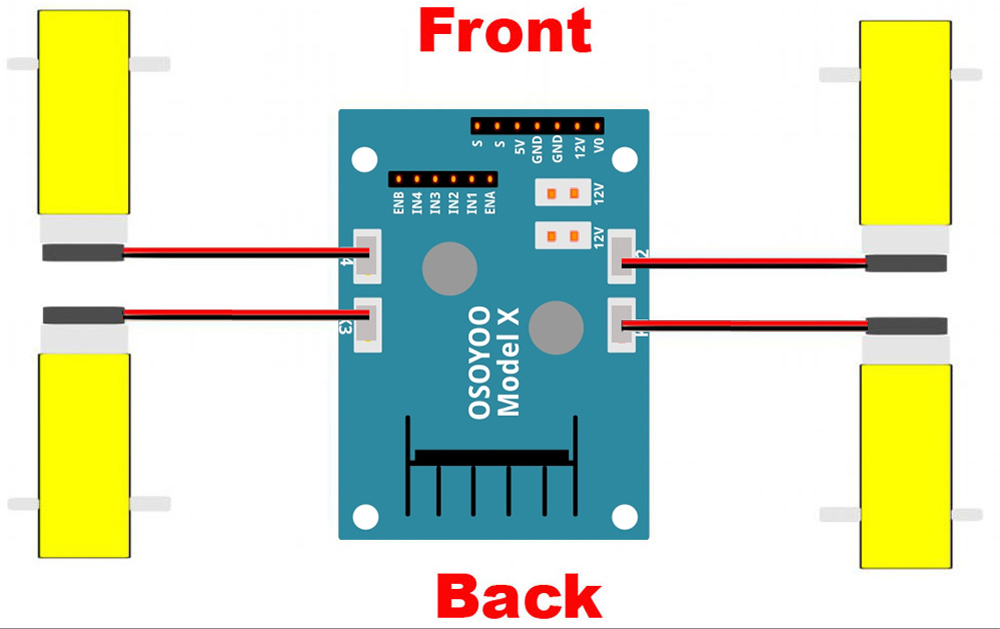
1) 下図の通り、4つのモーターをOSOYOO MODEL XモータードライバーモジュールのK1〜K4ソケットに接続します。
2) モータードライバーの6つの制御ピンをOSOYOOベーシックボードに以下の通り接続します:
ENA-D9, IN1-D12, IN2-D11, IN3-D7, IN4-D8, ENB-D6
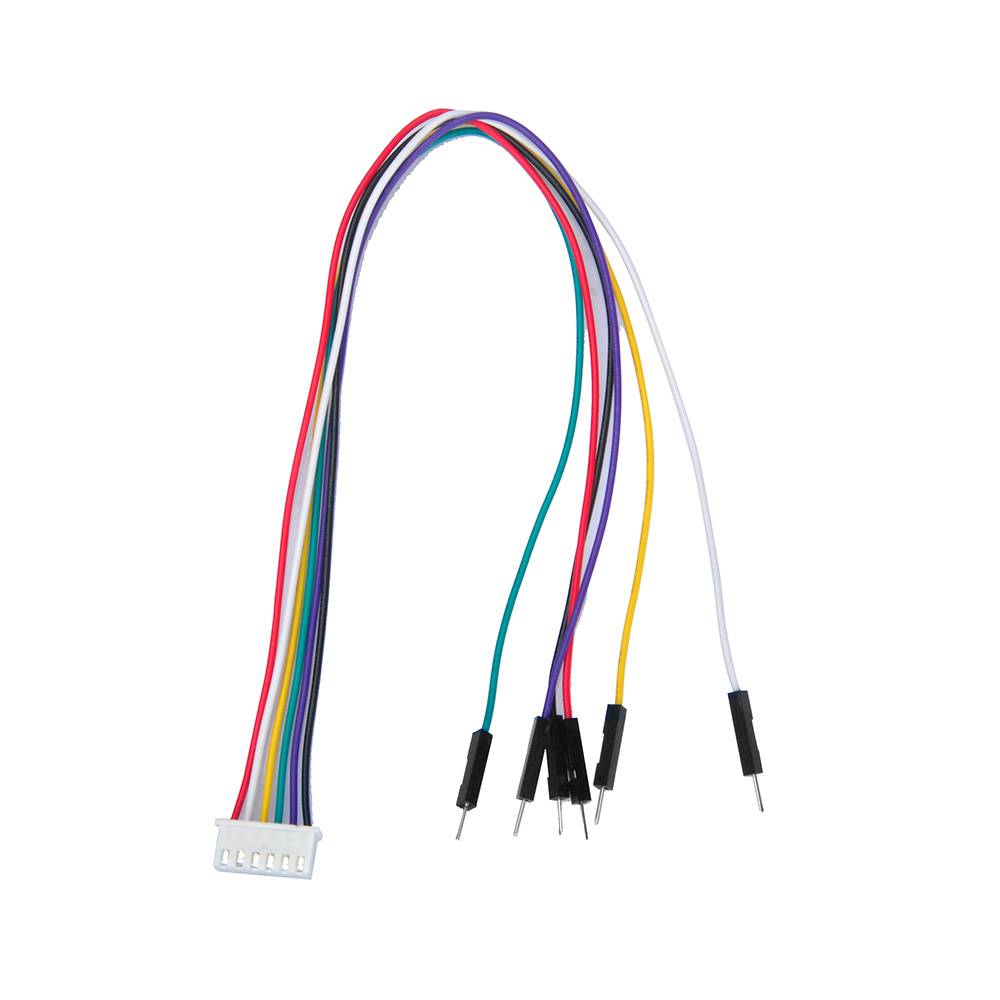
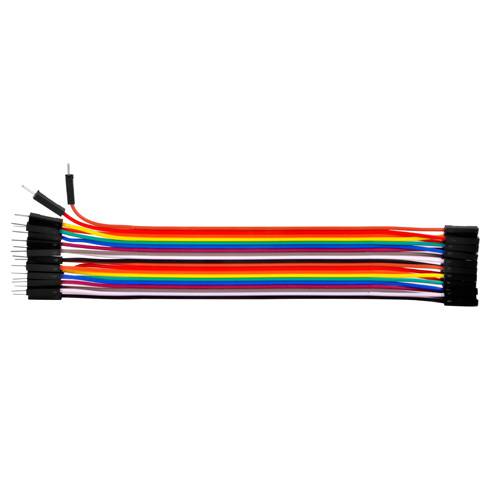
(6ピンメス−オスジャンパーワイヤーを使用)

注意:
Model Xの6ピンソケットにジャンパーを挿抜する際は、必ず黒いプラスチック部分を持って操作してください。ワイヤーを直接引っ張って抜こうとすると、断線の恐れがあります。
3) ボード、バッテリーボックス、モータードライバーを接続図に従って接続します。

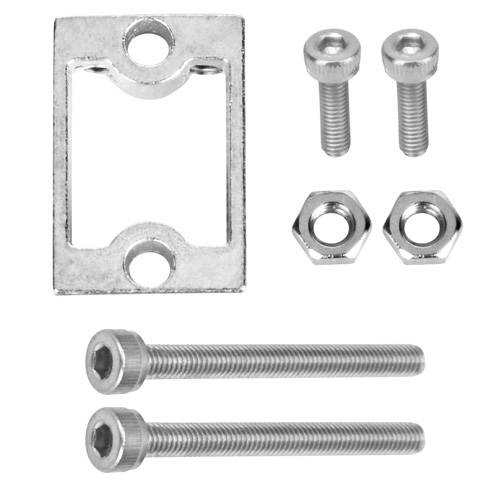
4)上部シャーシと下部シャーシを5本の真鍮支柱で連結し、M3*10ネジ10本とM3ゴムリング10個で固定します。その後、ホイール4個をモーターに取り付けます。

※ここまででハードウェアの取り付けはほぼ完了です。18650電池を入れる前に、まずサンプルコードをボードに書き込んでください。

サンプルプロジェクト
Step 2: サンプルコードのダウンロード
https://osoyoo.com/driver/v2smartcar-lesson1.zip をダウンロードし、解凍すると v2smartcar-lesson1 フォルダーが表示されます。
Step 3: コードの書き込み
USBケーブルでOSOYOOベーシックボードをPCに接続し、Arduino IDEを開いてください。
ファイル → 開く → v2smartcar-lesson1.ino を選択し、コードを読み込みます。 (アップロード時は、必ずバッテリーのスイッチを切るか、電源アダプターを外してください。)

Step 4: ボードとポートを選択し、スケッチをアップロード

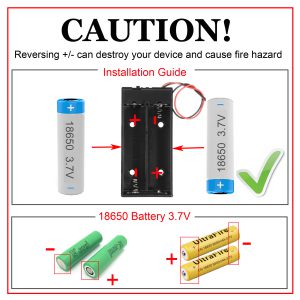
Step 5: PCから切断後、18650電池をバッテリーボックスに装着(※極性を必ず確認してください。逆に入れると機器の破損や火災の原因になります。)
Step 6: 車を地面に置き、バッテリーボックスのスイッチをオンにする
車は以下の順に動作するはずです:
「前進2秒 → 後退2秒 → 左旋回2秒 → 右旋回2秒 → 停止」
(上記の動きが確認できない場合は、配線や電池を再確認してください)


