Welcome to the first lesson of Osoyoo Model-3 Robot Learning Kit!
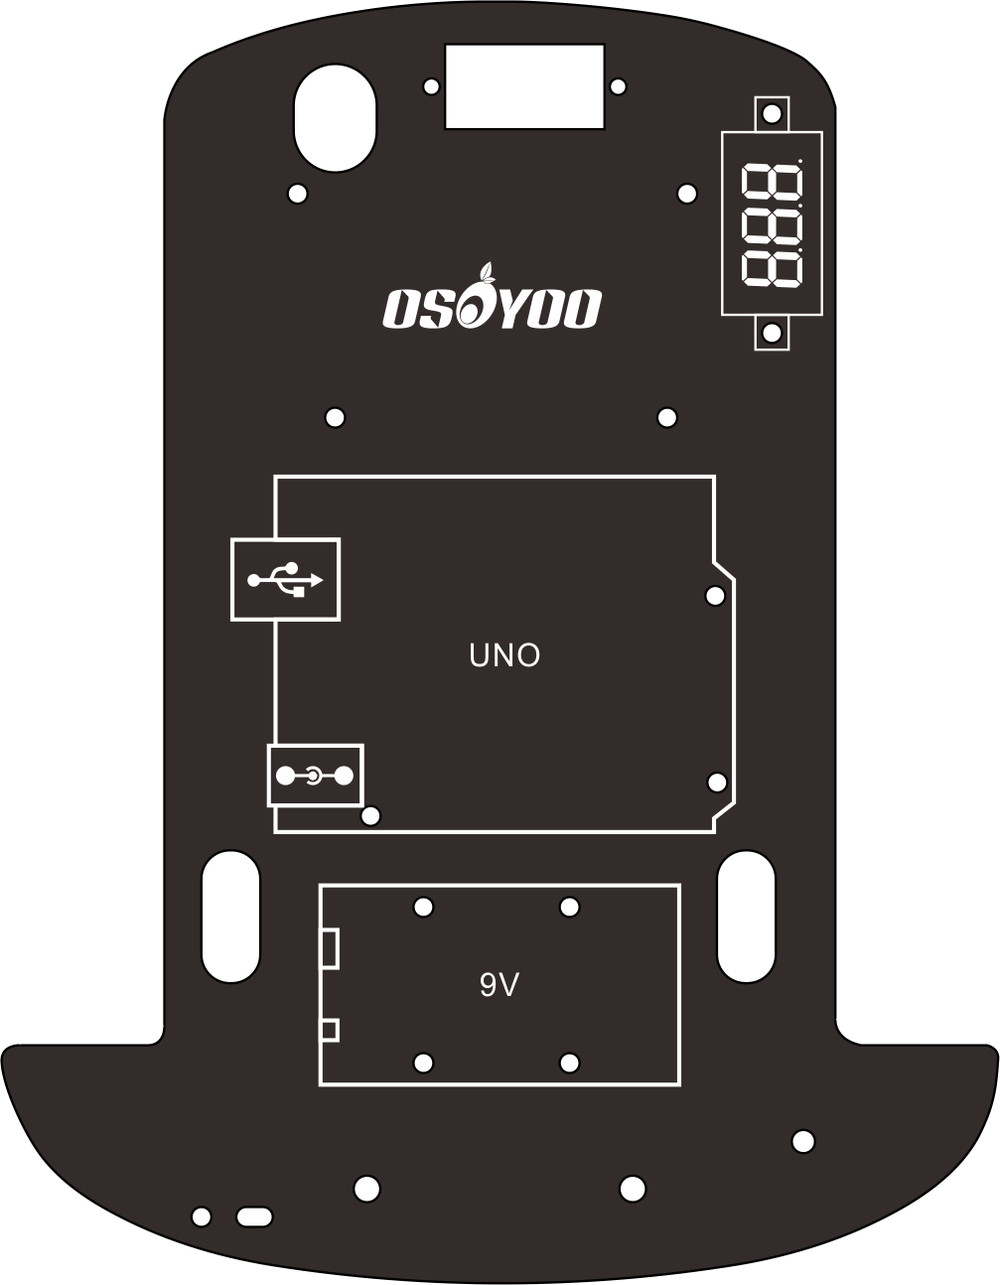
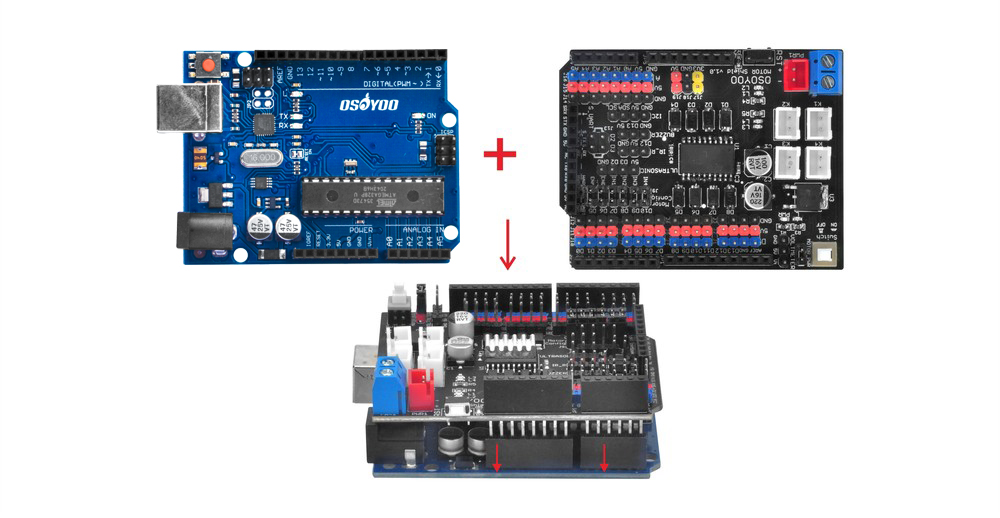
In this “Hello World” version lesson, we will install the most important framework of the robot car and program the car to do some simple movements. If you have passed the test movement of this lesson, it means main board, motor control module, motors, batteries, chassis and wire connections between these parts are all functioning well.
As your experiments in future lessons are all based on the frame work of Lesson 1, it is very important to test the installation and sample code in this Lesson properly.
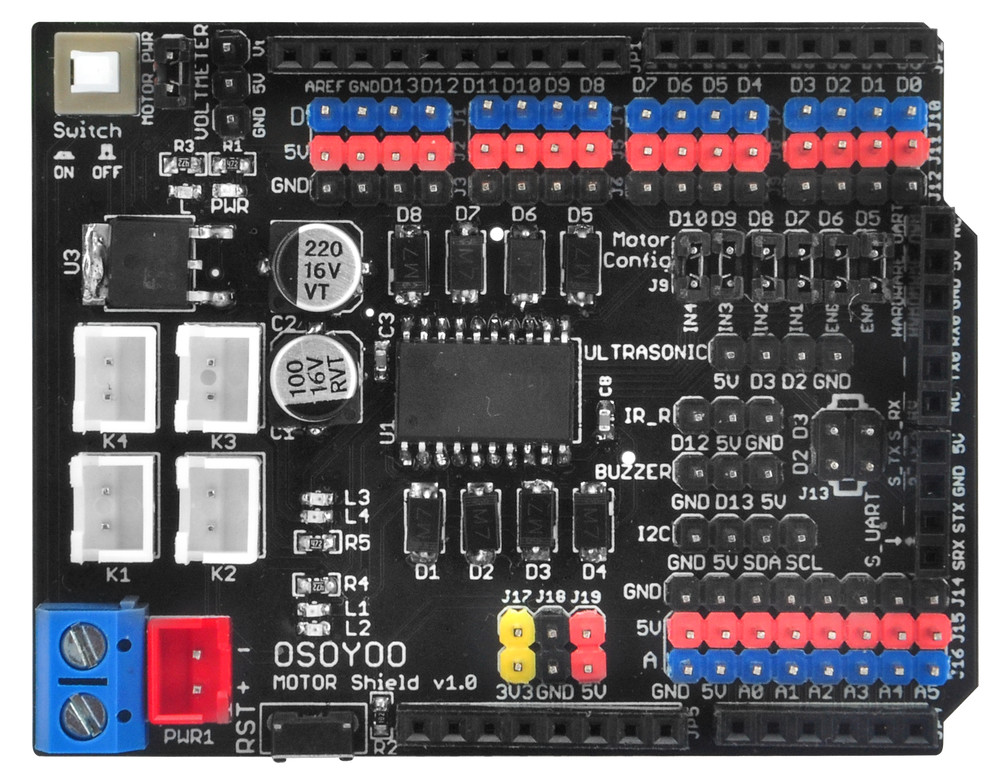
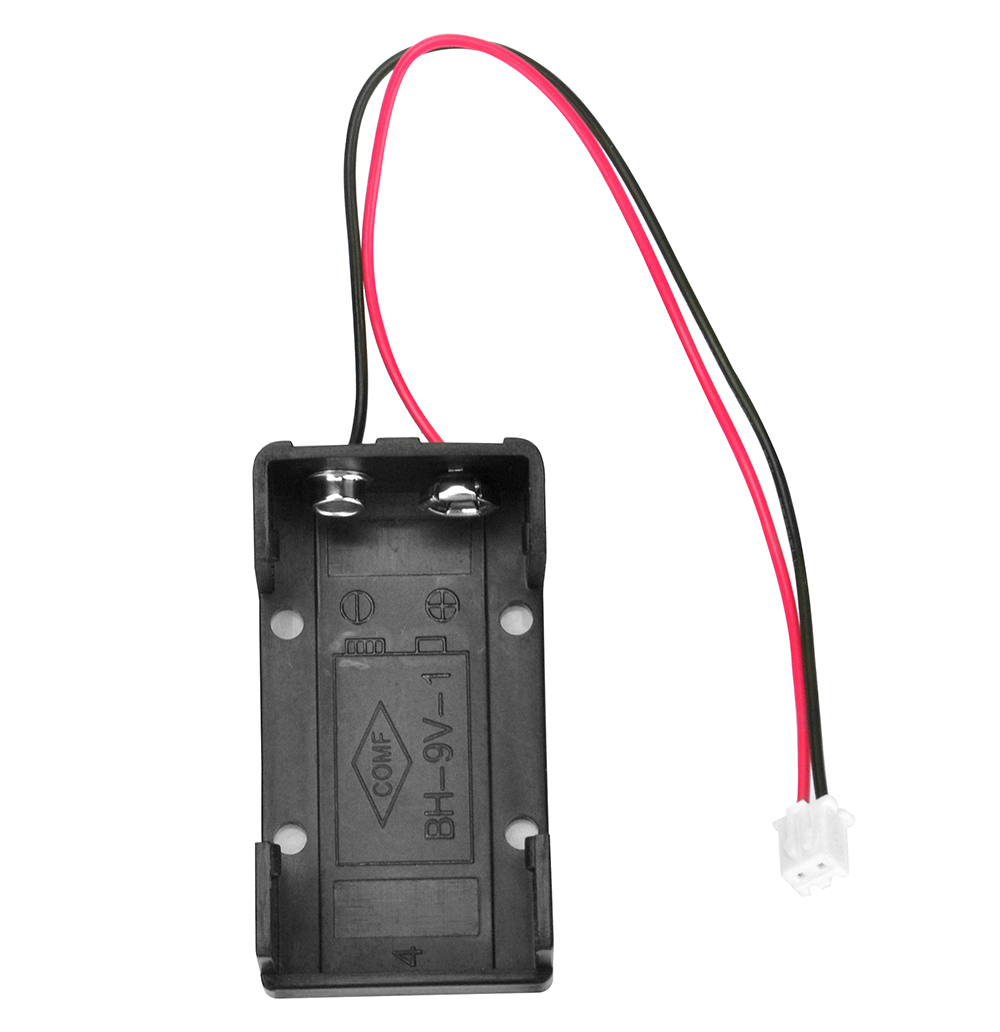
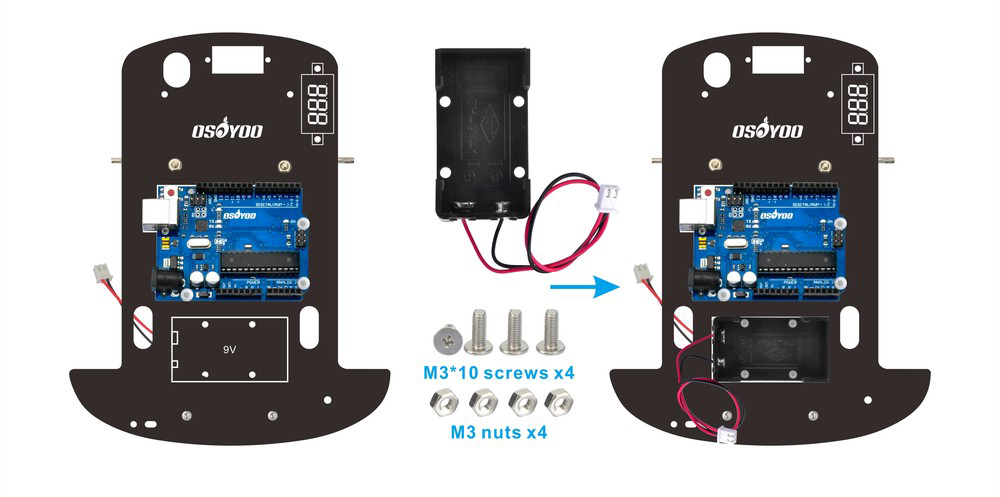
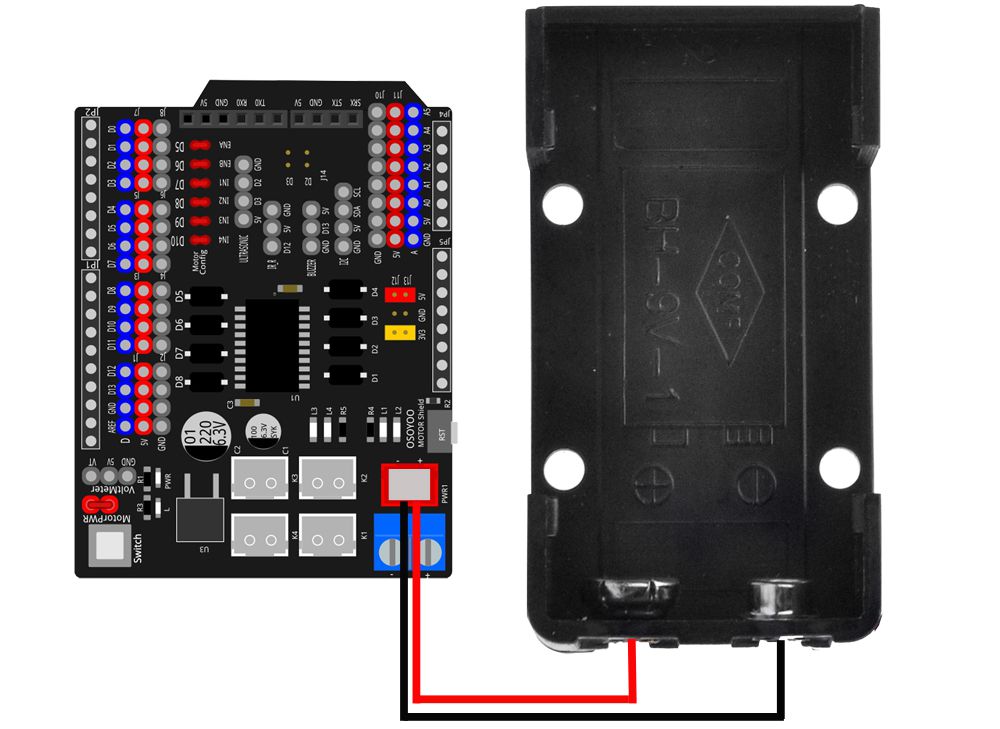
2) Connect OSOYOO Motor Shield with the battery box:
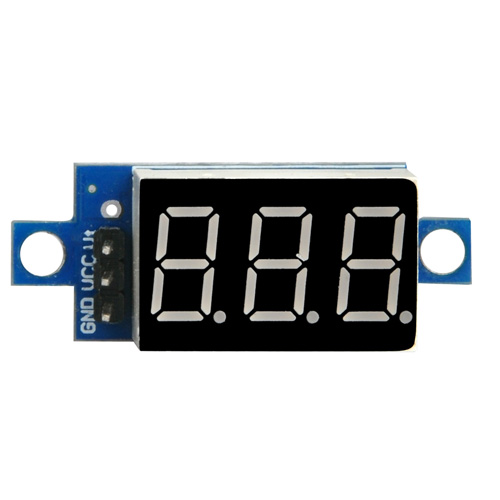
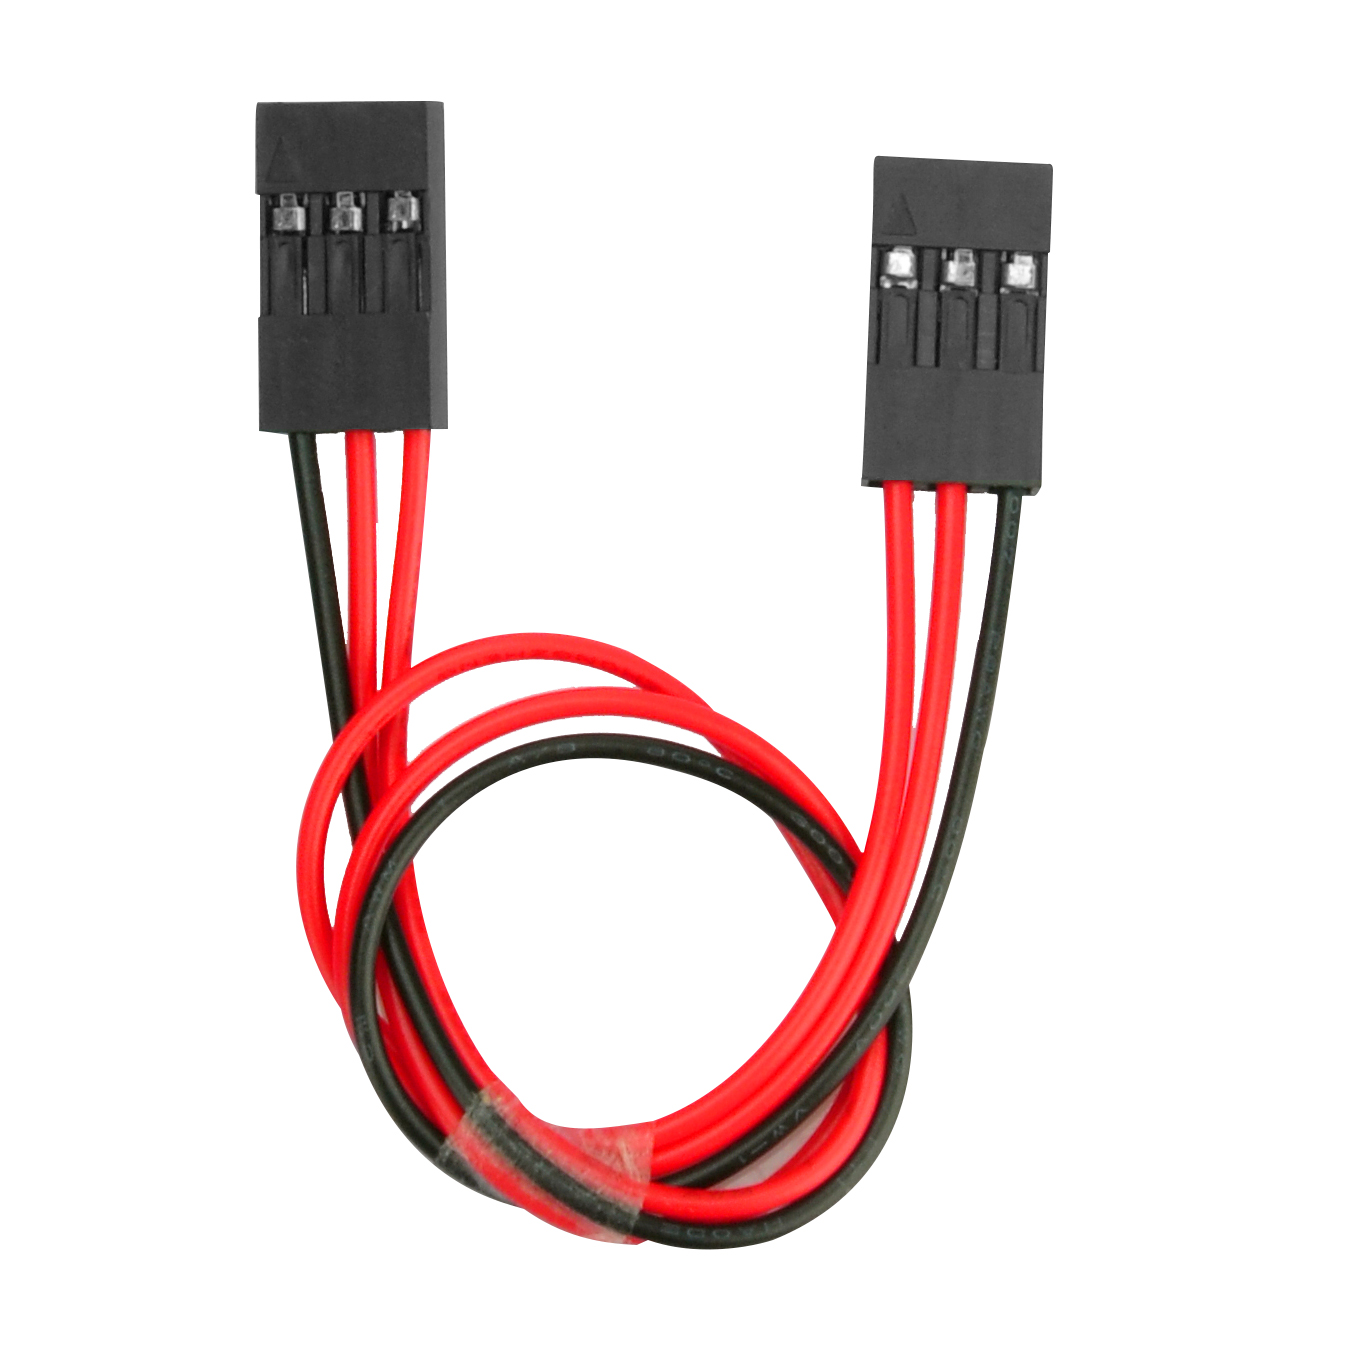
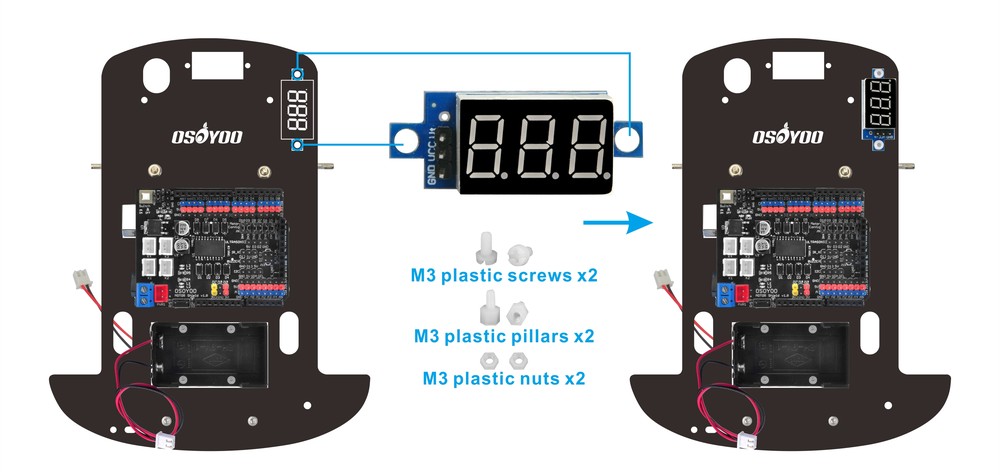
3) Connect OSOYOO Motor Shield with the voltage meter:
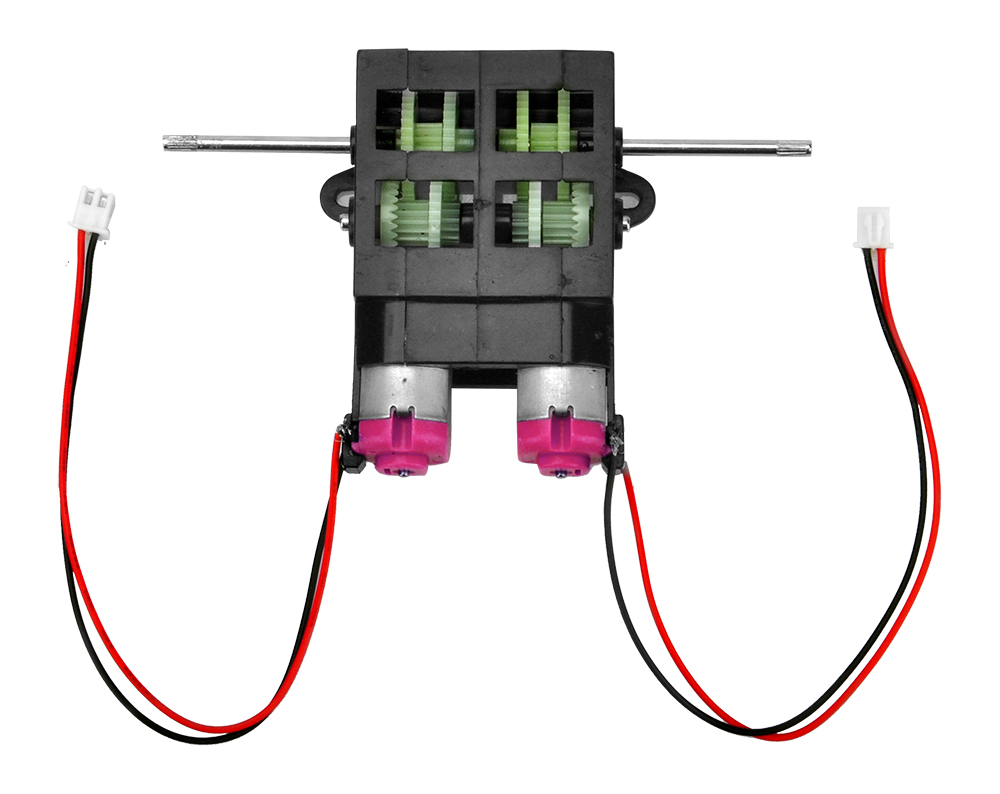
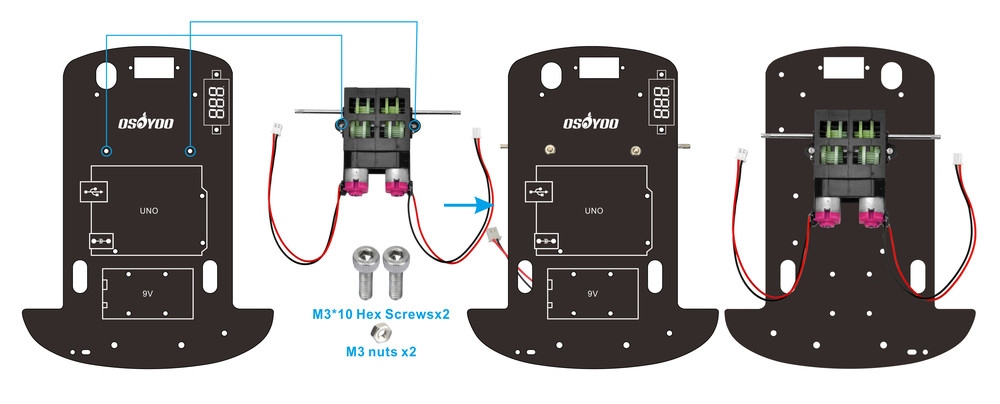
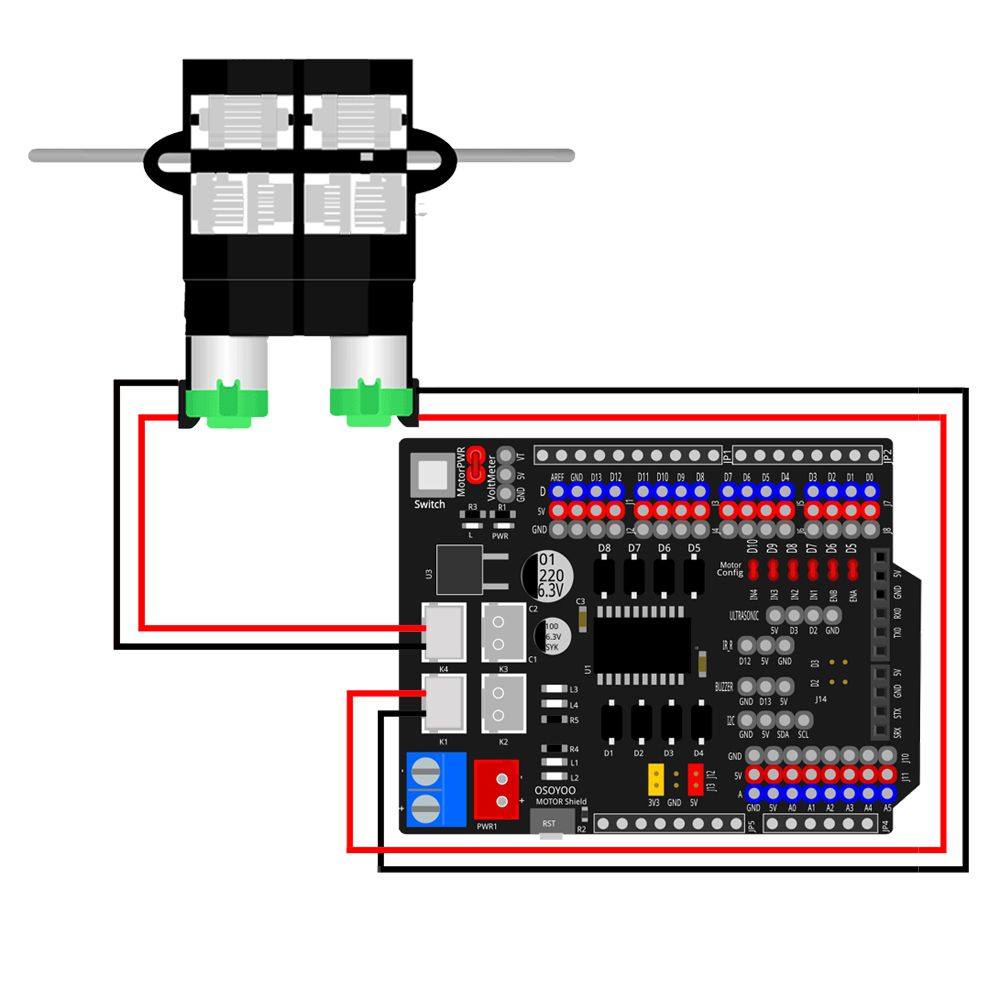
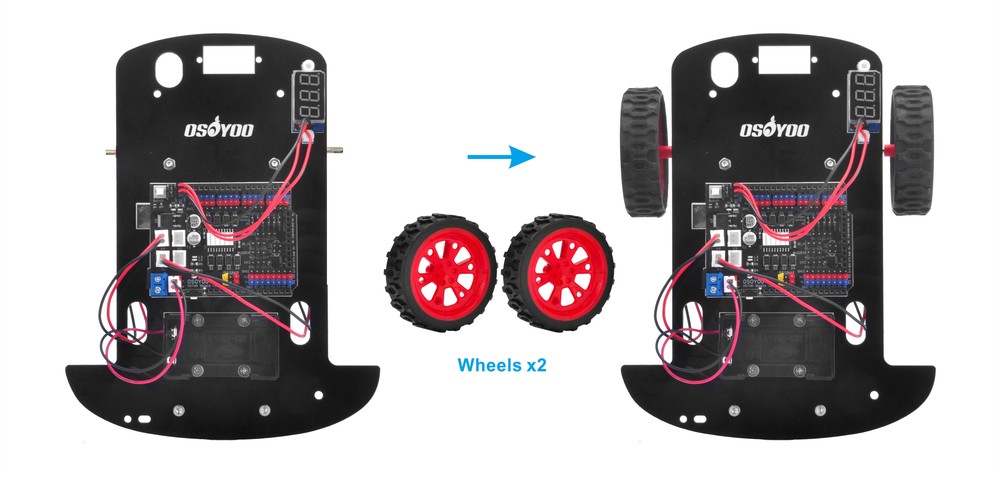
4) Install the wheels:
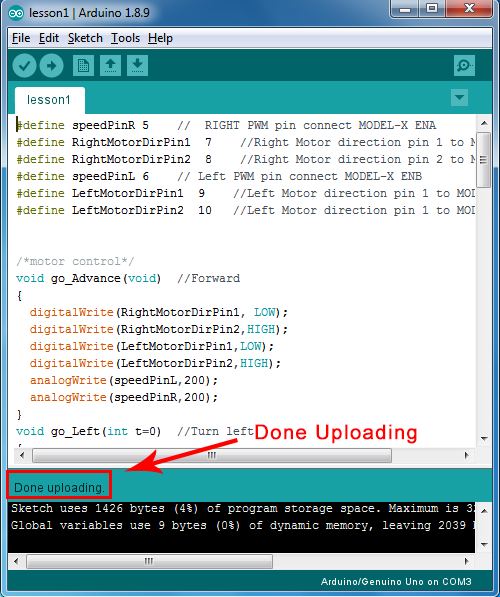
Now hardware installation is almost done. Before we install the battery into the box, we need to upload the sample code into OSOYOO Basic Board for Arduino first.
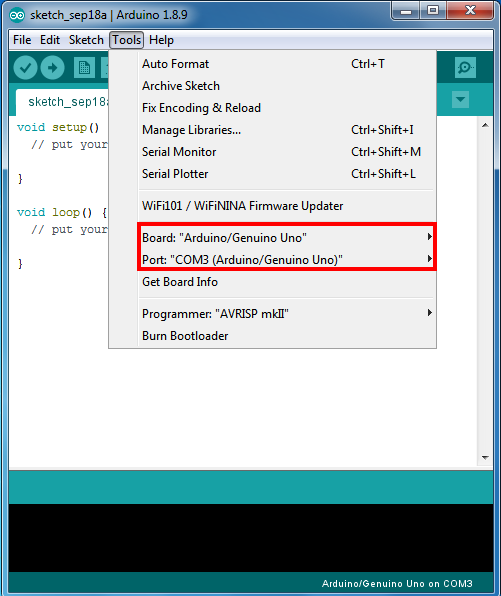
Connect UNO R3 board to PC with USB cable, open IDE, choose corresponding board/port for your project.
Notice: Shut off your battery or Unplug your power adapter when upload sketch code to OSOYOO Basic Board for Arduino.
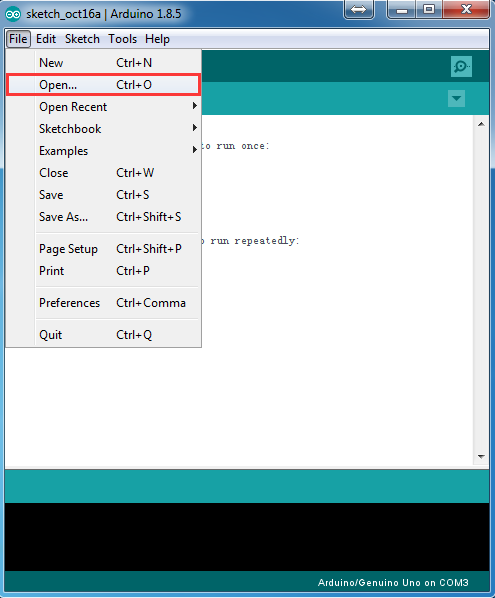
Step 4:
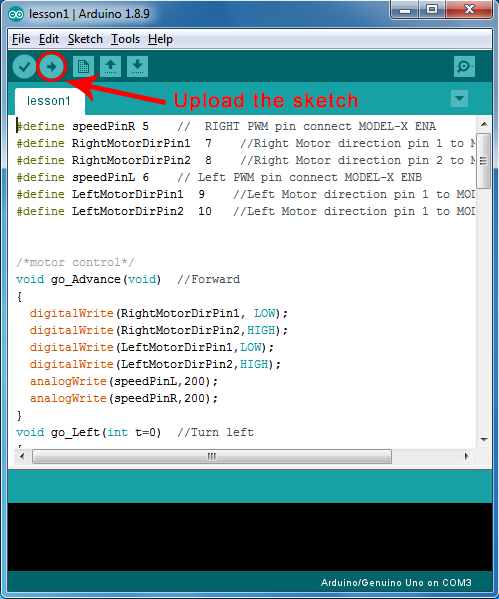
Click file -> click Open -> choose code “lesson-1.ino”, load the code into OSOYOO Basic Board for Arduino, and then upload the sketch to the board.
Testing
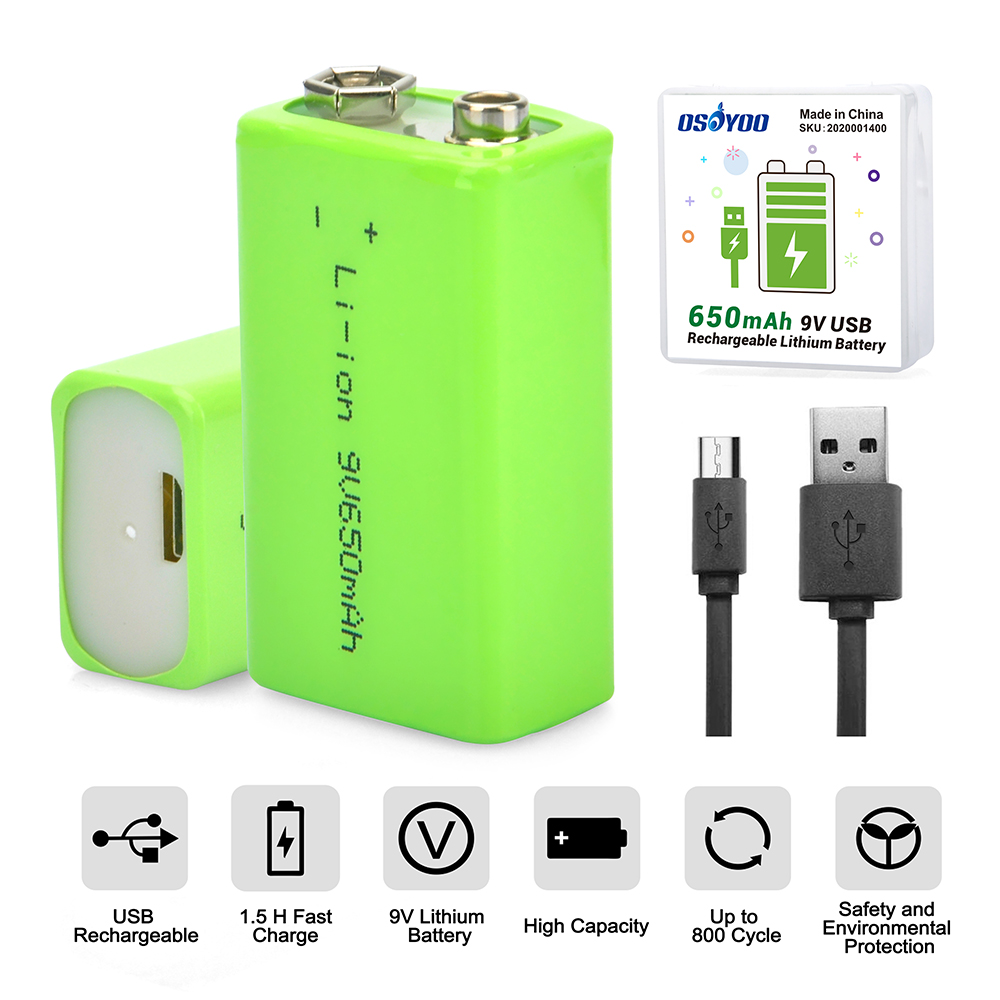
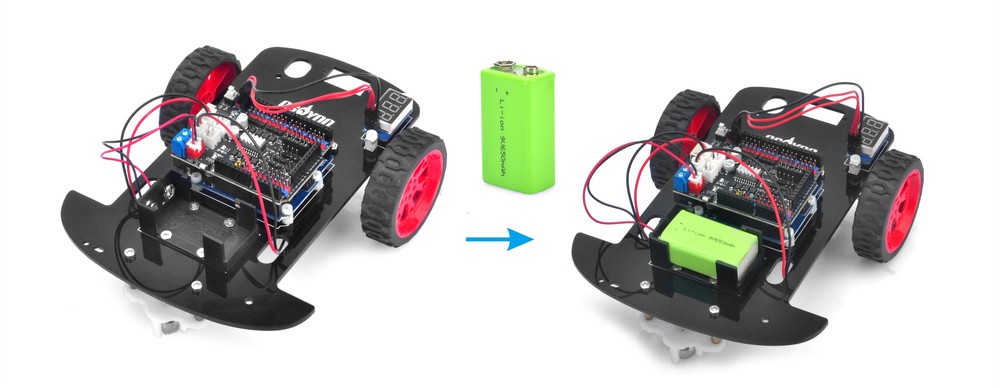
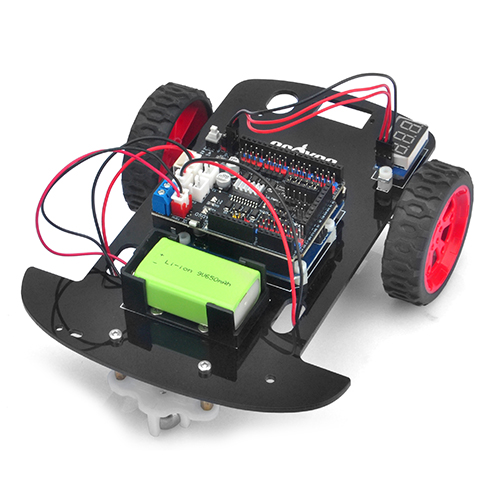
Disconnect OSOYOO Basic Board for Arduino from PC, please confirm that the power switch of the OSOYOO Motor Shield is off, put a 9V battery into battery box.
(make sure polar direction is correct, otherwise it can destroy your device and cause fire hazard).
Put the car on the ground, turn on the switch of OSOYOO Motor Shield, the car should go forward, then go backward, then left turn, then right turn, then stop.
If the car does not move as per above mentioned result, you should check your wire connection, 7 jumper caps on OSOYOO Motor Shield, battery voltage(must over 7.2v).
After following the steps for lesson 1 I’m still not able to get the car to move. I turn it on it and does not do anything. When connected to the PC it lights up and makes a noise but that is it. Please assist
Please check whether the battery and battery case install correctly or not.
Could you read the voltage of the battery on voltage meter on the car?
Please take photos about the car and send to my email address: [email protected].
I did everything said in lesson 1 but it doesn’t move, it just makes a strange sound
I checked everything and it still doesn’t work
Please help
Could you take a video and send to my email address: [email protected]?