You can download the user manual from:

In this tutorial, we will use the car to do some simple movements. Once the car installation is completed, it is very important to test the installation and sample code. If you have passed the test movement of this lesson, it means OSOYOO Basic Board for Arduino, motor control module, motors, batteries, chassis and wire connections between these parts are all functioning well.
If you don’t complete the frame of car, please review lesson 1


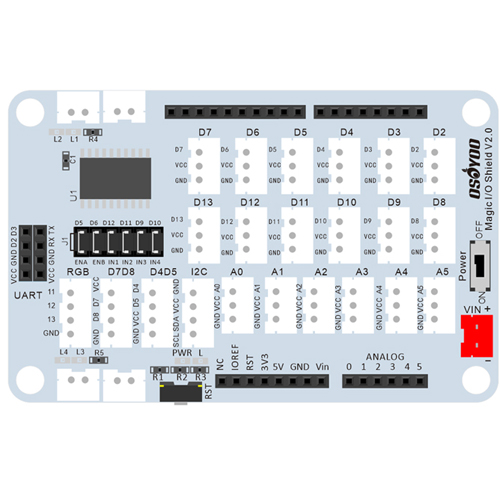
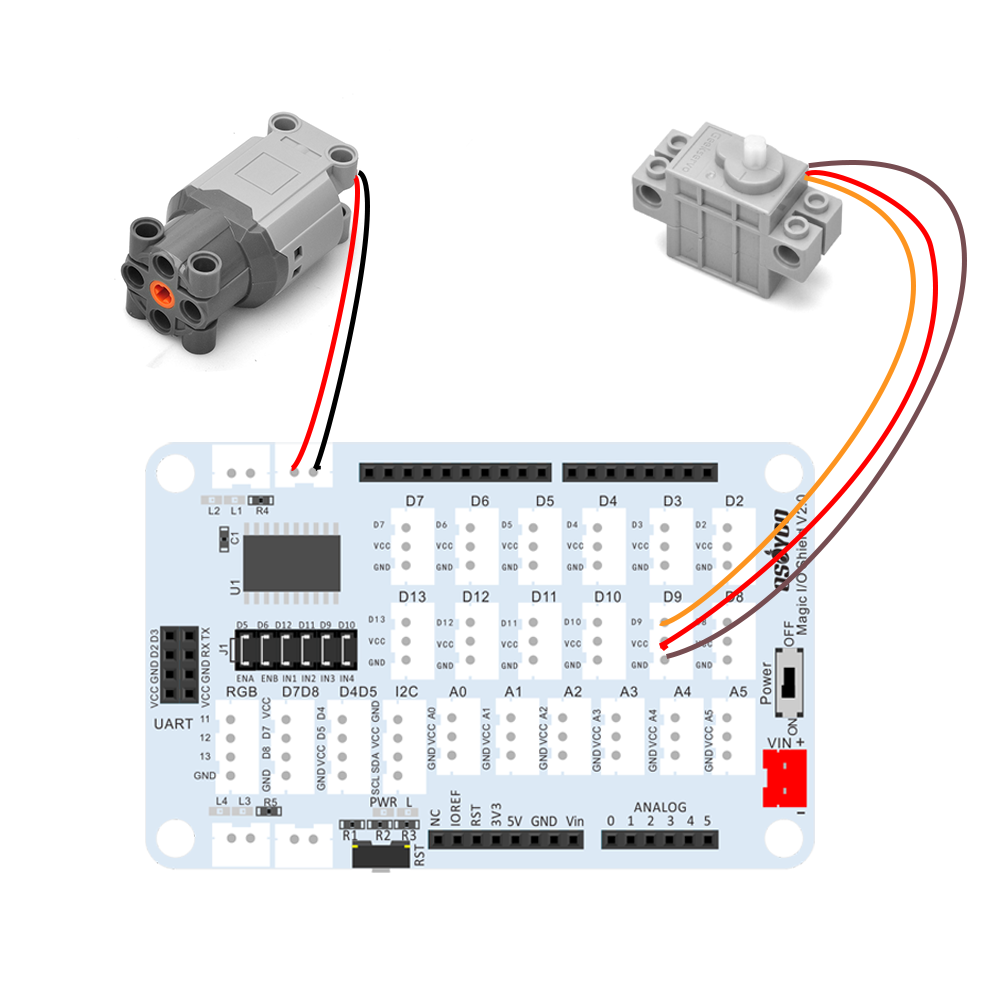
Connection: (Attention please: there are six jumper caps on ENA/ENB/IN1/IN2/IN3/IN4)
IN1 to D12 (jumper cap)
IN2 to D11 (jumper cap)
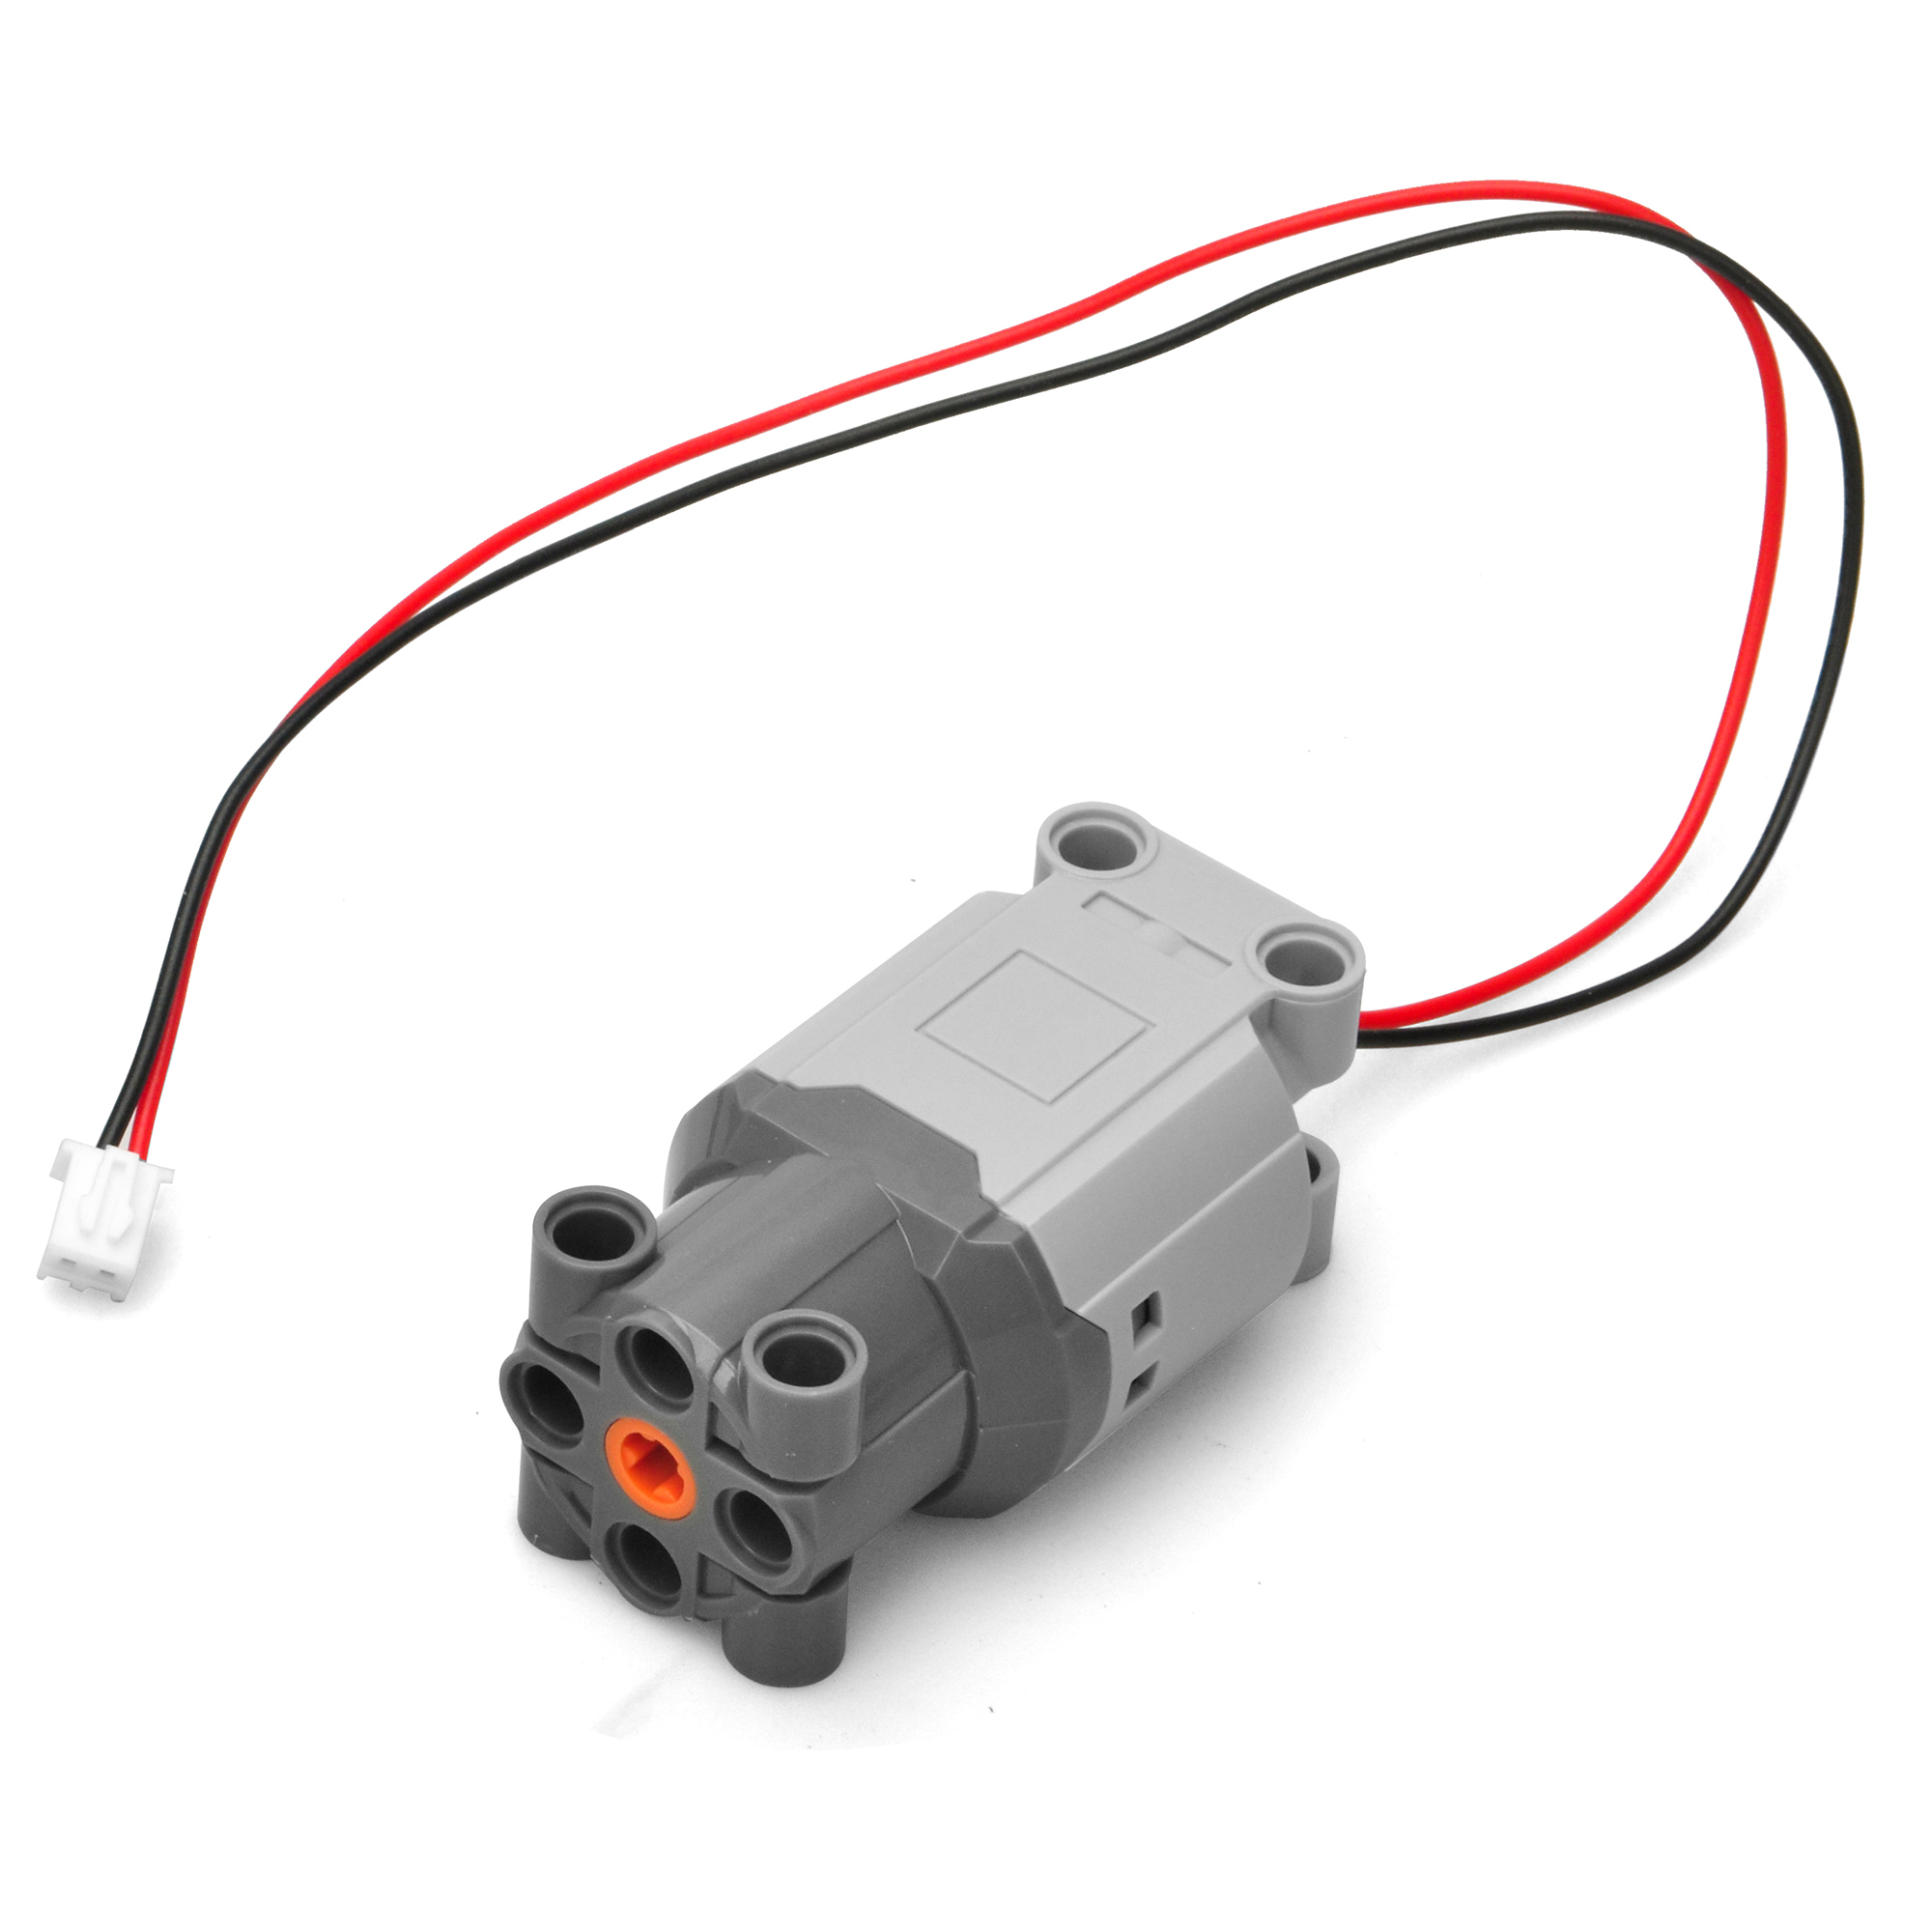
Motor to L1
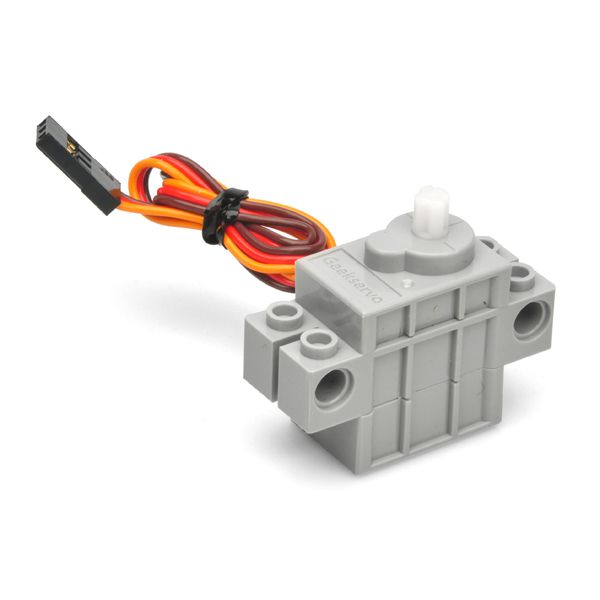
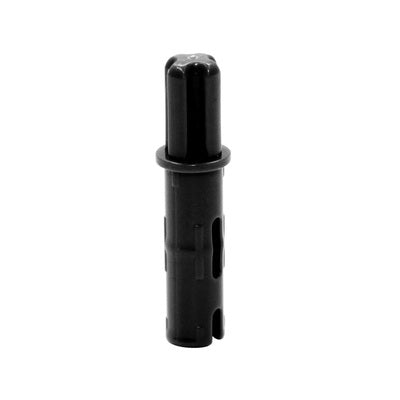
Servo to D9
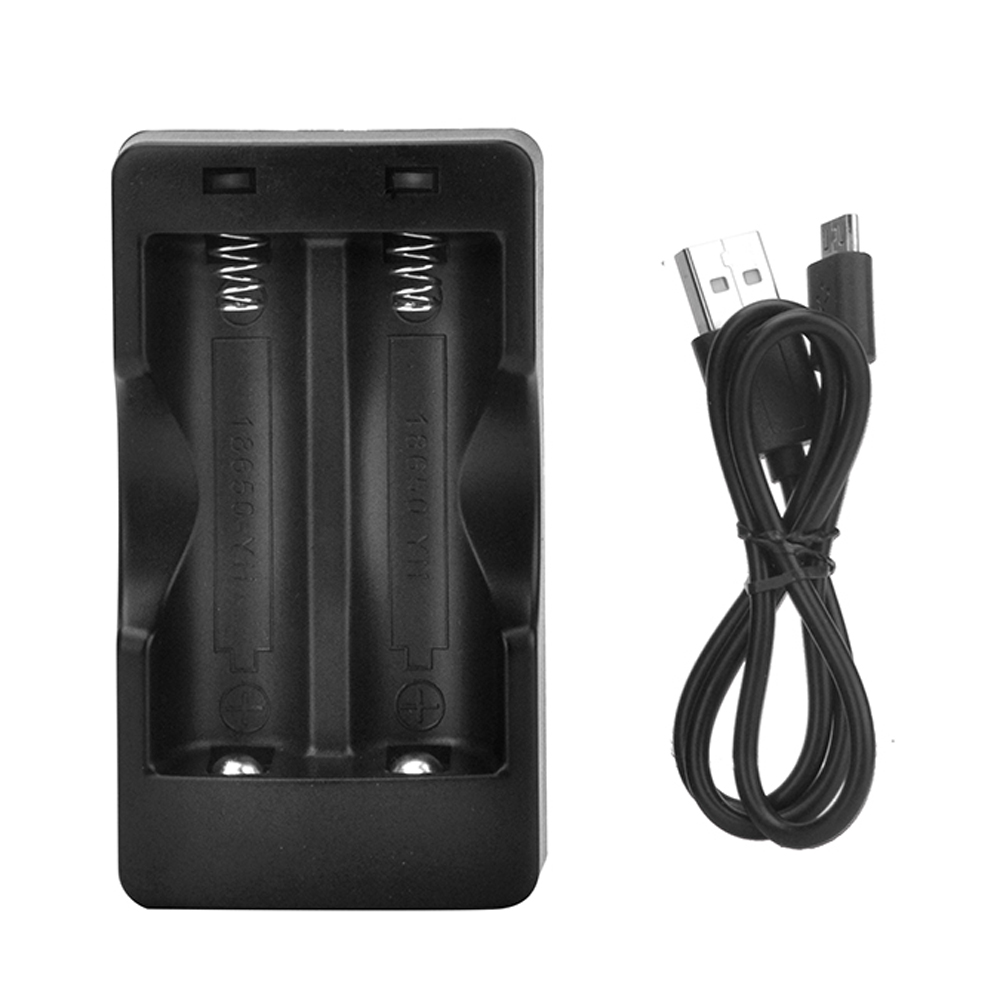
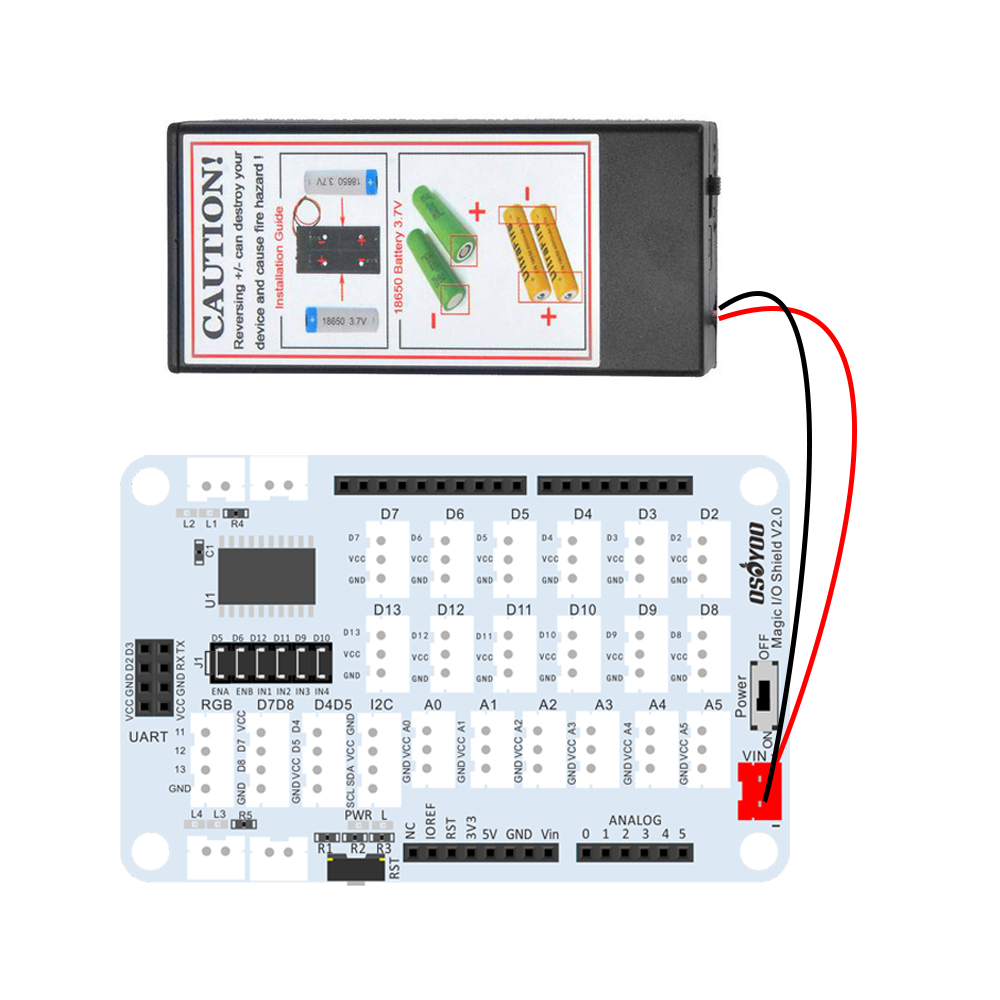
Connect the battery case to power port of Magic I/O shield as following:
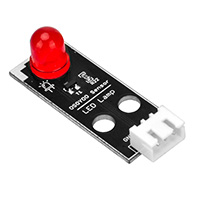
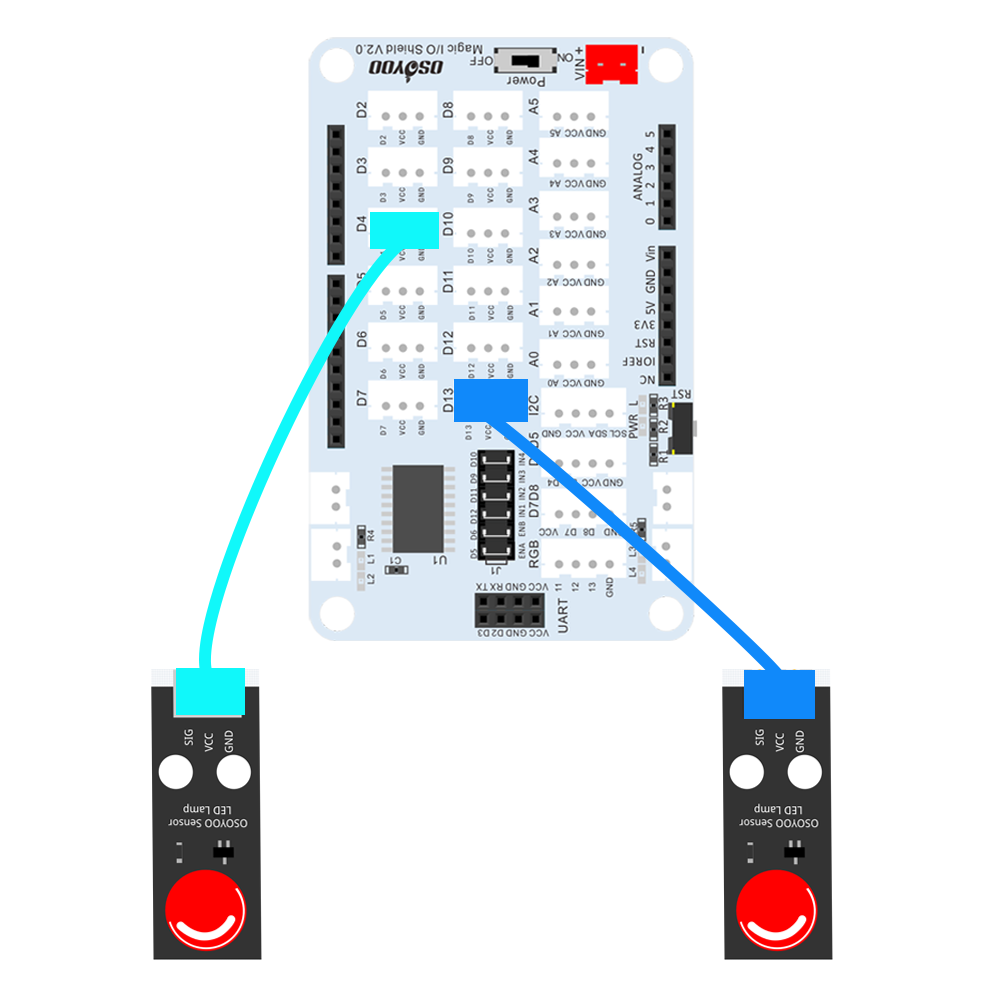
Connect the OSOYOO Red LED Module to power port of Magic I/O shield as following:
Left LED – D4
Right LED – D13

STEP 1:
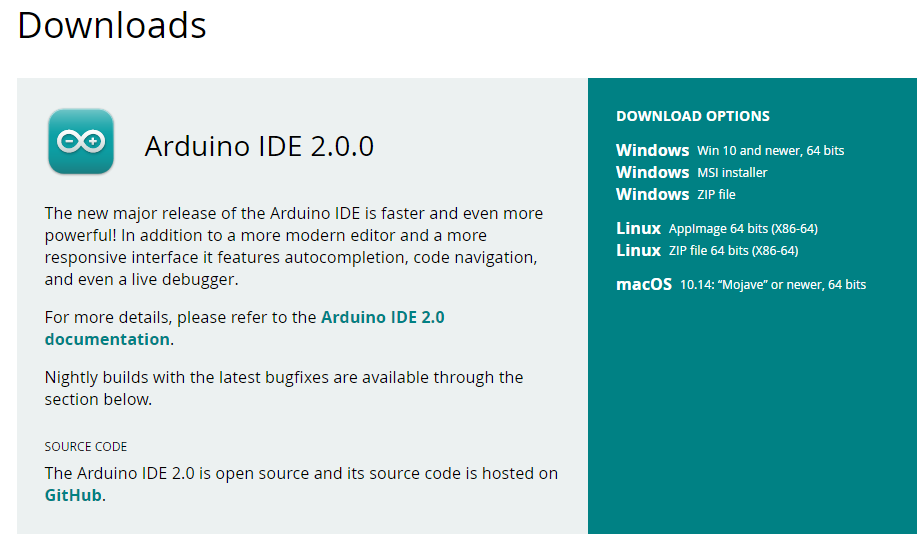
Install latest IDE (If you have IDE version after 1.1.16, please skip this step).
Download IDE from https://www.arduino.cc/en/software, then install the software.
STEP 2:
Download PWMServo library zip file from https://osoyoo.com/driver/sg90car/PWMServo.zip ,
then import the library into Arduino IDE(Open Arduino IDE-> click Sketch->Include Library->Add .Zip Library)
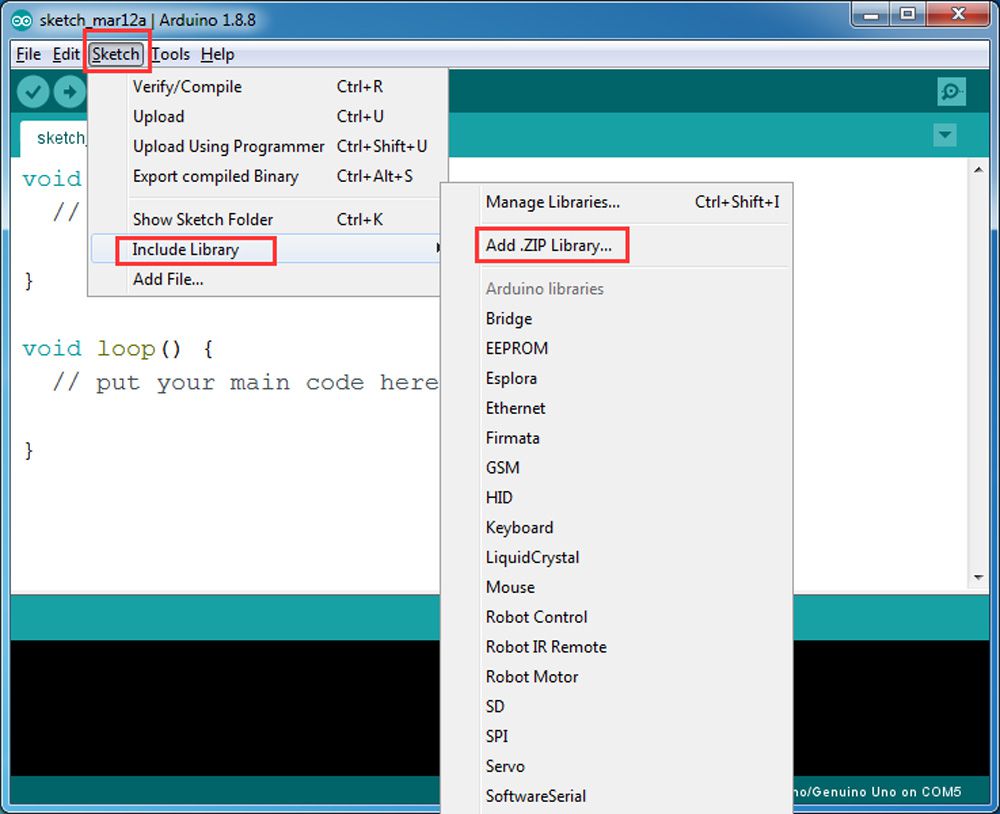
You will see a pop-up windows , now you can go to your download folder and select PWMServo.zip file and upload this file to Arduino library.
STEP 3:
Download https://osoyoo.com/driver/2022008400/lesson2.zip , unzip it, you will see a folder called lesson2
STEP 4:
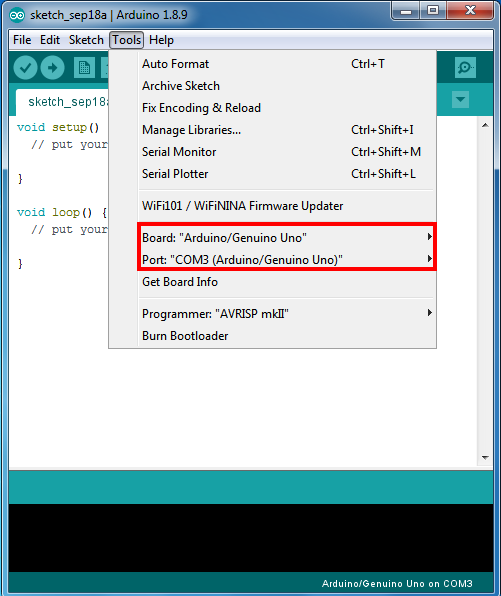
Connect UNO R3 board to PC with USB cable, open IDE, choose corresponding board/port for your project.
Notice: Shut off your battery or Unplug your power adapter when upload sketch code to OSOYOO Basic Board for Arduino.
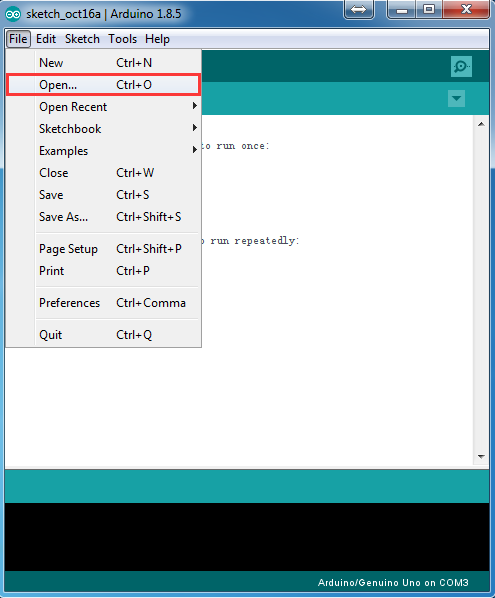
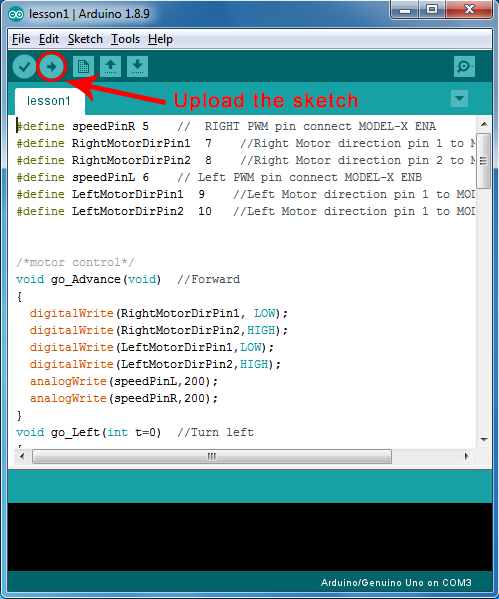
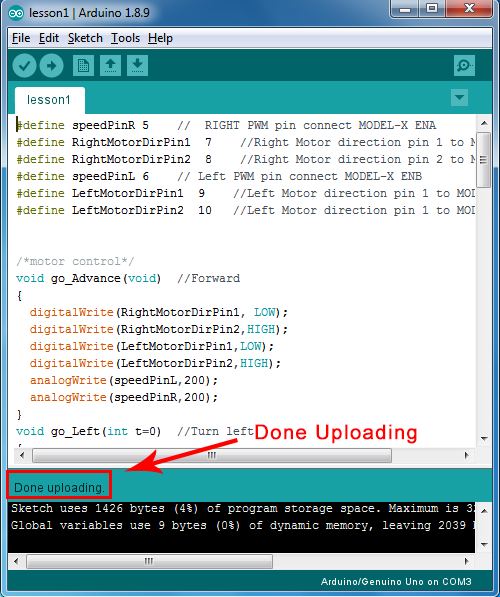
Click file -> click Open -> choose code “lesson2.ino”, load the code into OSOYOO Basic Board for Arduino, and then upload the sketch to the board.
STEP 5:
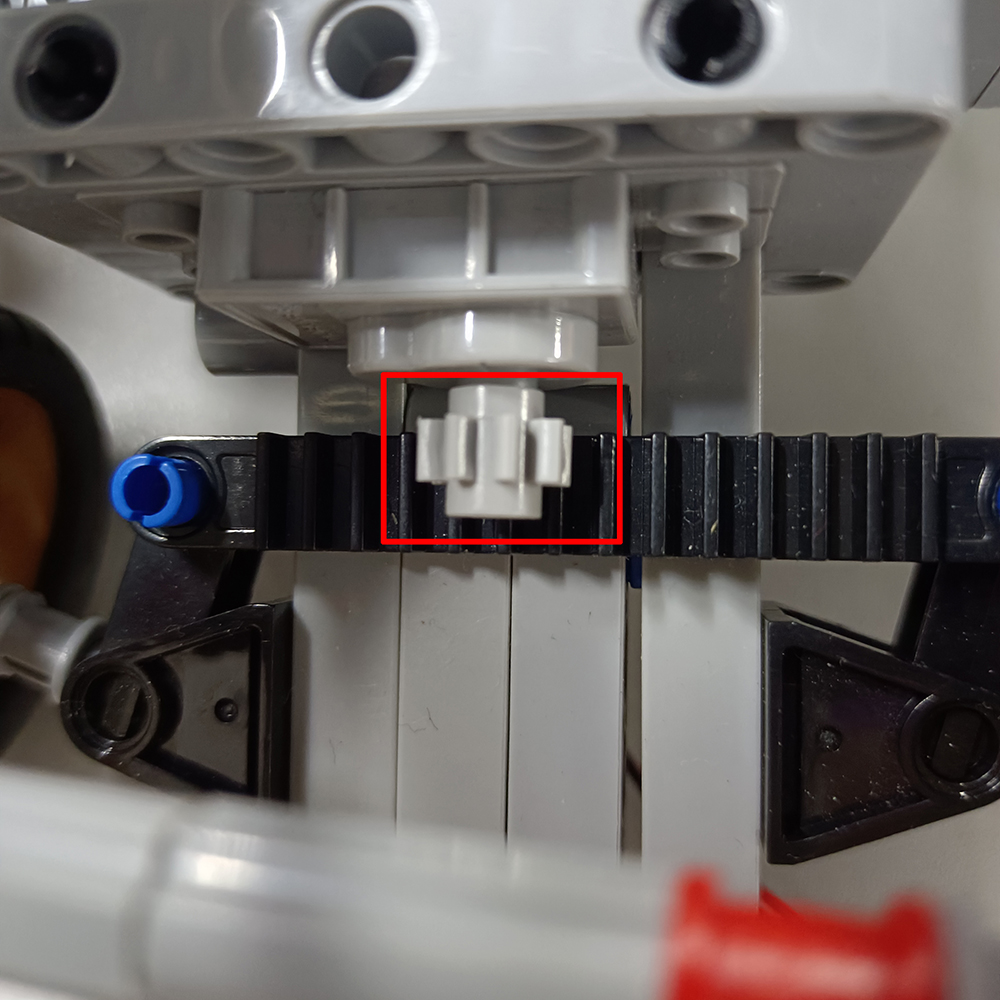
Servo Alignment: If your steering servo does not facing face to center front direction, then you have two options:
Option 1 ) You can remove the small gear from servo, re-align the front wheel direction manually and then install the small gear onto servo again.
Option 2) You can change the default value of following line:
#define FRONT 90 // 90 degree means steering to front
If your steering wheels tends to left, increase the value from 90 to 95,100,105 …
if your steering wheels tends to right, decrease the value from 90 to 85,80,75 …
Run the sketch again until your steering wheels finally faces to front.
Then write down the FRONT value, we will use this value to change the lesson3,4,5 sketch code and make steering servo always facing front at default FRONT value.

1.Disconnect OSOYOO Basic Board for Arduino from PC and confirm that the power switch of the OSOYOO Motor Shield is off, then assure the battery is in the battery box.
(Note: make sure polar direction is correct, otherwise it can destroy your device and cause fire hazard).
2. Put the car on the ground, turn on the switch of the battery box and the OSOYOO Motor Shield, the car should go forward, backward, left turn, right turn, go backward, back to right, back to left, then stop.
Note: If the car does not move as per above mentioned result, you should check your wire connection, jumper caps on OSOYOO Motor Shield, battery voltage (must over 7.2v).
3. If you want to change the angel of the right or left, please edit the following line of the code and upload the sketch again:
int RIGHT=FRONT+80;
int LEFT=FRONT-38;
4. If you want to change the speed of the car, please revise the following code of the sketch (Note: the max value is 255)
#define SPEED 190
#define HI_SPEED 220