Table of Contents
1. Overview
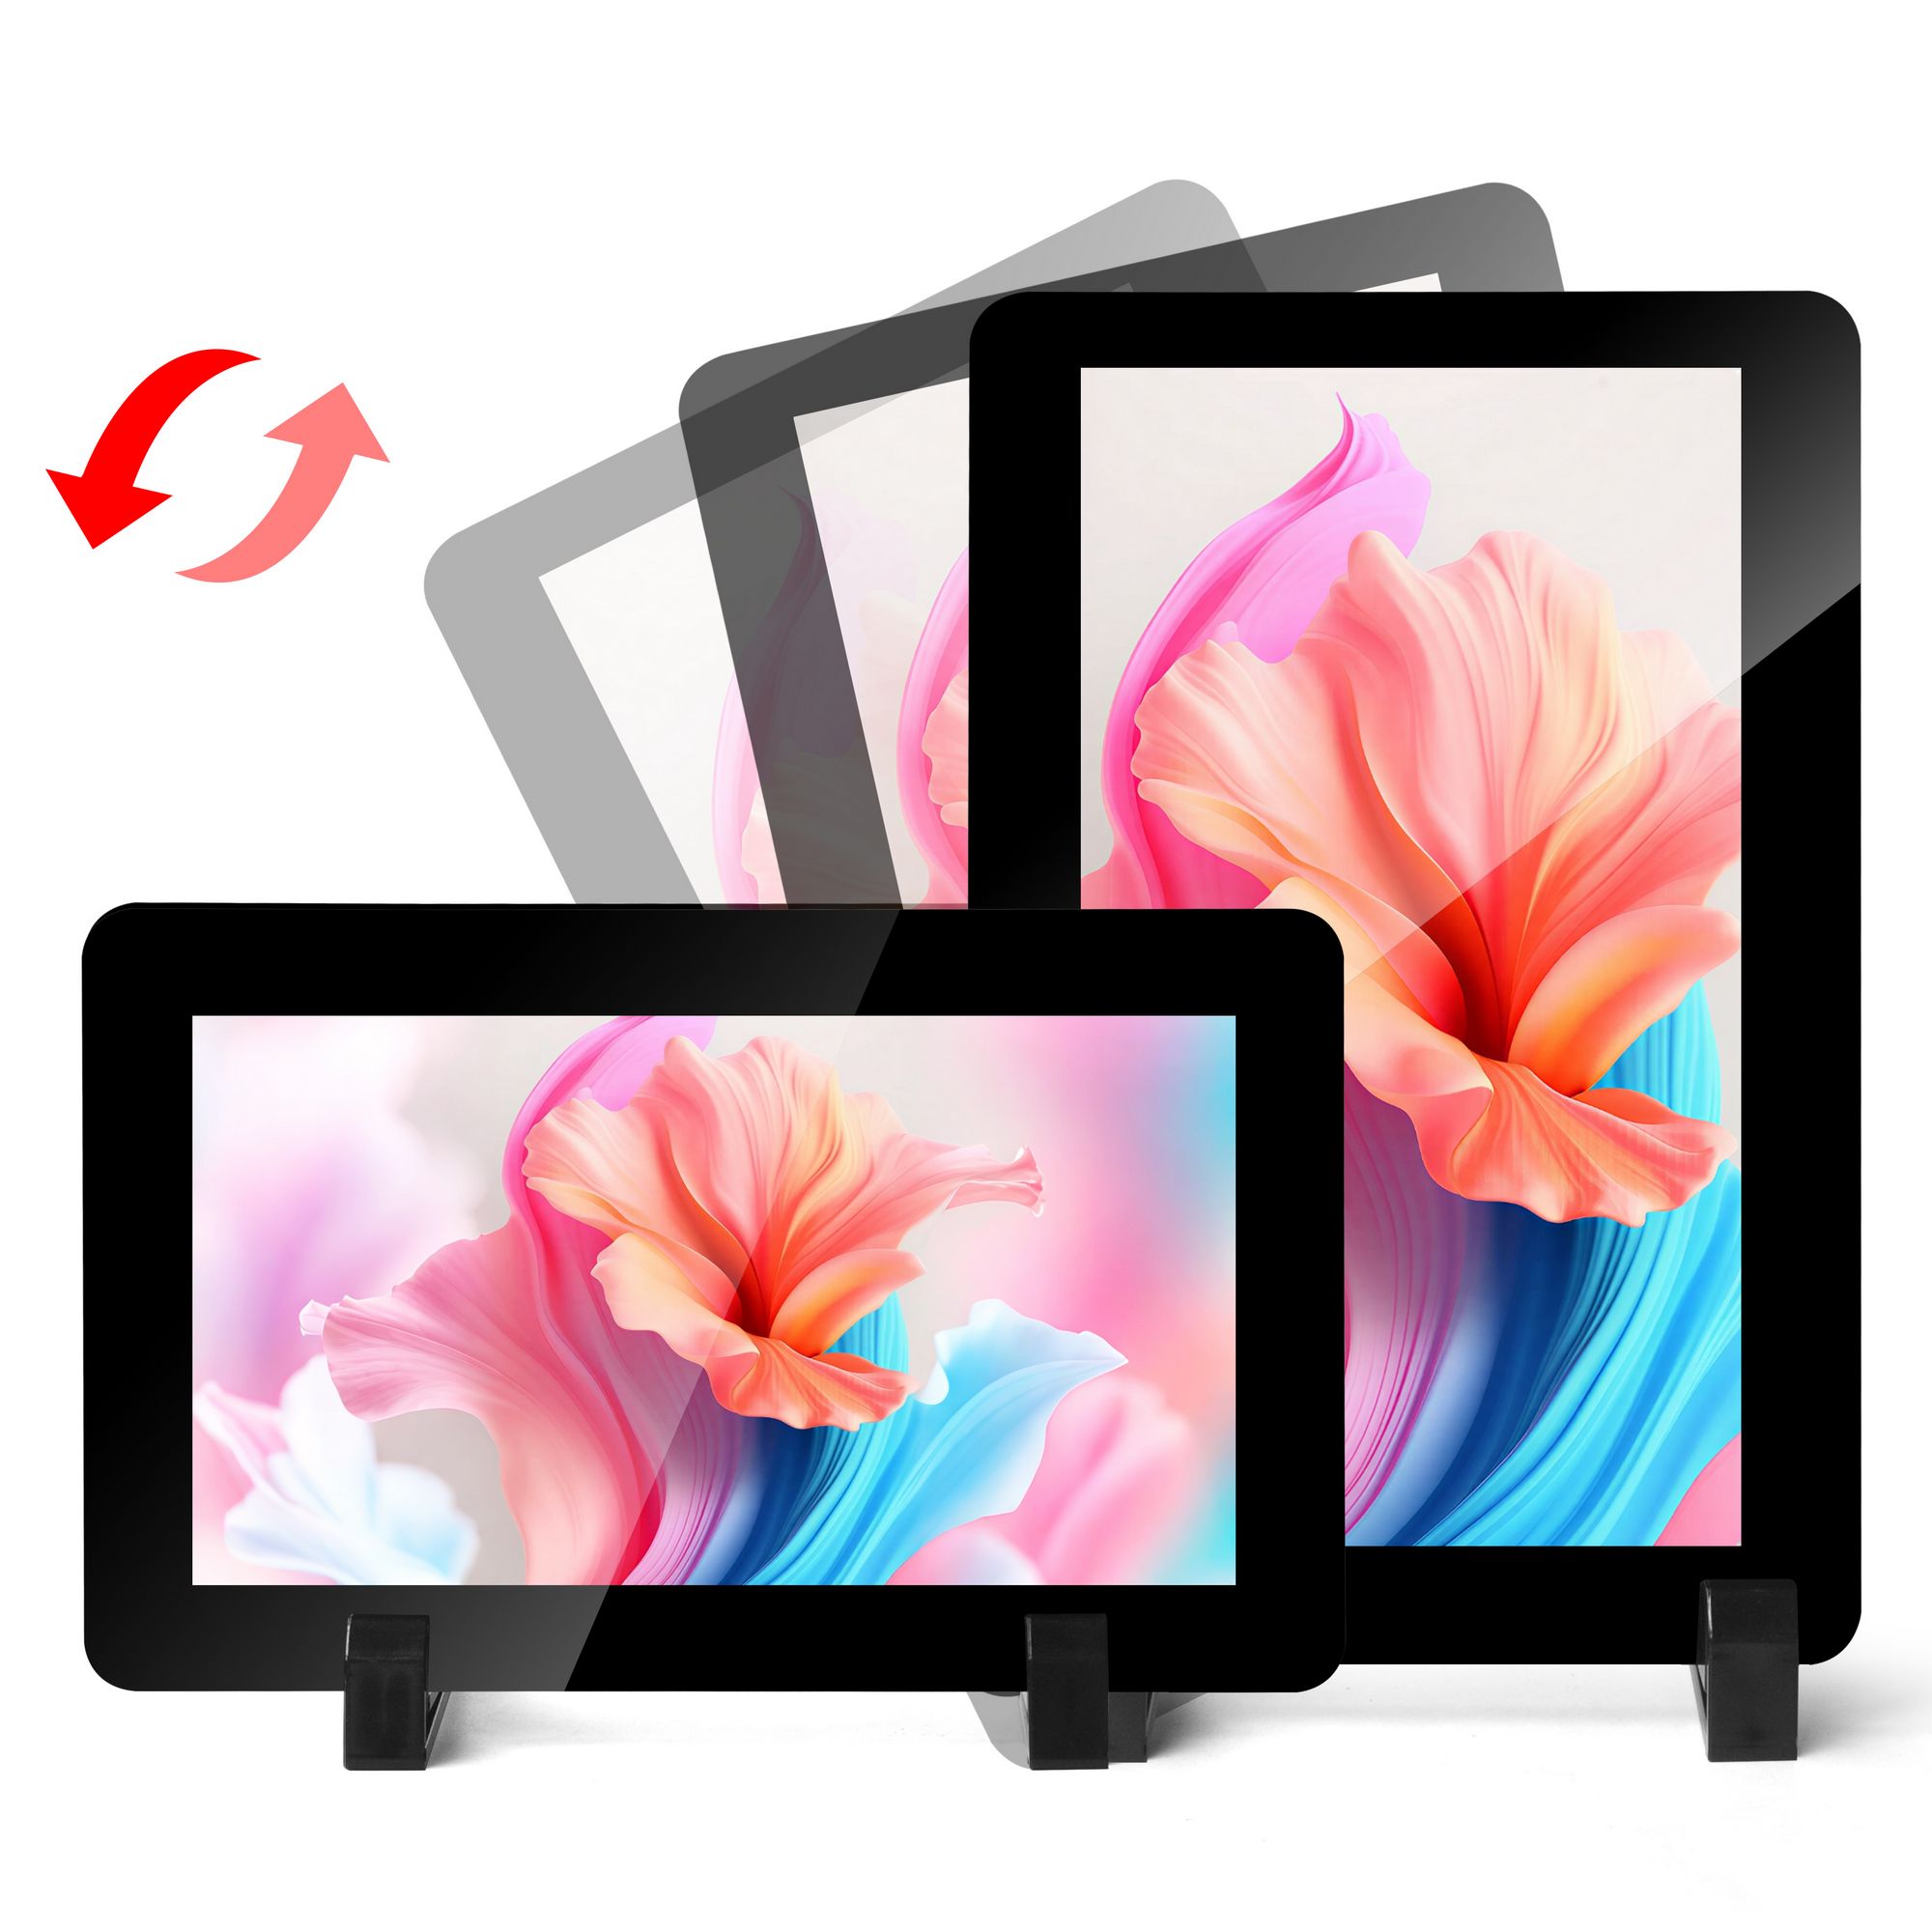
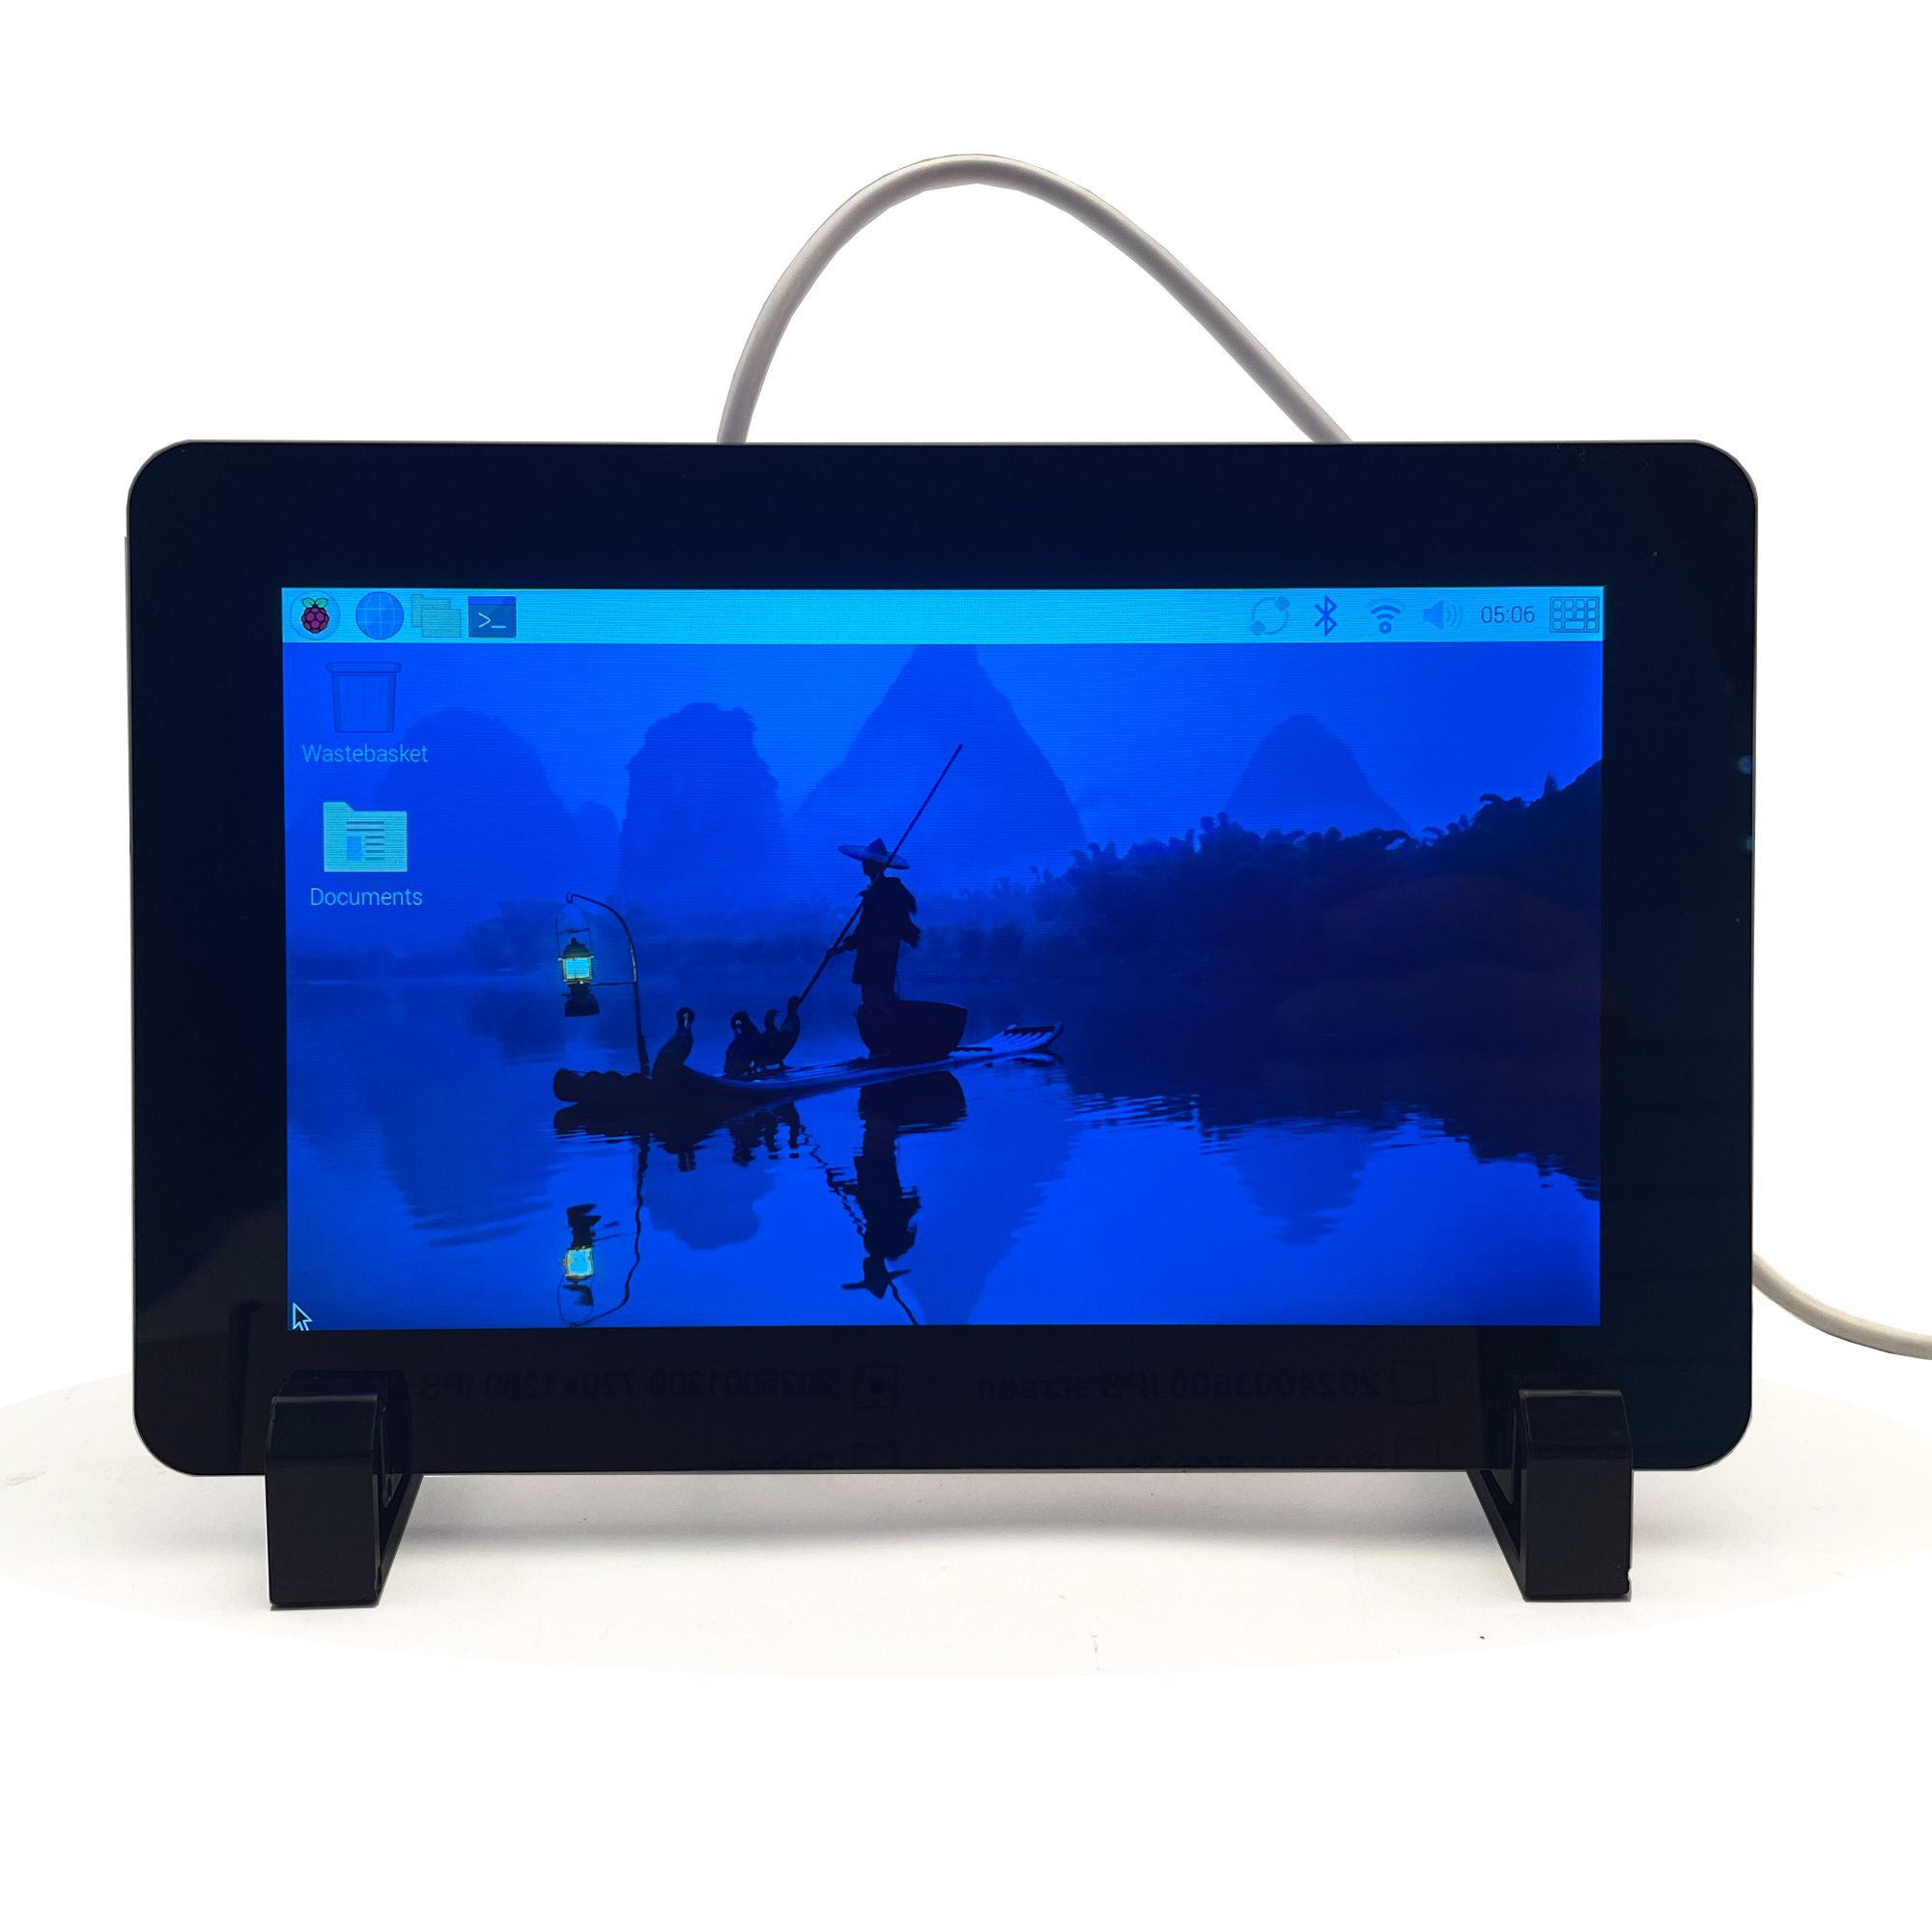
The OSOYOO 7″ 720×1280 HD IPS DSI Capacitive Touchscreen is a portrait-oriented display designed for interactive projects such as tablets, entertainment systems, and information dashboards. It connects to Raspberry Pi via the DSI connector and supports five-point capacitive touch control.
The display features an IPS panel with wide viewing angles, toughened glass (6H hardness), and software-controlled backlight brightness, making it suitable for a wide range of embedded and development projects.
2. Features
- 7-inch DSI touchscreen with five-point capacitive touch control
- IPS display panel with 720×1280 hardware resolution
- Toughened glass capacitive touch panel with 6H surface hardness
- Direct LCD driving via Raspberry Pi DSI interface at up to 60Hz refresh rate
- Compatible with the latest Bookworm system (Kernel 6.12+)
- Works with all Raspberry Pi models featuring DSI interfaces (excluding Zero series)
- Software-controlled backlight brightness (0–255)
3. Specification
| Parameter |
Value |
Unit |
| Input Voltage |
5.00 |
V |
| Input Current |
0.5 (min) |
A |
| Resolution |
720×3(RGB)×1280 |
dots |
| Display Mode |
IPS / Normally Black |
— |
| Viewing Direction |
80/80/80/80 (All) |
° |
| Module Size |
120.24(W) × 189.32(H) × 4.24(T) |
mm |
| Active Area |
86.84 × 154.37 |
mm |
| Interface |
2 Lanes MIPI DSI |
— |
| Surface Hardness |
6H |
— |
| Backlight Brightness |
300 nits (Min) / 350 nits (Typ.) |
nits |
| LCD Type |
TFT |
— |
| Panel Type |
G+G |
— |
| Operating Temperature |
0 – 50 |
°C |
| Storage Temperature |
-10 – 70 |
°C |
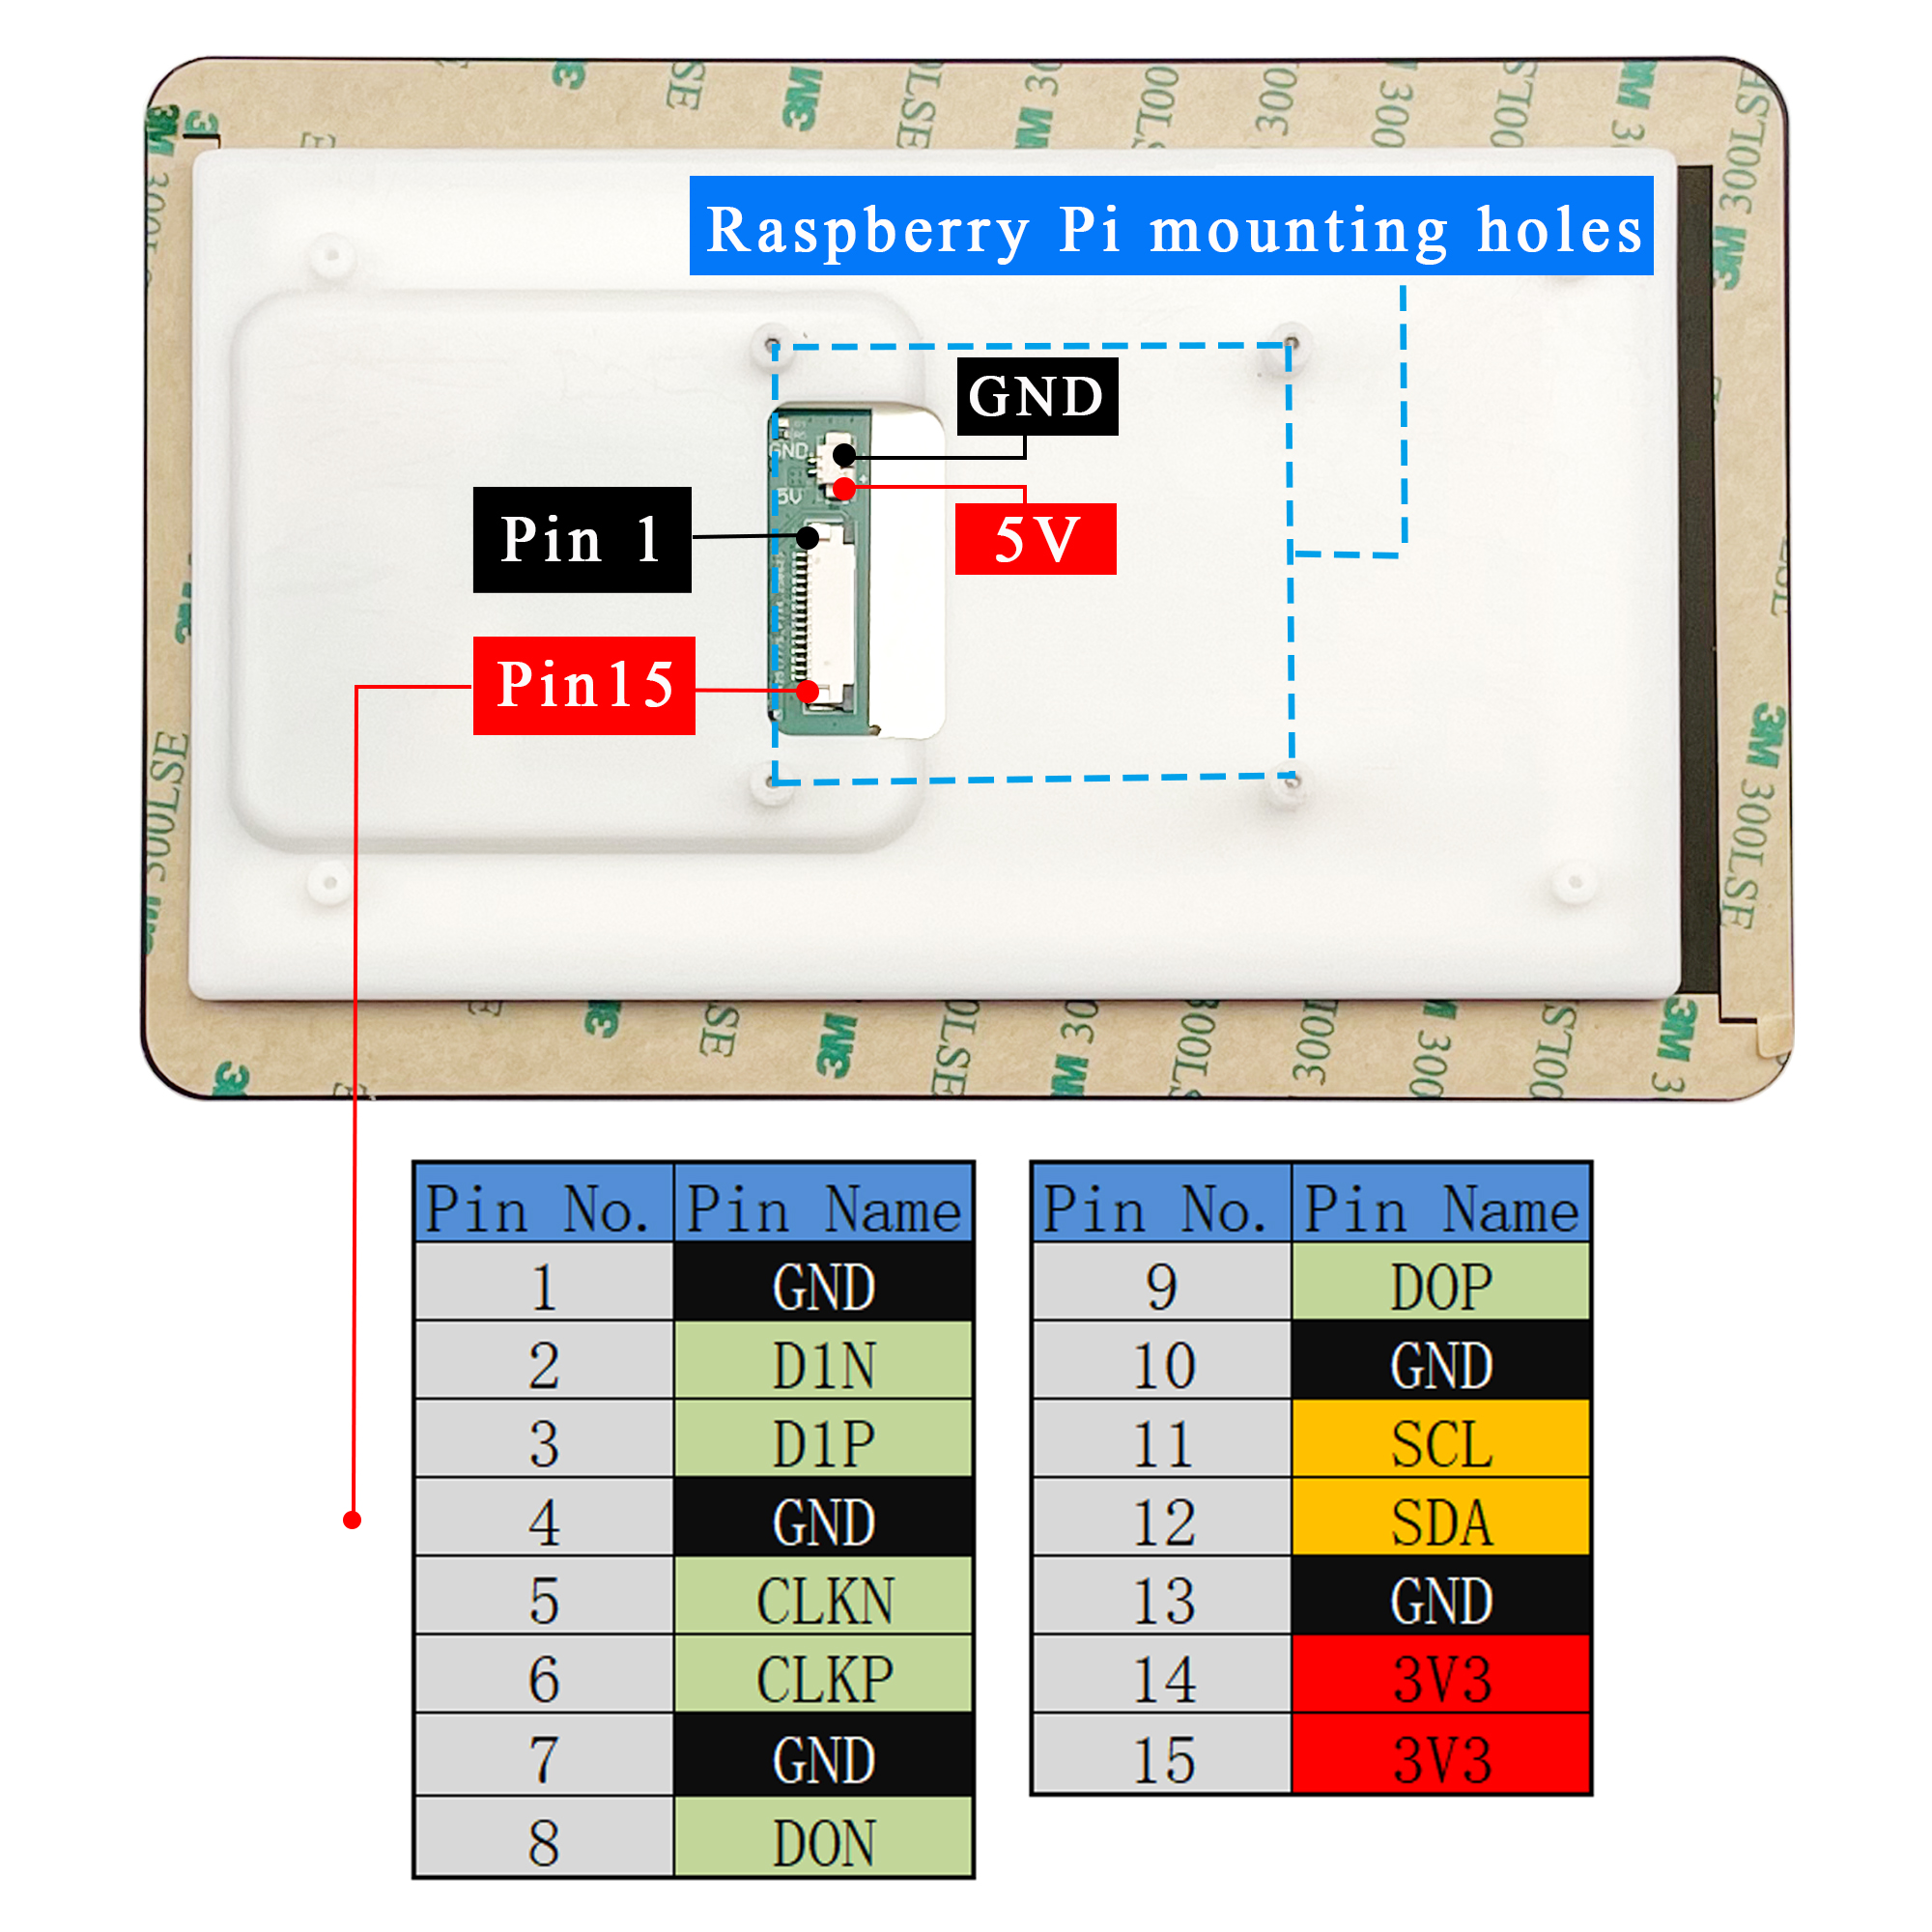
4. Hardware Connection
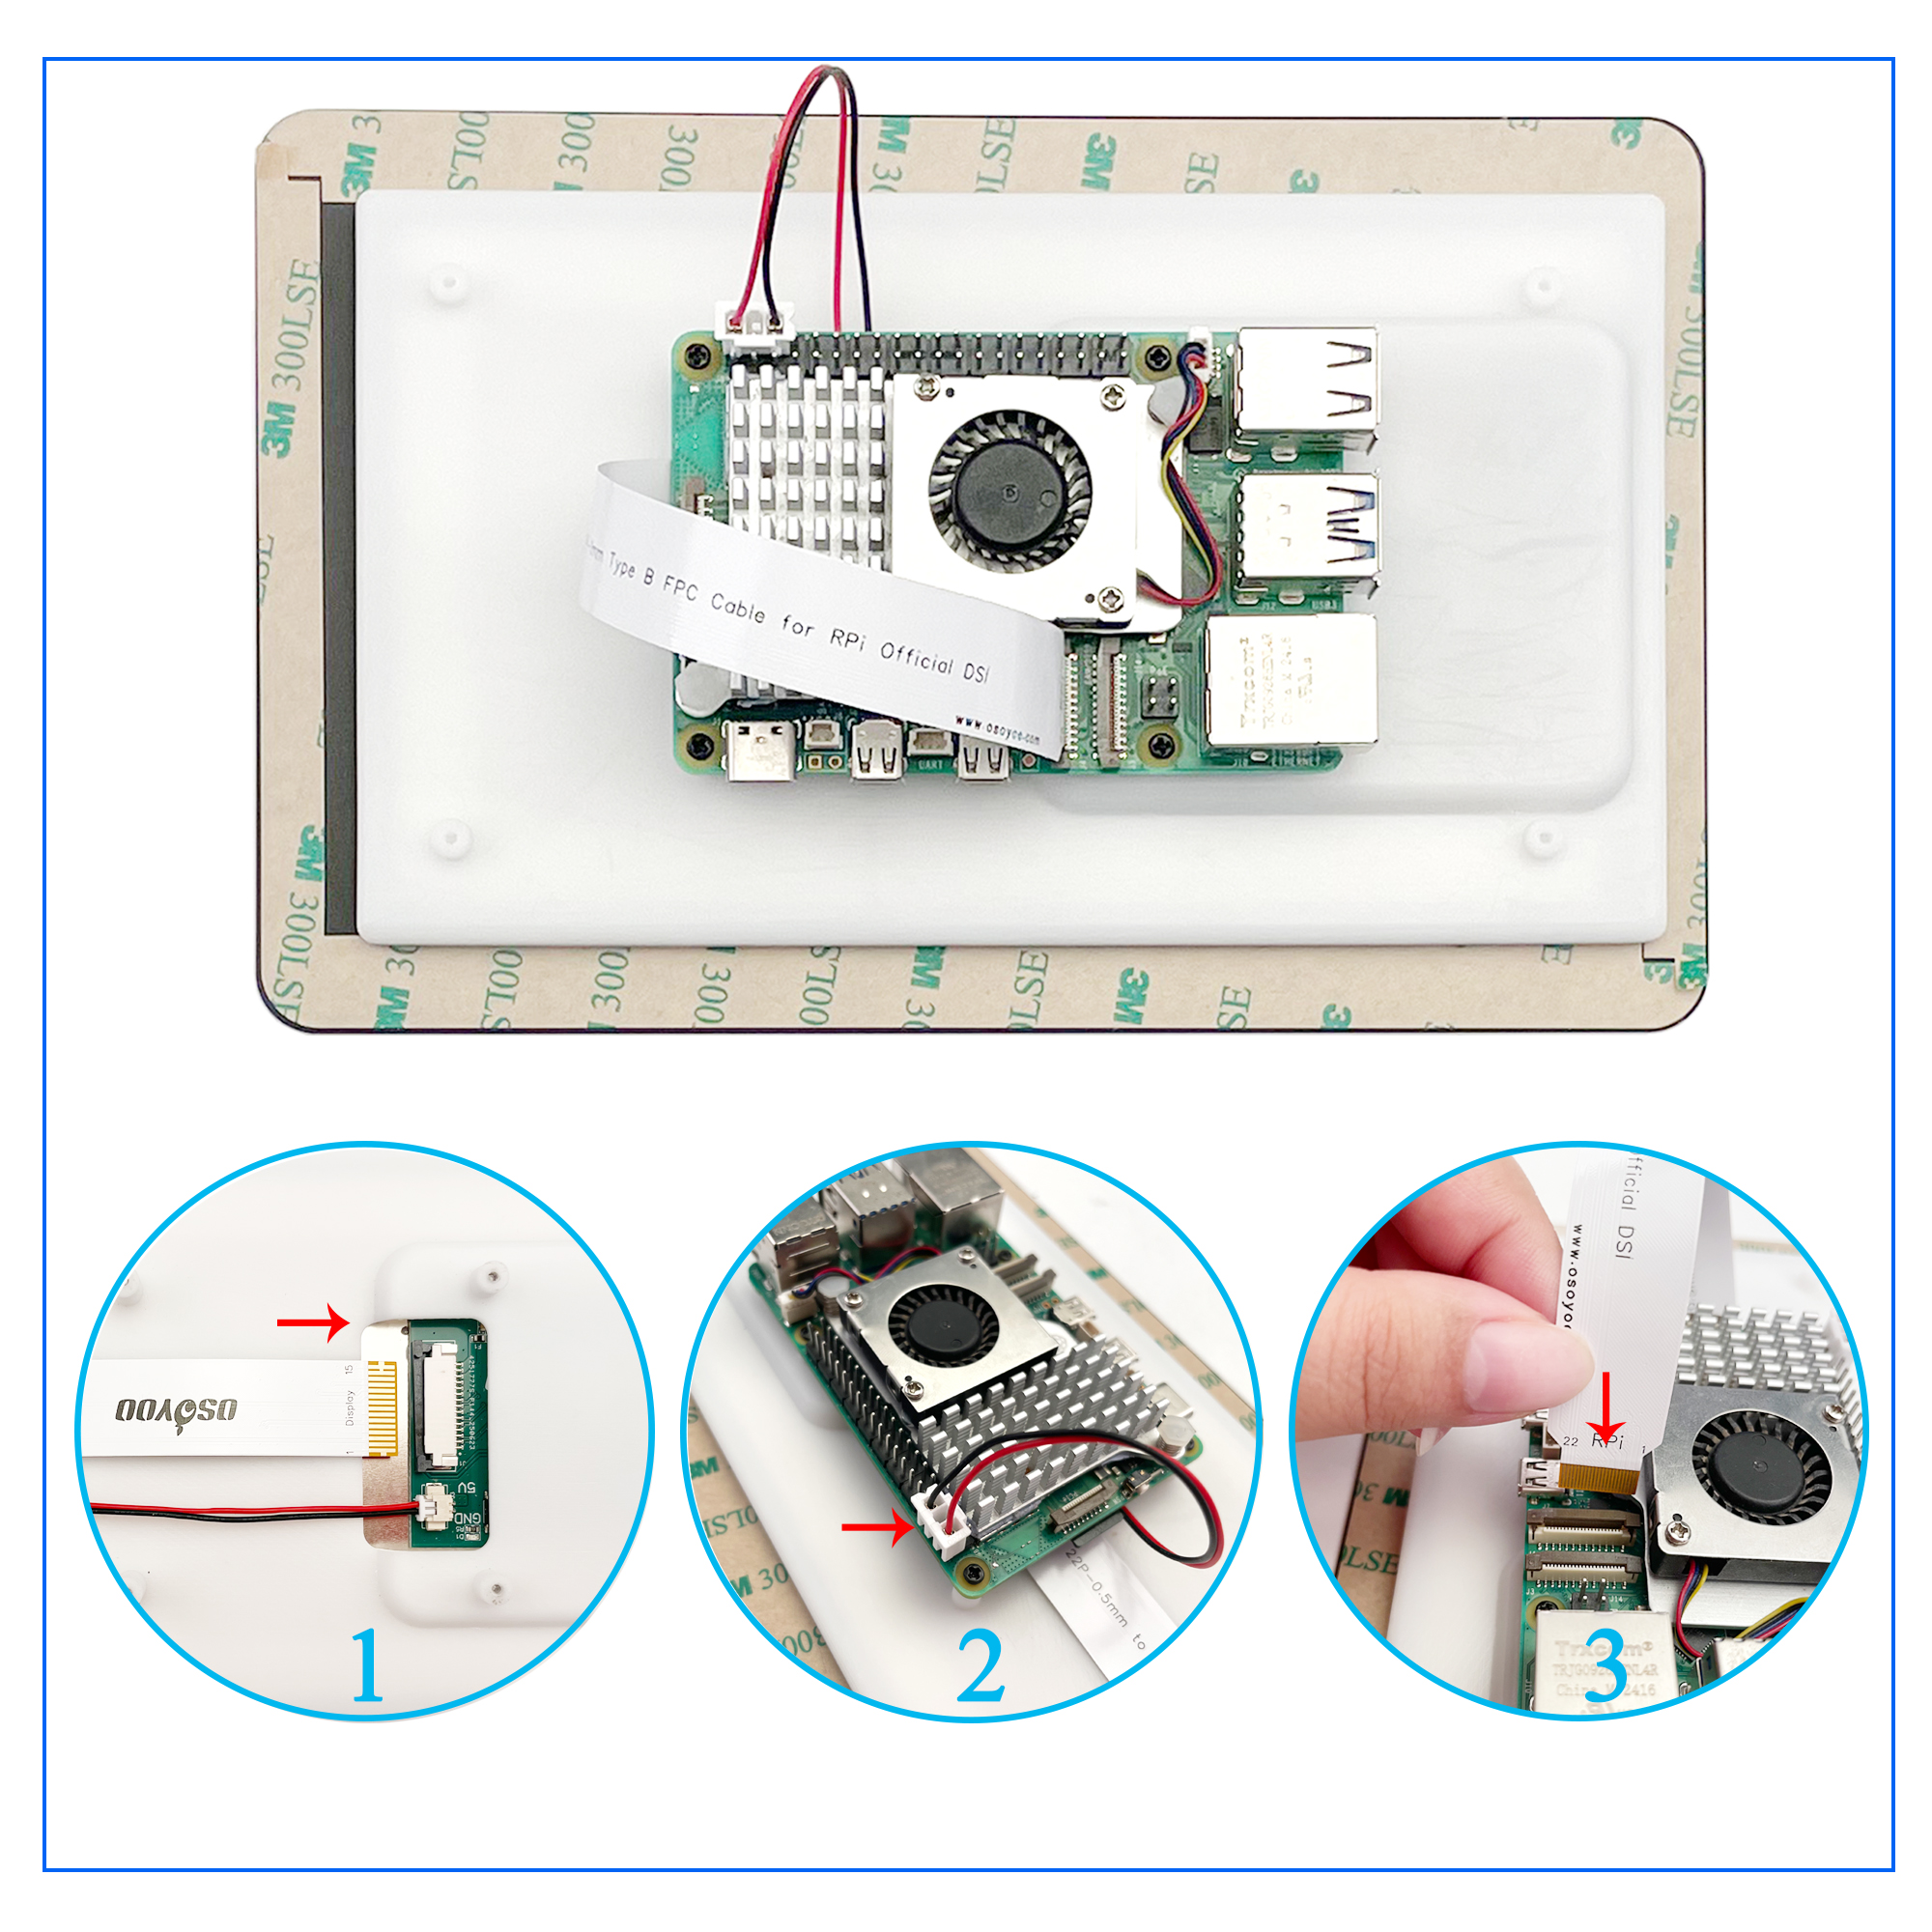
4.1 For Raspberry Pi 5 / CM5 / CM4 / CM3+ / CM3
- Connect the DSI port using a 15P to 22P 200mm FPC cable to the 22-pin DSI port on your Raspberry Pi.
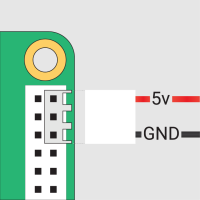
- Use the included power cable to connect the display to the 5V and GND pin header on the Raspberry Pi.
- Secure the display with M2.0 screws.
4.2 For Raspberry Pi 4B / 3B+ / 3B / 3A+
- Connect the DSI port using a FFC Cable 15PIN 20cm (opposite direction) to the 15-pin DSI port on your Raspberry Pi.
- Use the included power cable to connect the display to the 5V and GND pin header.
- Secure the display with M2.0 screws.
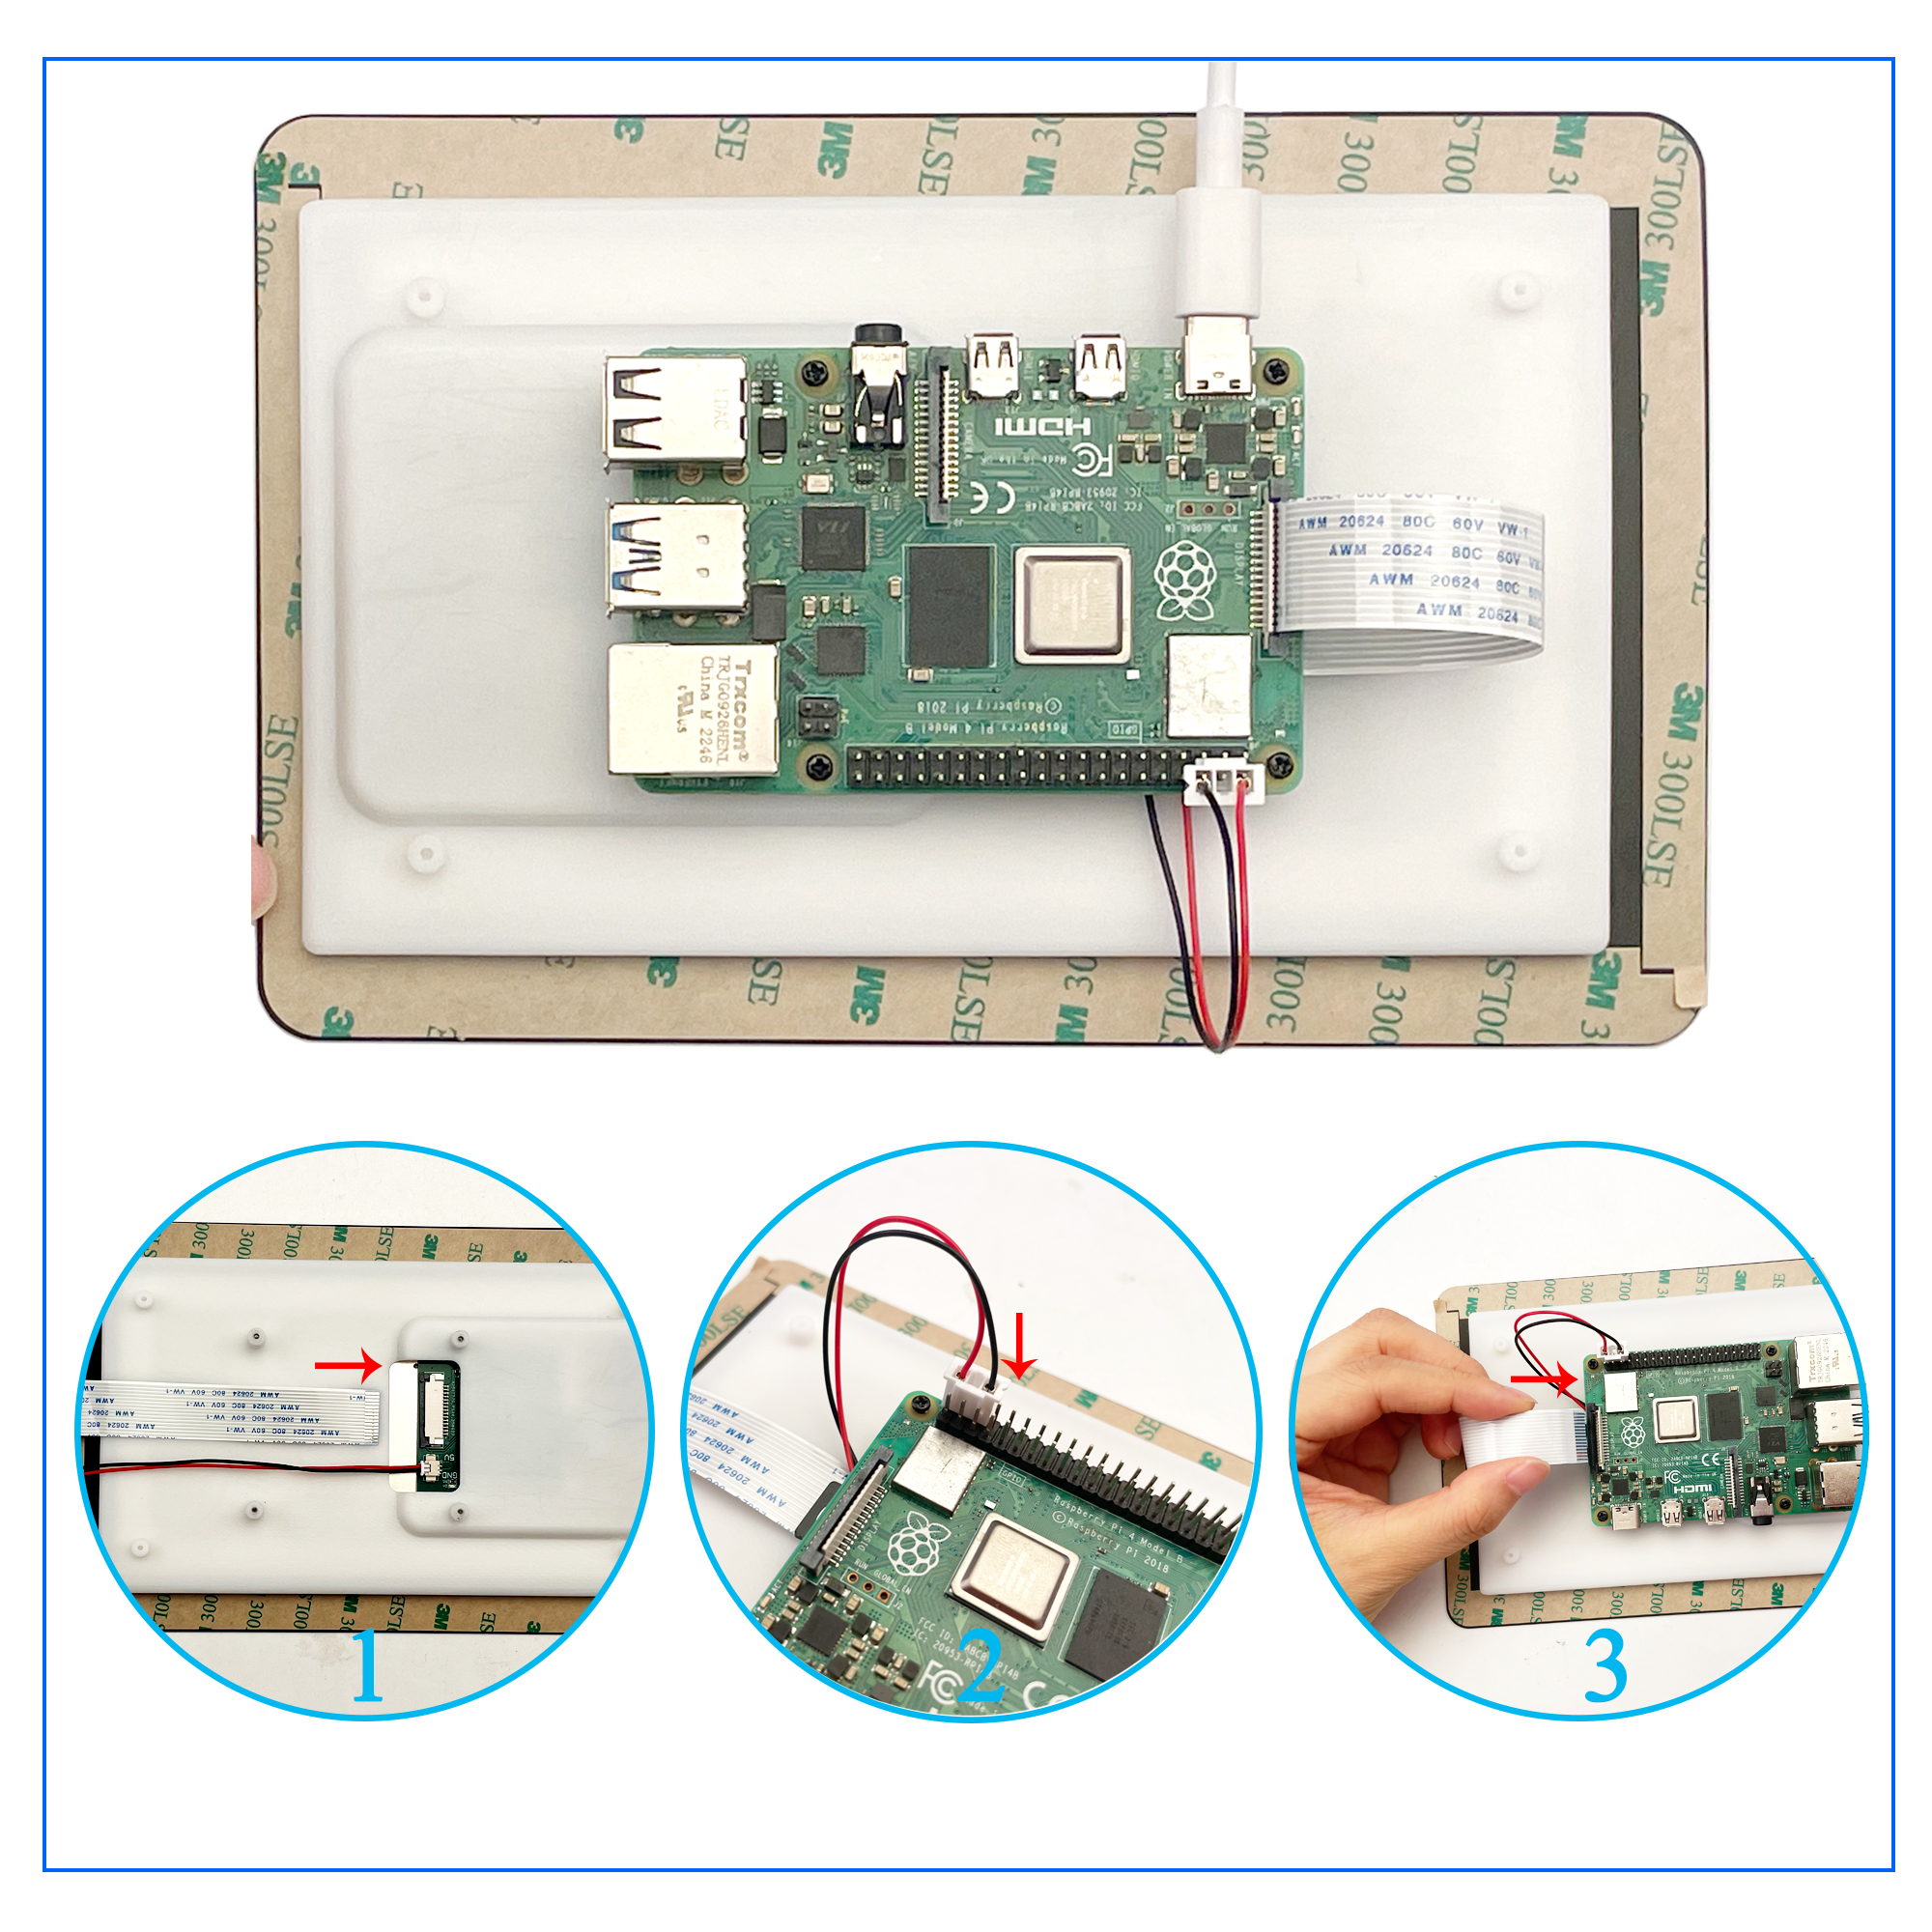
Cable insertion notice: Pull the locking mechanism forward, insert the cable with metal contacts facing the user, then push the locking mechanism back to secure.
5. Software Installation
Please select the appropriate driver installation tutorial based on your operating system:
6. Resources & Downloads
Pre-installed Images
| Image Name |
Support Boards |
Username |
Password |
Download |
| OSOYOO-7-Pi3-4-2025-05-13-raspios-bookworm-arm64 |
Raspberry Pi 3 & 4 |
pi |
raspberry |
Google Drive |
| OSOYOO-7-Pi5-2025-05-13-raspios-bookworm-arm64 |
Raspberry Pi 5 |
pi |
raspberry |
Google Drive |
7. Safety Instructions
- Power off before connecting: Always shut down and disconnect power before connecting or disconnecting the display.
- Minimum input current: Ensure input current is ≥0.5A to prevent startup failure or damage to the display.
- Cable handling: Pull the locking mechanism forward before inserting the ribbon cable; insert with metal contacts facing the correct direction; push mechanism back to lock. Avoid folding or straining the ribbon cable.
- Operating environment: Use within 0–50°C in a dry environment. Avoid exposure to water, moisture, conductive surfaces, and excessive heat.
- Avoid rapid temperature changes to prevent condensation or physical stress on the display.
- Fragile display surface: The display glass may shatter if dropped or struck. Handle with care.


