
| Buy from US |
Buy from UK |
Buy from DE |
Buy from IT |
Buy from FR |
Buy from ES |
ここでご購入を! |
 |
 |
 |
 |
 |
 |
 |

(Model 2021006600)
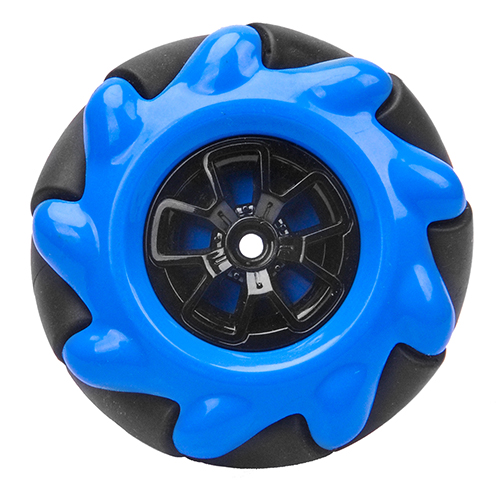
Mecanum wheels, also known as omni wheels, consist of a hub with rollers oriented 45° to the axis of rotation. The Mecanum wheels are wheel hubs fitted with integrated rollers that move passively and independently.
Depending on which wheels rotate in which direction, the platform will move forward, backward, sideways, diagonally, or spin in place. This range of maneuverability enables the Omni Platform to efficiently navigate any space, particularly around tight corners, narrow lanes, and complex pathways.
This Omni Direction Robot Car learning kit for Arduino is developed by our Japan and Canada engineer teams. It has all features a traditional Robot car for Arduino should have, including remote control by Bluetooth, IoT through Wi-Fi, Line tracking and Obstacle Avoidance auto driving. With the help of powerful Mecanum wheels, the car can make much more complicated movement such as sideways shifting and diagonally movement controlled by a mobile phone or tablet APP.
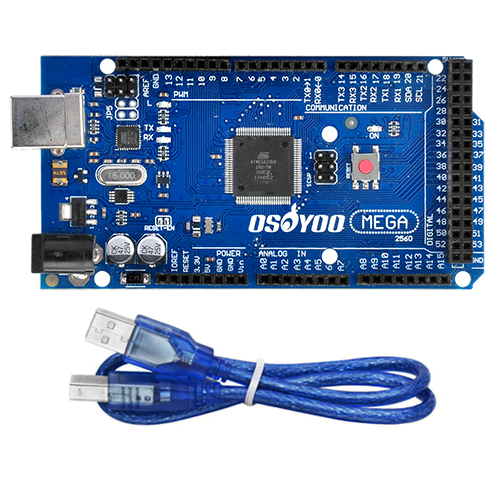
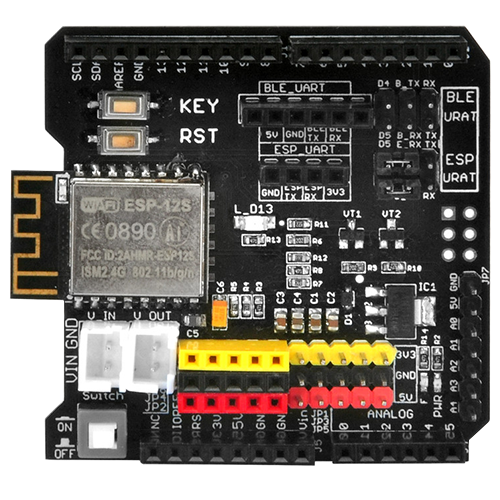
The kit comes with OSOYOO Mega2560 board (fully compatible with Arduino Mega2560) and OSOYOO ESP8266 Wi-Fi Shield. Besides, we have designed 6 step by step lessons which help students to learn Arduino robot programming from scratch. If you are an experience DIY player or Arduino programmer, you can also get a lot of knowledge from this.
OSOYOO Robot car installation video: https://osoyoo.com/manual/2021006600.html


SKU: AMC25ARD00 Model: 2021006600
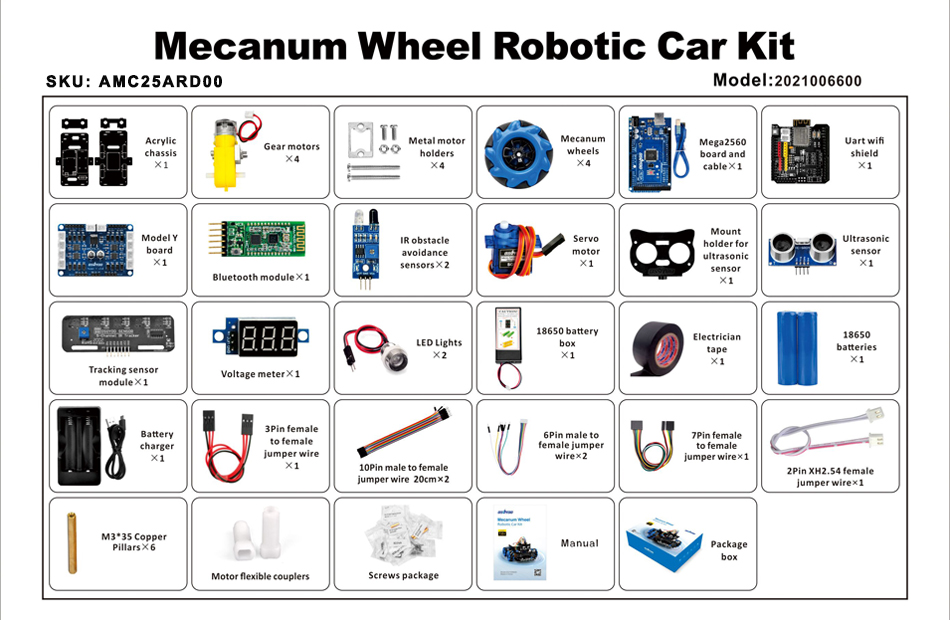
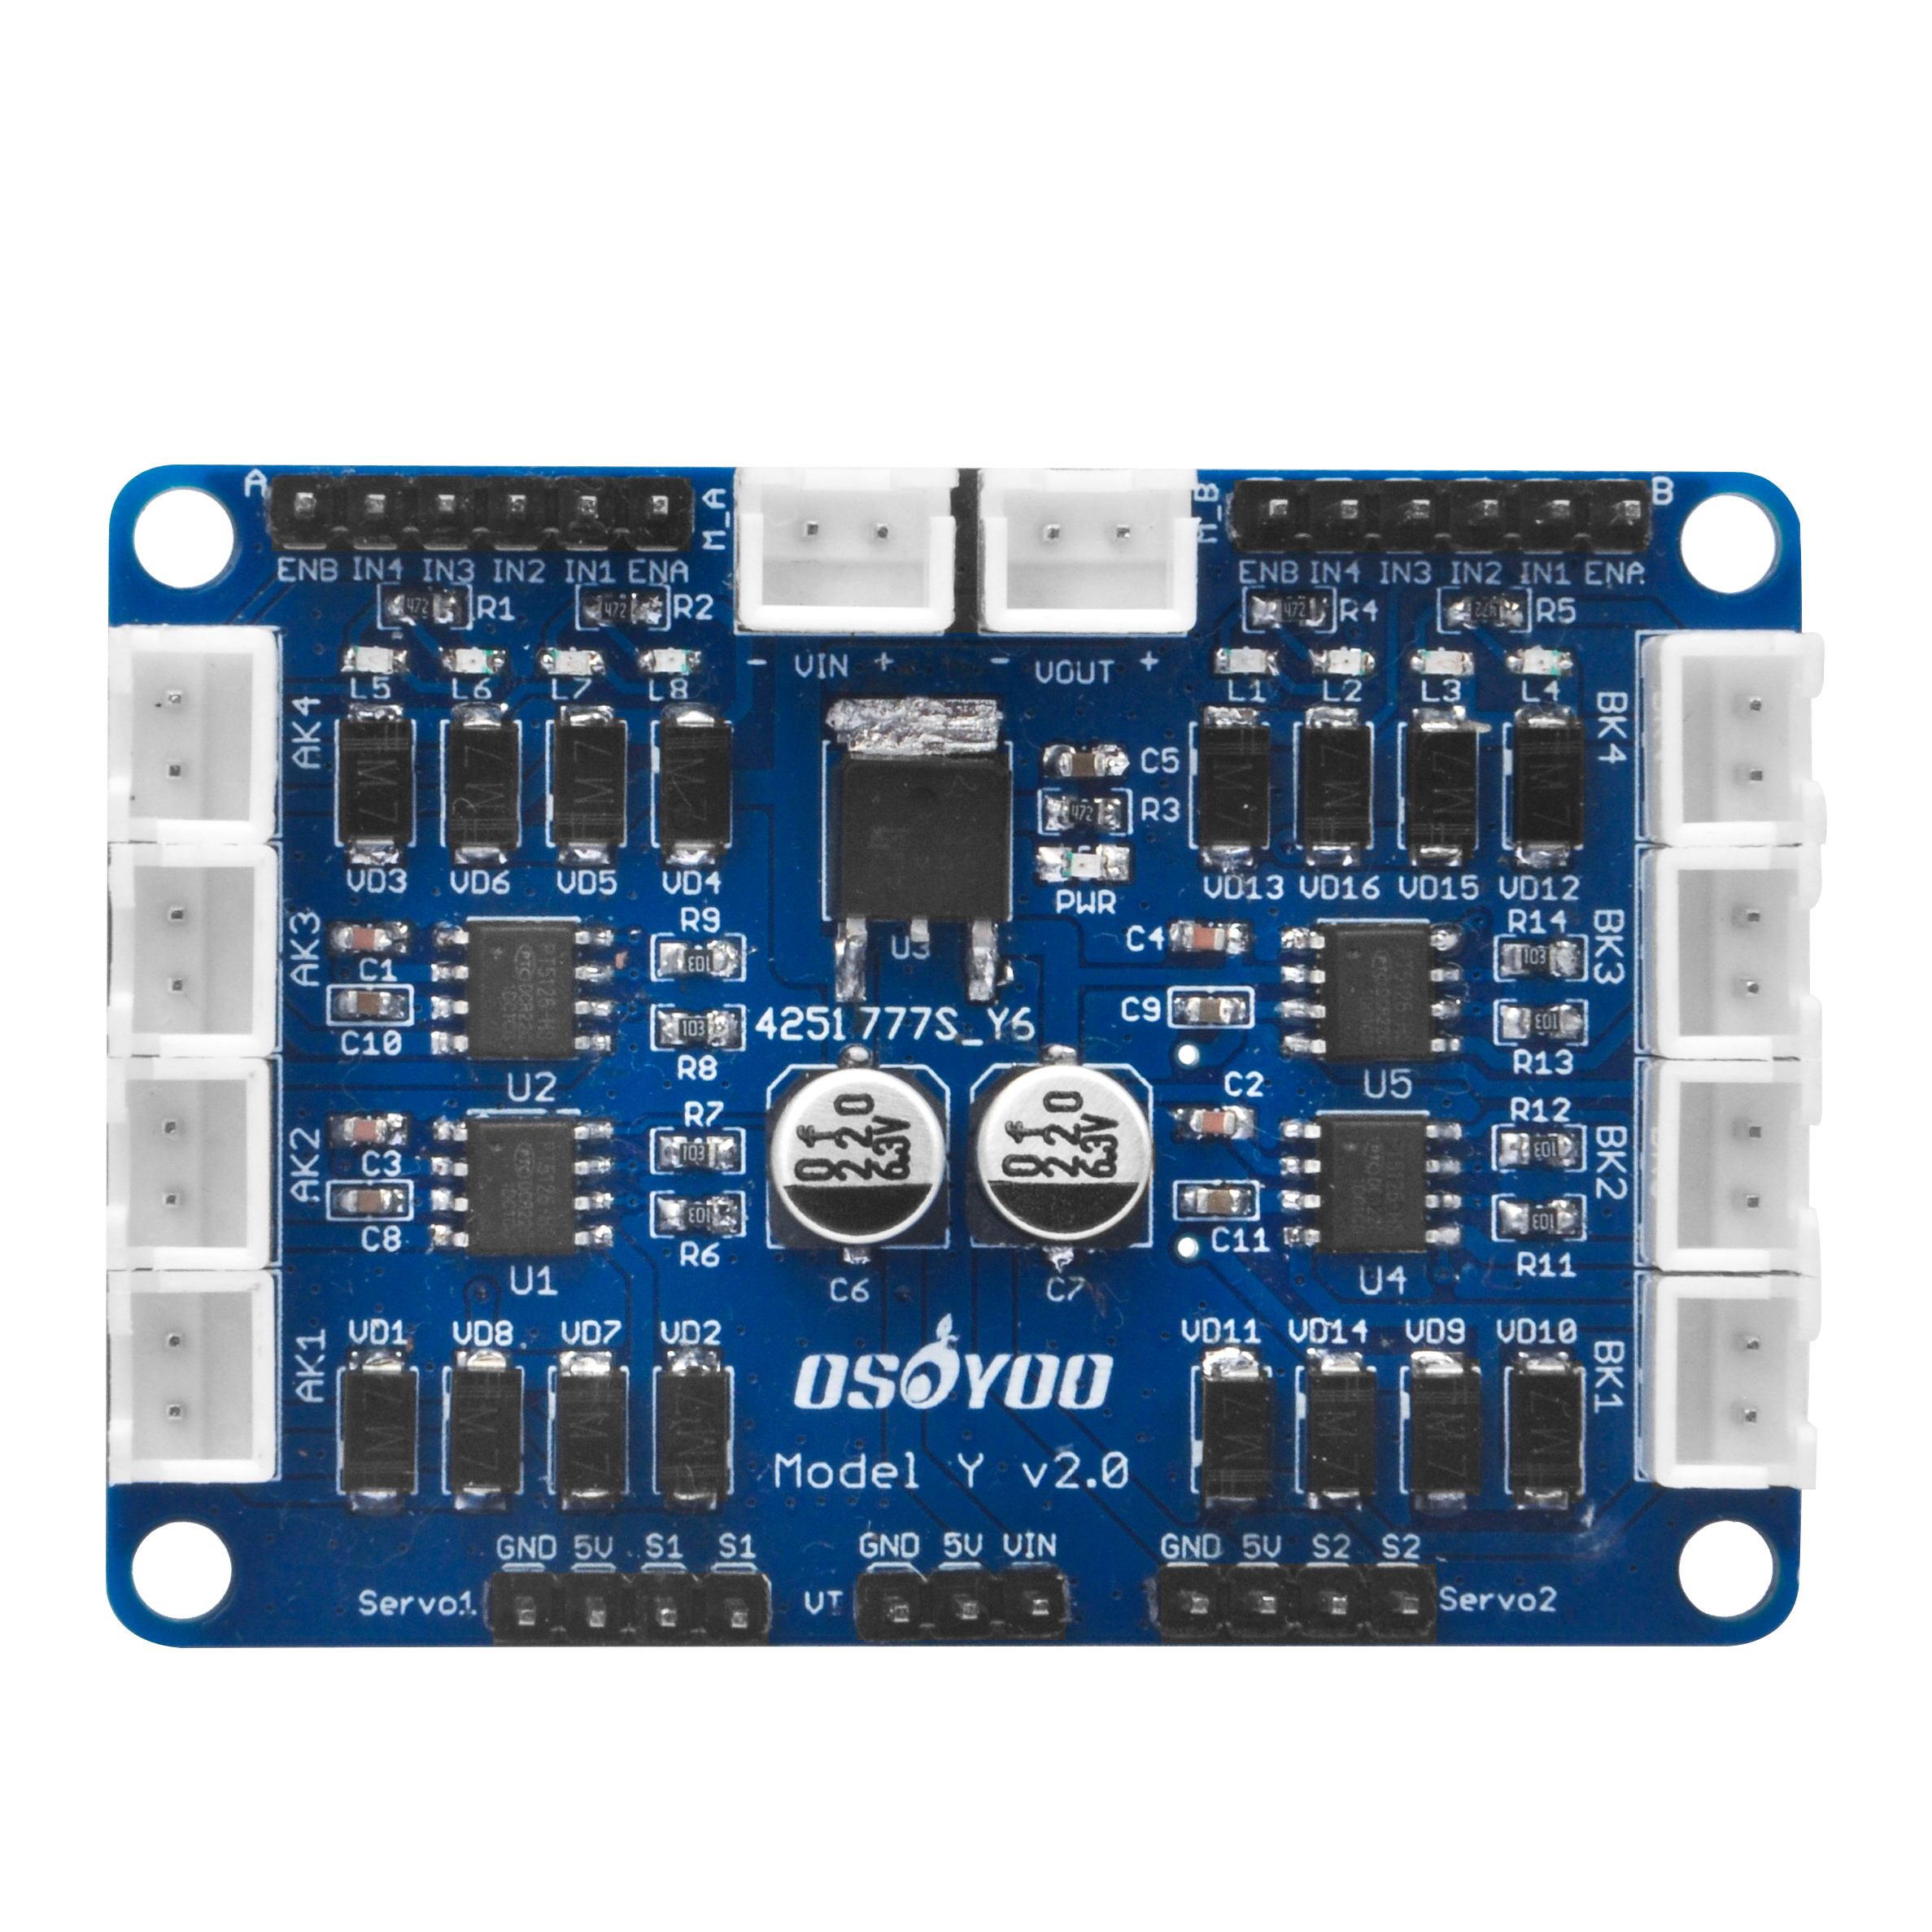
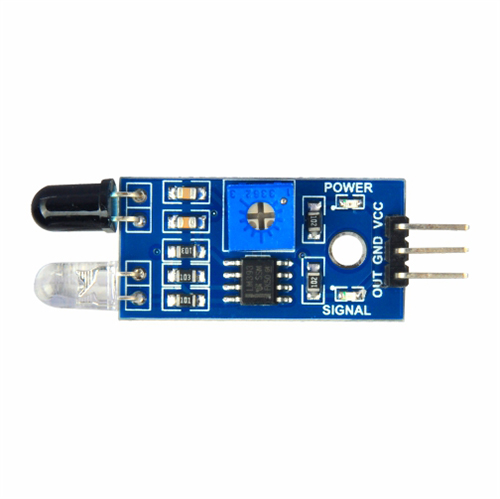
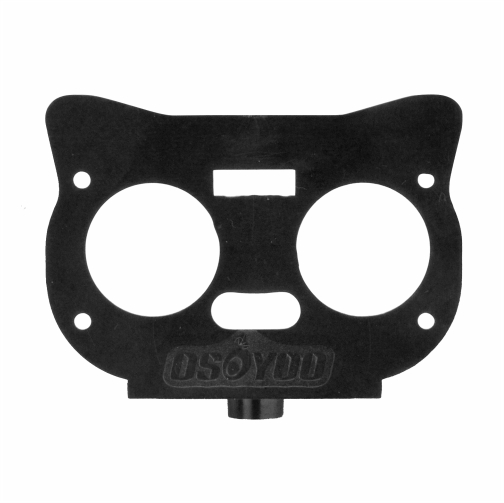
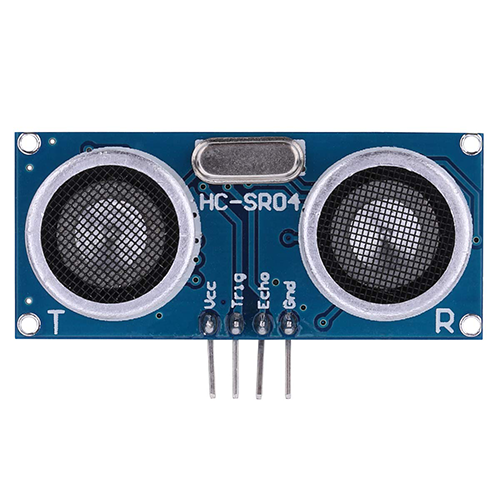
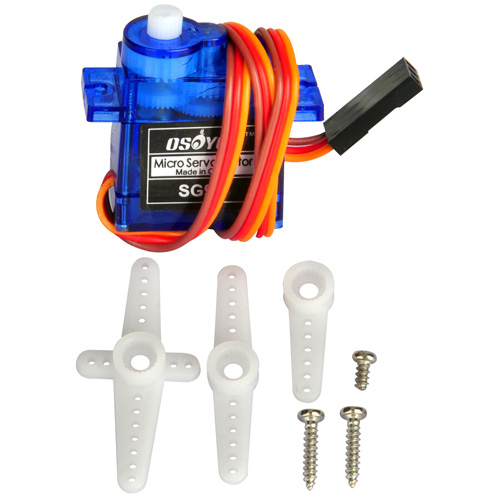
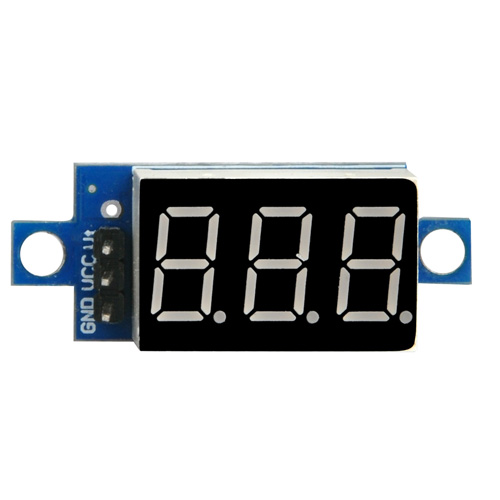
Mecanum Wheel Robotic Car Accessories (Model 2021006600):


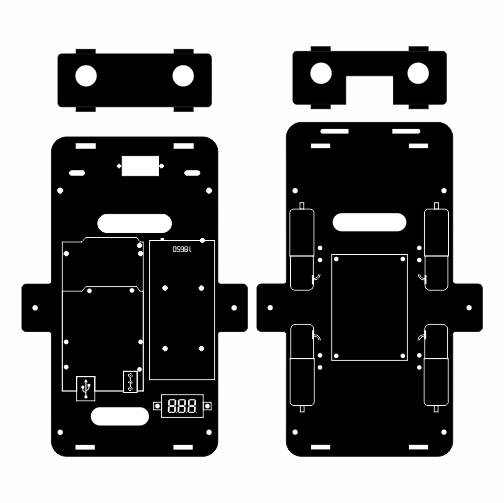
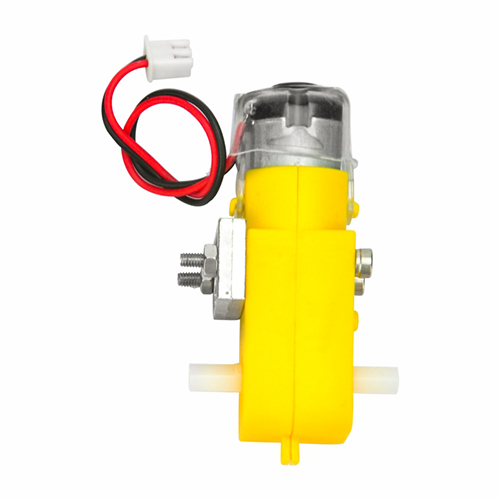
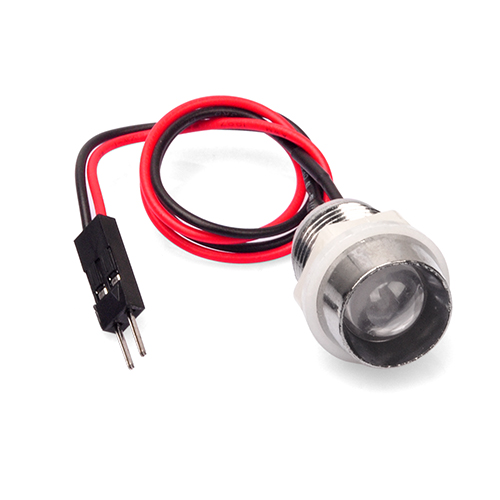
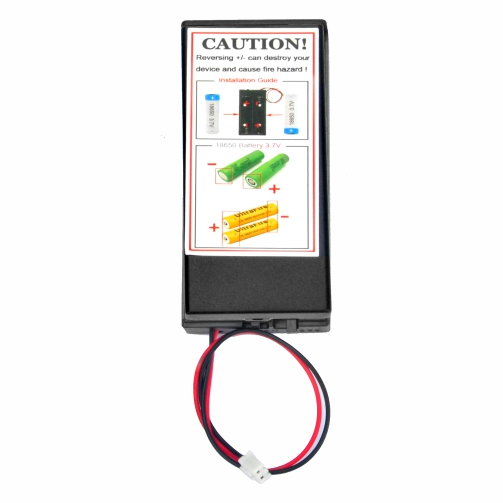
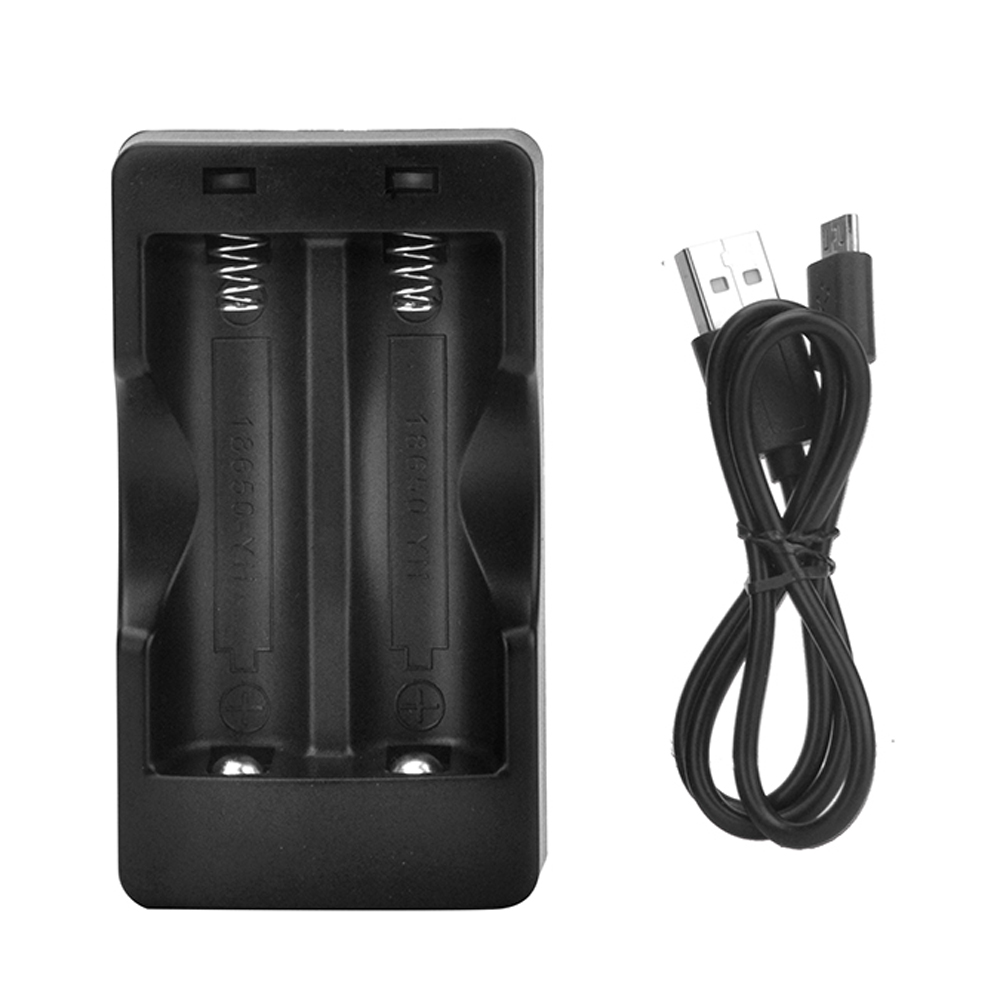


hi my name is Eugen Burca i have a mecanum robotic car and i want to install a camera on this car. What part do i need to order and program routine i need to install?
Thank you
Normally camera should work with Raspberry Pi not Arduino because Arduino does not have Operation System to support video stream.
In order to install Raspberry Pi into this car, you need to buy :
1)A Raspberry Pi board : https://www.raspberrypi.com/products/raspberry-pi-3-model-a-plus/
2)A I/O hat: https://osoyoo.store/collections/parts-for-osoyoo-servo-steering-robot-smart-car-for-raspberry-pi-model-2021004700/products/osoyoo-pwm-hat-for-raspberry-pi-model-2021002800?variant=39853510885487
3)A CSI camera: https://osoyoo.store/collections/osoyoo-robotic-car-for-raspberry-pi-4-3b-3-2-stem-educational-diy-smart-kit-for-science-fair-teens-and-adults-python-programming-iot-ultrasonic-line-follow-web-camera-battery-charger-included/products/webcamera-for-raspberry-pi?variant=32079266971759
4) A Camera Holder: https://osoyoo.store/collections/osoyoo-robotic-car-for-raspberry-pi-4-3b-3-2-stem-educational-diy-smart-kit-for-science-fair-teens-and-adults-python-programming-iot-ultrasonic-line-follow-web-camera-battery-charger-included/products/csi-camera-holder?variant=32079316713583
5)If you don’t have SD card, you also need to buy a microSD card(minimum 16G)
We don’t have Raspberry Pi tutorial for this V2.0 car, we have a similar car tutorial, here is the link:
basic movement control: https://osoyoo.com/2024/02/28/v5-generic-robot-car-for-raspberry-pi-basic-movement-by-raspberry-pi/
Camera Control: https://osoyoo.com/2024/03/23/v5-generic-robot-car-for-raspberry-pi-web-camera-control-through-browser-and-app/
hope this helps.
I can’t control robot with mobile app. I check with Serial1.available() and always receives 0. I think everything connect correctly, the app also shows connected.
hi, Aek,
Are you using Android or iPhone? In addition to pair the HC-02 device in your bluetooth setting, did you click the connect button in the upper right corner of the APP?
Im using galaxy a20 and in the appthe connect button does not click like it is blocked pls help im struggling from 20 days but the chip blows blue but it wont connect
We don’t quite understand your meaning “button does not click like it is blocked”.

1)You are talking about the Lesson 5 Bluetooth Imitation driving or Lesson 6 Wifi Driving?
2)If you are talking about lesson 5, did you connect the B_TX to D19 and B_RX to D18 as following picture:
So it was all correct untill i arrive at the fifth lesson,i connected the 2 cable ,i connected the chip and i programmed the robot from arduino,now in the app arduino ossoyoo car the button that say disconnect it does not click it is blocked if you want the model of the phone is galaxy a 20
We believe you might have connected the B_TX and B_RX to wrong pins. Please take a picture of your wifi board and show us how you connect B_TX B_RX to D18 D19. Our email is [email protected]
Ok make sure you have connected the B_TX and B_RX pin to the D18,D19 port of Arduino. Check following picture yellow and orange wires:

It works now, thank you so much.
Can’t download this one https://osoyoo.com/driver/mecanum_acrylic_chassis_V2/mc-lesson3.zip
you input wrong download link with upper case V2 in the url, correct link is :
https://osoyoo.com/driver/mecanum_acrylic_chassis_v2/mc-lesson3.zip
the v2 in url should be lower case, anyway, please directly click above link to download, don’t try to type the link to your browser, otherwise it will be very easy to make typing mistake.
Hi. I want to use a Jetson AGX Orin instead of the arduino. How do i do so.
Mecanum wheels and omni wheels are not the same!!! they are different, look at difference on google, omni wheels have straight rollers while mecanum have 45 roller and two differnt positioning.