In this lesson, we will install 2pcs IR distance sensors on robot car and program the car to follow object movements. The principle of this experiment is based on IR distance detection principle. The car receives the signal from the IR distance sensors, and then the program will drive the car to take actions.
You must complete lesson 1 (assembling the car) before you continue on with this lesson.
Parts and Devices:
No.
Picture
Device
Qty.
Accessories
Link
1
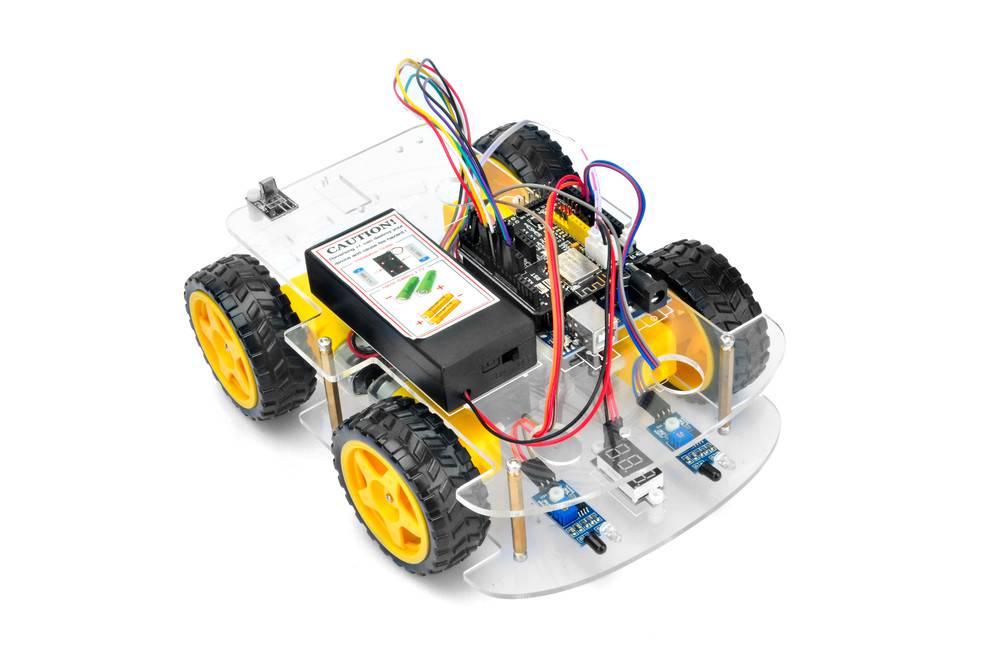
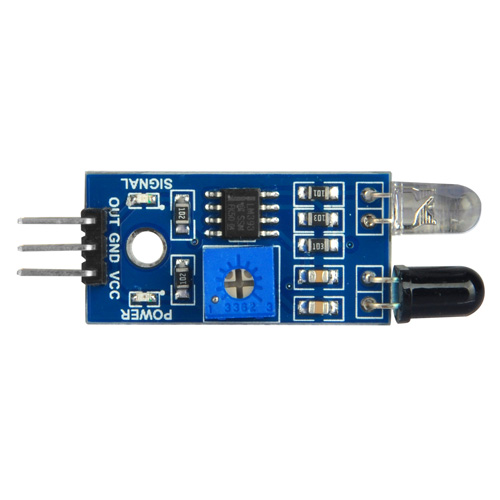
IR distance Sensor
2
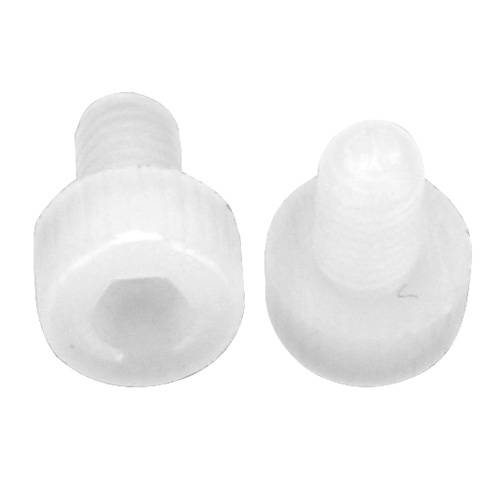
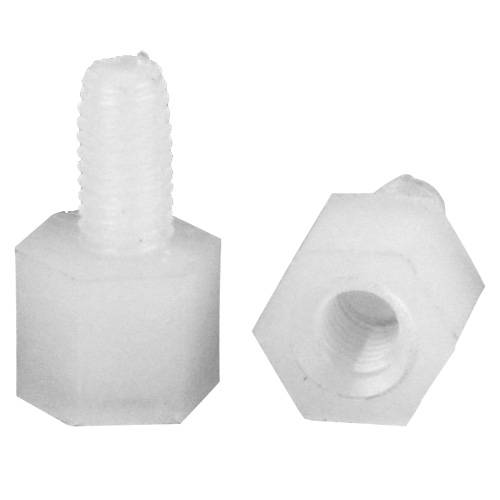
M3 Plastic Screw x 2
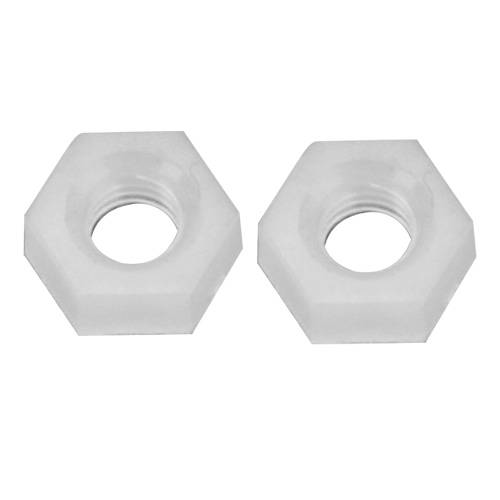
M3 Plastic Nut x 2
M3 Plastic Pillar x 2
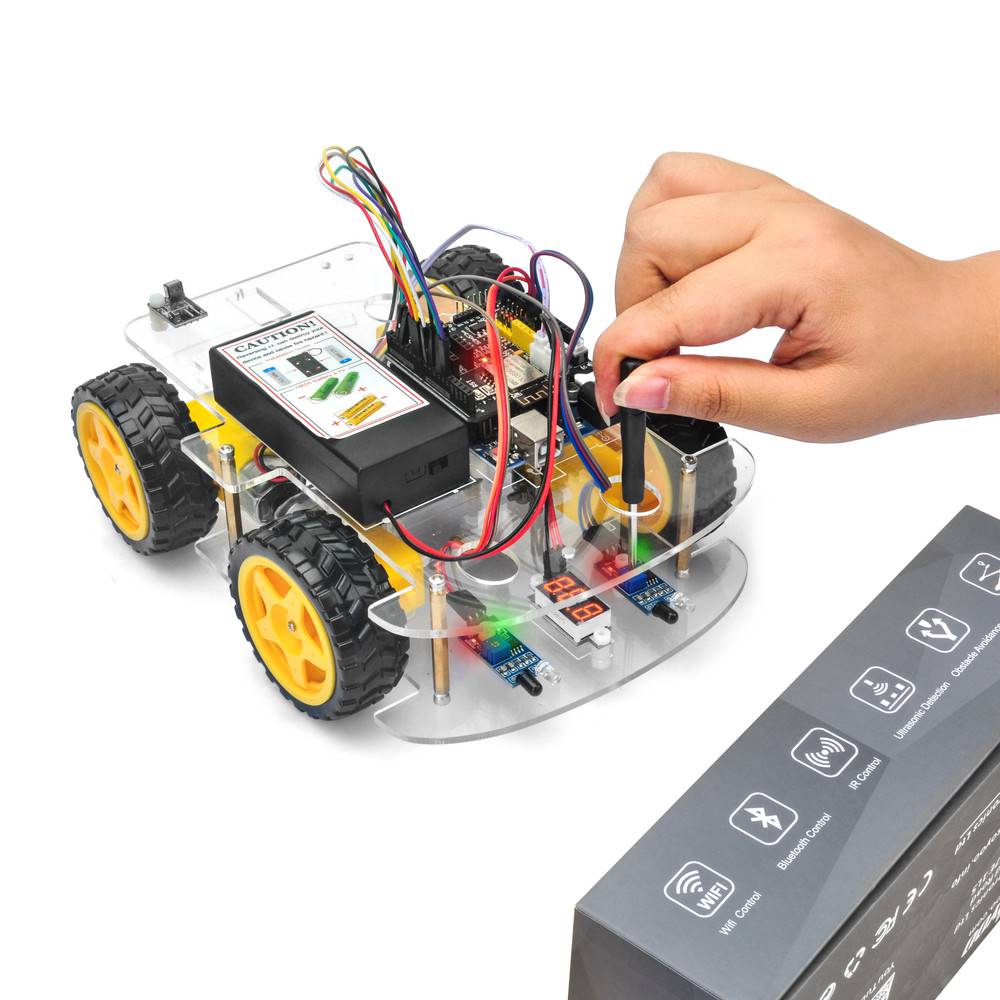
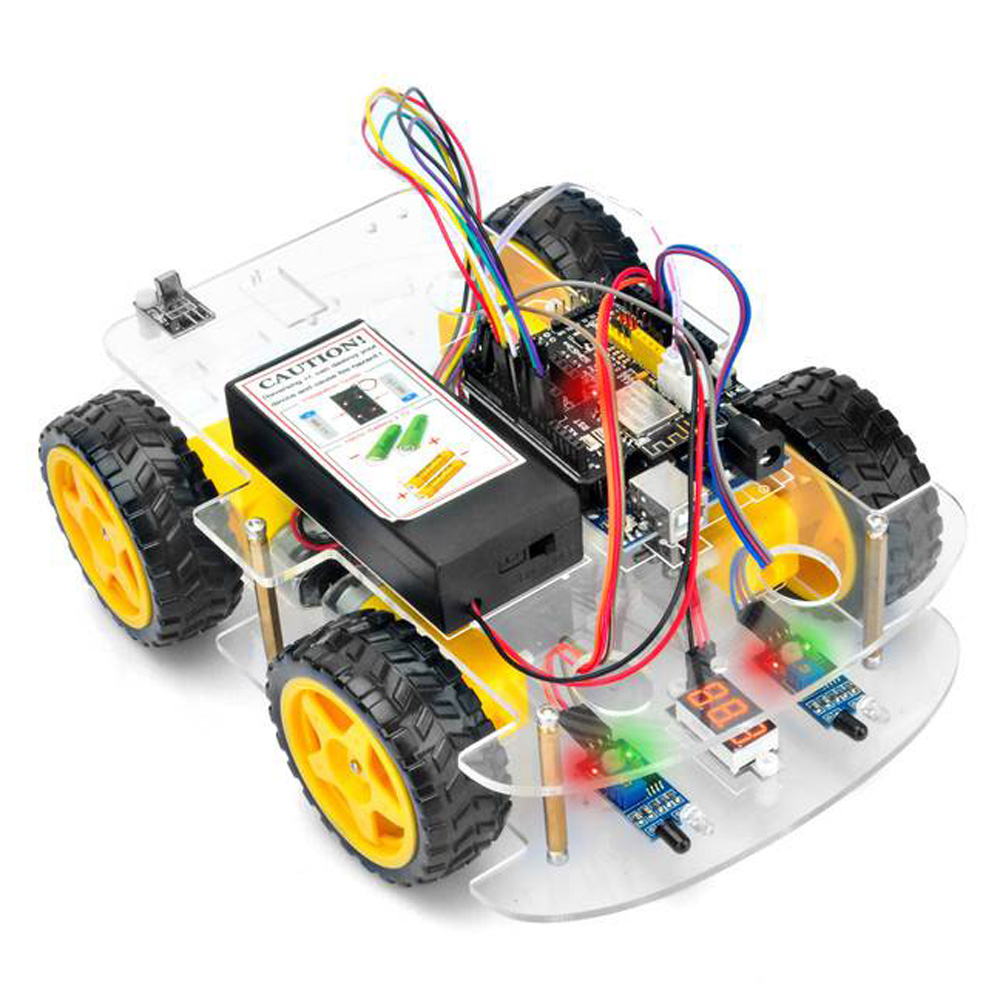
Step 1: Install the smart car basic frame work as per Smart Car Lesson 1 . If you have already completed installation in Lesson 1 , just keep it as is.
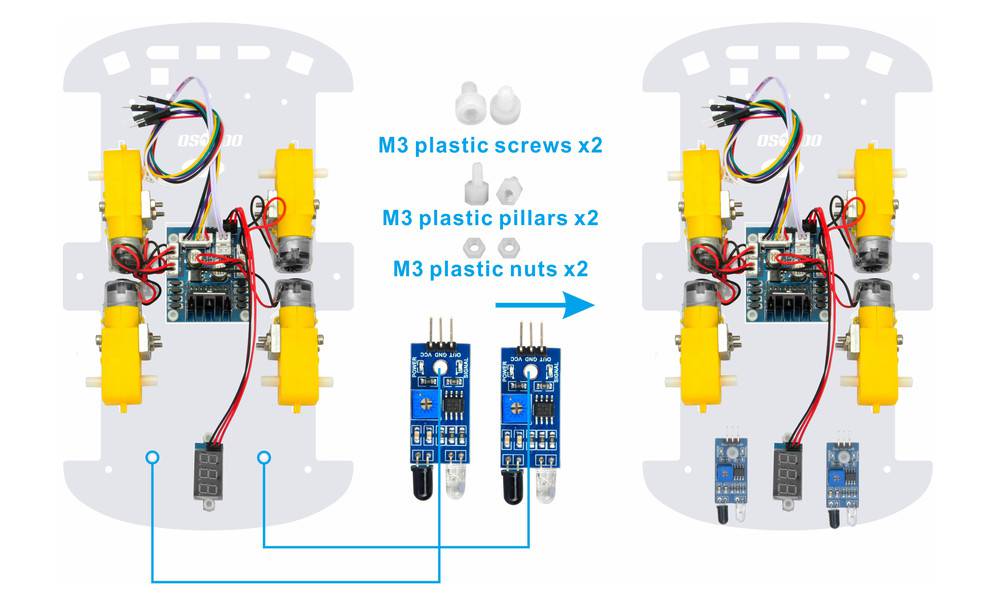
Step 2: Remove the screws on copper pillars and add 2pcs IR distance sensor onto the car. Install the IR distance sensors with 2pcs M3 plastic screws, M3 plastic pillars and M3 plastic nuts at the back of low car chassis.
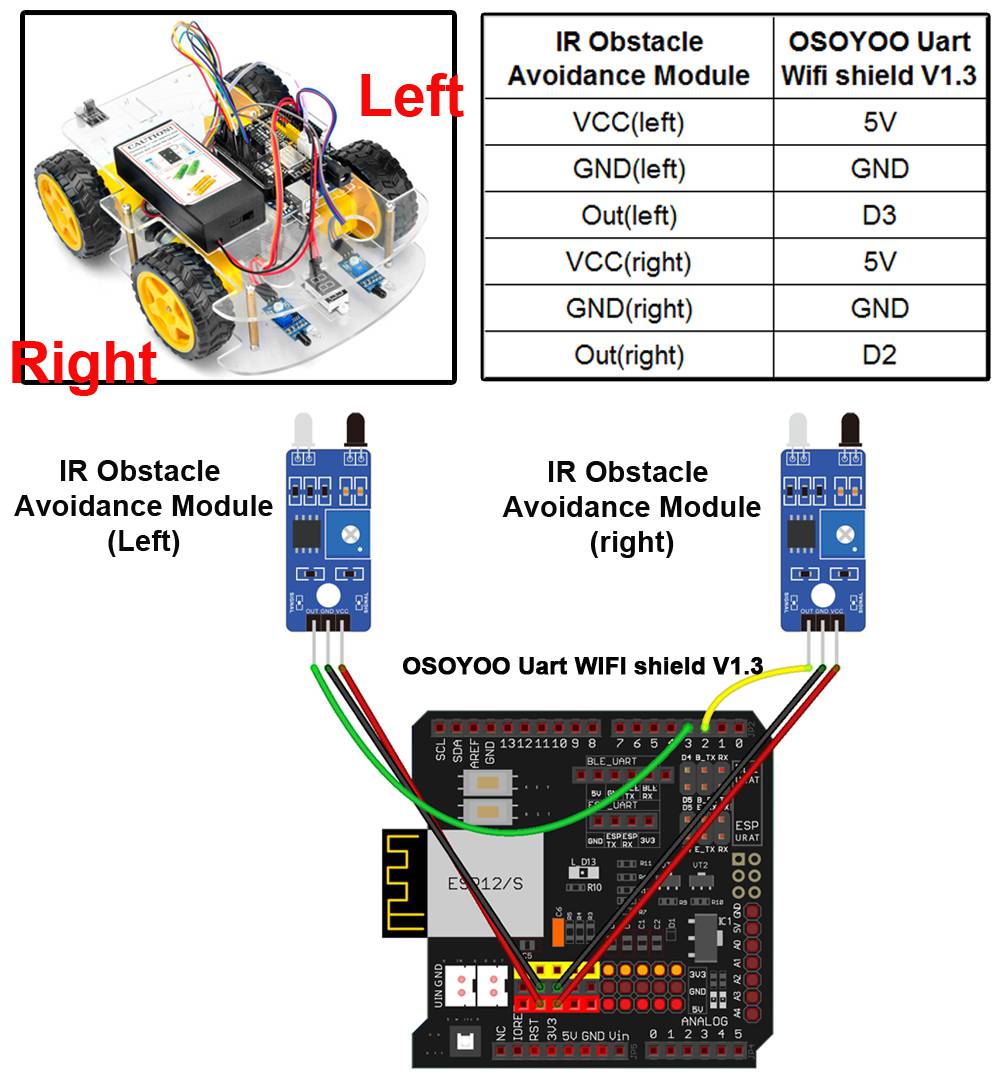
Step 3: Connect 2pcs IR distance sensors modules as below connection diagram (Remember : DO NOT remove any existing wires installed in Lesson 1 ) :
Step 4: Fix the screws on copper pillars to connect upper chassis to lower chassis.
✅ This tutorial was written for the OSOYOO V2.1 Robot Car Kit
All 8 lessons, sample code, and circuit diagrams on this page are designed specifically for this kit.
Buy direct from OSOYOO Store and save 10% — plus get free shipping on orders over $70.
OSOYOO V2.1 Robot Car Kit
🔋 With battery & charger: $61.02 $67.80
— code ROBOTCAR10
Step 2: Download Lesson 3 sample code from https://osoyoo.com/driver/v2smartcar-lesson3.zip , unzip the download zip file v2smartcar-lesson3.zip, you will see a folder called v2smartcar-lesson3 .
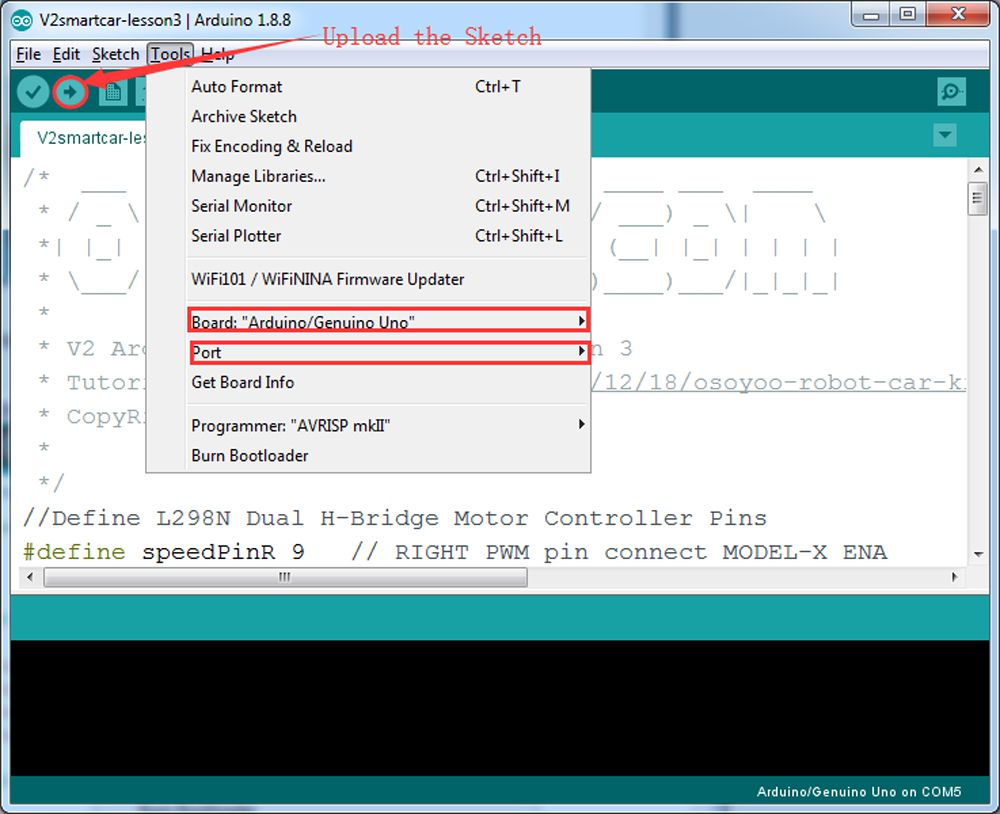
Step 3: Connect OSOYOO basic board to PC with USB cable, Open Arduino IDE -> click file -> click Open -> choose code “v2smartcar-lesson3.ino” in v2smartcar-lesson3 folder, load the code into your board.
Step 4: Choose corresponding board/port for your project,upload the sketch to the board.
Step 5: Turn on the car, put object about 10cm ahead of each IR distance sensors and adjust potentiometer on IR distance sensors to detect object or your hand.
Note: When these module detect objects, the power indicator and signal indictor are on. when you move object over detection distance, the power indicator is on. If the signal indictor is always on even though the object is over detection distance, you also need to adjust the potentiometer
Final Testing :
Turn on the car, move object or your hand ahead of car, and then the car will move accordingly: looks like you pull it. It goes forward when both IR Obstacle Avoidance modules detect object or your hand; it turns right when the right IR Obstacle Avoidance modules detect object; it turns left when the left IR distance sensors detect object.
when object or your hand is over 10cm ahead, it will stop.
Note:
1) As IR distance sensors modules are installed at the back of the car, all movement directions are contrary to other courses.
2) The car can only move forward, turn right and turn left, but cannot move backward.
🤖 Start building your V2.1 Robot Car today
Official kit for this tutorial · WiFi + Bluetooth + 8 project lessons included
Use exclusive reader code ROBOTCAR10 for 10% off — buy direct and save vs Amazon
No matter how far I turn the potentiometer or distance from the sensor to an object, I cannot get the left sensor to light the green LED. The right sensor works as it is supposed to. I swapped the wires and then the left worked and the right did not, so I suspect it is a bad sensor.
I looked in the accessories / sensors section but I did not see the IR Object Avoidance sensors listed.
I just finished installing the Lesson 2 and uploaded the software. When i turned ON the Robot car, i noticed that the tires were running continuously.
Please what could be the reason for this?
First, this is a really great robot kit. Love to play with it. If someone would try, you could improve the object following if you add the ultrasonic module between the two obstacle sensors. It fits but is a bit fiddeling. So you can set the motorspeed according to the distance the ultrasonic sensor reads. You can get a much smoother following. Also it increases the range, ultraconic sensor can detect your hand or whatever in a much greater distance. Try it Is really great fun..
I have received my kit, got as far as lesson 3 but the right IR unit is faulty. When adjusting the potentiometer the green light comes on and stays on with no object near the sensor, at any other point on the potentiometer the green light goes off even with an object infront of it. The left unit works as it should.
elaine its not working both the sensors are showing that there powered but no matter how much i adjust them they do show that there getting a signal what do i do please help


Hello, the object sensors are very weak. I have to put a paper about 2 cm to the car to detect it. Any suggestions ?
you can adjust the sensitivity potentiometer with a screwdriver. see this https://osoyoo.com/picture/V2.1_Arduino_Robot_Car/Lesson3/3.jpg
No matter how far I turn the potentiometer or distance from the sensor to an object, I cannot get the left sensor to light the green LED. The right sensor works as it is supposed to. I swapped the wires and then the left worked and the right did not, so I suspect it is a bad sensor.
I looked in the accessories / sensors section but I did not see the IR Object Avoidance sensors listed.
Can someone please help me order replacements?
Oh, good grief. Never mind. I completely failed to notice the “click here to buy” link next to the parts list above.
OK, If you get any issue, please contact me again. Thanks.
Hi,
I just finished installing the Lesson 2 and uploaded the software. When i turned ON the Robot car, i noticed that the tires were running continuously.
Please what could be the reason for this?
Kelvin.
Does the saftware notice successfully?
Pleas confirm you download the lesson 2 IR remote car or this commented lesson(lesson3).
First, this is a really great robot kit. Love to play with it. If someone would try, you could improve the object following if you add the ultrasonic module between the two obstacle sensors. It fits but is a bit fiddeling. So you can set the motorspeed according to the distance the ultrasonic sensor reads. You can get a much smoother following. Also it increases the range, ultraconic sensor can detect your hand or whatever in a much greater distance. Try it Is really great fun..
Thank you. Your interest and support make us progress
I have received my kit, got as far as lesson 3 but the right IR unit is faulty. When adjusting the potentiometer the green light comes on and stays on with no object near the sensor, at any other point on the potentiometer the green light goes off even with an object infront of it. The left unit works as it should.
Please provide your order No. and address, I’ll send the IR to you ASAP.
I have had this same problem have you managed to sort it out or is a new part needed?
elaine its not working both the sensors are showing that there powered but no matter how much i adjust them they do show that there getting a signal what do i do please help
Is one of the sensers suppose to have gunk on it?
Why do you ask such question? Our sensors should be brand new and clean in the package.